

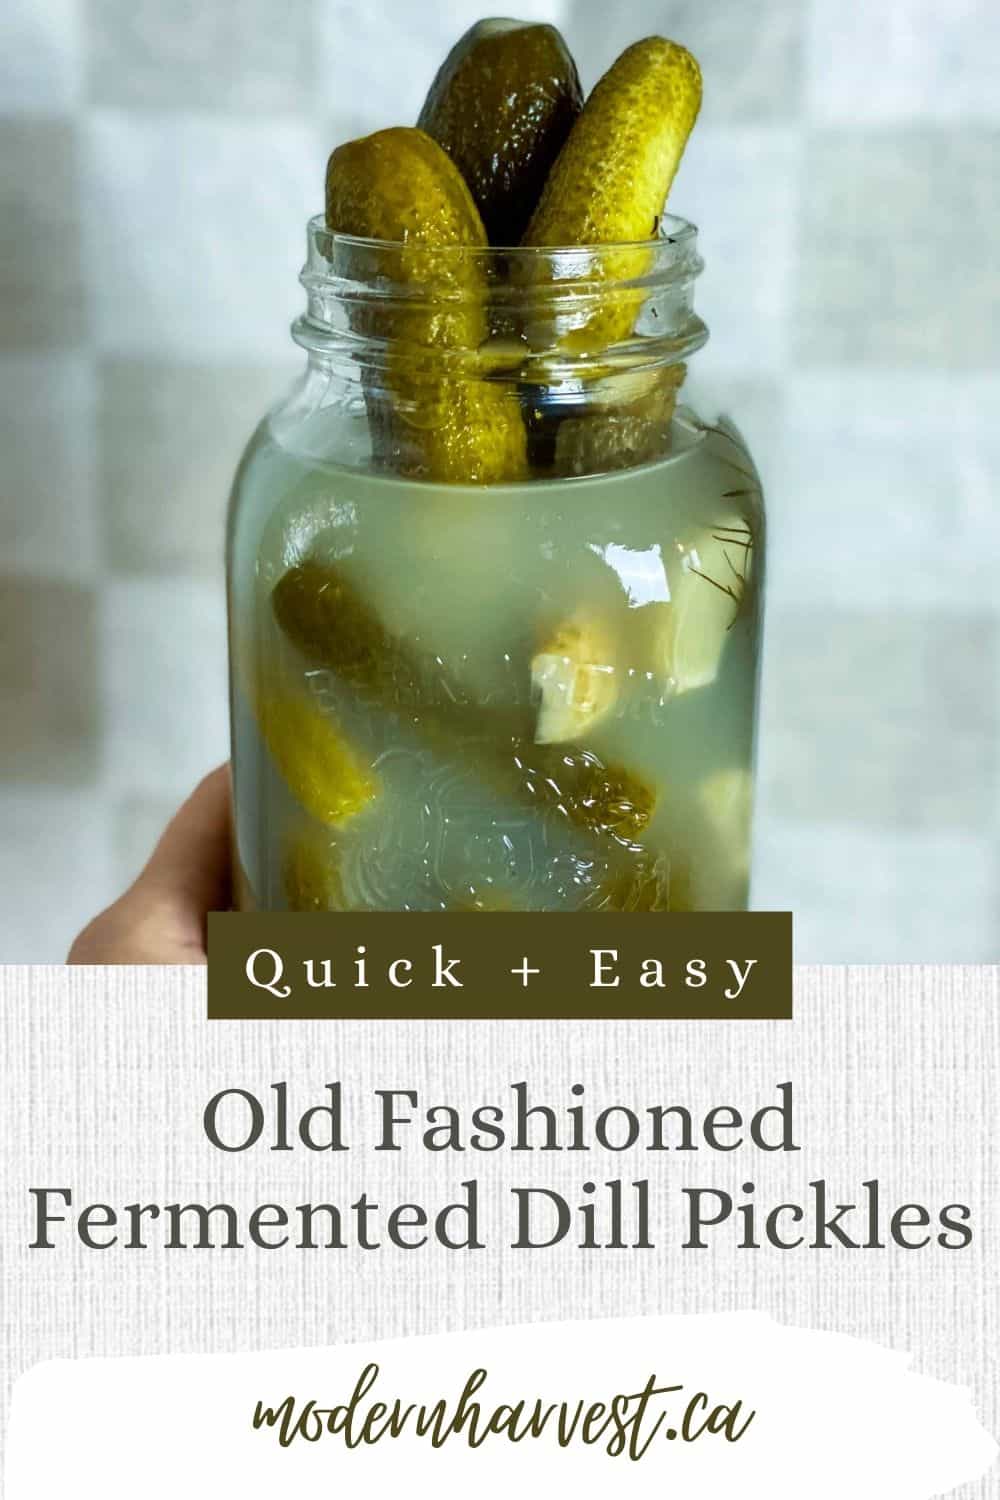
Quick + Crunchy Old Fashioned Fermented Dill Pickles (With Video)
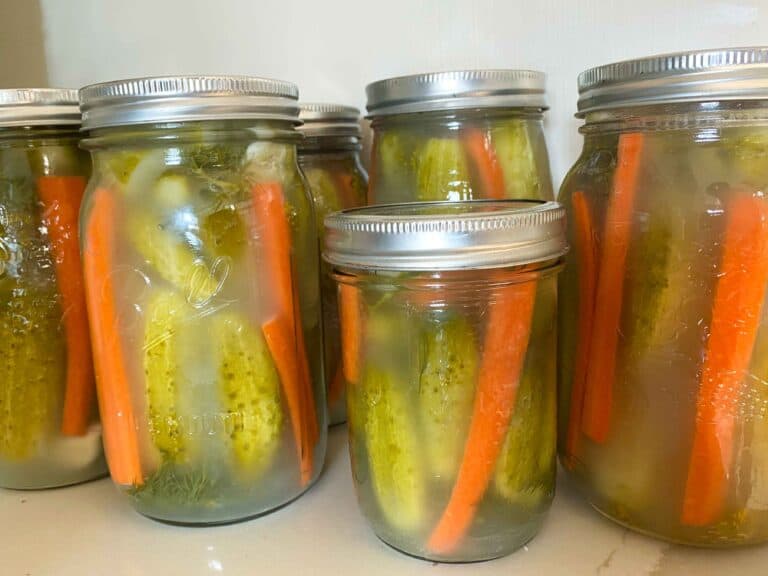
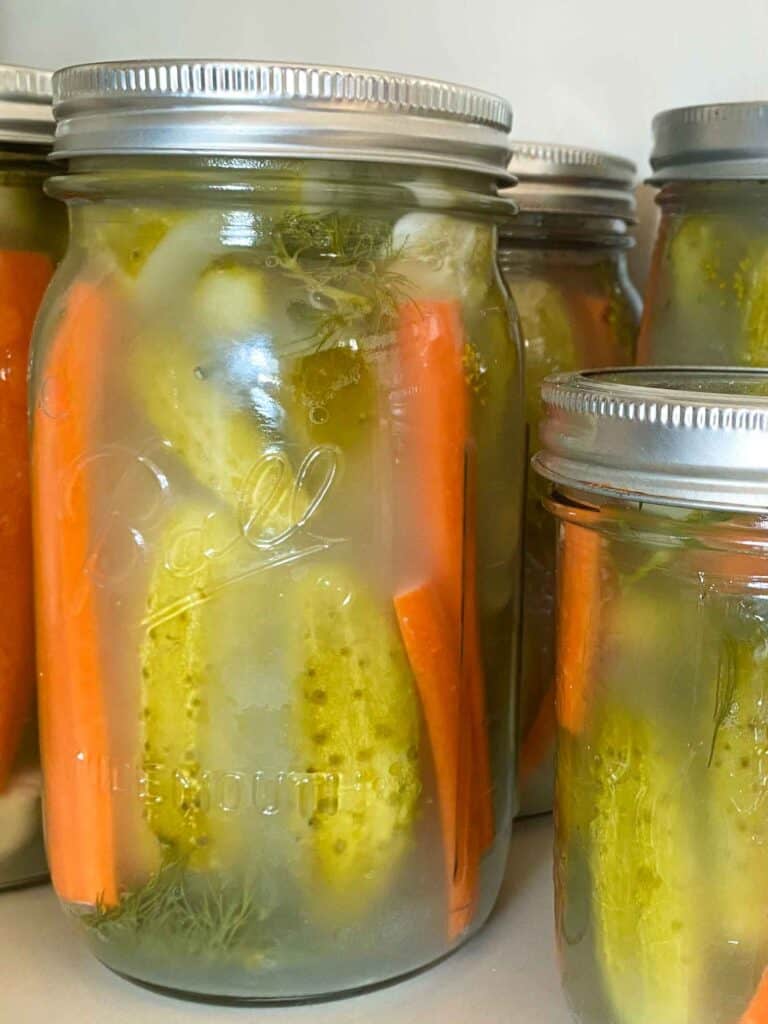
Crispy, crunchy, and tangy with the perfect amount of “fizz,” these cucumbers are lacto fermented with garlic, dill, and carrots to create the ultimate pickle recipe. Sugar, salt, vinegar and water combine to make the perfect brine for preserving these old fashioned fermented dill pickles without needing any canning equipment.
This is my favourite Eastern-European recipe passed down from our Polish Babka- hands down!
These pickles are EASY! No skimming or canning required. They will last up to a year when stored properly, allowing you to enjoy a probiotic-rich snack all year long. Don’t be afraid to sip on the pickle juice (brine)- it is super hydrating and full of beneficial probiotics.
Tips and Tricks
How to know if your lacto fermented pickles are ready to eat:
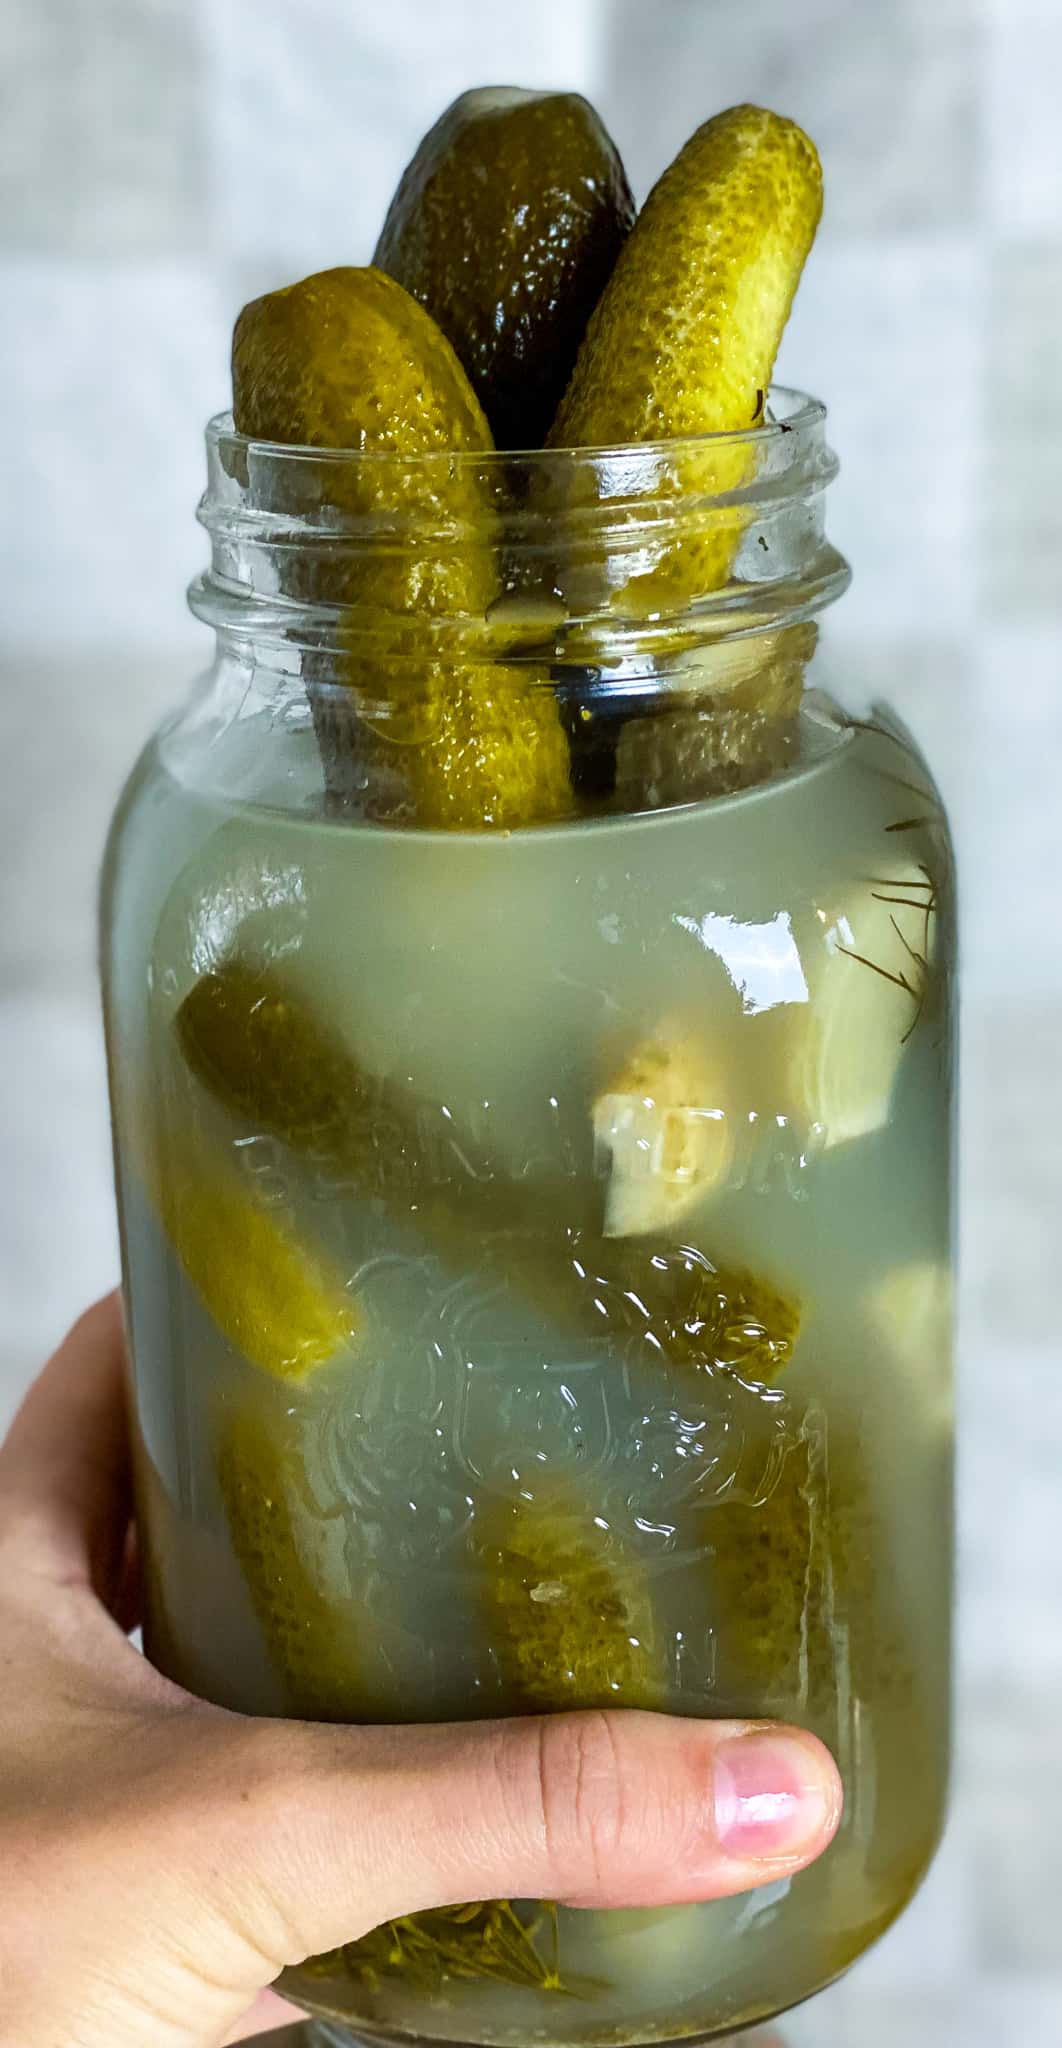
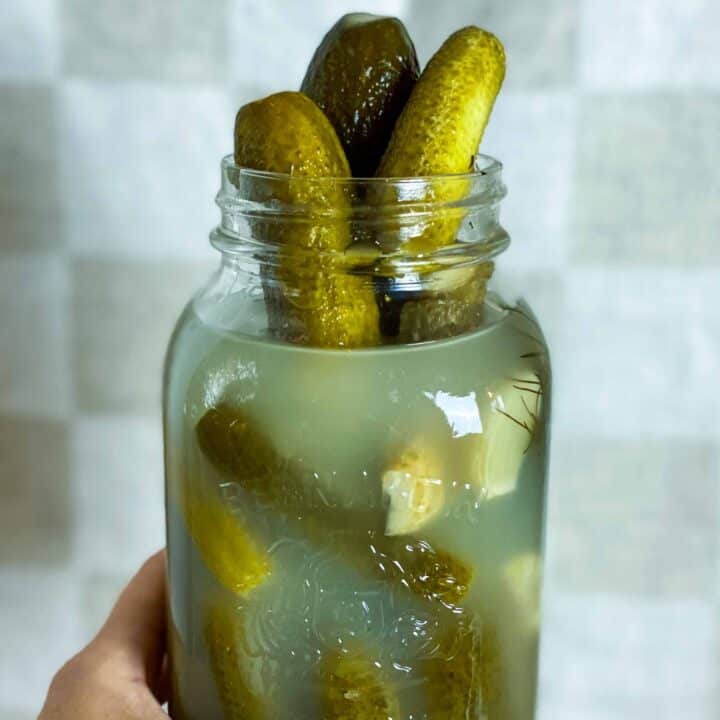
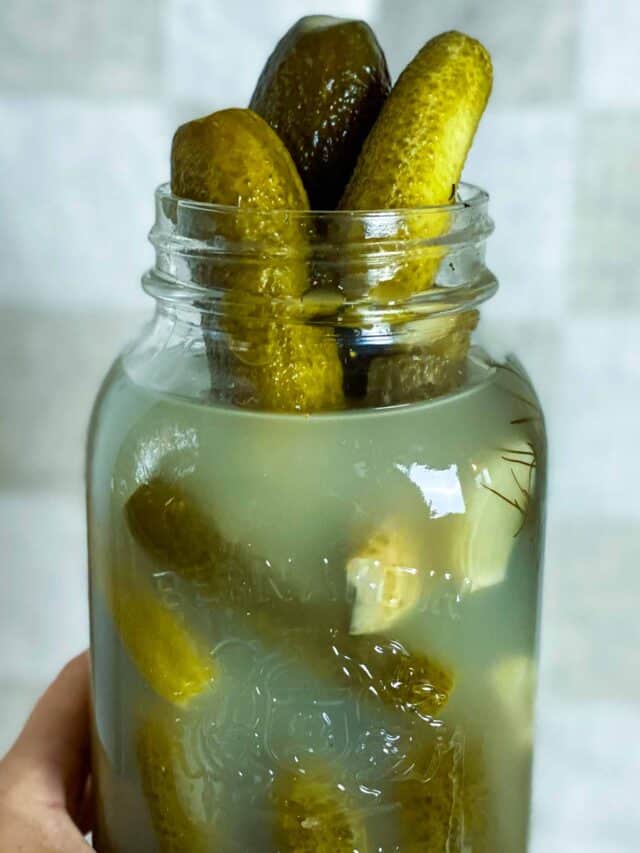
Your ferment should be sitting out on the counter in a moderately warm spot until you notice it start to get cloudy. You will be able to see the pickles getting cloudy. I leave them get quite cloudy before transferring them to my cold room. Don’t be afraid to open them up, smell, taste, feel. The flavour should be complex, tangy, sour. It should be less salty, and more sour because of the lactic acid. The pickles should be less crunchy than a fresh cucumber but not soggy (like a regular pickle crunch). They should smell like….pickles! If they smell bad, they usually are bad. Unlike other ferments- there should be no skimming required, ensure that the vegetables are all covered in brine and you are good to go!
5 ways to ensure you have crispy crunchy pickles (How-to avoid the dreaded soft soggy pickles)
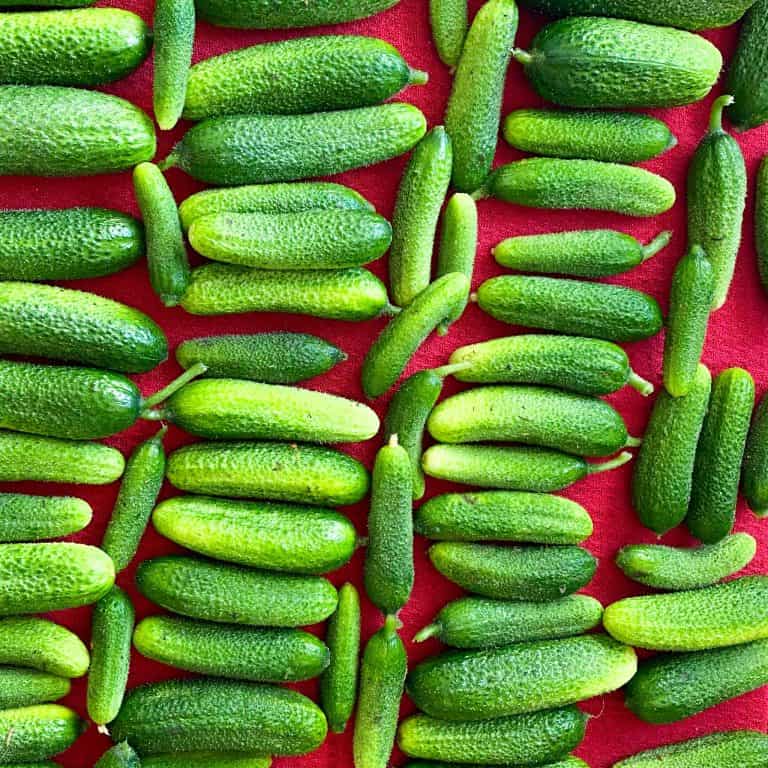
- Generally, choosing small, fresh cucumbers is best practice when making this pickle recipe along with many others. In a pinch, I have used larger cucumbers and cut them into spears without compromising too much of the crunch.
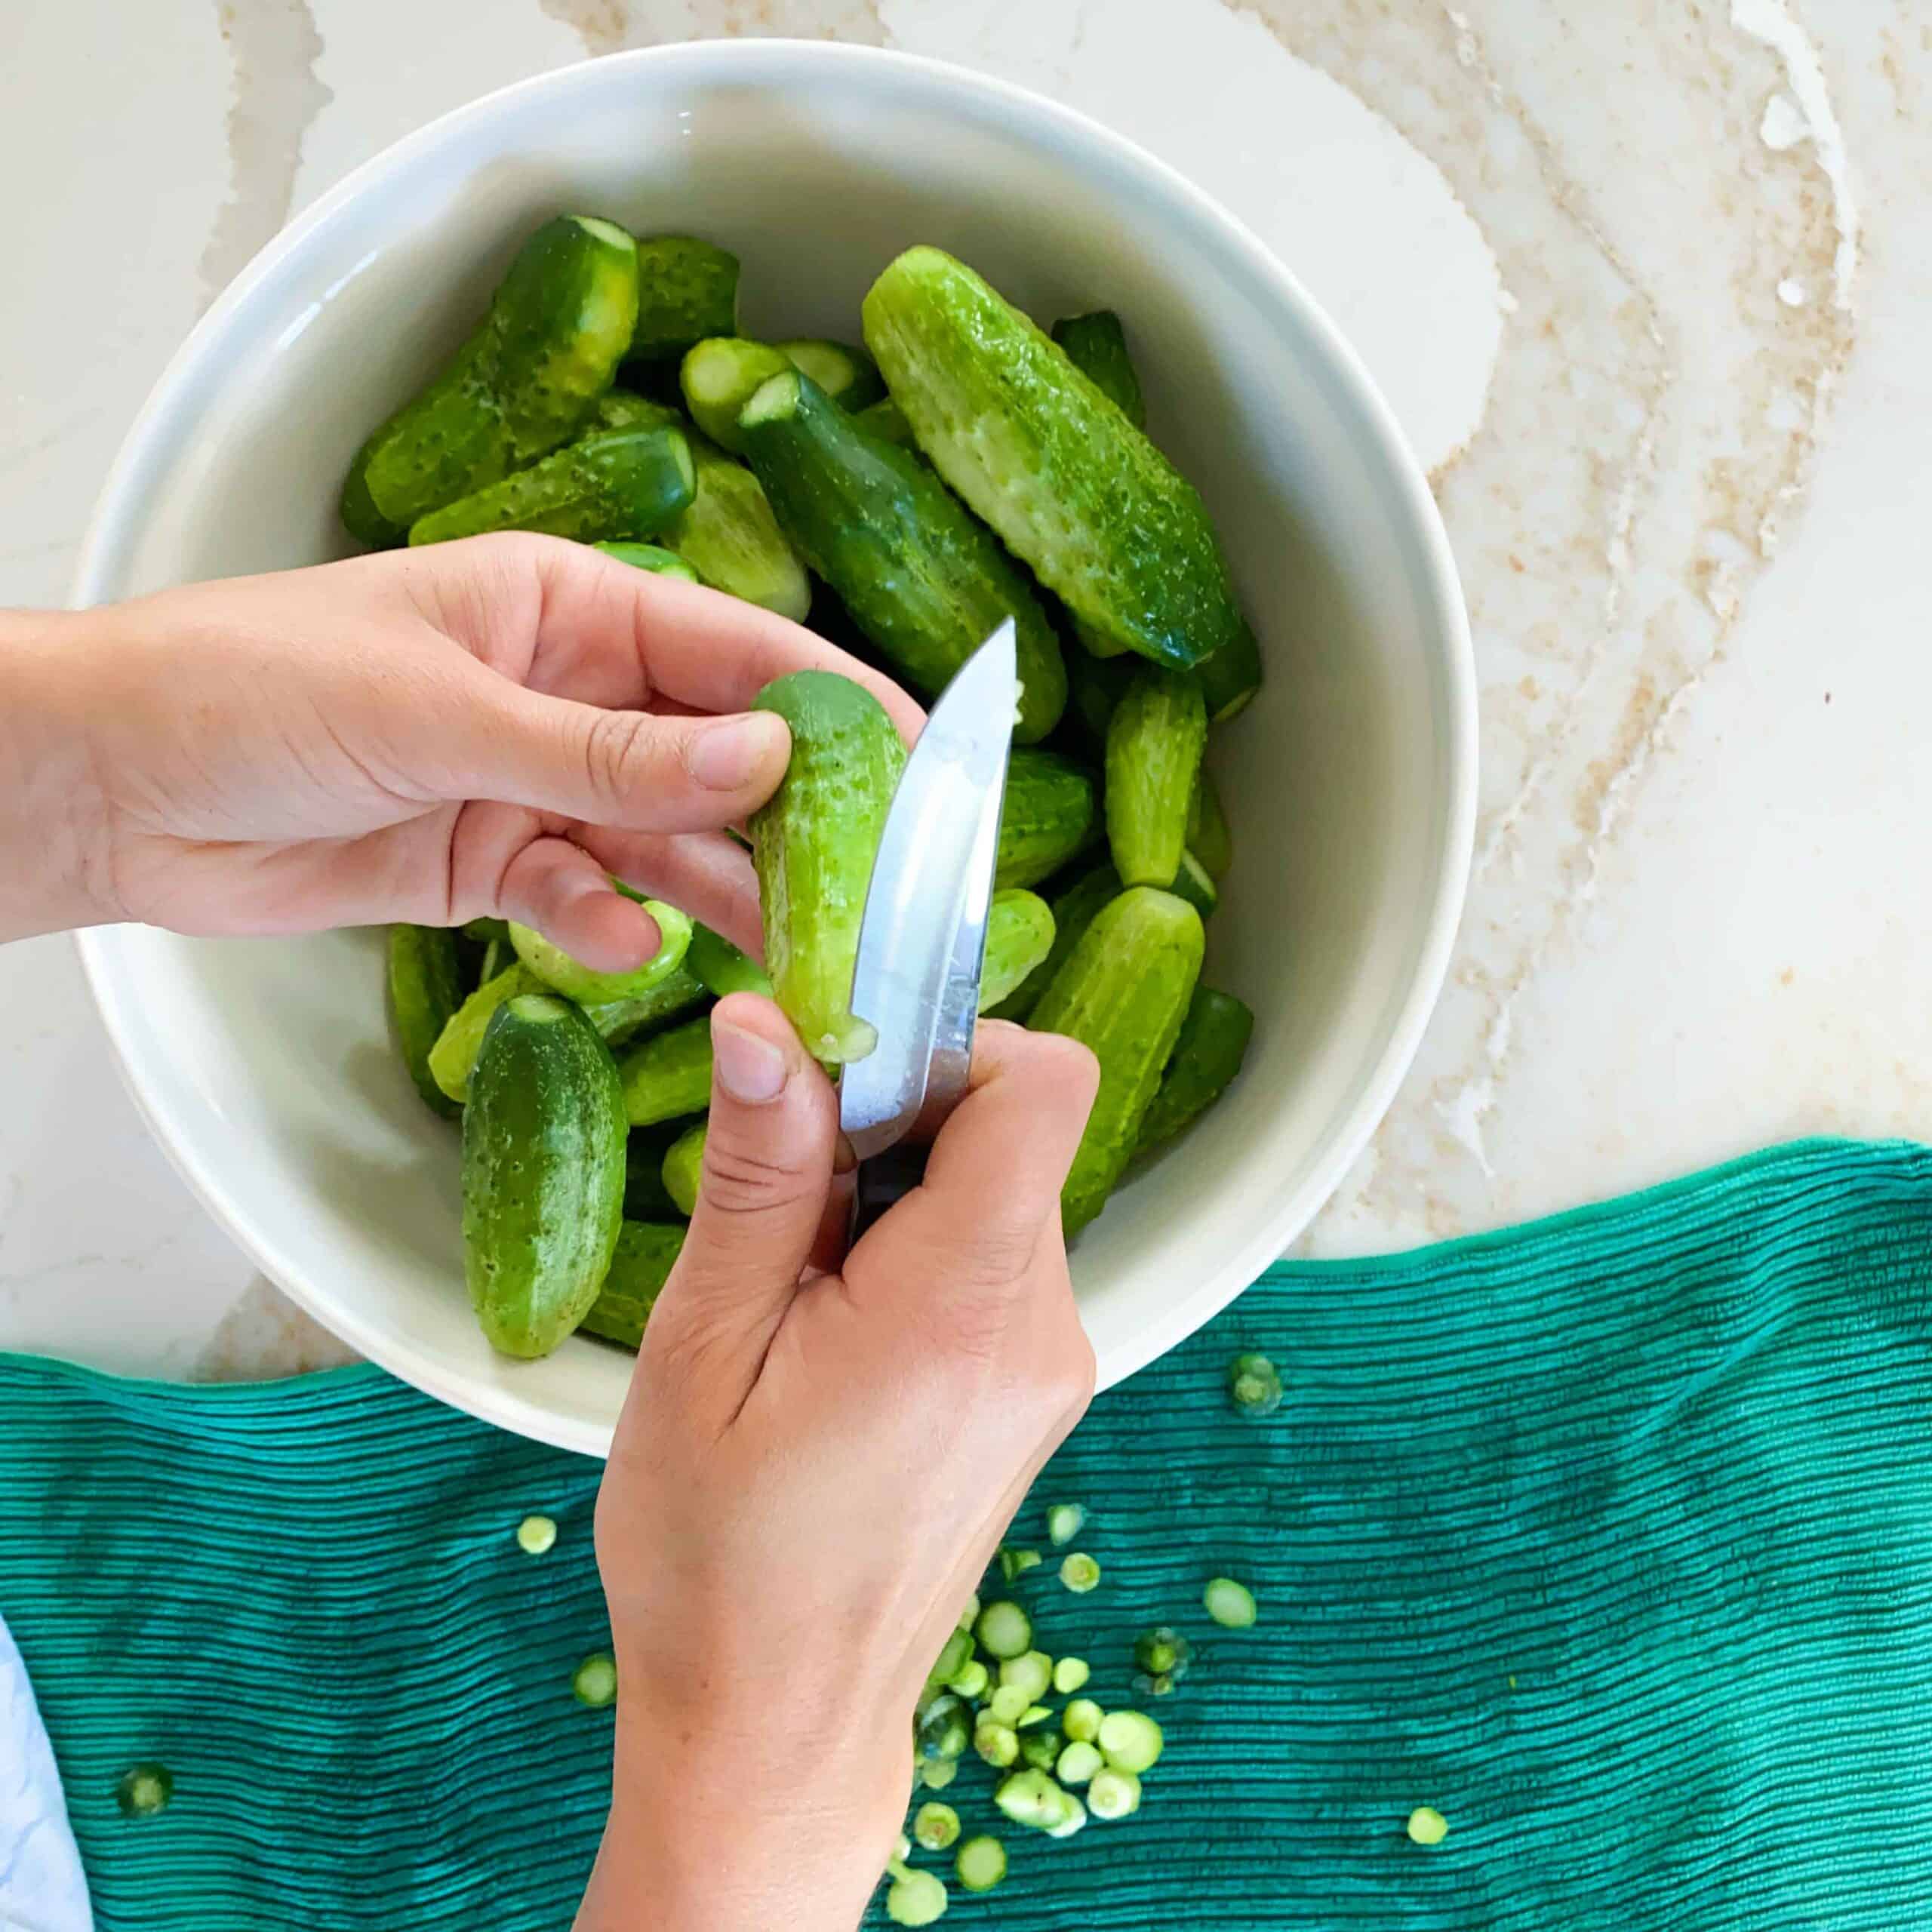
- Trim the blossom ends off of your cucumbers.
- Keep them cool while you are prepping the brine.
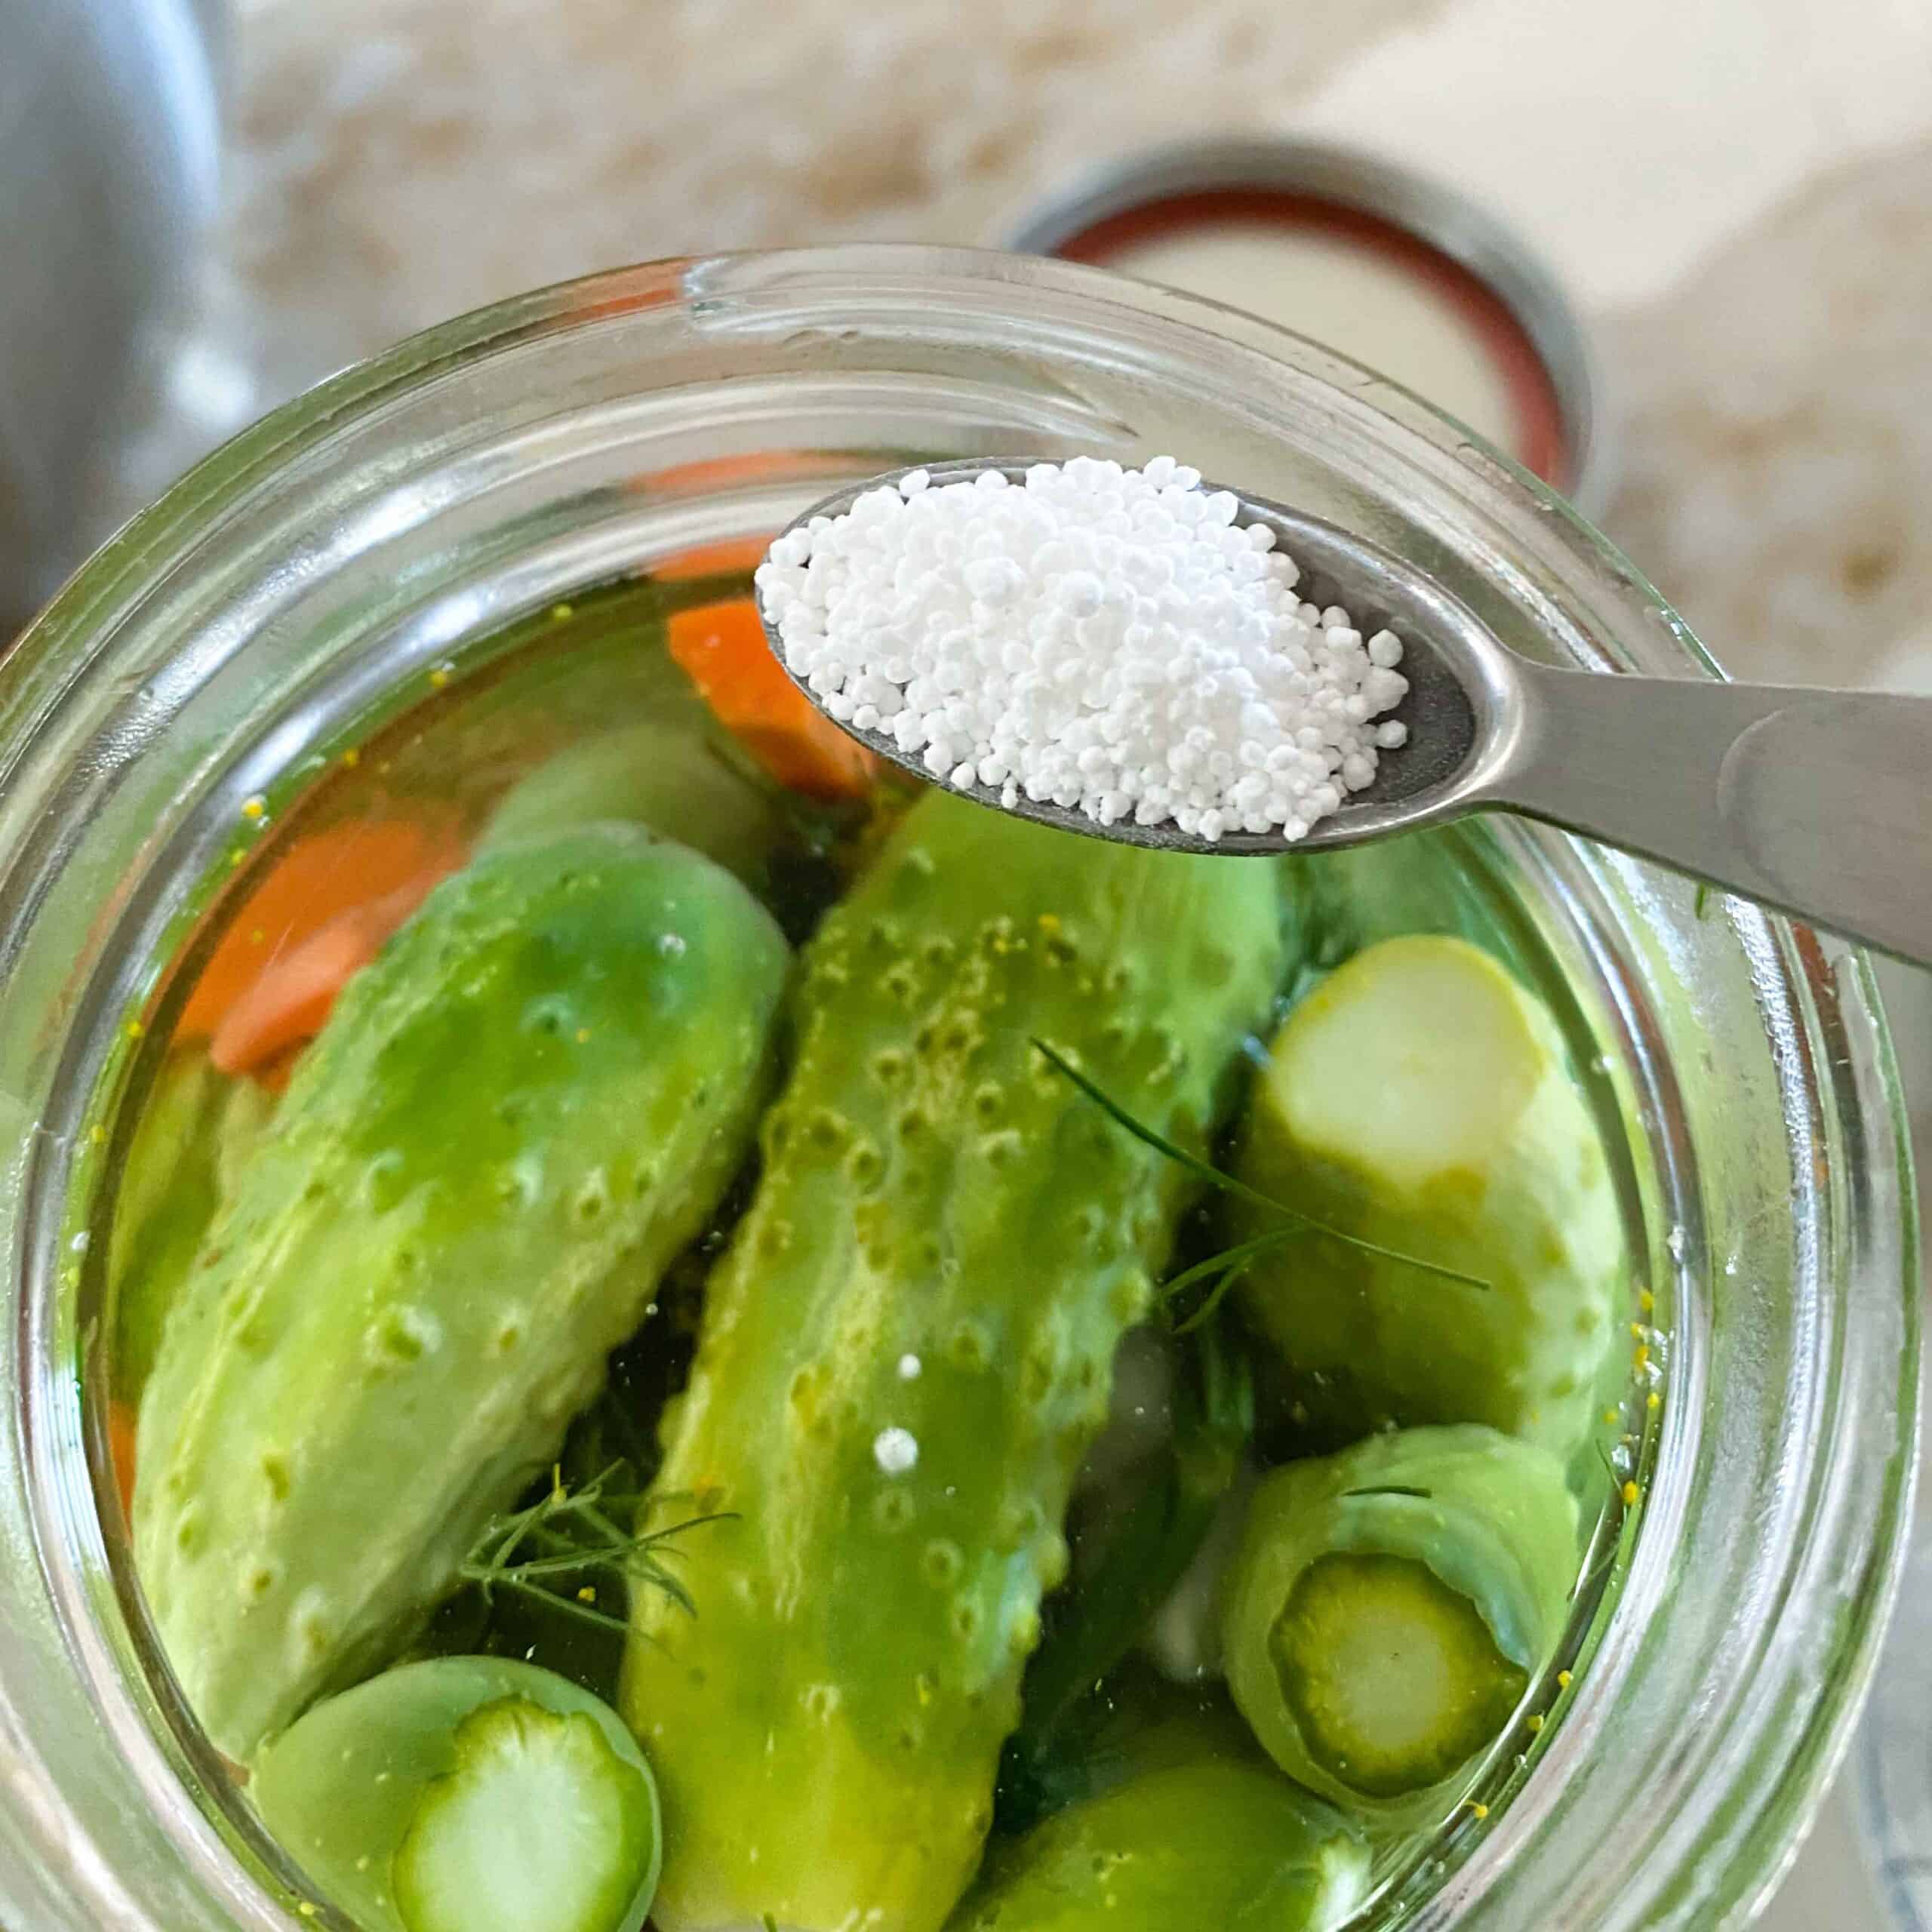
- Add Tannins (oak leaves, tea bags) or food grade calcium chloride to your pickles. Calcium chloride can easily be bought at most grocery stores around canning season. I use the Ball brand.
- Taste them often and transfer them to a cool, dark place such as the fridge when they have your desired taste and texture. Allowing them to ferment for too long in a warm place will cause them to turn to mush.
Key Ingredients
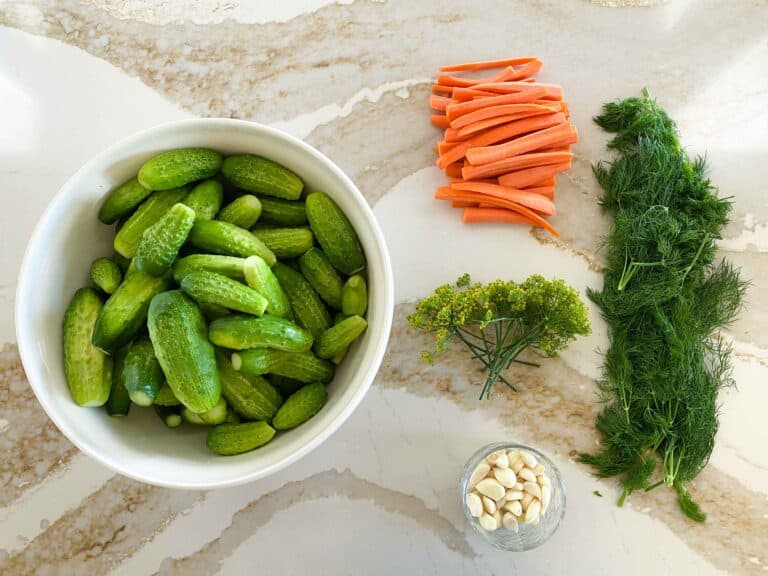
Cucumbers: Choose small, uniform pickles that are freshly harvested for best results. My favourite types to grow for pickling are Cool Breeze, and National Pickling.
Dill: Ideally you will have a combination of dill flowers and leaves. Cut the leaf sections into 2 inch lengths with the stock. I grow fern leaf dill for my pickles… It is amazing! If you don’t have access to dill flowers, simply throw in an extra sprig of dill.
Garlic: If you are like me, you can put your kids to work peeling garlic. My three and five year old boys LOVE this task! If you don’t have lemmings, or time, opt for the peeled garlic that you can buy at the grocery store.
Carrots: These are optional but I love the added crunch and colour that they add to a pickle tray.
Salt Water Brine: The brine recipe can be halved or quartered easily but the ratios are non-negotiable. Measure carefully to maintain a safe brine. You MUST use chlorine free, filtered water.
What Are the Best Cucumbers for Pickling?
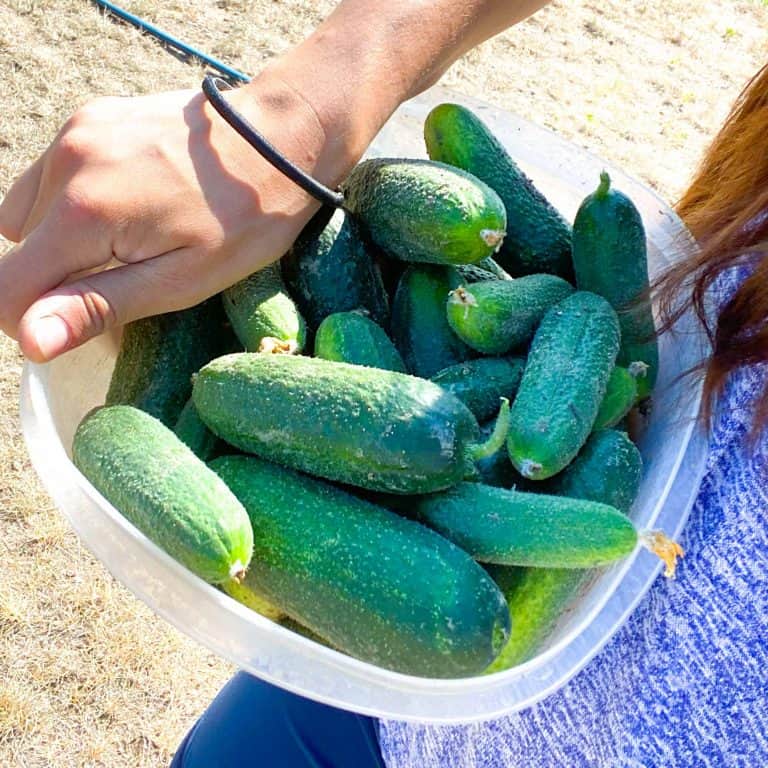
I love the “Cool Breeze,” and “National Pickling” cucumber varieties!
Cool Breeze: a great producer and produces for a long time! It starts producing early because it is all female flowers (you don’t need to rely on pollinators early in the season). It has more smooth skin than other varieties. They can be found here at TnT Seeds online.
National Pickling: a classic staple for many gardeners. This variety is vigorous and does well in a variety of growing zones. It can be grown up to 6 inches for slicing or be pickling size at around 2 inches. The seed is more common than cool breeze and can be found at almost any place you find seeds (grocery, hardware, greenhouse).
If you opt to buy your cucumbers for pickling, visit your local farmers market! Our grocery stores also stock local produce for pickling around early to mid august. Alternatively, you can reach out to different companies around you that grow and sell produce- we have a great Hutterite Colony that takes and fulfills orders for garden goodies such as cucumbers and cabbage.
Equipment:
Large stock pot for making the brine.
Jars or other food safe containers to hold your pickles!
How to Make Lacto Fermented Dill Pickles
Step 1. Gather your jars or container of choice and make sure that they are clean. Any added bacteria can spoil the batch.
Step 2. Get your produce ready! Wash your pickles (scrub off any prickles) and cut off a small amount on each end- being sure to remove the flower. Wash, peel, cut, and slice carrots. Peel garlic and cut off the bottom end. Wash your dill and cut into manageable sizes (no bigger than two inch sections of stem and leaf).


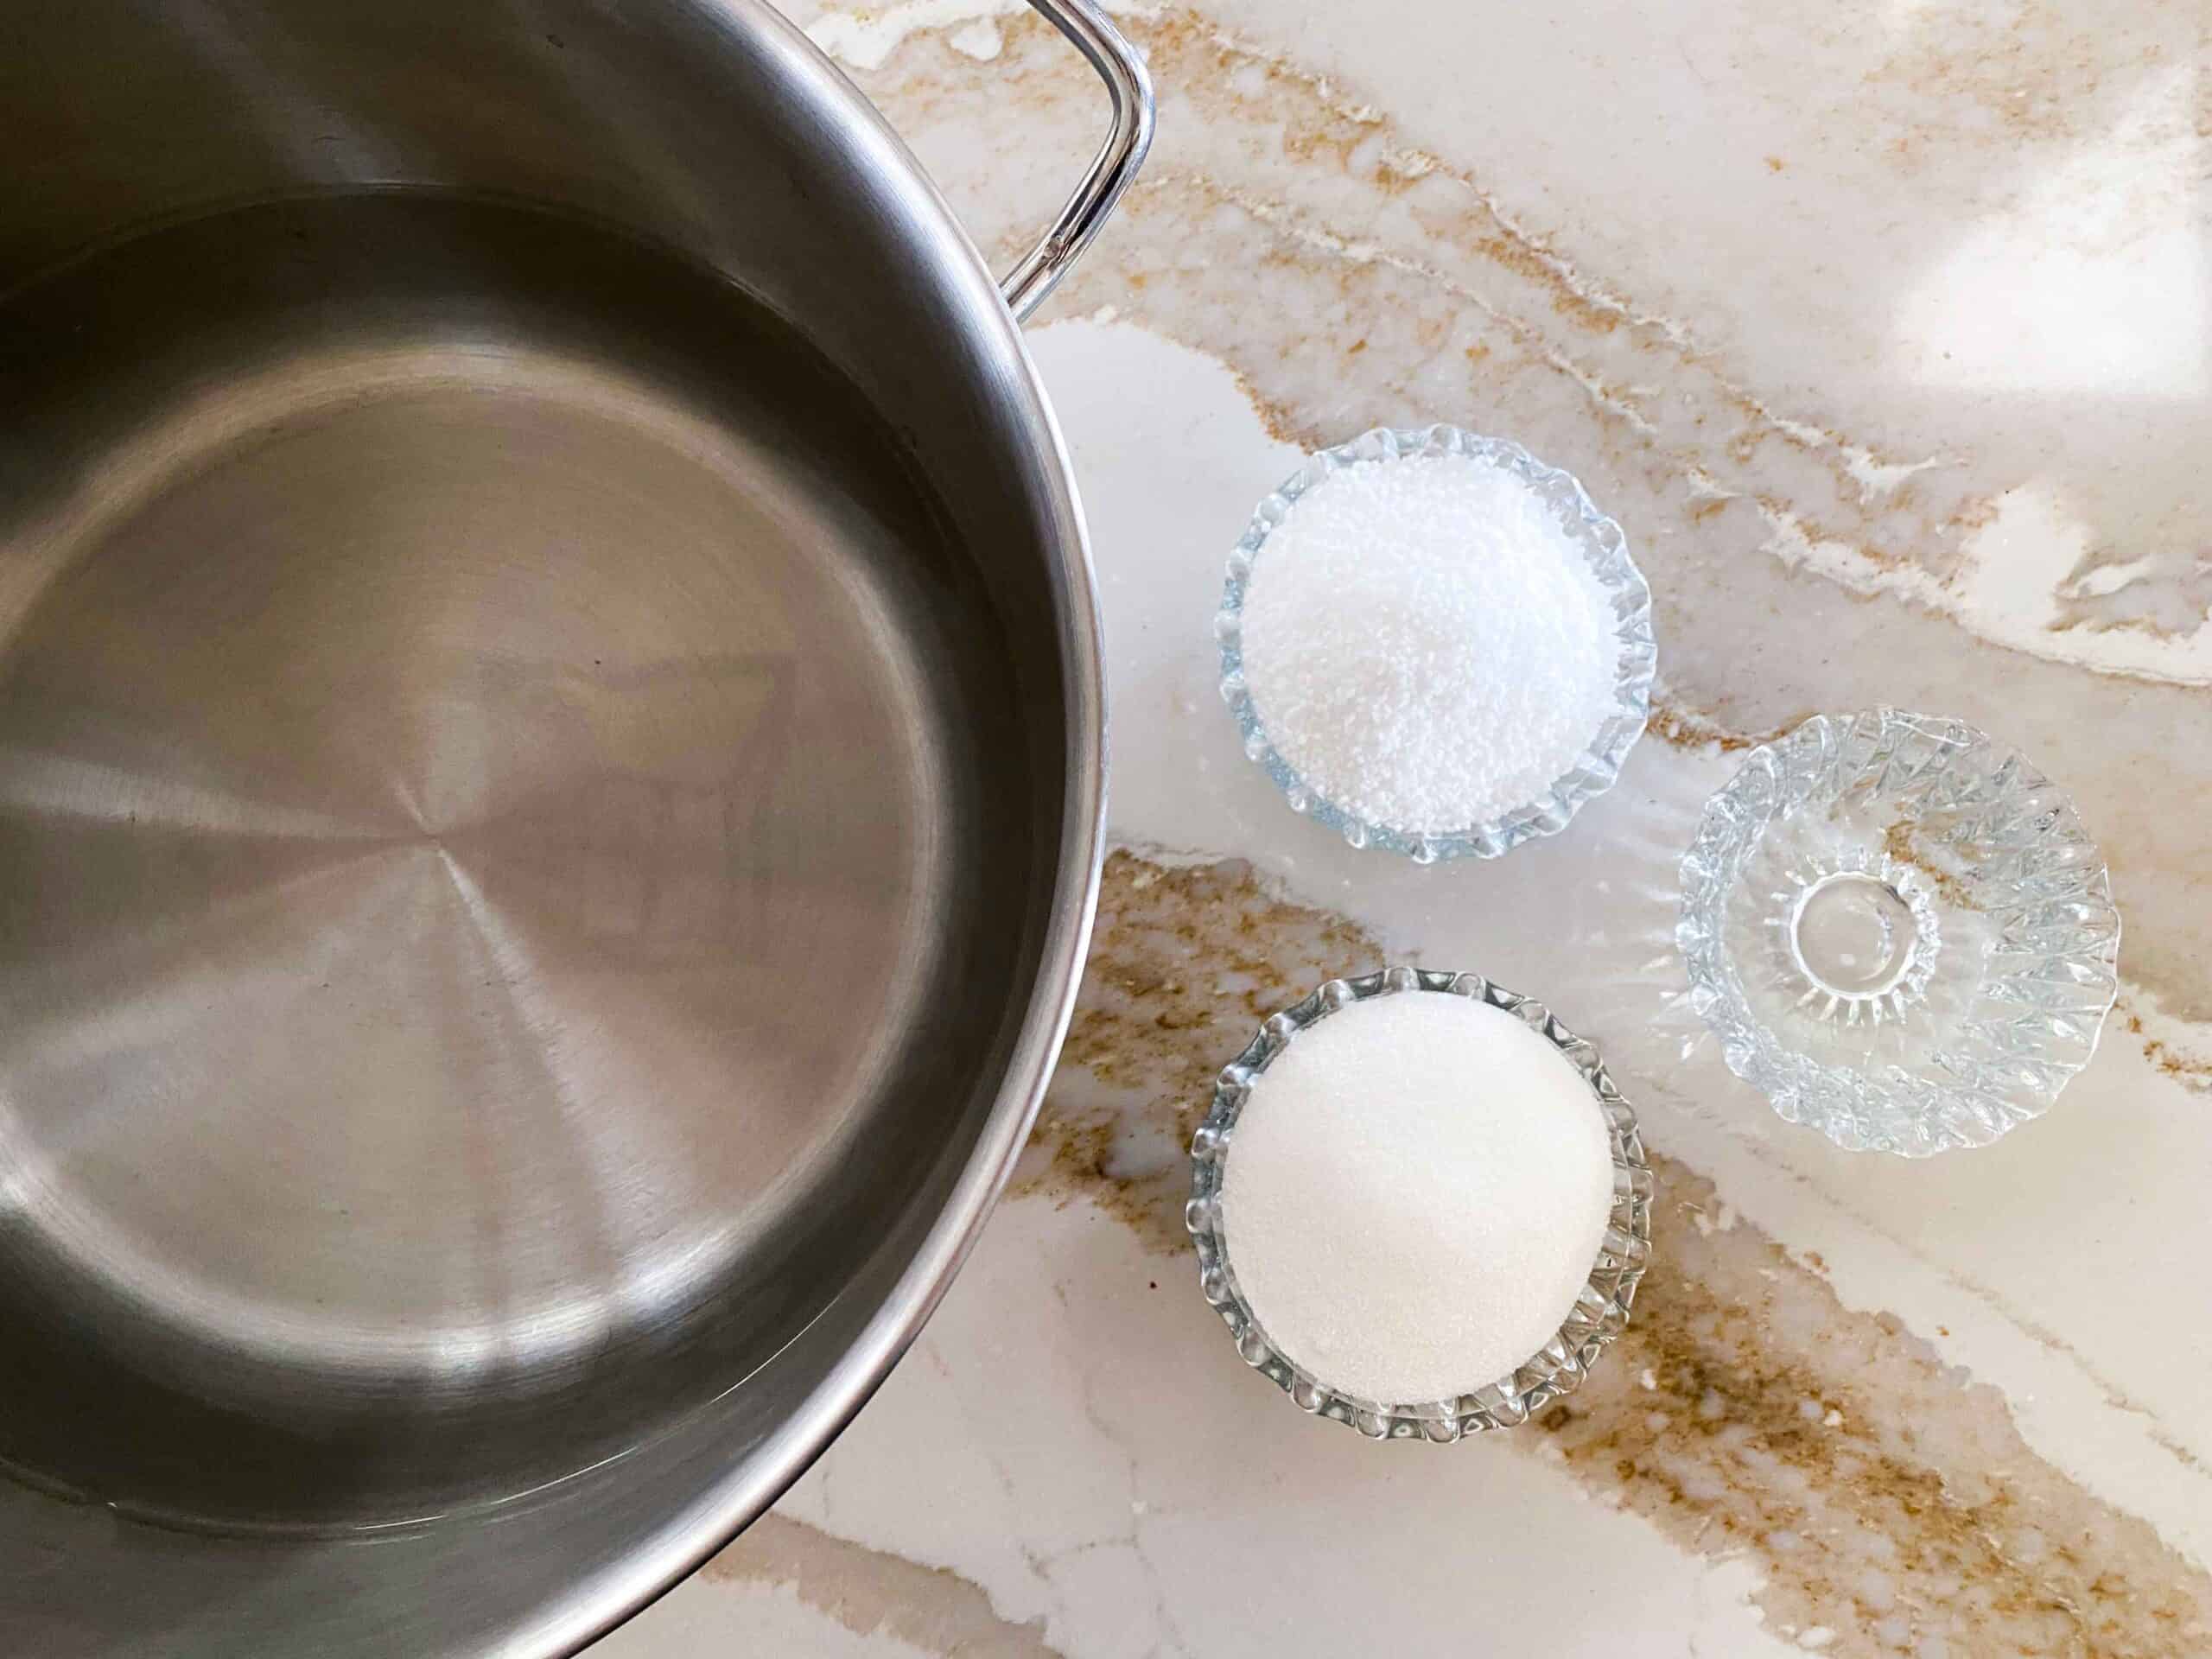
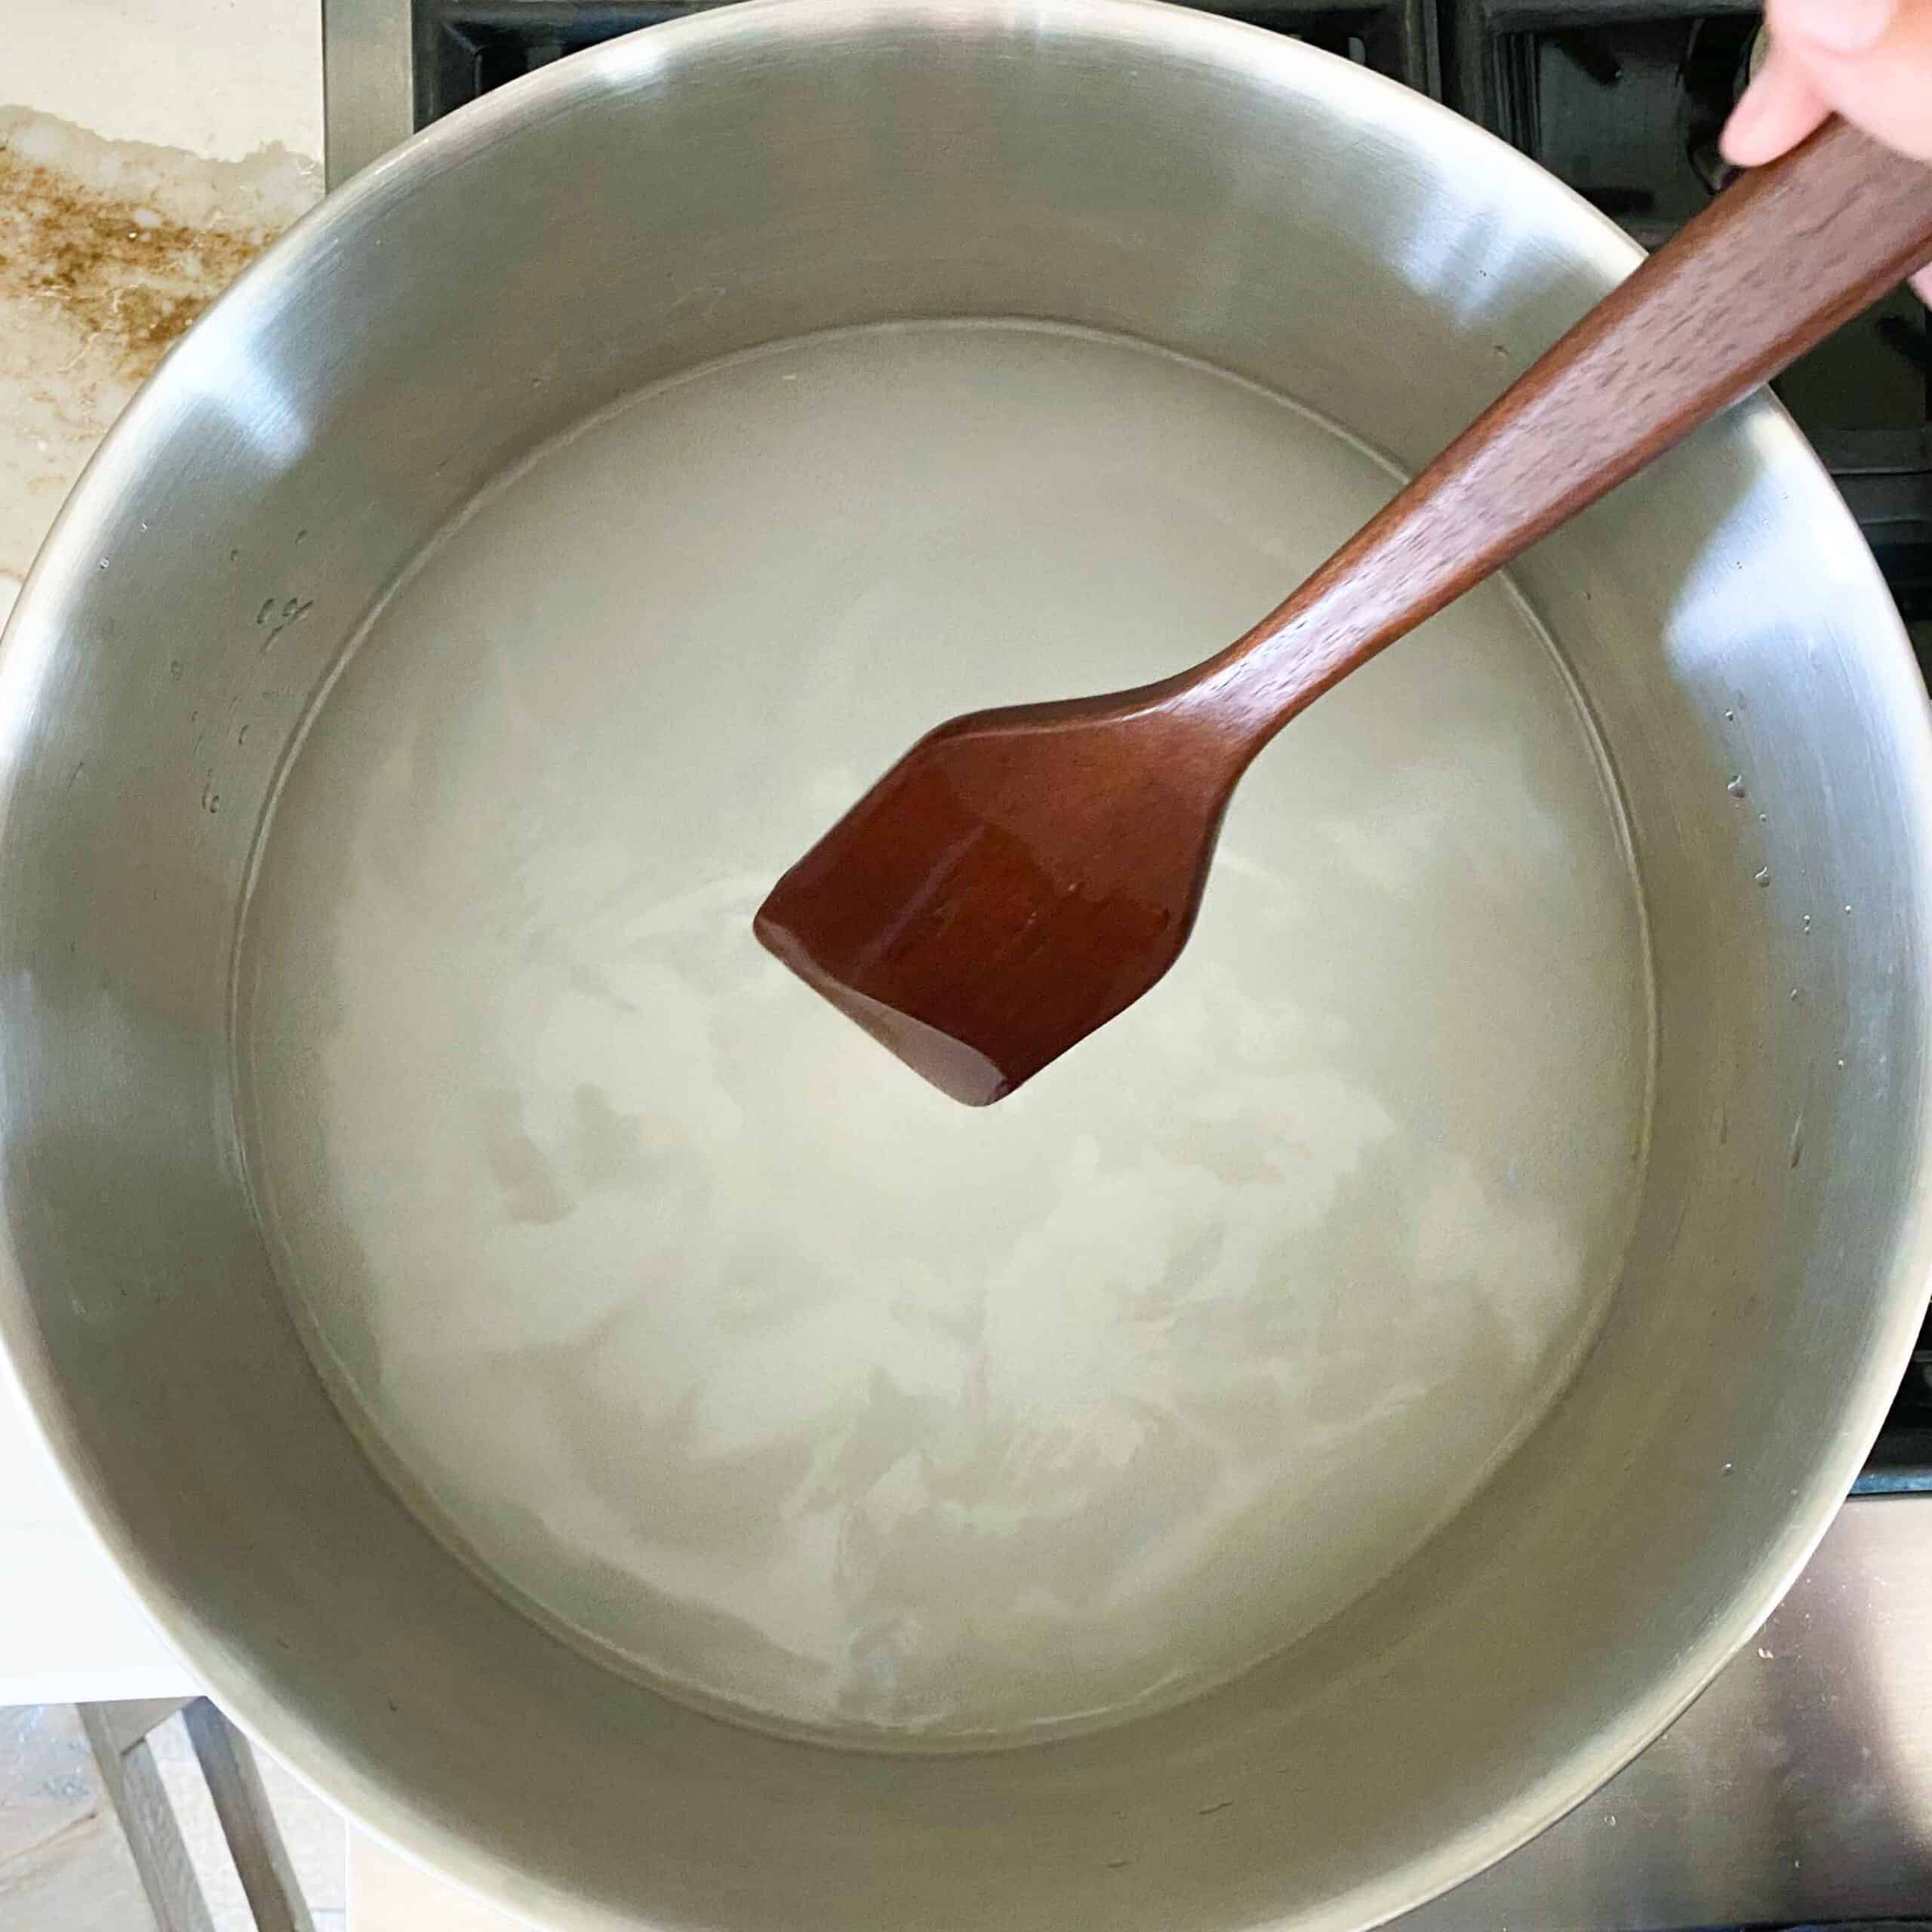
Step 3. Whip up your brine by combining sugar, salt, vinegar, and non-chlorinated water and bringing to a low simmer.
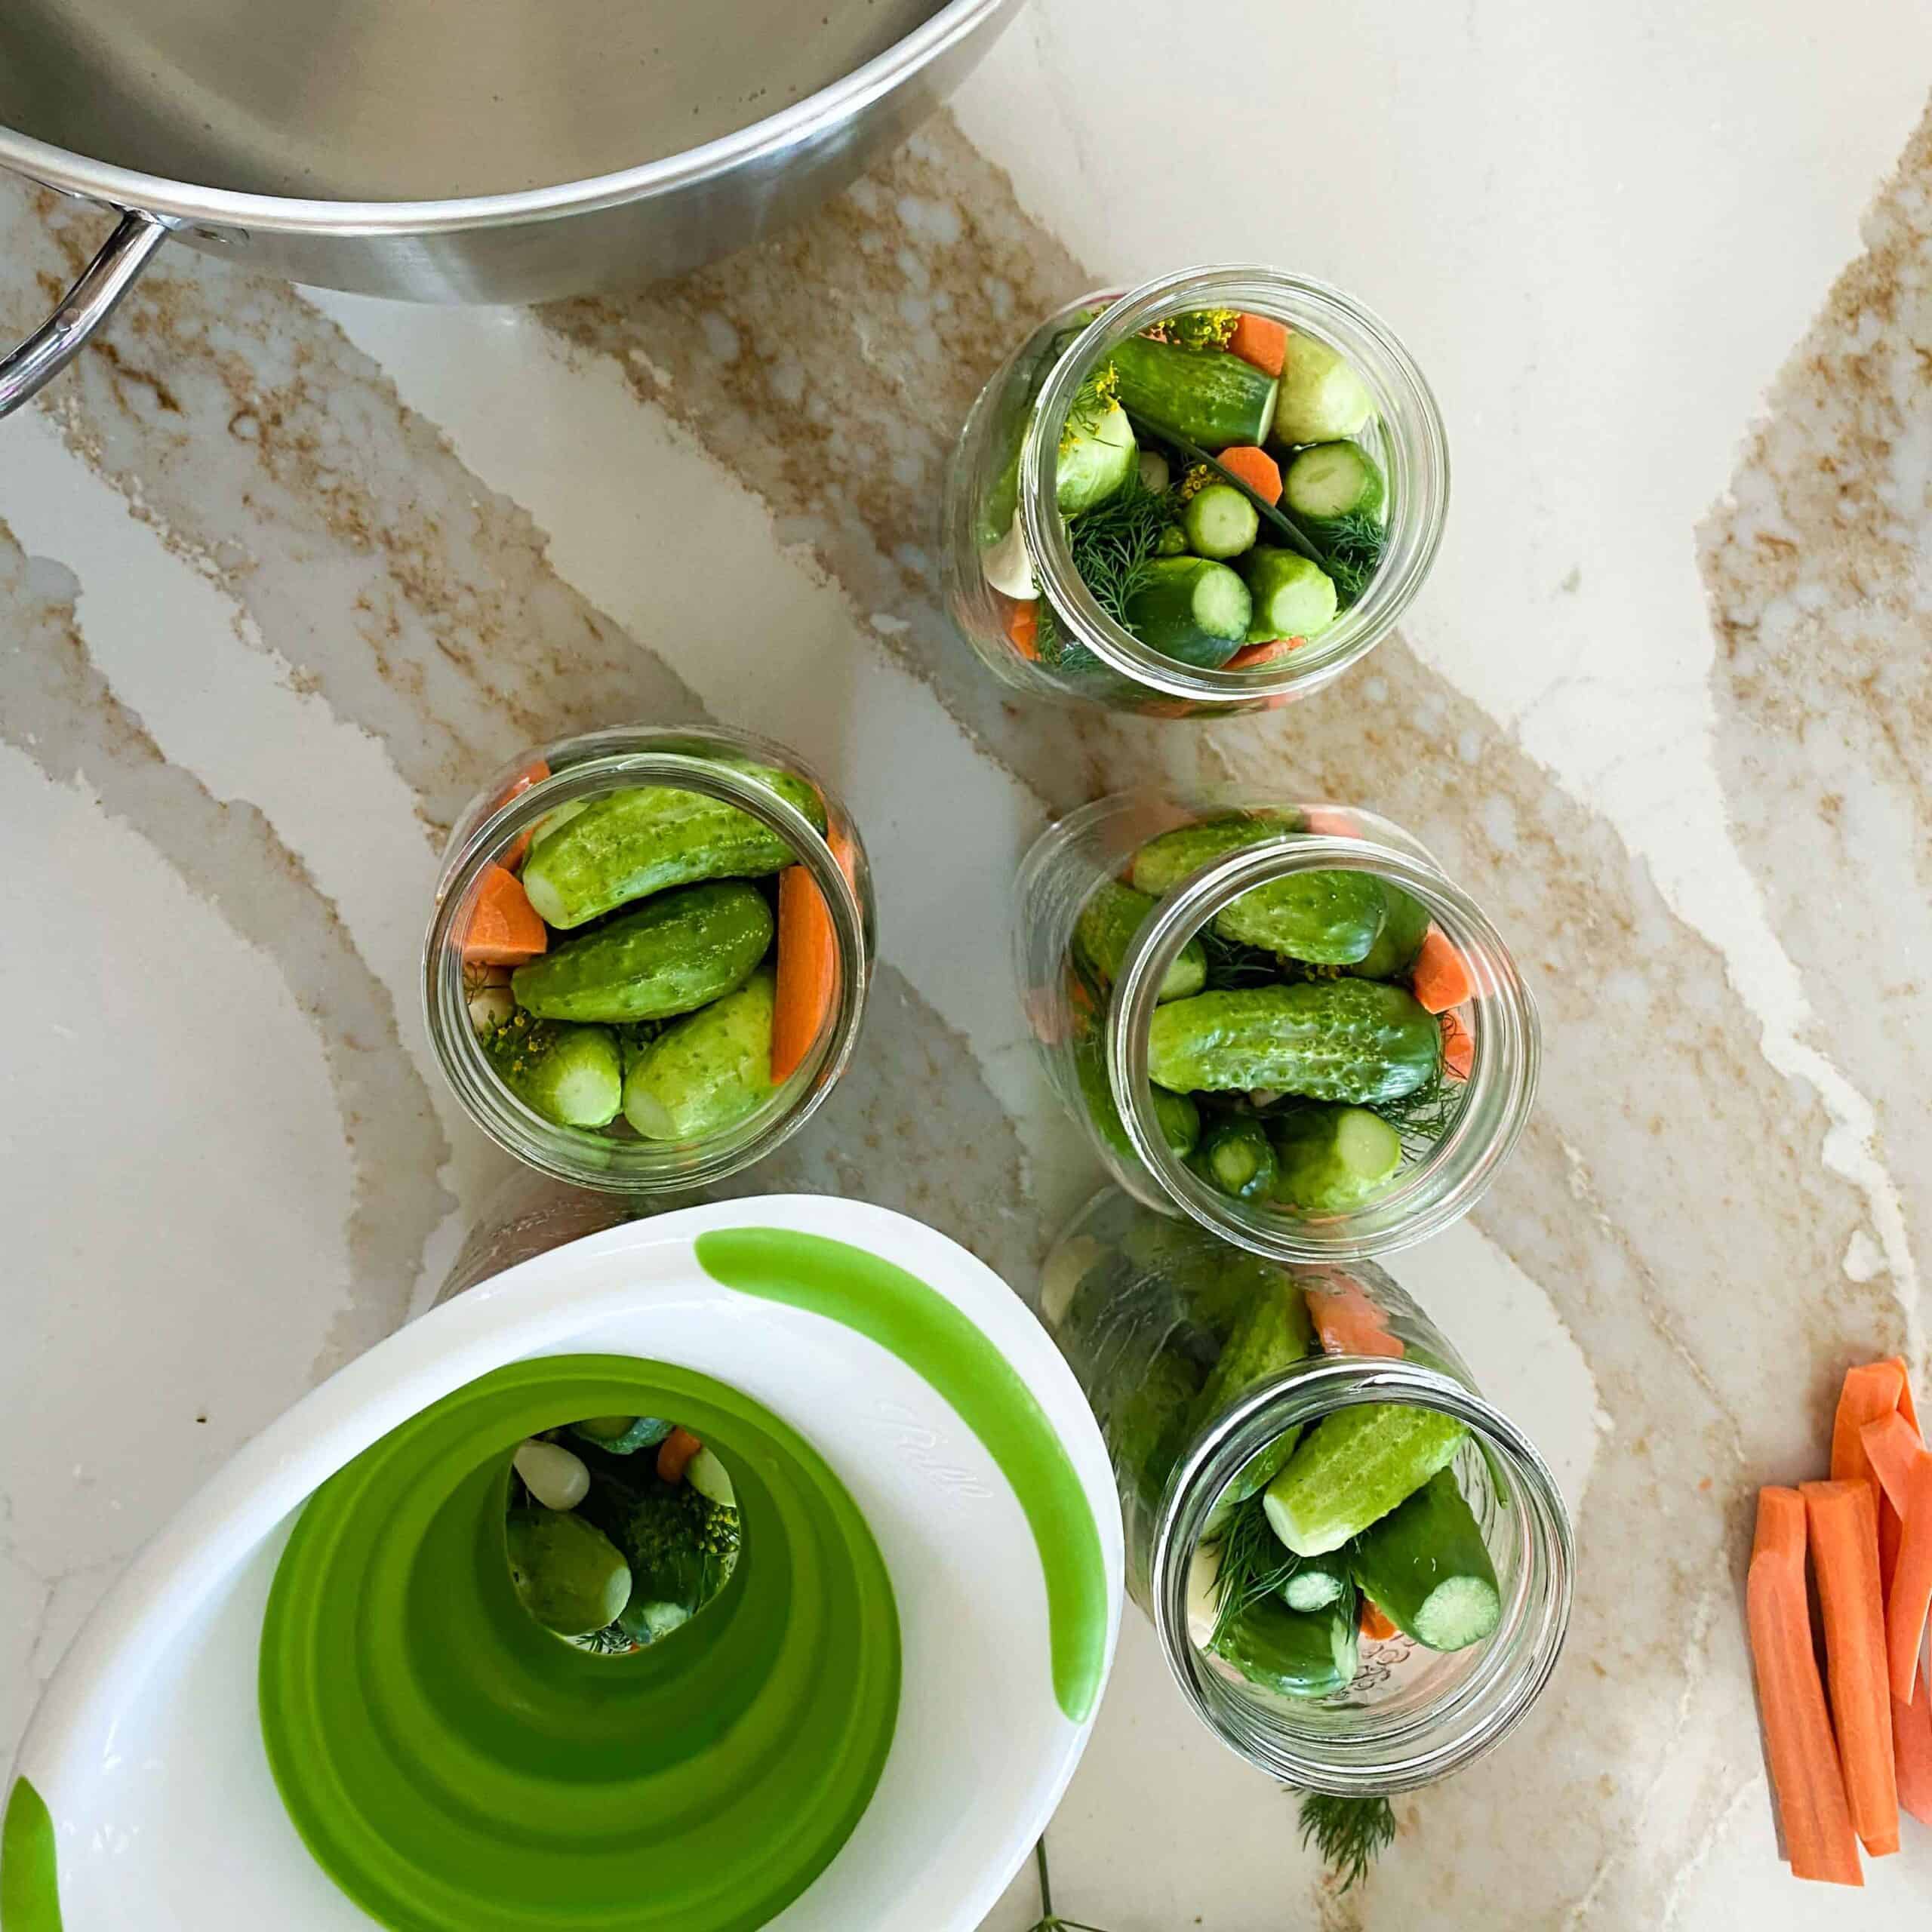
Step 4. While the brine is warming…Place 2-3 pieces of garlic a sprig of dill, and a dill flower at the bottom of each jar.
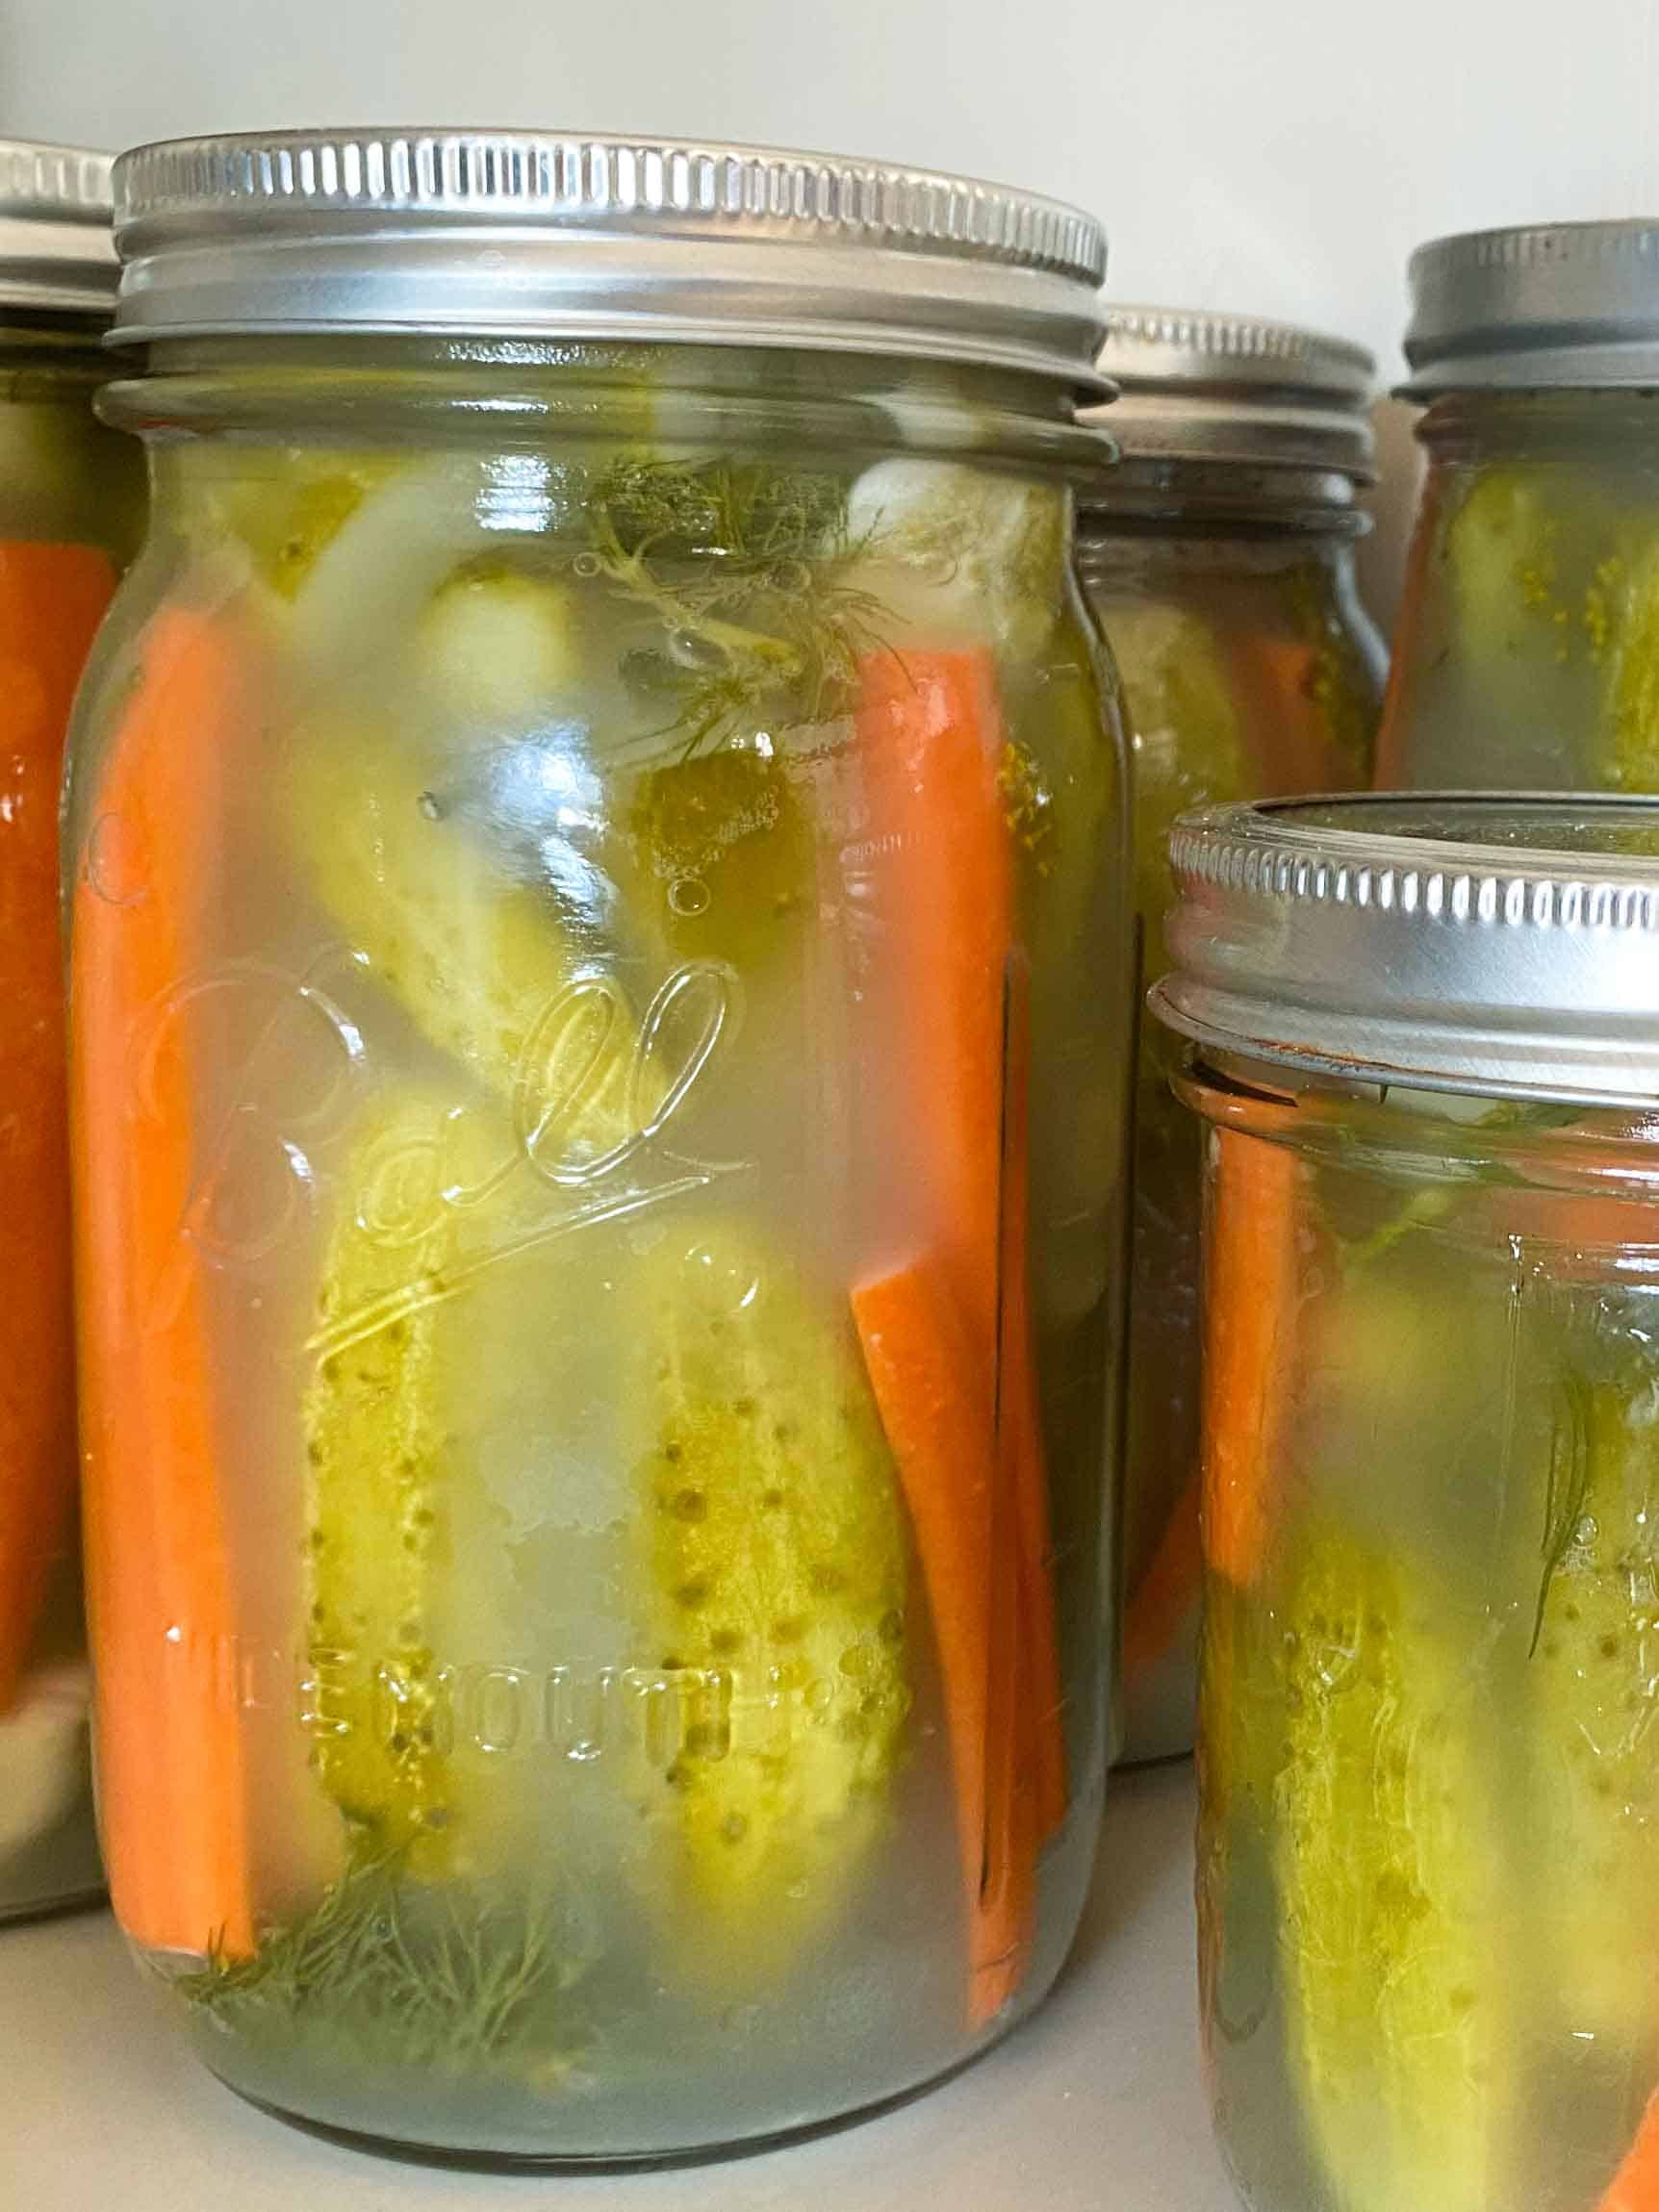
Step 5. Pack the pickles and carrots in tightly, adding another sprig of dill halfway up.
Step 6. Finish by adding two more cloves of garlic and another sprig of dill. Push it all down to make sure that it will be covered by your liquid.
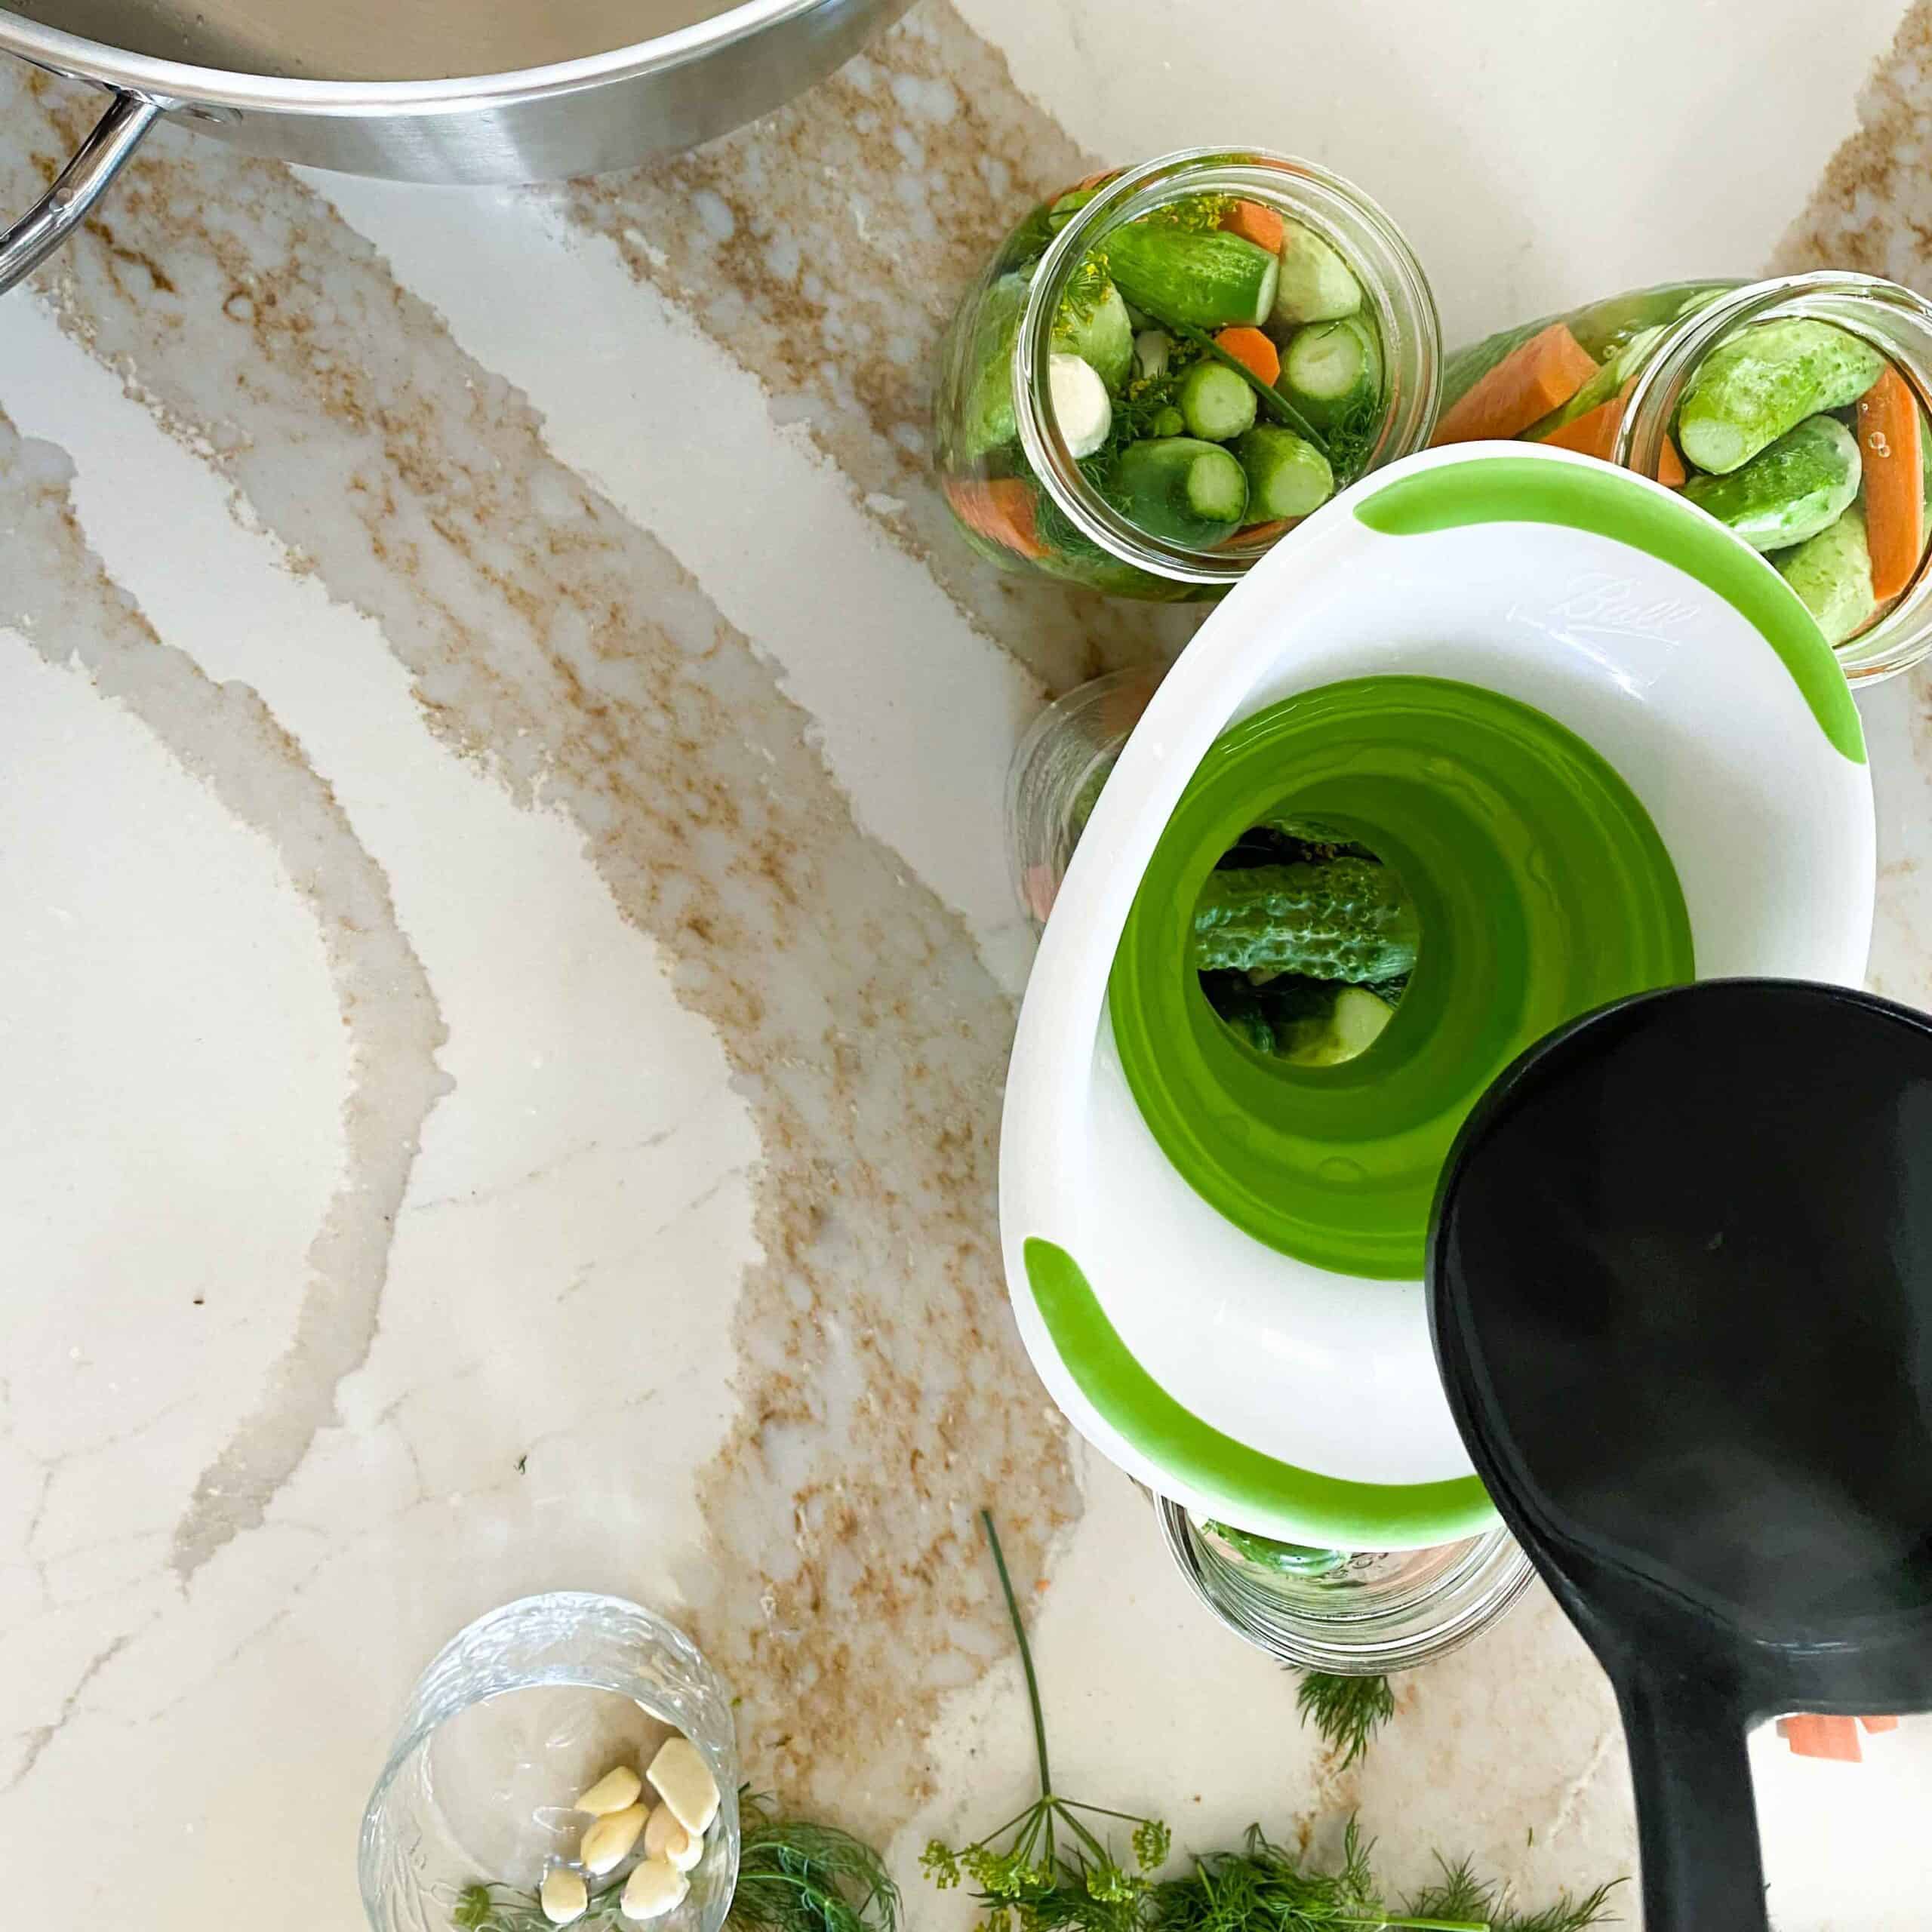
Step 7. Leave 1-1.5 inches of headroom. Fill the jar with brine, add the pickle crisp or tannins (if desired) and finger tighten the jars.
Step 8. Leave at room temperature for 1-5 days or until you get the desired tang and crunch. A good sign that the pickles are ready to be transferred to a cold room or fridge is when you see the brine getting cloudy. Remember: Taste, smell, crunch! It usually takes me about 3-5 days before I am ready to store them away. The amount of time for fermentation depends on the temperature of your house!

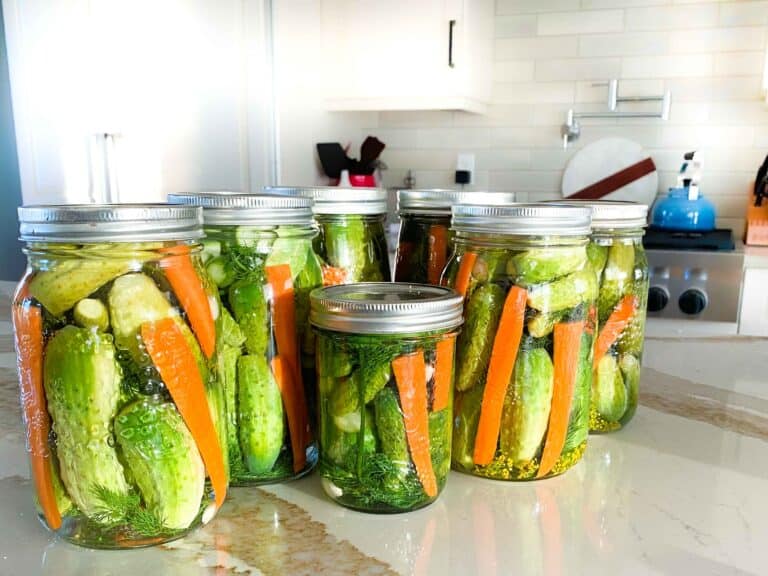
Step 9. Transfer the pickles to cold storage or the refrigerator where they can be kept for up to a year.
Batch and Storage:
How long do lacto fermented pickles last?
The jury is really out on this topic! I have enjoyed these pickles up to twelve months later and they were still delicious. After a year, the pickles start to soften and the flavour and texture degrade. The longevity of your pickles depends on the salt concentration in your brine. This brine has both salt and vinegar which helps boost its shelf life.
How to store your brined pickles:
I am lucky enough to have a cold room in my house that keeps my preserves cold enough that they don’t spoil.
If you don’t have a cold room or cellar you can use your fridge. The recipe can be halved or quartered to accommodate smaller storage capacities.
FAQ
Yes! Be sure that your kosher salt has no anti-caking agents. It also has a different grain size than kosher salt so I recommend weighing your salt to make sure that you have the proper percentage or ratio of salt for the brine.
Generally speaking, your pickles will take anywhere from 24 hours to 5 days.
No. In many cases, fermenting foods as a way of preserving is safer than traditional water bath canning because the harmful botulism bacteria cannot survive in the environment created by the salt and lactobacillus bacteria in fermentation. For more information on healthy fermentation, refer to https://www.fermentedfoodlab.com/
They are chalked full of gut healthy probiotics! According to healthline.com, “Fermented foods are rich in beneficial probiotics and have been associated with a range of health benefits — from better digestion to stronger immunity.” Visit Health Line to find out more.
Based on the health benefits of the probiotics and enzymes, as well as the strong tangy flavour of the fermented pickles… I opt for the fermented type!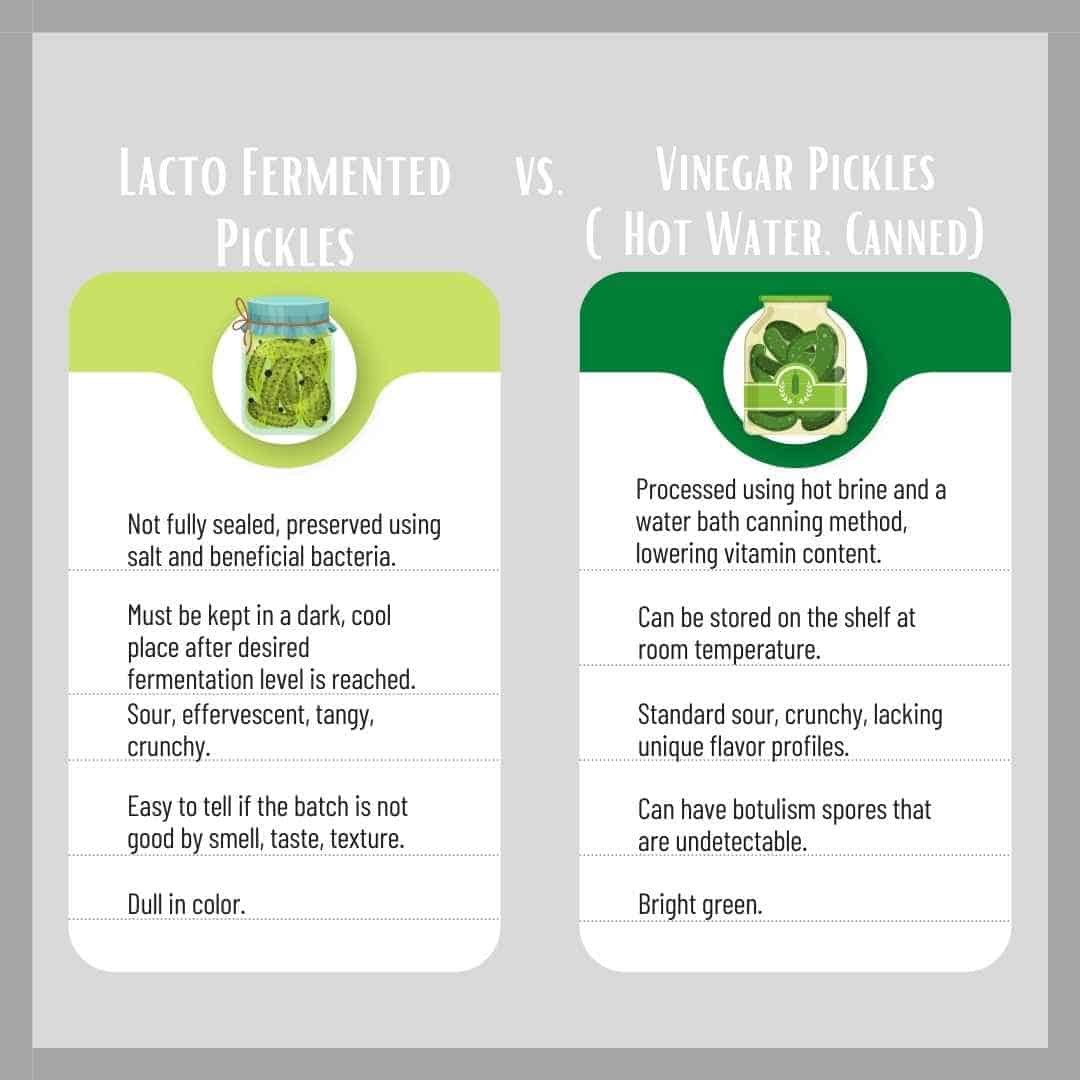
Generally it takes about two pounds of pickling cucumbers per quart (one for a pint). This recipe calls for the addition of carrots, garlic, and a good amount of dill which will use up some of the space.
Printable Recipe Card + Video
Quick + Crunchy Old Fashioned Fermented Dill Pickles
Crispy, crunchy, and tangy with the perfect amount of "fizz," these dilly lacto fermented cucumbers create the ultimate old fashioned fermented pickles.
Ingredients
- 16lb small pickling cucumbers
- 5 heads garlic, peeled
- 6 large peeled carrots optional
- 16 sprigs of dill 2 per jar. If you prefer a stronger flavour, use more!
- 8 dill flowers with large seeds optional, these intensify the flavor
- 1 cup sugar
- 1 cup pickling salt
- 1 cup vinegar pickling vinegar
- 20 cups non-chlorinated water
- 2 teaspoons calcium chloride 1/4 tsp per jar
Instructions
- Gather and clean your jars.
- Wash your pickles and cut off a small amount on each end- being sure to remove the flower. Wash, peel, cut, and slice carrots. Peel garlic and cut off the bottom end. Wash your dill and cut into manageable sizes (no bigger than two inch sections of stem and leaf).
- Whip up your brine by combining sugar, salt, vinegar, and non-chlorinated water and bringing to a low simmer.
- While the brine is warming, place 2-3 pieces of garlic a sprig of dill, and a dill flower at the bottom of each jar.
- Pack the pickles and carrots in tightly, adding another sprig of dill halfway up.
- Finish by adding two more cloves of garlic and another sprig of dill. Push it all down to make sure that it will be covered by your liquid.
- Leave 1-1.5 inches of headroom. Fill the jar with brine and finger tighten the jars.
- Leave at room temperature for 1-5 days or until you get the desired tang and crunch. A good sign that the pickles are ready to be transferred to a cold room or fridge is when you see the brine getting cloudy. Remember: Taste, smell, crunch! It usually takes me about 3-5 days before I am ready to stow them away. The amount of time for fermentation depends on the temperature of your house!
- Transfer the pickles to cold storage or the refrigerator where they can be kept for up to a year.
Notes
·Add in a jalapeno or other pepper to each jar to spice up your pickles!
·The recipe yield is approximate depending on how tightly you are packing the produce.
·2lb of pickling cucumbers are needed per quart
·Slice them up and add them to your favourite Dill Pickle Soup with Shredded Chicken
Nutrition Information:
Yield: 72 Serving Size: 1Amount Per Serving: Calories: 16Total Fat: 0gSaturated Fat: 0gTrans Fat: 0gUnsaturated Fat: 0gCholesterol: 0mgSodium: 13mgCarbohydrates: 4gFiber: 0gSugar: 3gProtein: 0g
More Recipes to check out.
Dill Pickle Soup with Shredded Chicken- Zupa Ogórkowa
Pin It!
Web Story
I make these every year! So good. Thanks for sharing your Babka’s recipe- I love that it is a large batch recipe for those who want to make more than one jar at a time!!
Can I use Celtic sea salt for the brine
Hey Eliza,
I don’t have experience using Celtic sea salt in my ferments. As long as it doesn’t have any other anti caking agents or additives like iodine it should be fine! Make sure that it dissolves completely in the brine (some sea salt is larger and takes longer to dissolve). After doing a little poking around, Celtic sea salt seems to be a great salt to use in ferments. Check out this article for more information.
Tried these pickles loved the crispiness and tangy flavour. Will be making them this way again in the future.
I know I’m biased because you gift these to me, but I think they’re the best pickles I’ve ever had! So glad you’re sharing this unique recipe, finally! Now I’ll be able to make my own!
Yes! I can’t wait to refill my shelves with these come harvest season.
I can vouch for the goodness of these pickles that makes everyone ask for more as I received this recipe 30 years ago from Babka and have been making them ever since. And like Kate mentions, my husband often satisfies a craving with a couple ounces in a glass. Soo good!
Agreed- Its amazing how satisfying a shot or two of pickle juice can be.
Hi! Just a quick question. This recipe has you pour the brine in hot from how I read that? I did this last night and my jar sealed. Now I’m wondering A) wouldn’t a hot brine kill all the bacteria including the ones I’m trying to ferment with and B) if not do I leave the lid sealed and let the ferment pop it off or pop it now so it can burn itself.
Hey there!
Great questions, the lactofermentation will take place as the jars sit. Even if they pop, they will pop off as the ferment settles in. Good luck! Let me know how they turn out- our grandma keeps a big tester jar on the counter and when they are tangy enough, she moves them to her cold room.
Crystal, you can also let your brine cool down for next time but I always was taught to put it in hot.
Hi Crystal. I’ve been making these for years and my first batch is always hot and some seal but as they ferment they began to sizzle and they lose their seal. Also if I have left over brine I don’t reheat I just use at room temperature. Nice to not have to start fresh if you only have a jar or so after the big batch!!!
I tried these. They were the best dill pickles ever. I’m wondering if this brine would work for string beans.
thanks
Debbie, I am SO GLAD you liked them 🙂 Thanks for coming back and leaving a review. This recipe works for many veggies including beans. My sister recently took the brine and made pickles with purple cauliflower- beautiful and delicious!
Hey Debbie,
In further testing, I would recommend using this brine with the pickle, carrot, garlic, and dill recommended. I have had inconsistent results with beans with this exact brine.
I perfected another brine for green beans that I am anxious to try with carrots, cauliflower, and other vegetables. I will be posting this on the blog soon!
Hi Katie do I need the calcium chloride . And if I do,do I put it into the brine and bring the brine to a boil . Thanks these look amazing
Hey! It is absolutely optional– if you don’t have it, skip it. I just follow the instructions on my container and put it directly in the jar after filling. My brand calls for 1/4 teaspoon/quart.
My sister makes these pickles every year and never uses it with great results. If I have some on hand I use it. If not I skip!
I hope this helps! 🙂
Let me know how they turn out.
Hi Kate I made your recipe 20 cups water I used bought spring water,1 cup picking spice,1 cup 7% vinegar and 1 cup sugar .it’s been 5 days and they are not turning cloudy what am I doing wrong .Help please lol.
Hey there,
You mentioned 1 cup of pickling spice- did you mean pickling salt? I also use 7% pickling vinegar so this shouldnt be an issue.
Are you fermenting them in a warm spot? If temperatures are cool, the ferment may take a few extra days to cloud. Have you tried turning a jar over to see if there is any white settling at the bottom? Try to rotate the jar vertically a few times- often yeast will settle at the bottom. Spring water should be fine as long as it is pure and there is no chlorine (I assume it is pure).
Did you use any type of cleaner for your vegetables? This could affect the ferment. Did you add any vegetables other than pickles, carrots, garlic, and dill?
I really want this to work for you! It is pretty fool proof and I haven’t heard of the brine failing. So sorry that you are struggling with it. Let me know if it is clouding.
Check out this lacto fermentation trouble shooting guide https://revolutionfermentation.com/en/blogs/fermented-vegetables/lacto-fermentation-problems-troubleshooting/
My pickels have white stuff on the bottom of the jars we are on day 5 what do I do now
That is totally normal! That is the natural yeast- I would transfer them to your cold room or fridge now.