

Wire Hanger Christmas Tree
If you know my mom, you know where I get my craftiness from! I have fond memories of doing all kinds of crafts with her including this classic Wire Hanger Christmas Tree craft.
Christmas has officially taken over my house and has spilled into the kids’ rooms. My four year old wanted to do a Christmas craft and this project instantly popped into my head. I knew I needed to recreate it with my boys.
This DIY is inexpensive, easy for kids of all ages to help with, and comes together quickly. Easily add some Christmas spirit to your house with this tutorial using old hangers, garland, and lights!

Supply List
- 18-20 feet fluffy garland of choice If your garland is thin, you will probably need 30 feet or so.
- 12 feet strand of led christmas lights (at least 50 lights) I prefer LED because they don’t get as hot as traditional lights.
- 50 small zip ties I “borrowed” whatever I could find in my husbands stash! You can also use wire or tape.
- 5 hot glue gun sticks
- 1 extension cord (mine was 5 ft)

Equipment Needed
For this craft, you will need a hot glue gun. I opted to use my low temp glue gun because working with the garland and pressing it on meant that I was touching the glue quite a bit. It helped that the glue wasn’t LAVA HOT!
Tips + Tricks
- Don’t wrap lights or garland too tightly or you could end up with a wonky shaped tree.
- Opt for LED lights instead of traditional incandescent lights to keep energy usage and heat from the bulbs to a minimum.
- Choose fluffy garland that will cover the inner structure of your tree easily.
- Don’t be afraid to improvise! Don’t have zip ties? Use tape or wire. Recycle a strand of lights that you already have, use old garland from years past, dig deep into your old tree decorations to see what might look good on your mini wire hanger Christmas tree.

How To Make A Wire Hanger Christmas Tree
Step 1: Gather Supplies. Plug in your glue gun to make sure that it is warm when you are ready for it.
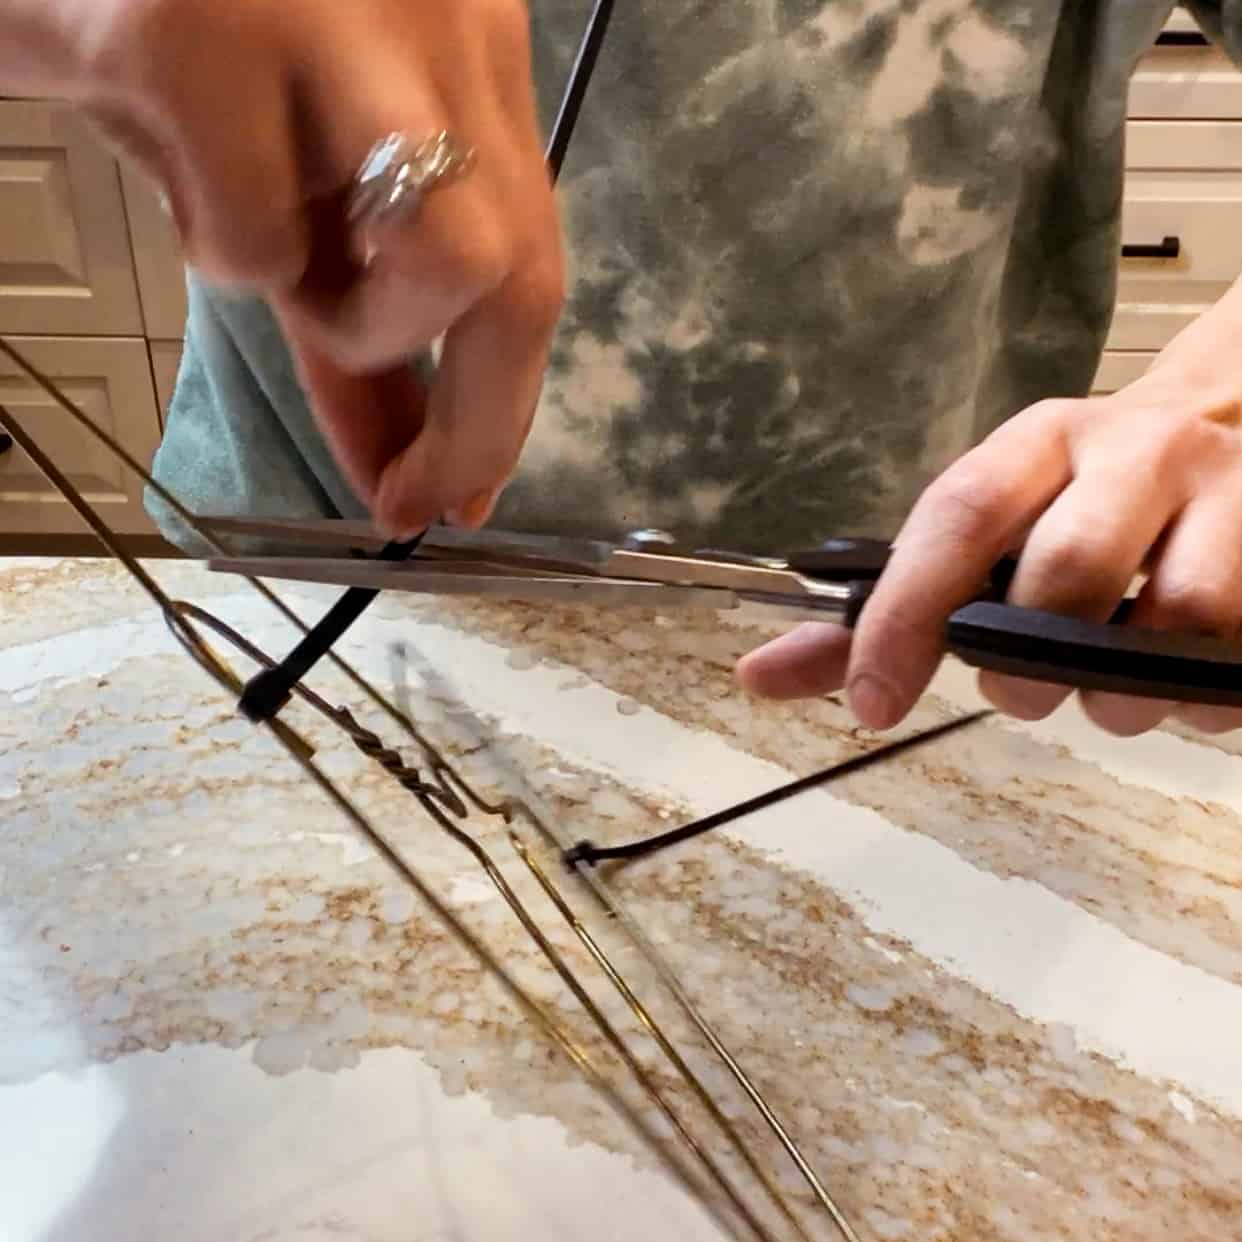
Step 2: Assemble the triangles. Zip tie them at the peak and at each hook intersection. Repeat this two more times so that you have three triangles all together.


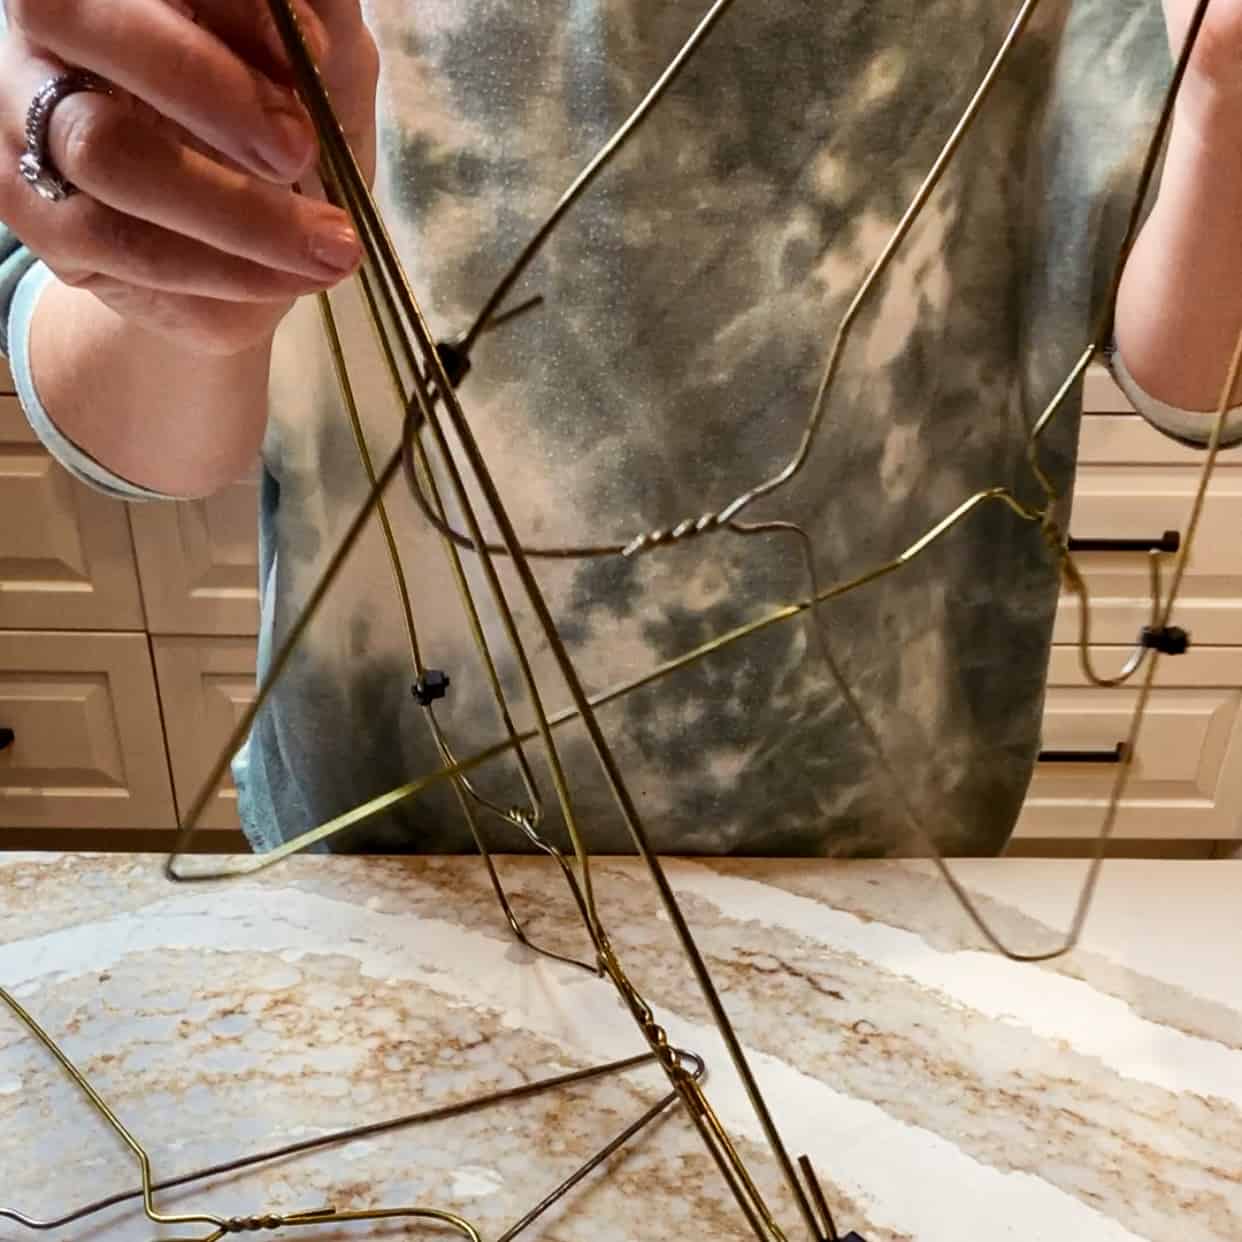
Step 3: Insert the trees in the middle of each other, creating your 3-D tree shape.
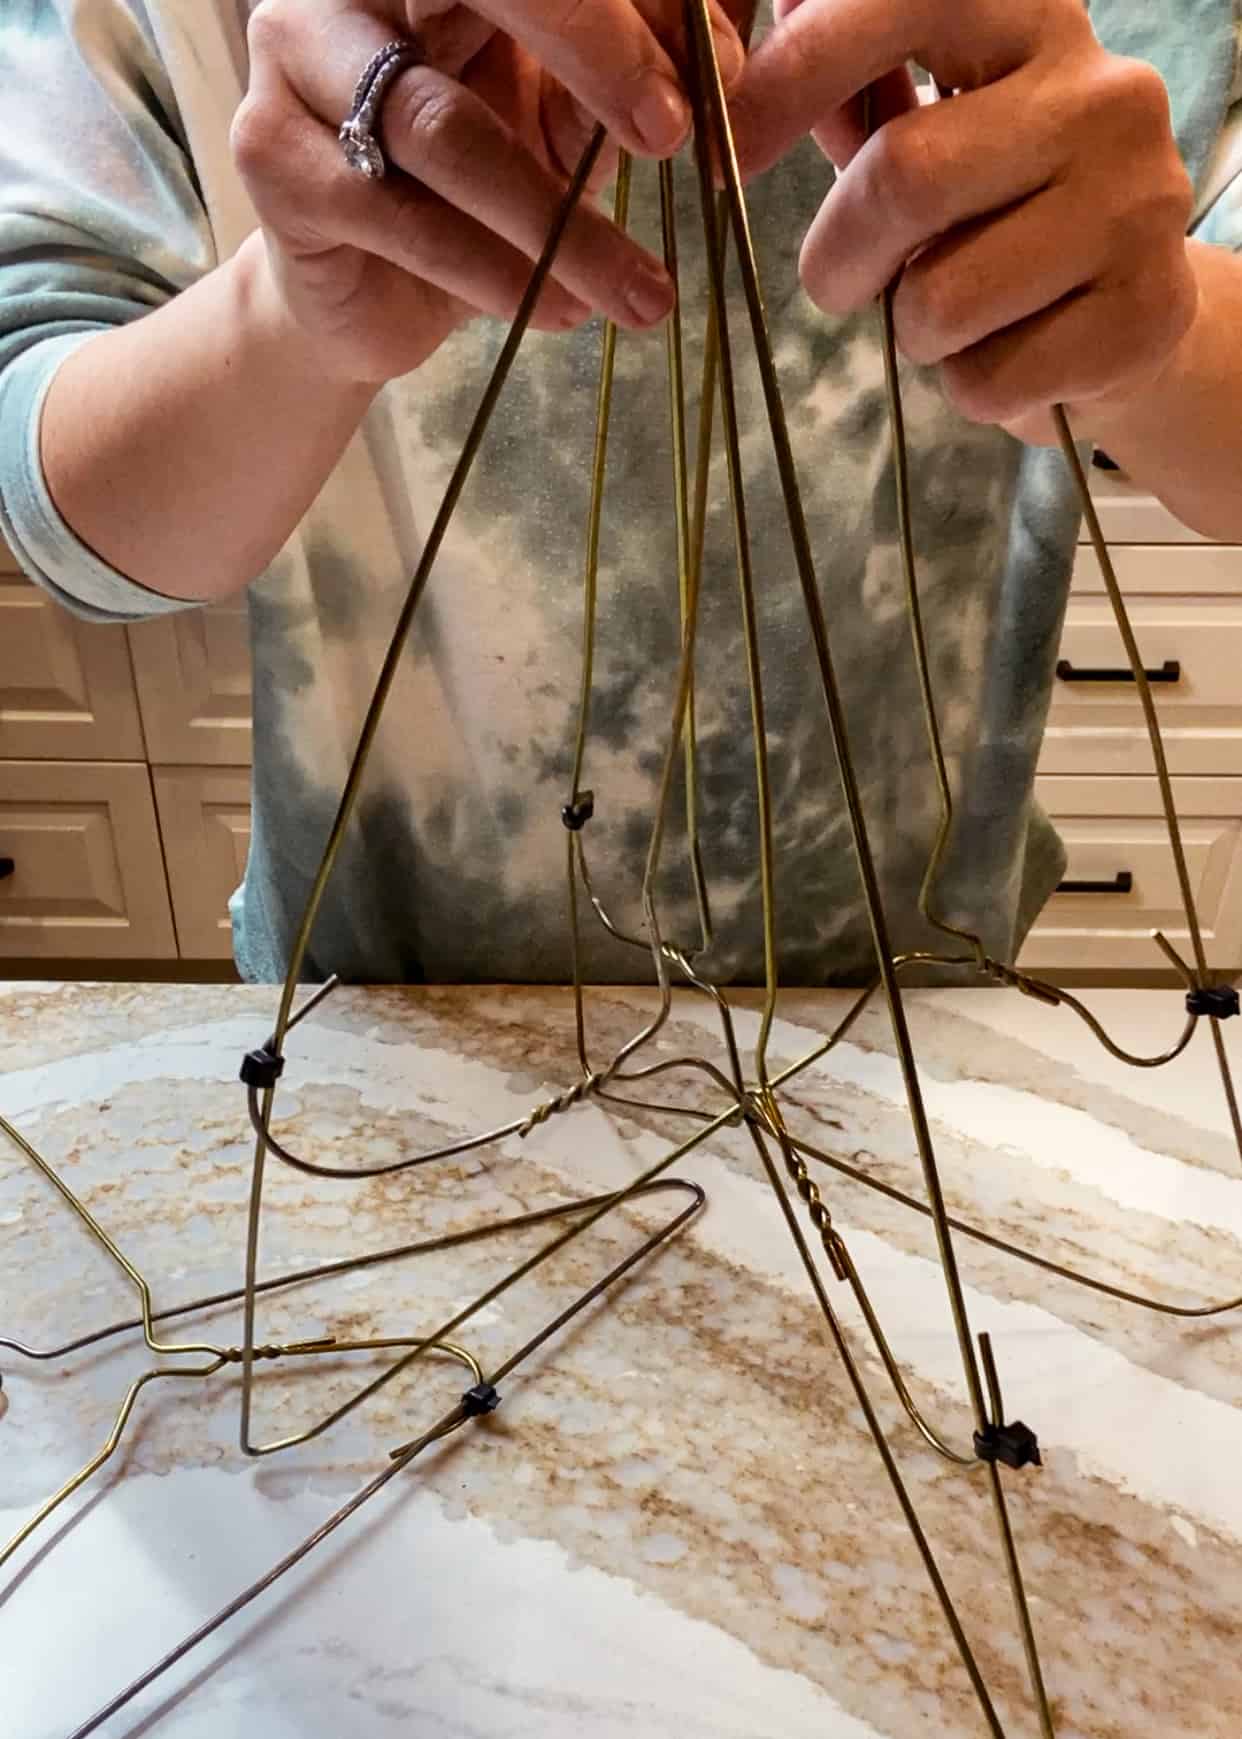
Step 4: Zip tie the three triangles together at the peak as well as in the very middle. Use as many ties as you need to make it more sturdy. Once you add the garland and lights, it will become more solid. Don’t be afraid to bend the hangers if you need.


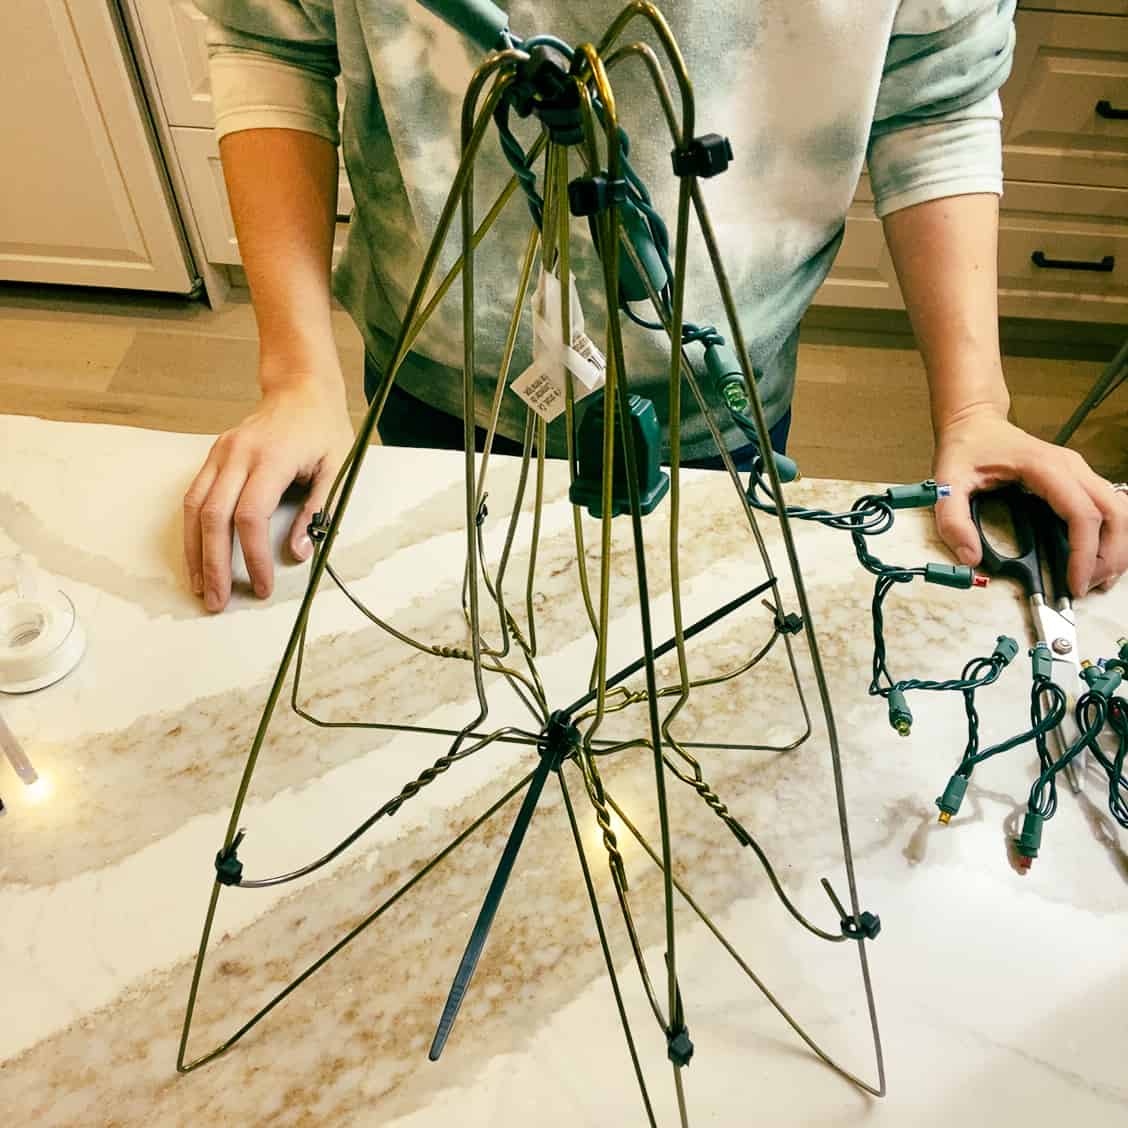
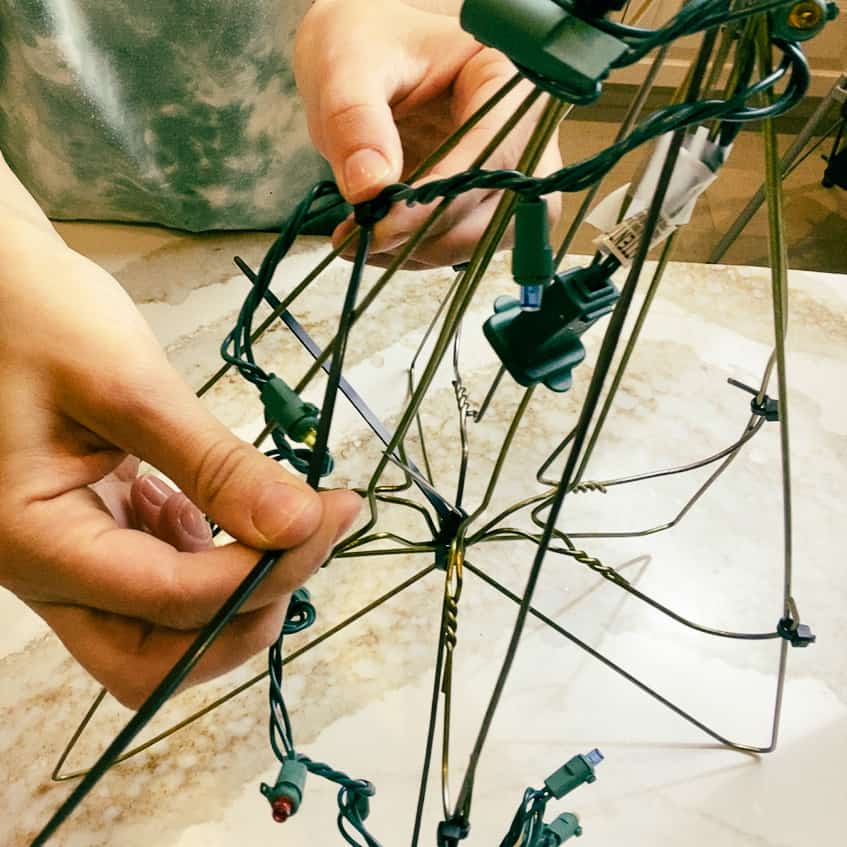
Step 5: Take the strand of lights and find the female end (without prongs). Fix it to the top inside of your tree using tape or a zip tie.
Step 6: Slowly work your way around the tree, fixing the lights every one or two poles with a zip tie. Remember to space the strand enough after each “ring” to make sure that you have enough lights to make it to the bottom of the tree. You can loosely wrap the strand before you zip tie it to get an idea of how to space it.
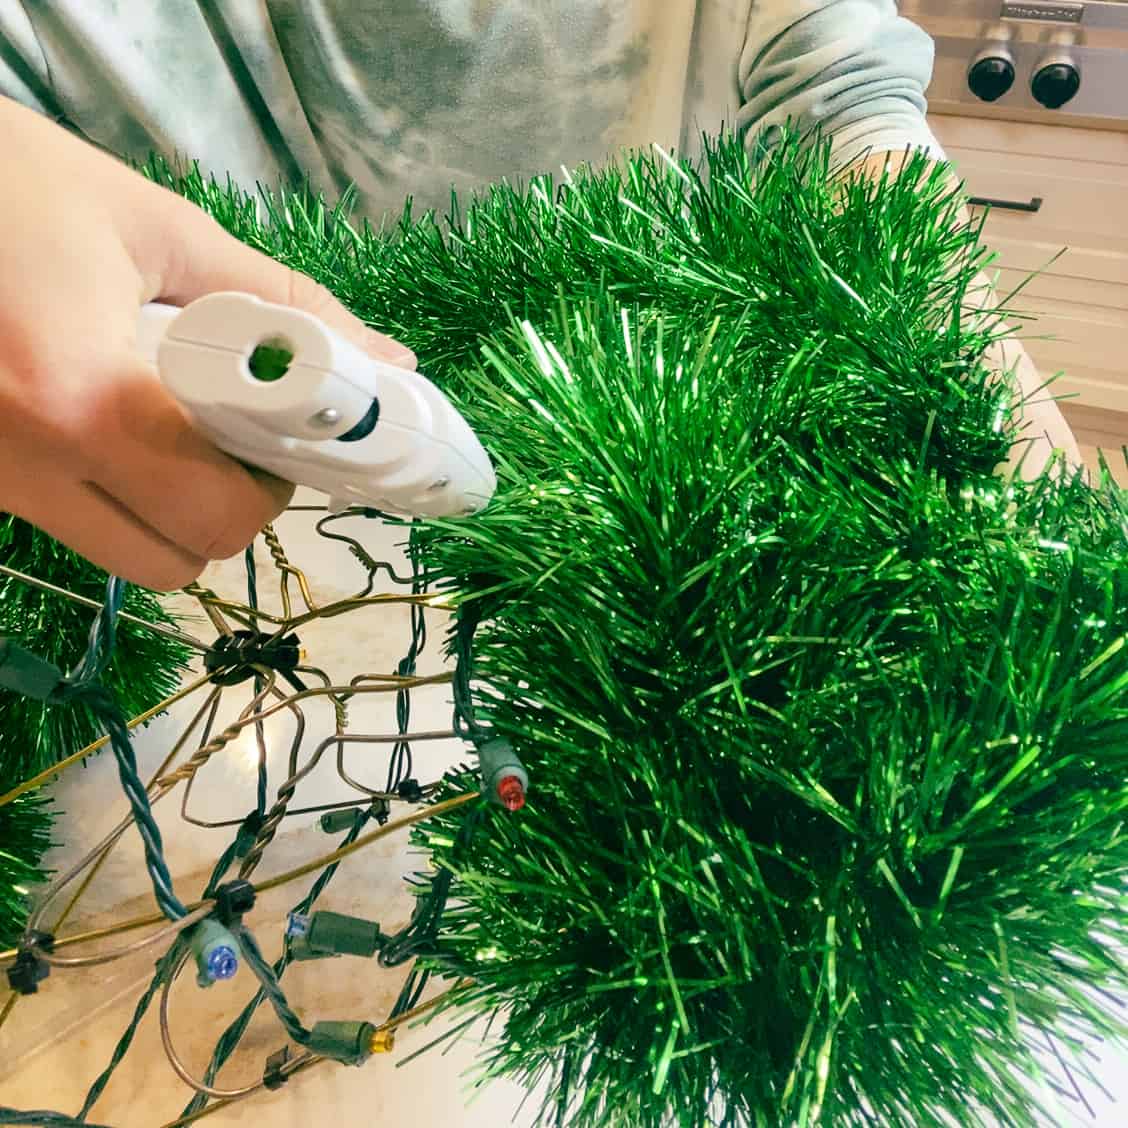
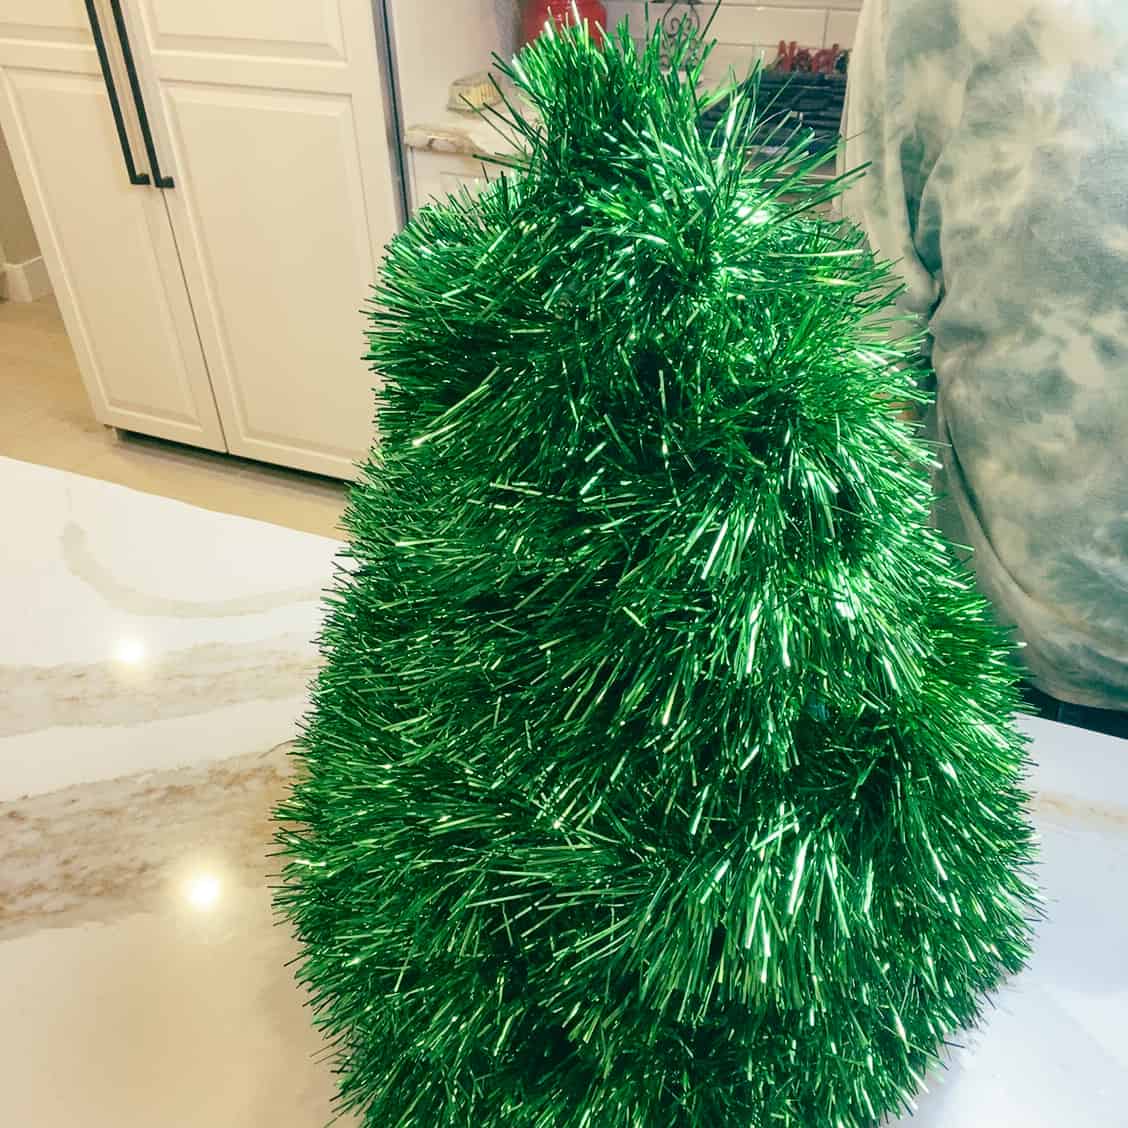
Step 7: Tuck the start of your garland securely to the top of the tree and glue it in place. Work your way around the tree, making sure that the garland is close enough together that you cannot see the hangers. As with the lights, make sure that you have enough to make it to the bottom of the tree.
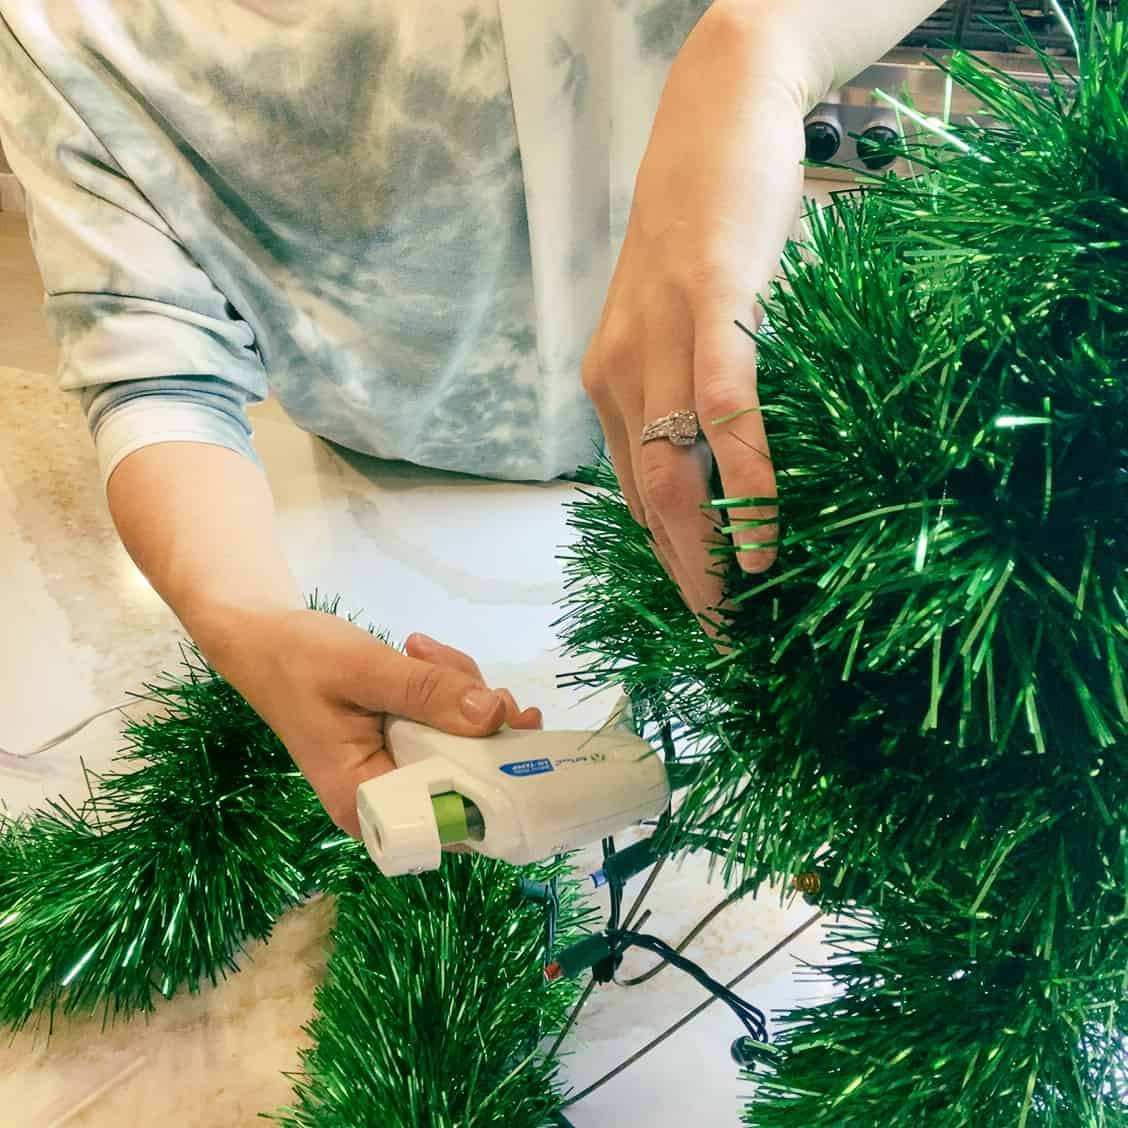
Step 8: Glue the garland every one or two posts to make sure that it is secure and won’t droop.

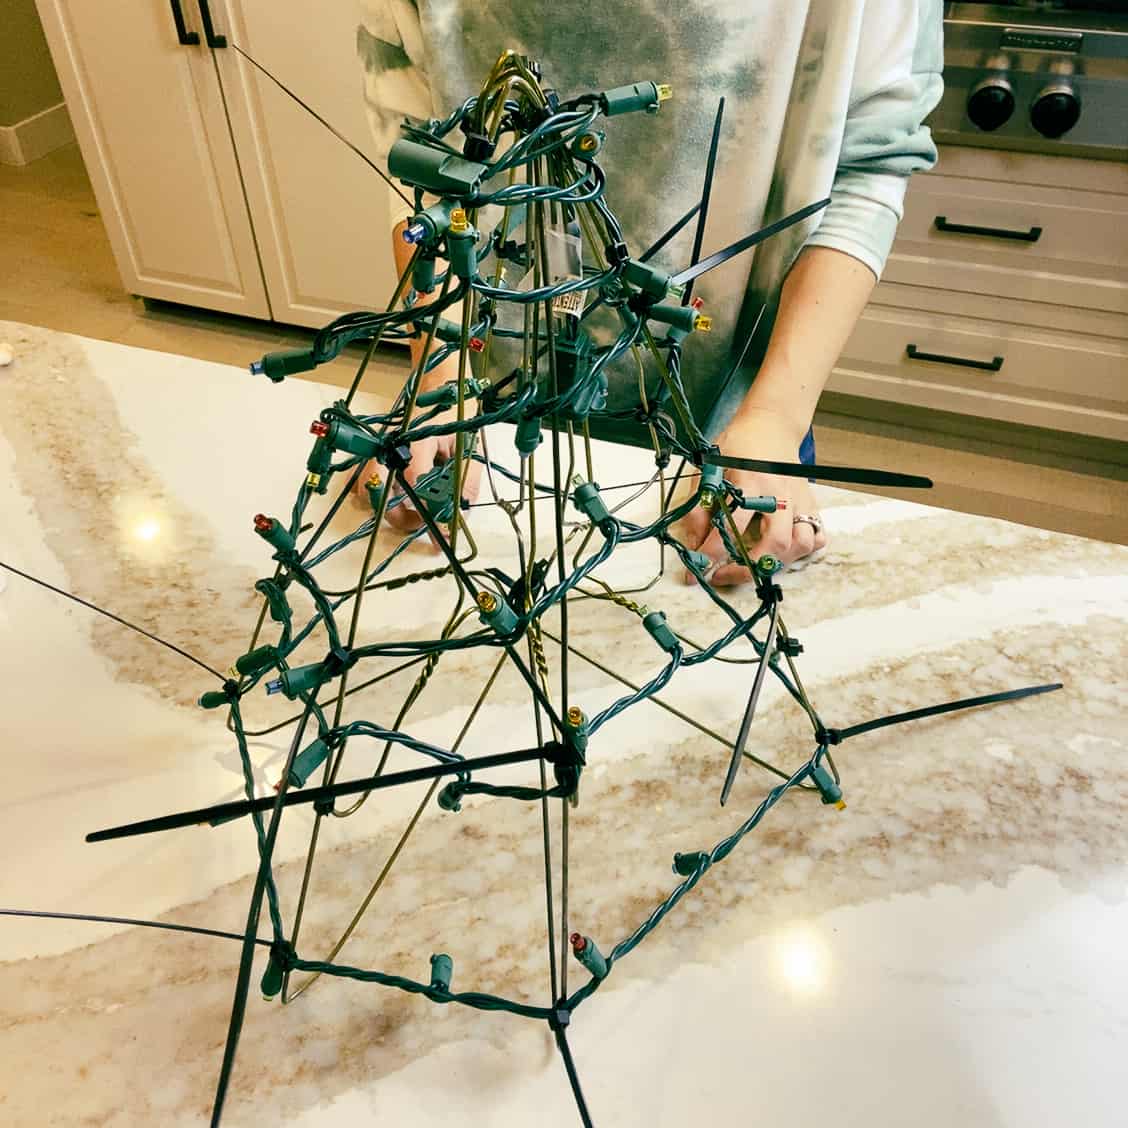
Step 9: Attach the extension cord and plug it in. Go around the tree to make sure the lights are facing out as much as possible- some may have gotten tucked into the inside. More lights = more magic!
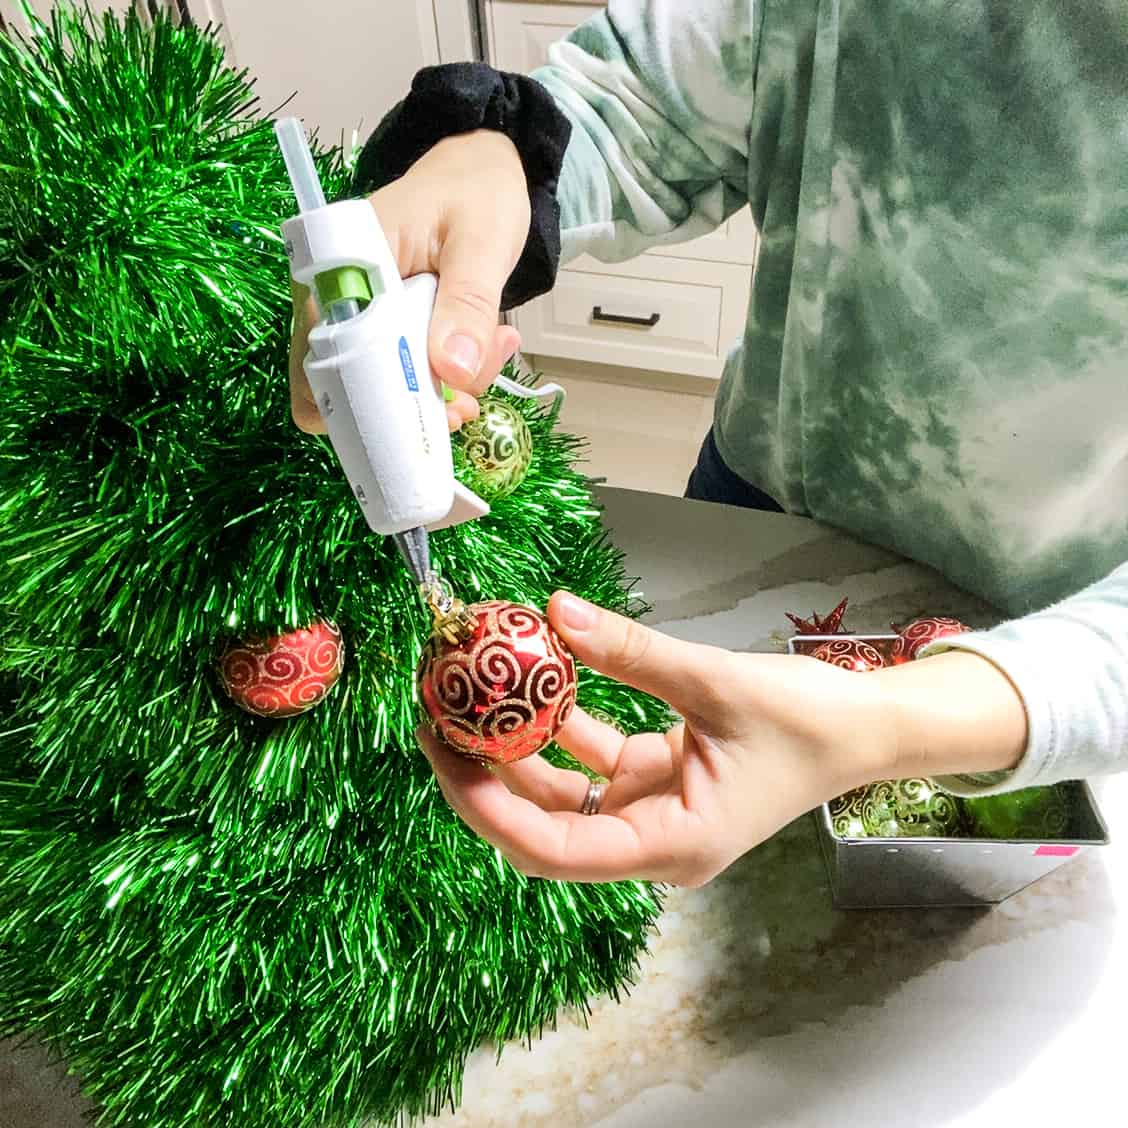
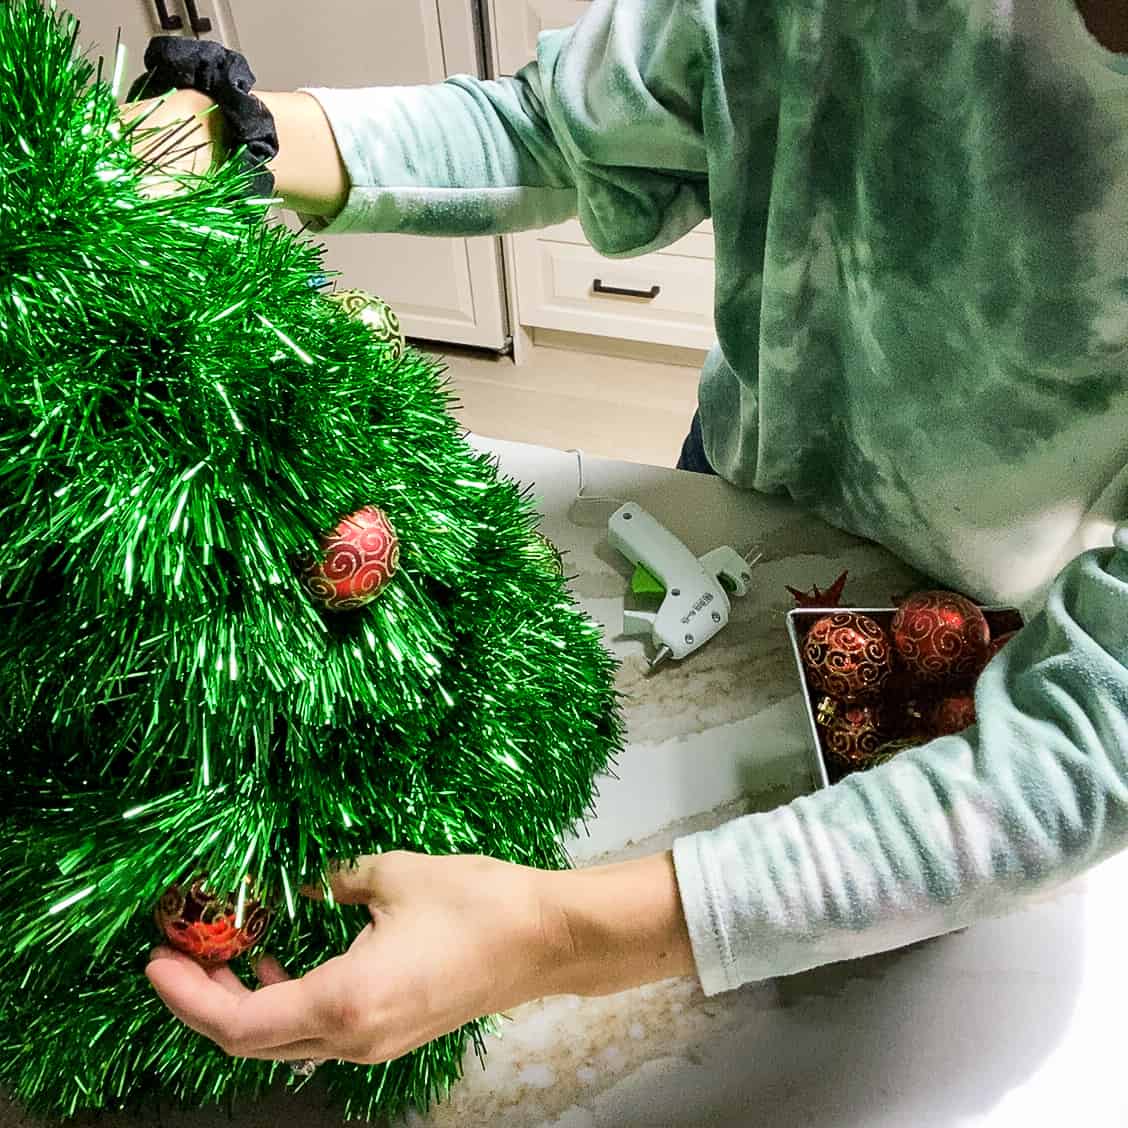
Step 10: Remove the hooks or strings from your decorations and use hot glue to fix them to the tree.
Step 11: Sit back with a cup of hot cocoa and enjoy your cozy wire hanger Christmas tree!

Pin It!

Printable Tree Tutorial

Wire Hanger Christmas Tree
Equipment
- glue gun
Materials
- 18-20 feet fluffy garland of choice If your garland is thin, you will probably need 30 feet or so.
- 12 feet strand of led christmas lights (at least 50 lights) I prefer LED because they don't get as hot as traditional lights.
- 50 small zip ties I "borrowed" whatever I could find in my husbands stash! You can also use wire or tape.
- 5 hot glue gun sticks
- 1 extension cord (mine was 5 ft)
Instructions
- Step 1: Gather Supplies. Plug in your glue gun to make sure that it is warm when you are ready for it.
- Step 2: Assemble the triangles. Zip tie them at the peak and at each hook intersection. Repeat this two more times so that you have three triangles all together.
- Step 3: Insert the trees in the middle of each other, creating your 3-D tree shape.
- Step 4: Zip tie the three triangles together at the peak as well as in the very middle. Use as many ties as you need to make it more sturdy. Once you add the garland and lights, it will become more solid. Don't be afraid to bend the hangers if you need.
- Step 5: Take the strand of lights and find the female end (without prongs). Fix it to the top inside of your tree using tape or a zip tie.
- Step 6: Slowly work your way around the tree, fixing the lights every one or two poles with a zip tie. Remember to space the strand enough after each "ring" to make sure that you have enough lights to make it to the bottom of the tree. You can loosely wrap the strand before you zip tie it to get an idea of how to space it.
- Step 7: Tuck the start of your garland securely to the top of the tree and glue it in place. Work your way around the tree, making sure that the garland is close enough together that you cannot see the hangers. As with the lights, make sure that you have enough to ake it to the bottom of the tree.
- Step 8: Glue the garland every one or two posts to make sure that it is secure and won't droop.
- Step 9: Attach the extension cord and plug it in. Go around the tree to make sure the lights are facing out as much as possible- some may have gotten tucked into the inside. More lights = more magic!
- Step 10: Remove the hooks or strings from your decorations and use hot glue to fix them to the tree.
- Step 11: Sit back with a cup of hot cocoa and enjoy your cozy wire hanger Christmas tree!
Fun Christmas project we did together as a family this holiday season. Found the walk through to be very thorough.