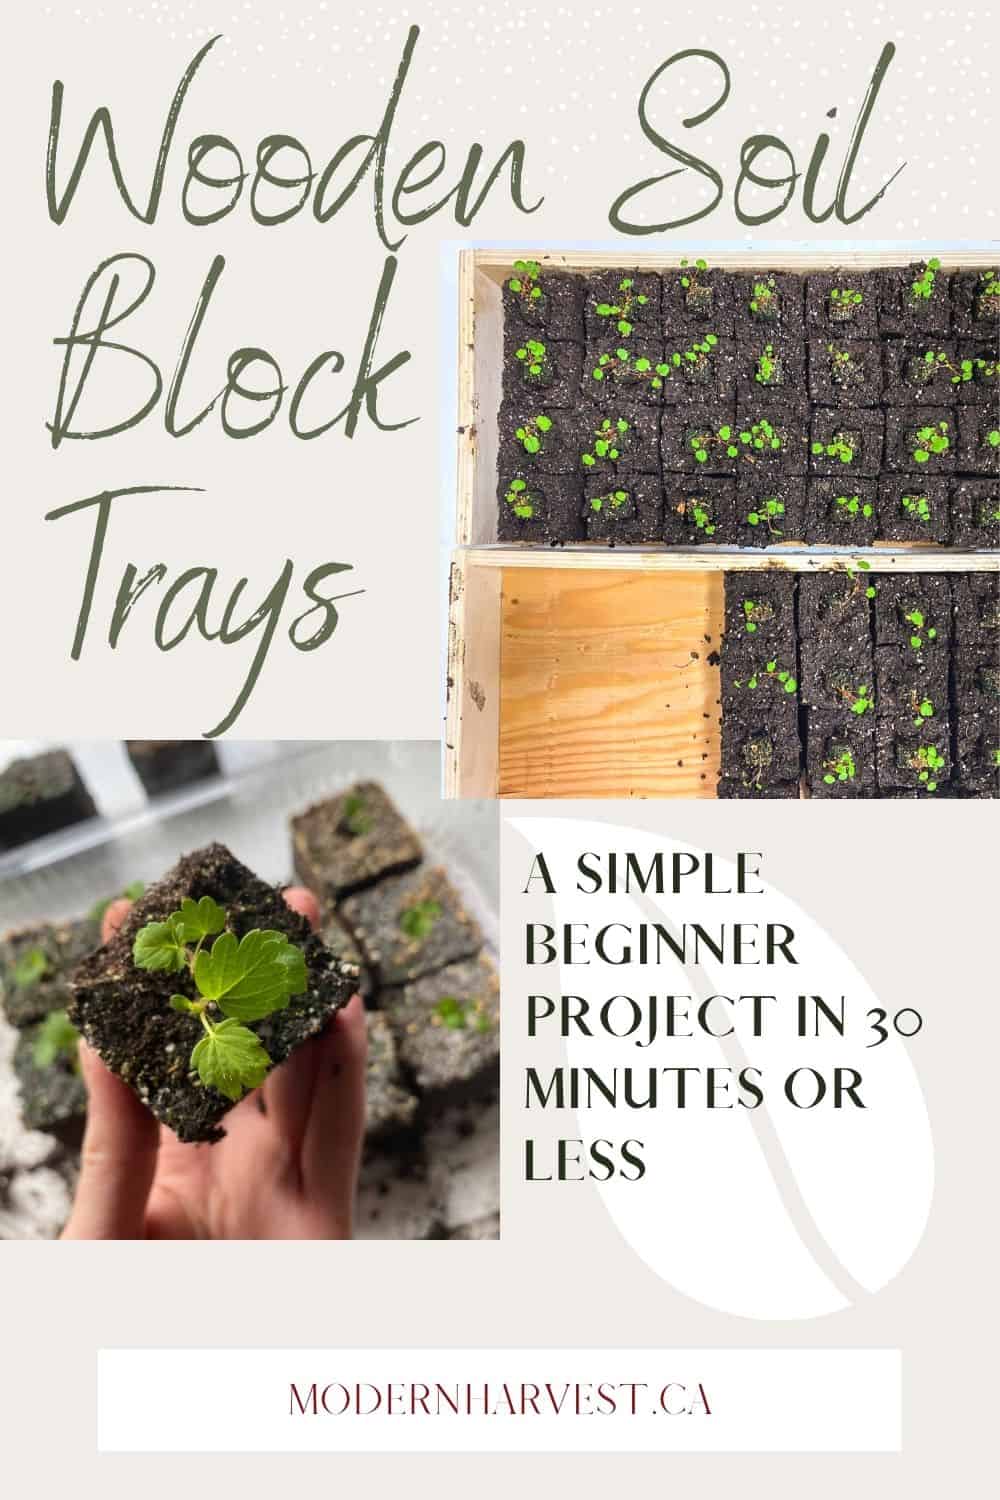
Wooden Soil Block Trays – 30 Minute DIY
Soil blocking is my new favourite way to start, grow, and transplant seedings for many reasons. If you are experimenting with soil blocking, you will quickly learn that the dense soil blocks are HEAVY- especially after a good watering! After trying to use my standard black 1020 greenhouse tray, I realized that I needed something much stronger. Cue the homemade wooden soil block trays!
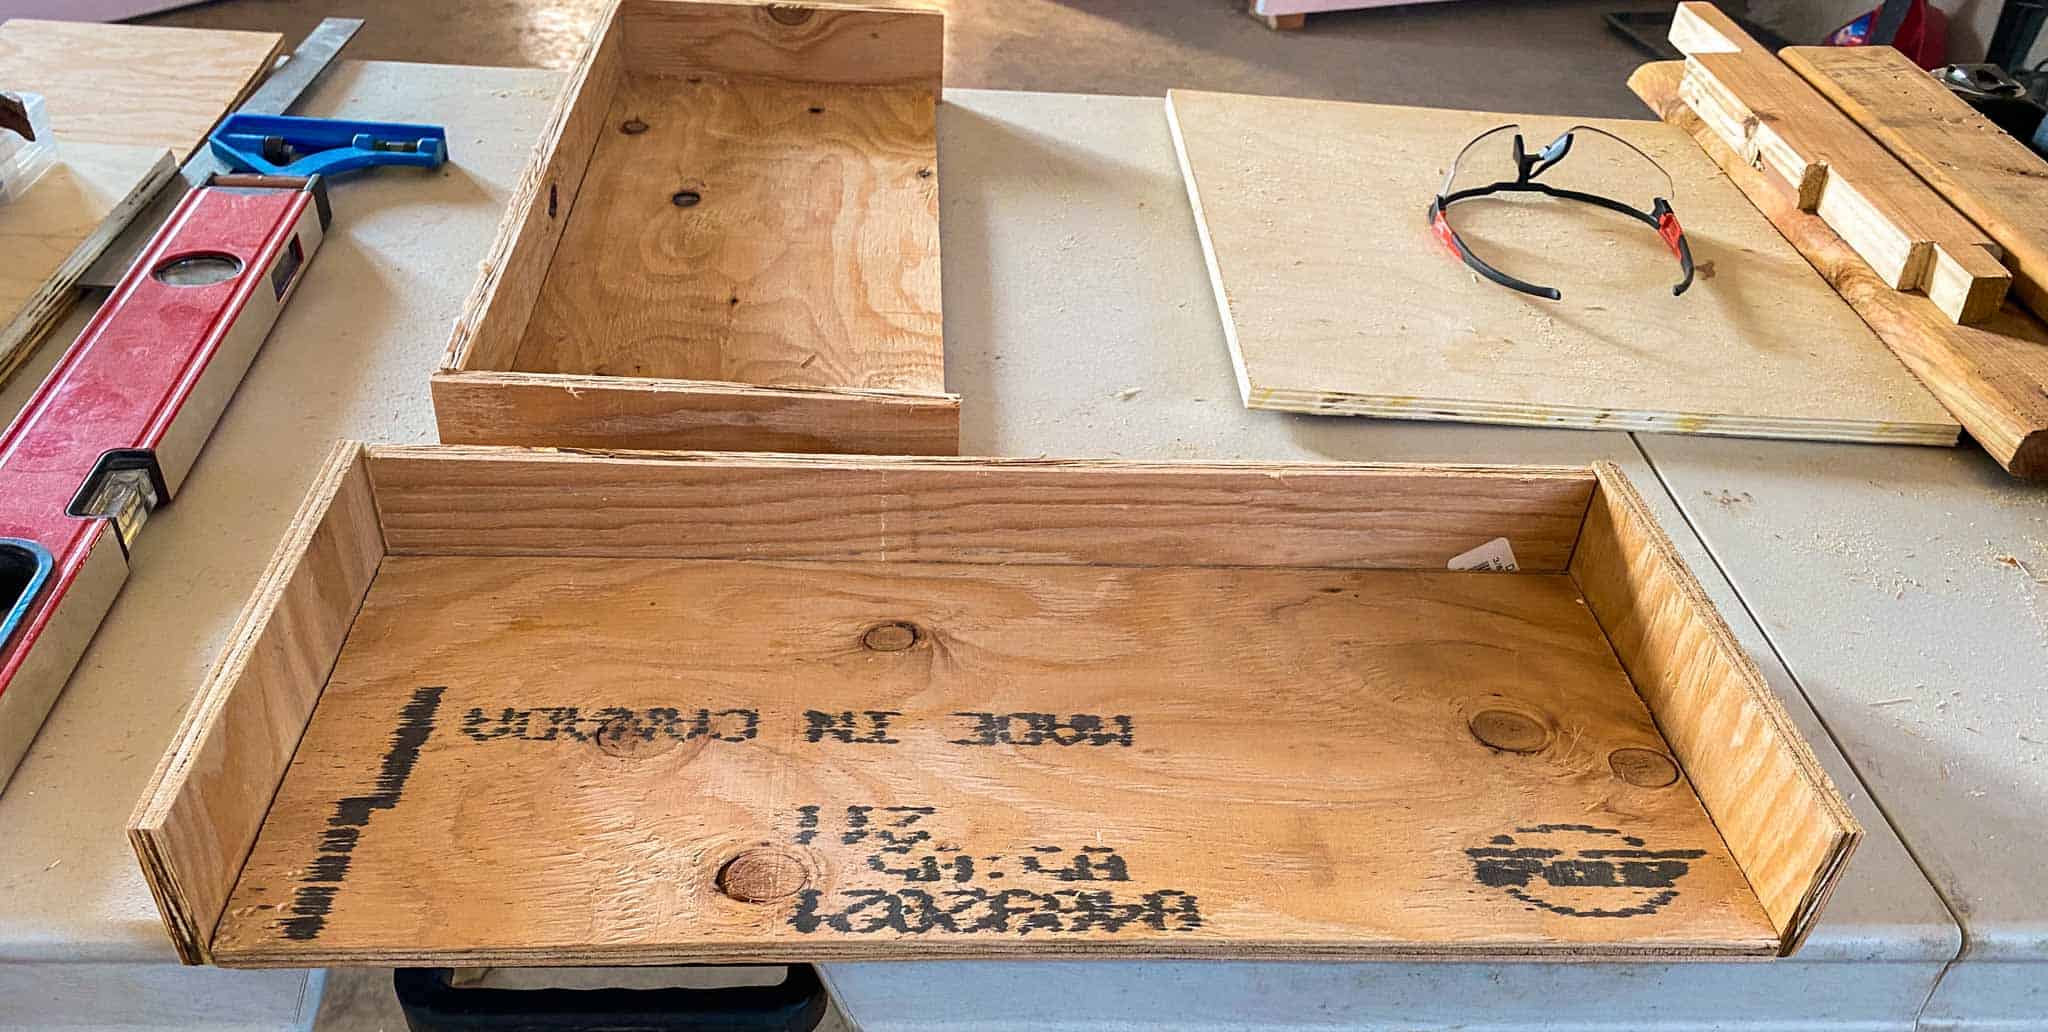
My husband had a few small sheets of plywood laying around; so we decided to make some quick DIY wooden soil blocking trays. These trays have three sides and a solid base.
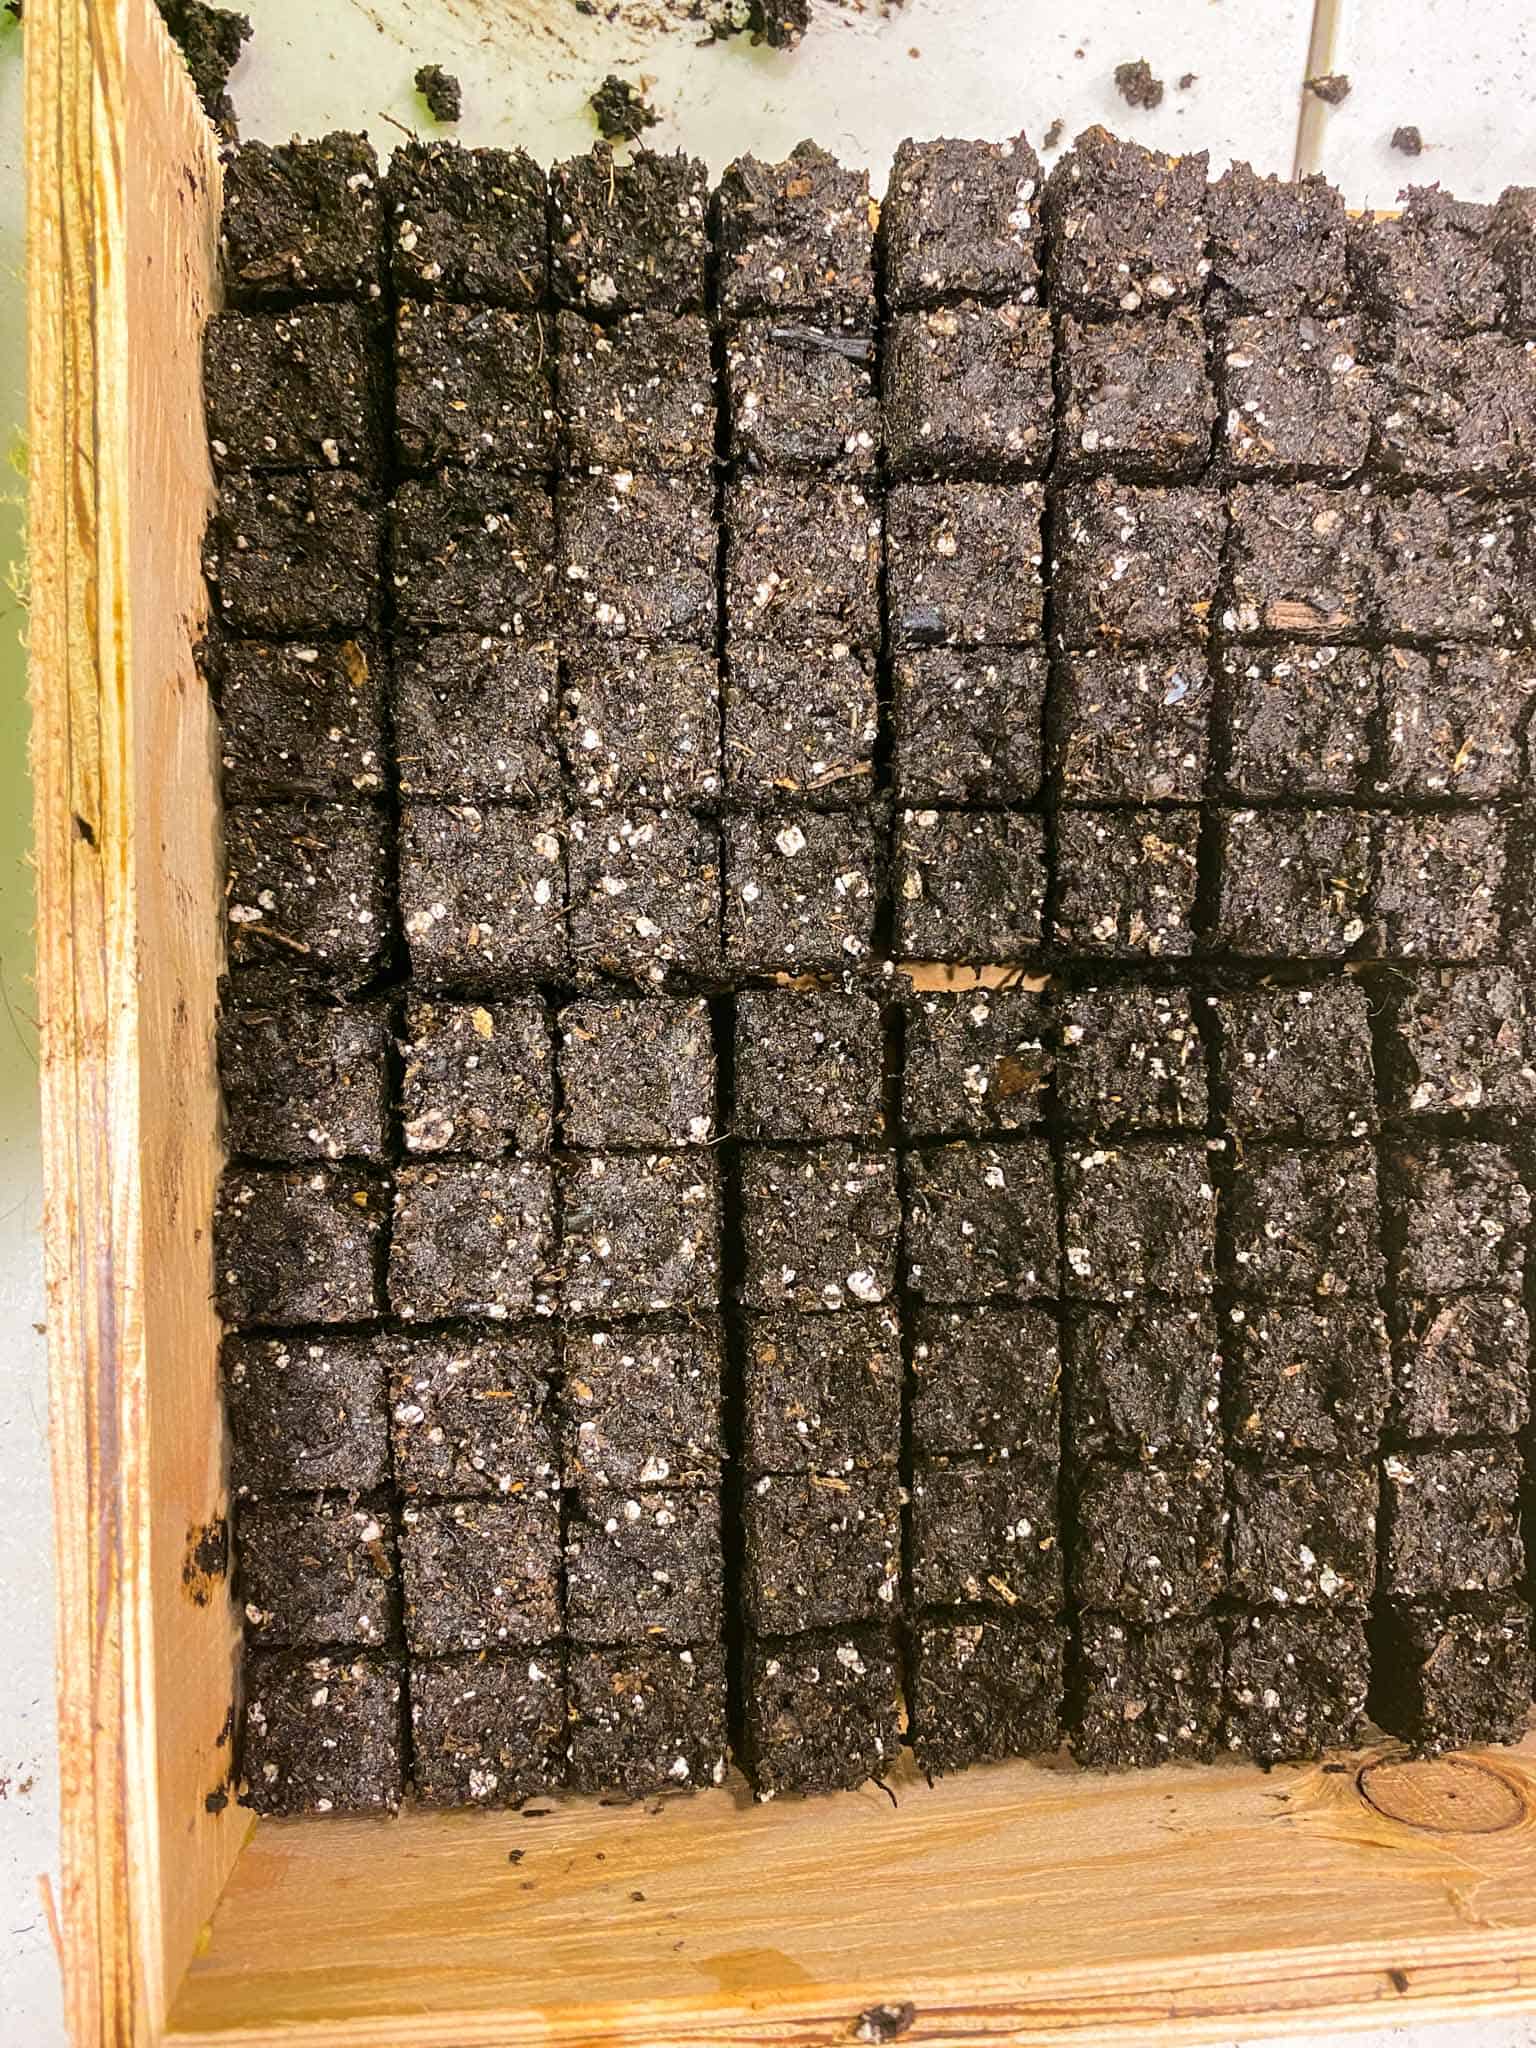
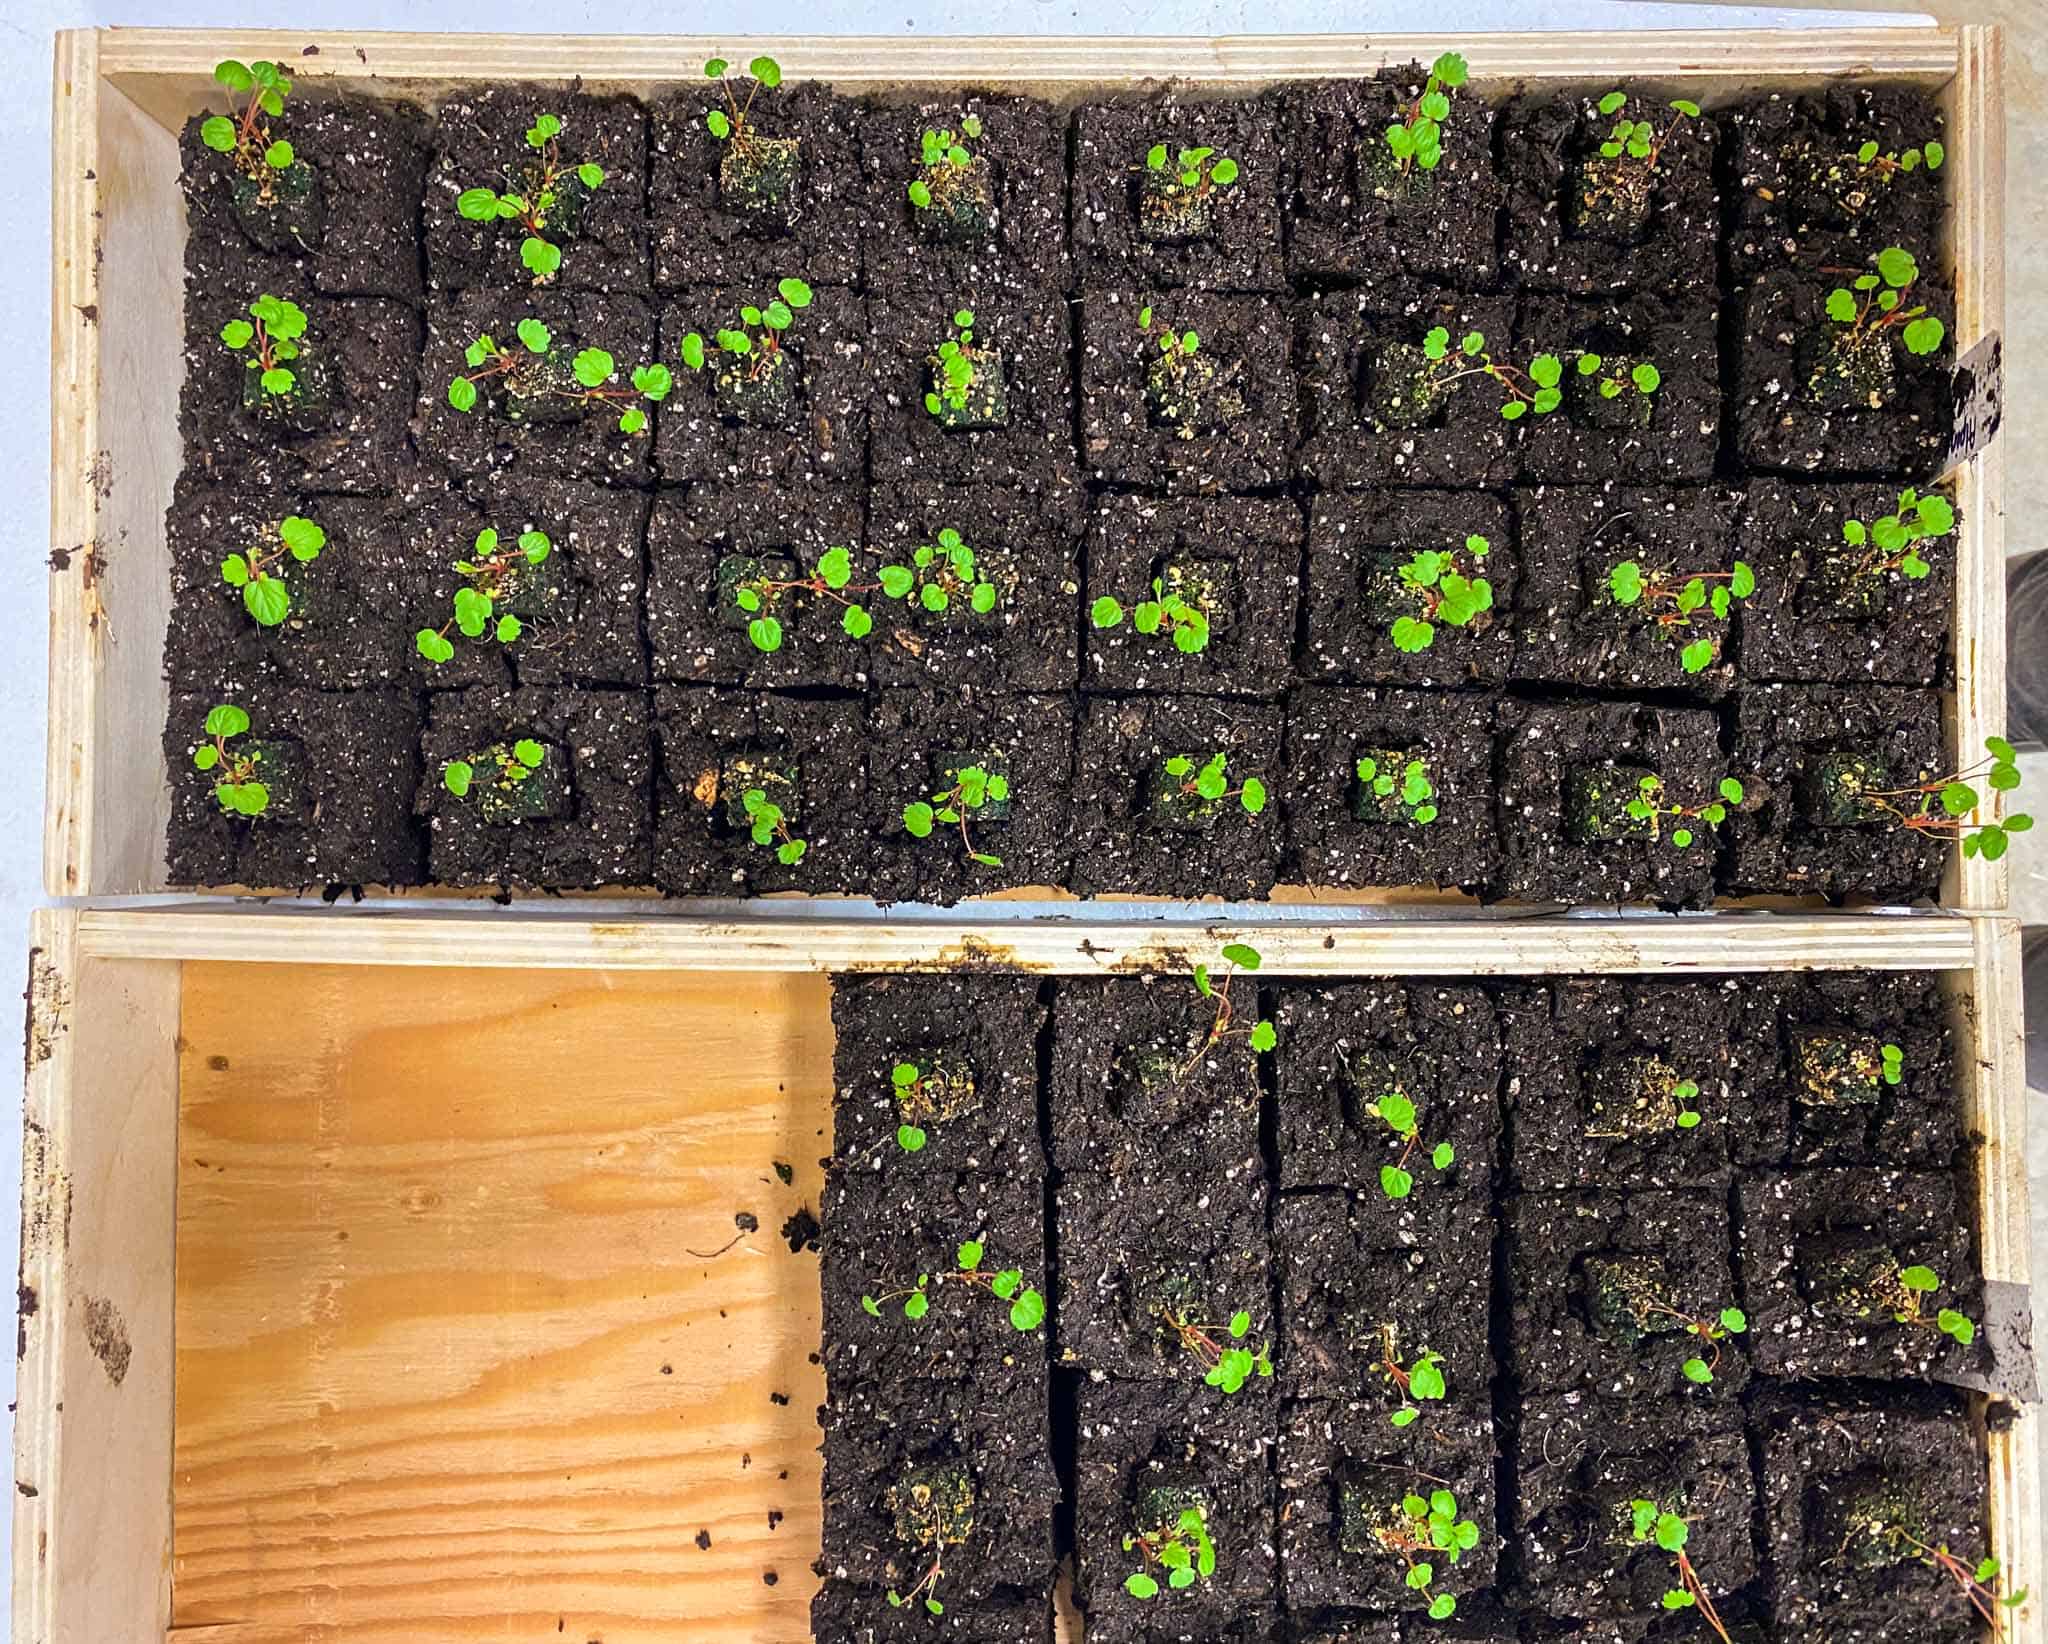
There are many benefits to using wooden soil blocking trays including overall strength, water retention, flat surface area for small 3/4 inch blocks, and easy to transport. Each tray can hold 32 2-inch soil blocks or 240 3/4 inch soil blocks (perfectly fits 12 mini soil block forms). Read on to find out exactly how to make your own wooden soil blocking trays in 30 minutes or less.
Materials:
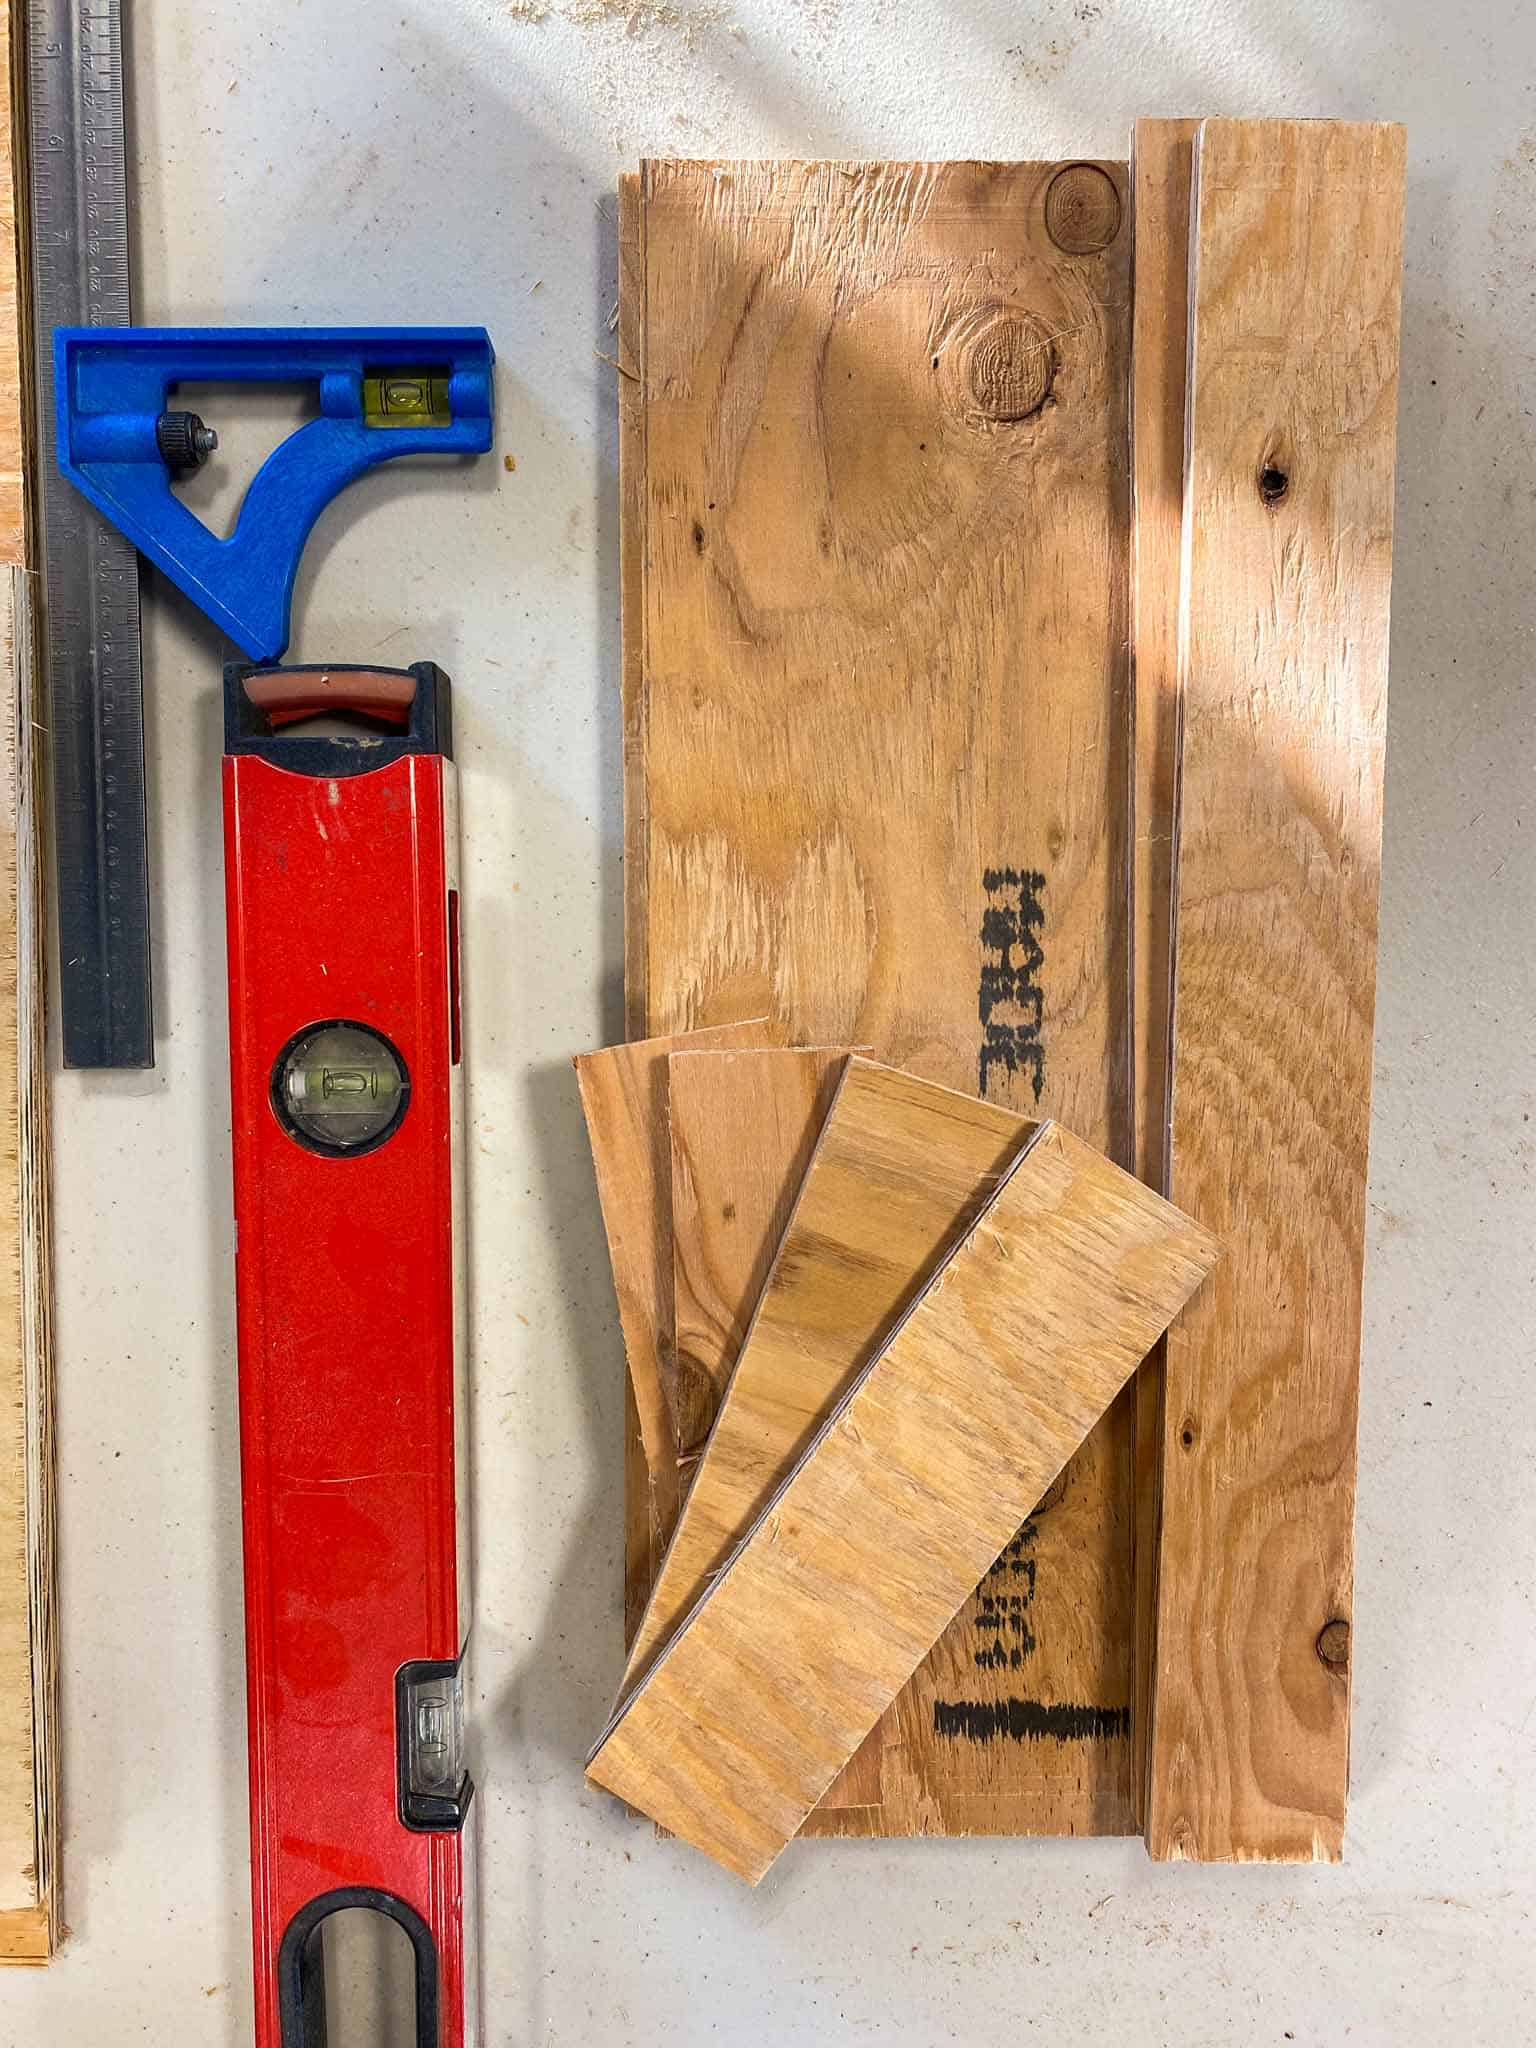
Plywood: Use at least 1/2 inch thick plywood. One 2’x2′ sheet will make two wooden soil block trays. We used leftover plywood that we had stored from other projects. Places like Home Depot or your local lumber store will have sheets on plywood that you can purchase. They come in different sizes including 4’x8′ pieces. Use what you have on hand or can find that is cost effective!
Finishing Nails: We used 1 1/2″ finishing nails for this project and found that they were easy to use and held the wood together nicely. We tried three different ways to fasten the boards together including air nailing, drilling + screwing, and using finishing nails. The finishing nails were so simple to hammer in and didn’t split the plywood apart. They also required little equipment (a win in my books).
Wood Glue (Optional): Wood glue will help to hold your soil blck trays together and will work with nails to make a strong held bond between the wood pieces.
Equipment:
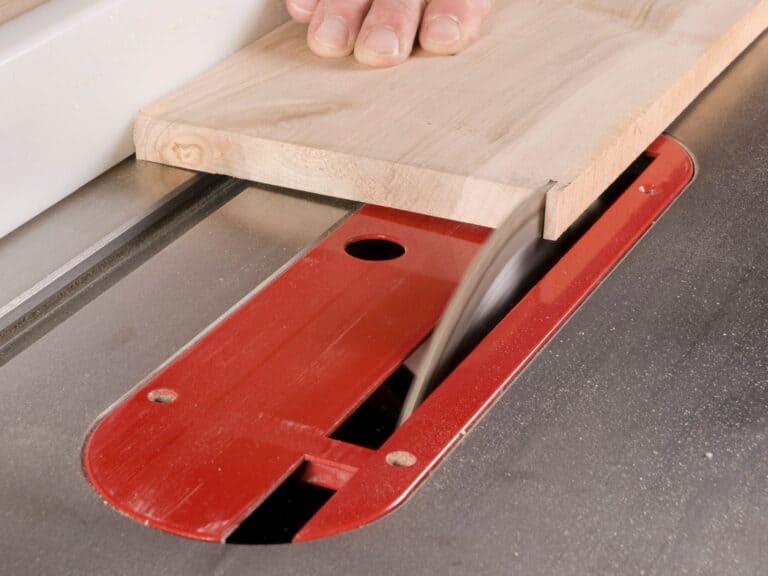
Saw: Ideally you will use a table saw to make your cuts. A table saw will ensure that all of your edges are square so that the box comes together seamlessly. Other saws will work including a jig saw and skill saw but be as careful as you can to ensure the edges are square.
Tape Measure: I used a tape measure to accurately measure all of the sides and base.
Hammer: We used our son’s small hammer for this project! Any old hammer will do.
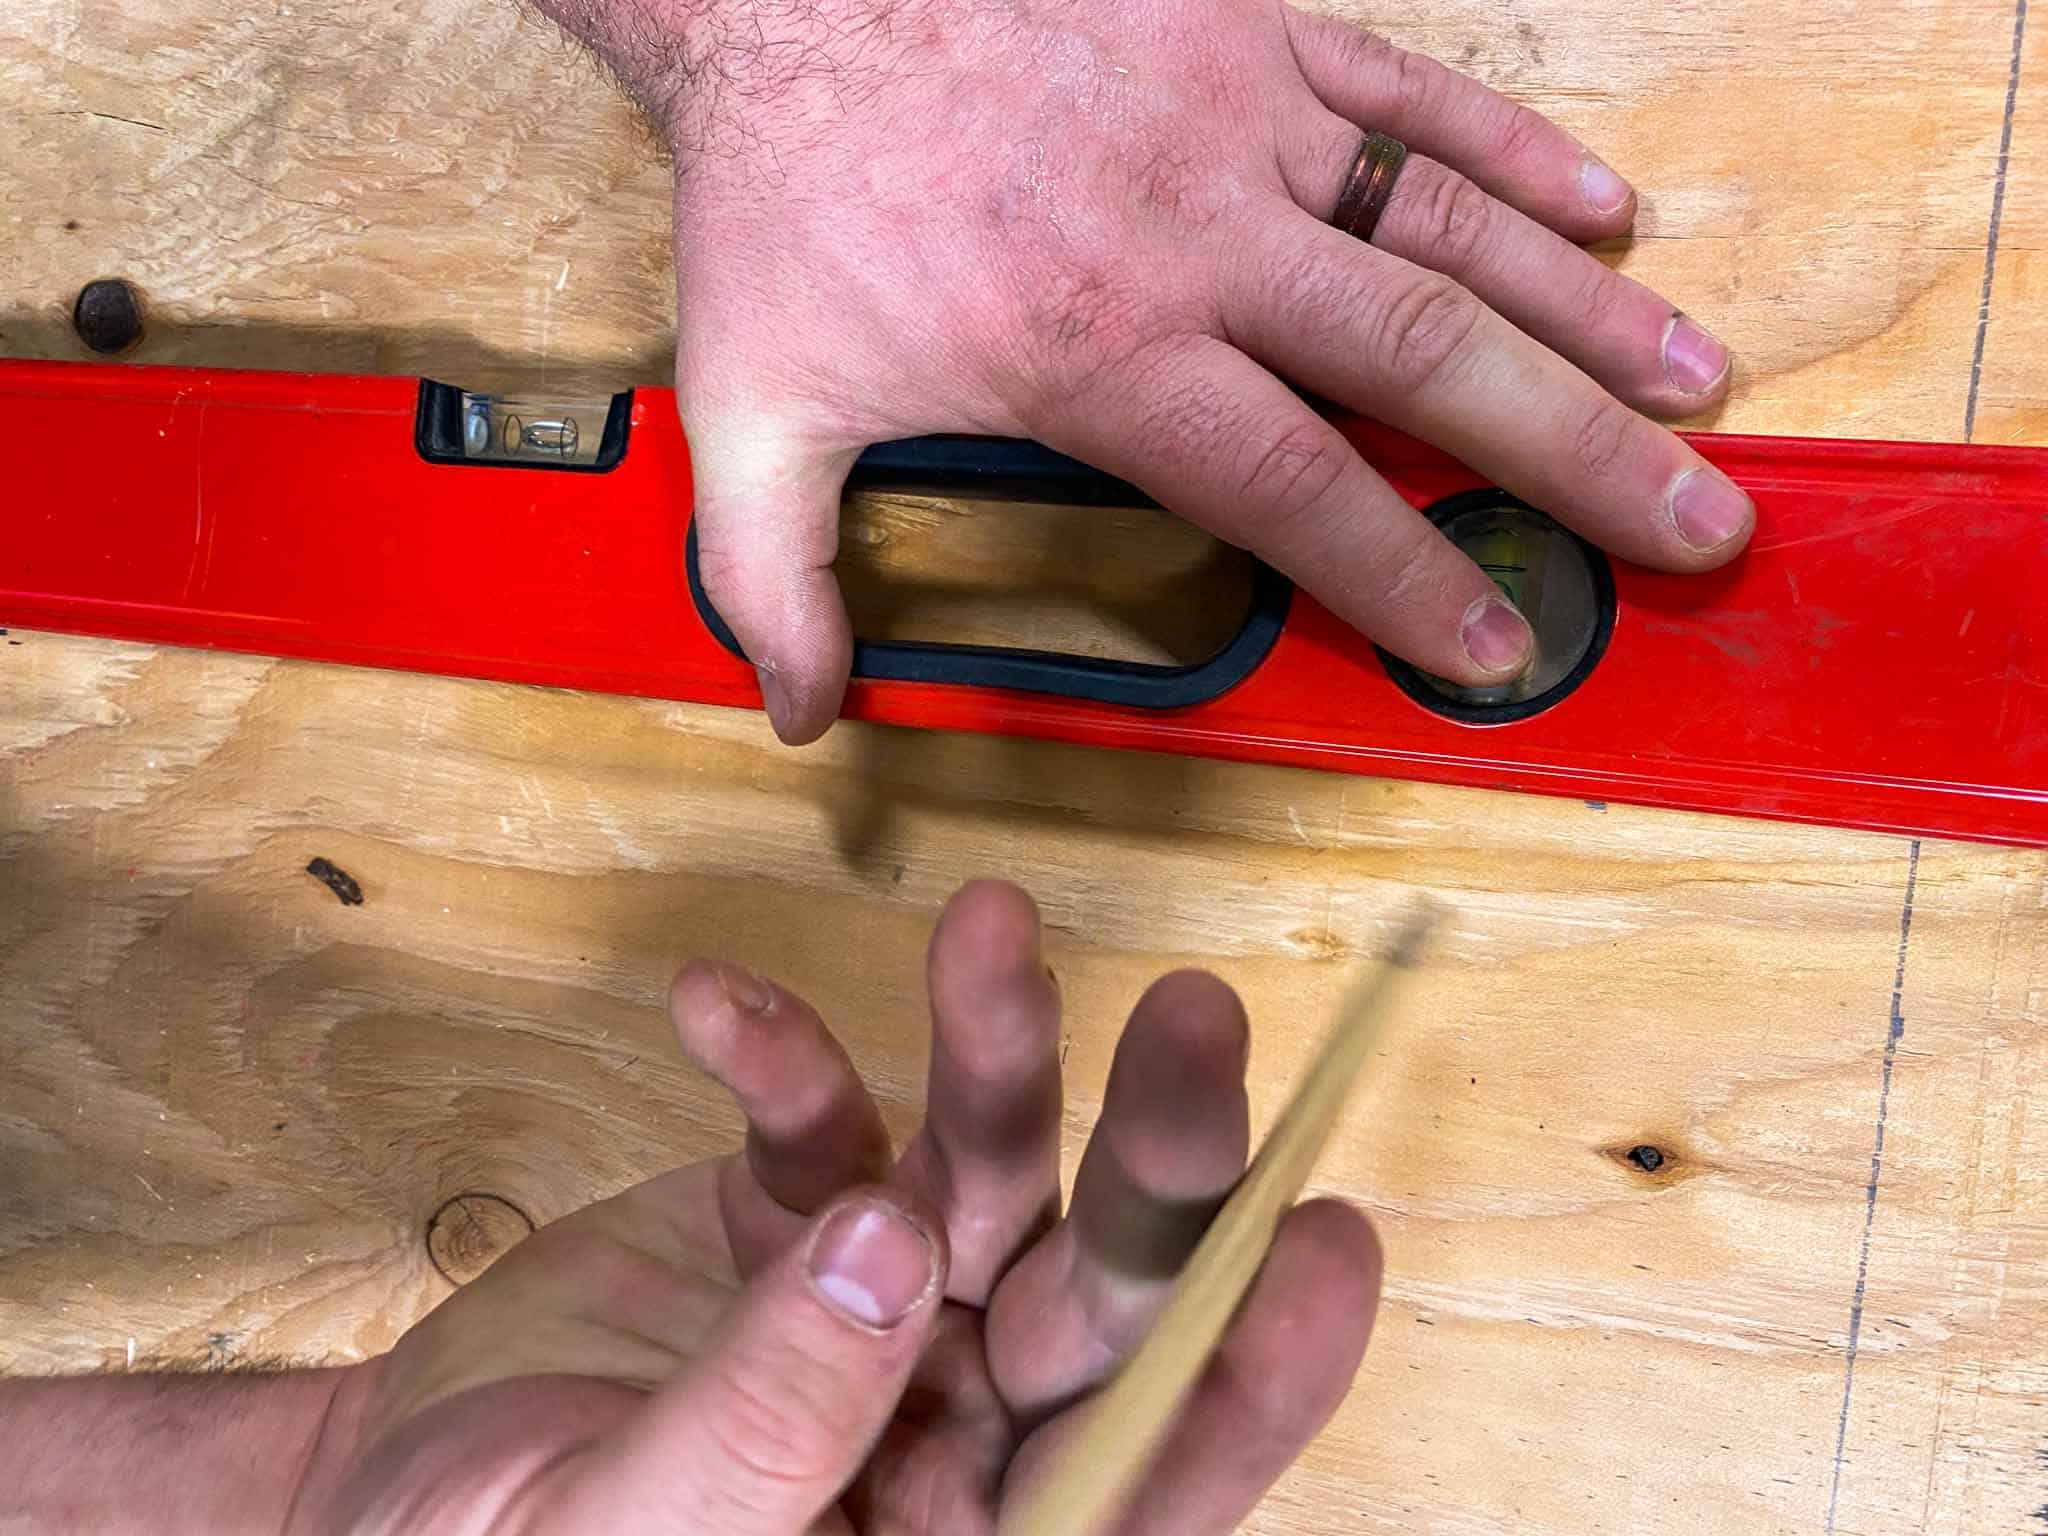
Straight Edge: It was important to use a straight edge when drawing our lines in between measurements. We used both a small ruler and the edge of our level. Use what you have handy.
Benefits of Using Wooden Soil Block Trays
Strength: Unlike greenhouse trays and other trays made from recycled bread containers, these wooden soil block trays are STRONG! Soil blocks are much more dense than peat pods or plug trays which make them heavy. Plastic trays and other recycled trays easily fold and bow under the pressure, making them harder to move around.
Water Retention: The three sides on these wooden trays helps to hold in moisture and to keep your seedlings happy. Some people opt for flat slab trays with no sides but they are more prone to dry out and will be harder to keep damp.
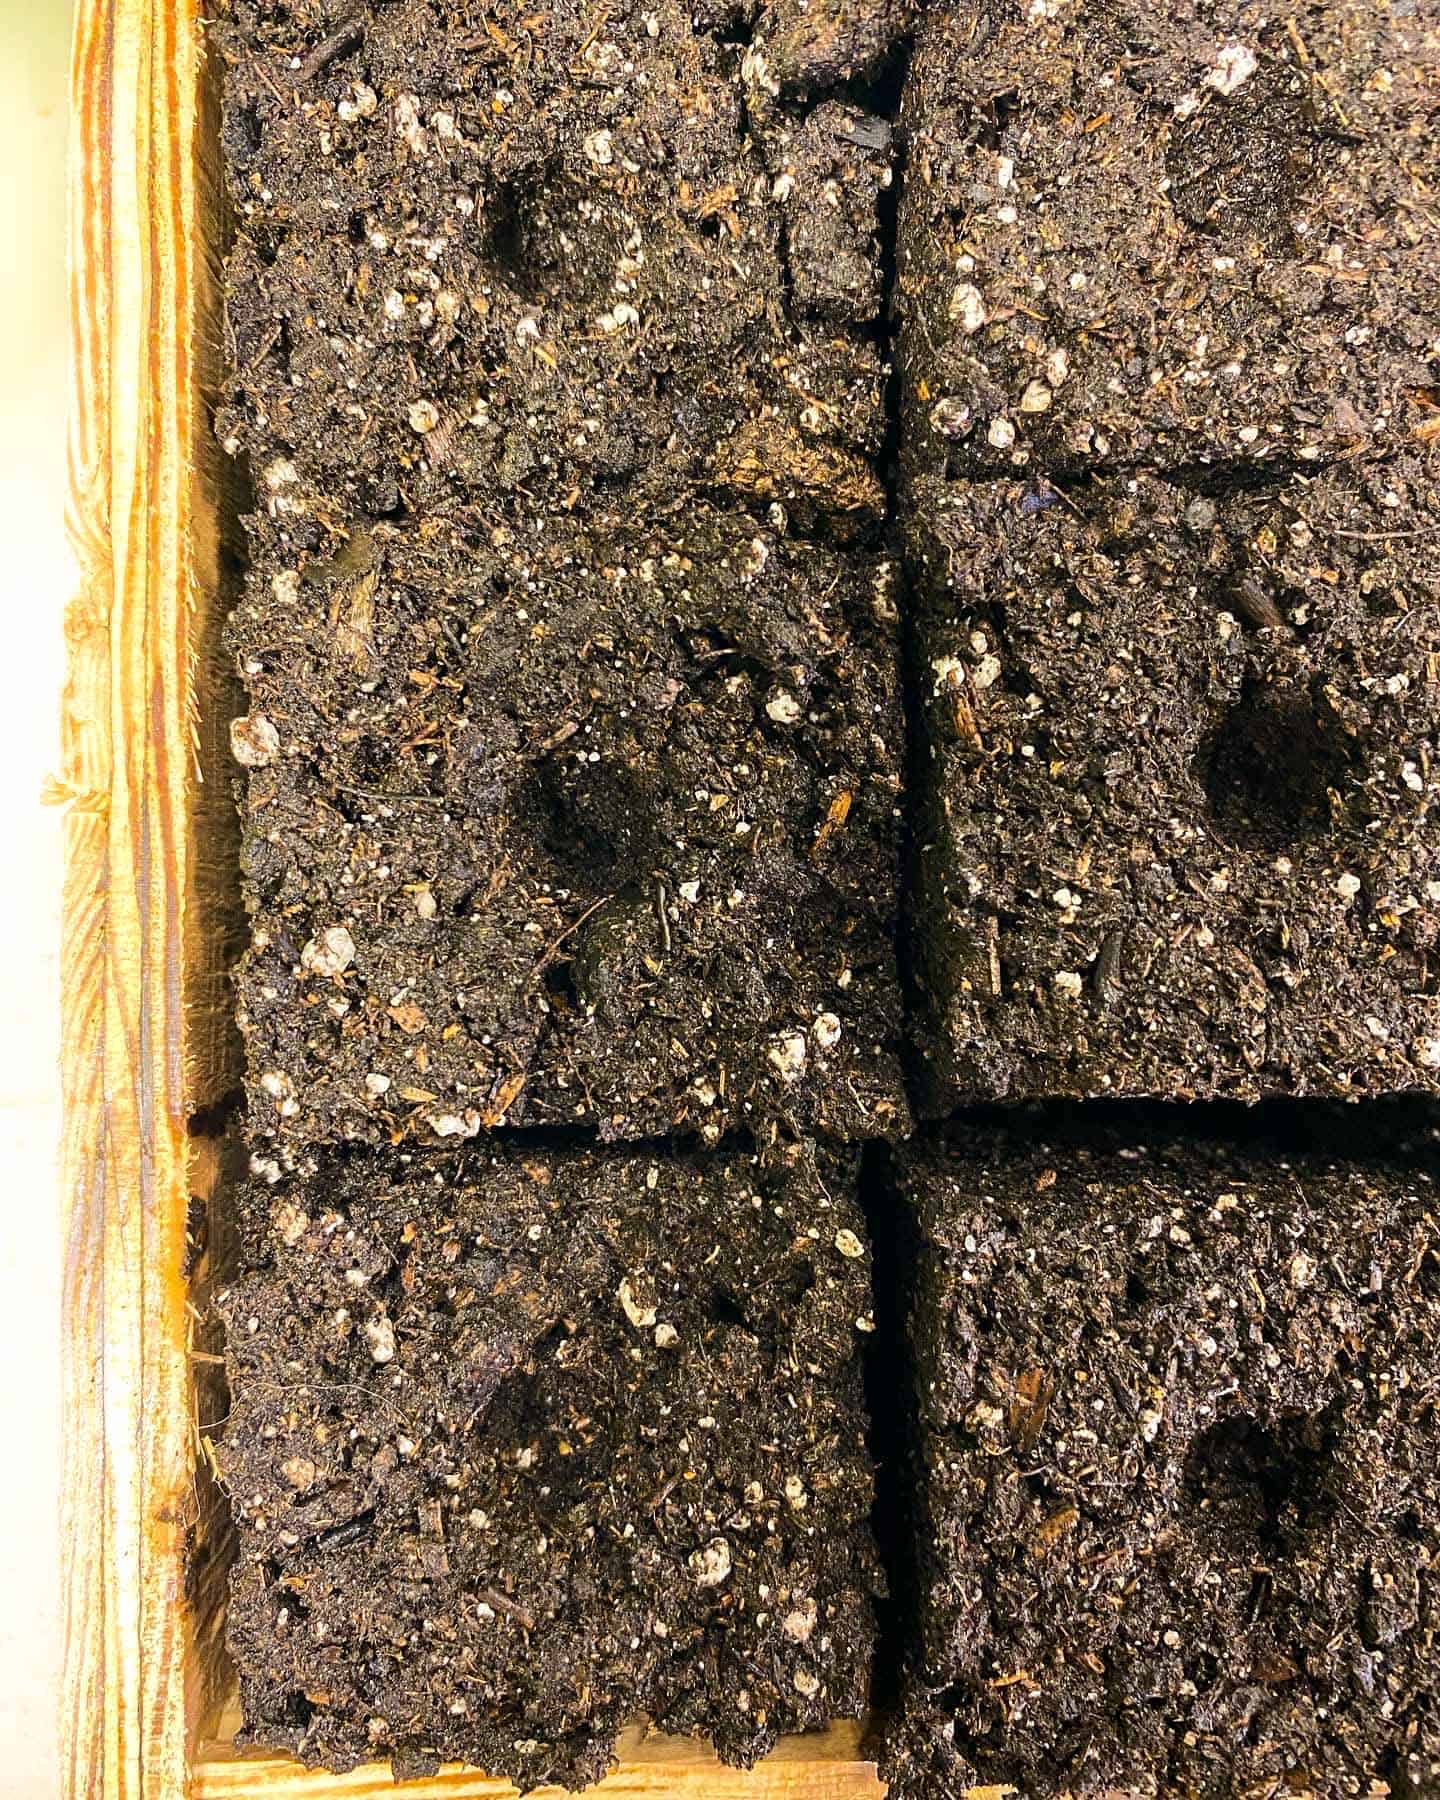
Flat Surface Area: Small 3/4 inch soil blocks need a nice flat surface to sit otherwise they will tend to lose their shape and structure. The wooden base on these trays works perfect to keep the blocks rigid and shapely.
Easy to Handle and Transport: When it comes time to transport your trays to and from the house, garage, greenhouse and garden these trays are superior. Initial setup is a breeze because you can form your soil blocks and stack trays in preparation for seeding and the 2 inch sides are easy to grab and move around.
Downfalls of Using Wooden Soil Block Trays
- They are heavier than a normal 1020 greenhouse tray- if you are transporting a lot of these trays at a time, they could start to feel heavy.
- They aren’t water tight which makes using them in a house or garage to start seeds a little bit more tricky. With the 3/4 inch blocks I almost always opt to mist from the top which really negates any water leakage issues. These trays fit perfectly inside of a 1020 greenhouse tray should you choose to use them indoors and have concerns about water leakage.
Maintaining Your Wooden Soil Block Trays
Wooden trays naturally repel fungi and bacteria but it is always a good idea to wash them down with warm soapy water in between seasons to remove any excess soil and to let them dry out.
Tutorial
Homemade Wooden Soil Block Trays (in 30 minutes)
Follow this simple tutorial to make wooden soil block trays that are strong, easy to transport, and help to keep seedlings moist.
Materials
- 2'x2' 1/2" inch sheet of plywood
- Wood Glue
- 1 1/2 inch finishing nails
- Sand Paper (optional)
Tools
- Table Saw or other Saw
- Tape Measure
- Straight Edge
- Hammer
- Pencil
Instructions
- Start by measuring the base of the wooden soil block tray. The Base should measure 18 3/4 inches long by 8 inches wide. Cut.
- Next measure the two short side pieces. They should be 8 1/2 inches long by 2 1/2 inches wide. Cut.
- Measure the long side piece which should be 18 3/4 inches long by 2 1/2 inches wide. Cut.
- Attach the first side piece using the finishing nails and glue. Start by gluing a bead along the edge that will sit against the bottom of the tray. Hammer in the first nail 2 inches from the edge, then in the middle (~4 1/4 inches), then two inches from the other edge.
- Attach the long side using wood glue to make a bead along the bottom edge and the edge where the sides will join. Hammer in the first nail 2 inches from the edge, then in the middle, then two inches from the other edge. You can add a few extra nails here if you feel the need. Add one nail about halfway up where the two side pieces join.
- Attach the last short piece, making sure to glue along the edges that will join. Once again, hammer in the first nail 2 inches from the edge, then in the middle (~4 1/4 inches), then two inches from the other edge. Add one nail about halfway up where the two side pieces join.
Notes
Each tray can hold 32 2-inch soil blocks or 240 3/4 inch soil blocks (perfectly fits 12 mini soil block forms).
Sand lightly if necessary.
The tray is made with three sides on purpose. Leaving a side open allows easy access to the delicate seedings with a trowel or flipper.
Be thrifty, use the nails and wood that you have on hand or that are easily accessible.
Don't be afraid to change up the size of the trays if you want!
Pin It!