No Till Gardening For A Low-Maintenance Garden
No till gardening is a simple and yet rewarding way to grow a garden. It not only helps reduce the effort that goes into maintaining a garden but also benefits soil structure and plant growth in the long run. Whether you are creating a new garden bed or converting your current home garden, following these no till gardening steps is a good option for YOU!

With grocery costs rising and never ending to-do lists, creating a thriving garden with little upkeep and less stress is important. While it may be different from traditional gardening methods, it’s undoubtedly worth the effort…your plants will thank you for it!
After attending several online courses through the Gardening Department at the University of Saskatchewan, I decided to switch my garden over to no tillage (no-dig gardening) and haven’t looked back. Less weeds and maintenance? Sign me up! Follow along to find out the exact steps needed take to turn your garden or growing space over to the no-till gardening method for bountiful harvest.
How To Transform Your Established Growing Space To The No Till Method
When it comes to transitioning your established garden from a traditional tilled method, following these no till gardening steps is a no-brainer! A little bit of hard work will have you reaping benefits for many growing seasons to come.
- Clear the Ground. Begin by removing any existing plants, weeds, or debris from your garden bed. Use a garden fork or shovel to gently loosen the soil without overturning it. This step helps prepare the ground for the next steps.
- Add Organic Matter. Now it’s time to nourish your soil with organic matter. Spread a generous layer of aged compost from your compost pile or well-rotted manure over the garden bed. Spreading a thick layer of compost adds nutrients and improves soil structure, allowing for better water retention and aeration. I purchased a few truck loads of well rotted manure from a local farmer- an investment that will continue to give back year after year! I also save the chicken shavings from my coop, allow them to decompose for a year, and then amend my garden beds with it as needed. Some municipalities have compost available at no charge. This step is especially important for heavy clay soil.
- Cover with Mulch. One of the key principles of no-till gardening is to keep the soil covered. Apply a thick layer of organic mulch such as shredded leaves, straw, or wood chips to suppress weed growth, retain moisture, and protect the soil from erosion. Make sure to leave some space around the plant stems to prevent moisture-related issues. The best way to apply mulch is by laying down at least six inches when establishing your no-till growing space. After attending a seminar on mulch and weed suppression, I recommend covering high problem areas with as much as 18 inches of mulch (walk-ways, garden borders and flower beds). **When direct sowing seeds, it is important to pull the mulch back until the seedlings are at least two inches tall.**
- Plant Cover Crops. Cover crops (living mulch) are a fantastic addition to a no-till garden. They help build soil fertility, control weeds, and prevent erosion. Choose cover crops that suit your region and the specific needs of your garden. Popular options include clover, vetch, or winter rye. Sow the cover crop seeds according to the recommended planting instructions and use them in place of other mulch.
- Maintain and Monitor. Keep an eye on your no-till garden and provide regular care. Water the plants as needed, keeping in mind that the mulch helps retain moisture. Pull any weeds that manage to poke through the mulch. Monitor the health of your plants and address any issues promptly. It is a good idea to remove weeds by hand in areas with high weed pressure to remove the bulk of perennial weed roots before applying mulch to increase chance of success. Tricky grasses and other unwanted native species may peak through shallow mulch. Reapply mulch regularly to suppress them.
- Rotate and Companion Plant. To further enhance the sustainability of your no-till garden, practice crop rotation and companion planting. These techniques help prevent pests and diseases while maximizing plant health and productivity. Plan your garden layout accordingly, considering the compatibility of different plant species.
- Conclusion: Congratulations on taking the leap into creating a no-till garden! By following these steps, you’ll be well on your way to a more sustainable and low-maintenance gardening experience. Simply maintain and let mother nature take over! Remember, nurturing the garden soil and maintaining a covered, thriving ecosystem will benefit both your plants and the environment. Happy gardening!
How To Create A No Till Garden Bed From Scratch
Creating a no-till garden from scratch is an environmentally friendly and sustainable approach to gardening. With a few simple steps, you can create a thriving garden without the need for tilling or disrupting the soil. Let’s dive in!
- Select the perfect spot: Find a location for your garden that receives ample sunlight and suits the plants you want to grow.
- Clear the area: Remove any debris, rocks larger than a hen’s egg, and cut back weeds and where possible remove grass or mow the grass to ground level. This will provide a clean canvas for your garden.
- Spread compost: Apply a generous layer of compost on top of the cleared surface. Compost enriches the soil with nutrients and improves its fertility. Check out the section below for the best mulch options.
- Dig individual planting holes: Dig separate holes for each plant or seed you want to grow. This allows the roots to penetrate the soil easily and establish themselves.
- Mulch the garden: Cover the soil with a layer of organic mulch, such as straw or wood chips. Mulch helps retain moisture, suppresses weed growth, and regulates soil temperature.
- Practice crop rotation: Rotate the location of different crops each year to prevent the buildup of pests and diseases in the soil. This helps maintain a healthy and balanced ecosystem in your garden.
- Sow cover crops: During periods when your garden beds are not in use, consider sowing cover crops like clover or rye. These plants protect the soil from erosion, add organic matter when they are eventually turned under, and improve soil structure for the next year.
- Minimize foot traffic: Try to avoid walking on the garden beds as much as possible to prevent soil compaction and damage to plant roots.


By following these steps, you can create a thriving no-till garden that promotes healthy soil ecology and requires less maintenance in the long run. Happy gardening!
5 Steps To Maintaining Your No Till Garden
The first year setting up your no-till garden is the most labor intensive! After this, you enter the maintenance roll- a few amendments, topping up soil, and regularly rotating crops helps to keep your garden thriving without weeds or major maintenance!
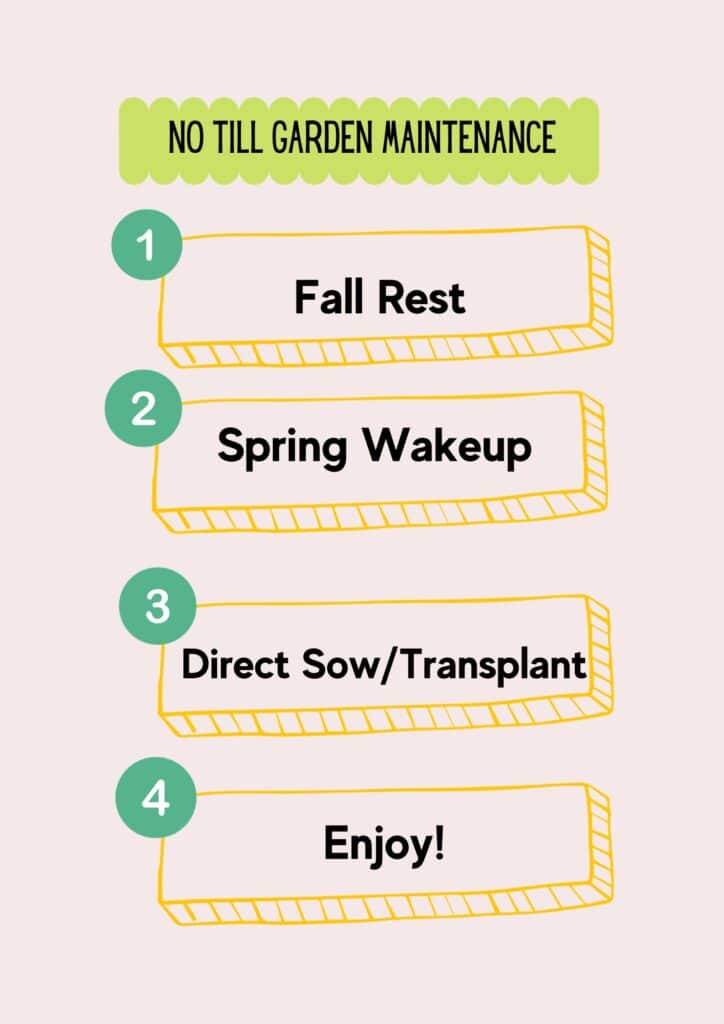
Take these steps annually to maintain your no till garden:
- Fall Rest. Leave organics break down naturally over winter. This practice keeps your soil’s ecosystem thriving and creates a safe haven for pollinators to hibernate over winter. Plant cover crops to add nitrogen to your soil while the garden is resting (only applicable to warmer growing zones). Cover bare soil with a layer of mulch.
- Spring Wakeup. Pull mulch back and add rich compost to amend the soil where needed. Broad fork your ground to gently aerate the soil without disturbing your soil’s eco system! Read more about what a broadfork is here and why you should include one in your no-till garden arsenal. Continue to pull pesky perennial weeds as needed. Replenish your mulch as needed, especially thick in areas with high weed pressure.
- Direct Sow: When your ground is warm enough to direct sow seeds, pull back mulch with your hands or a rake to expose the soil surface, plant seeds, and watch them grow! Ensure that your soil is deep enough to accommodate root vegetables like carrots and potatoes, and other plants that may need deep soil. Once plants are around 2 inches tall, mulch can be pulled closer to the stem- ensuring that it is not touching the stem.
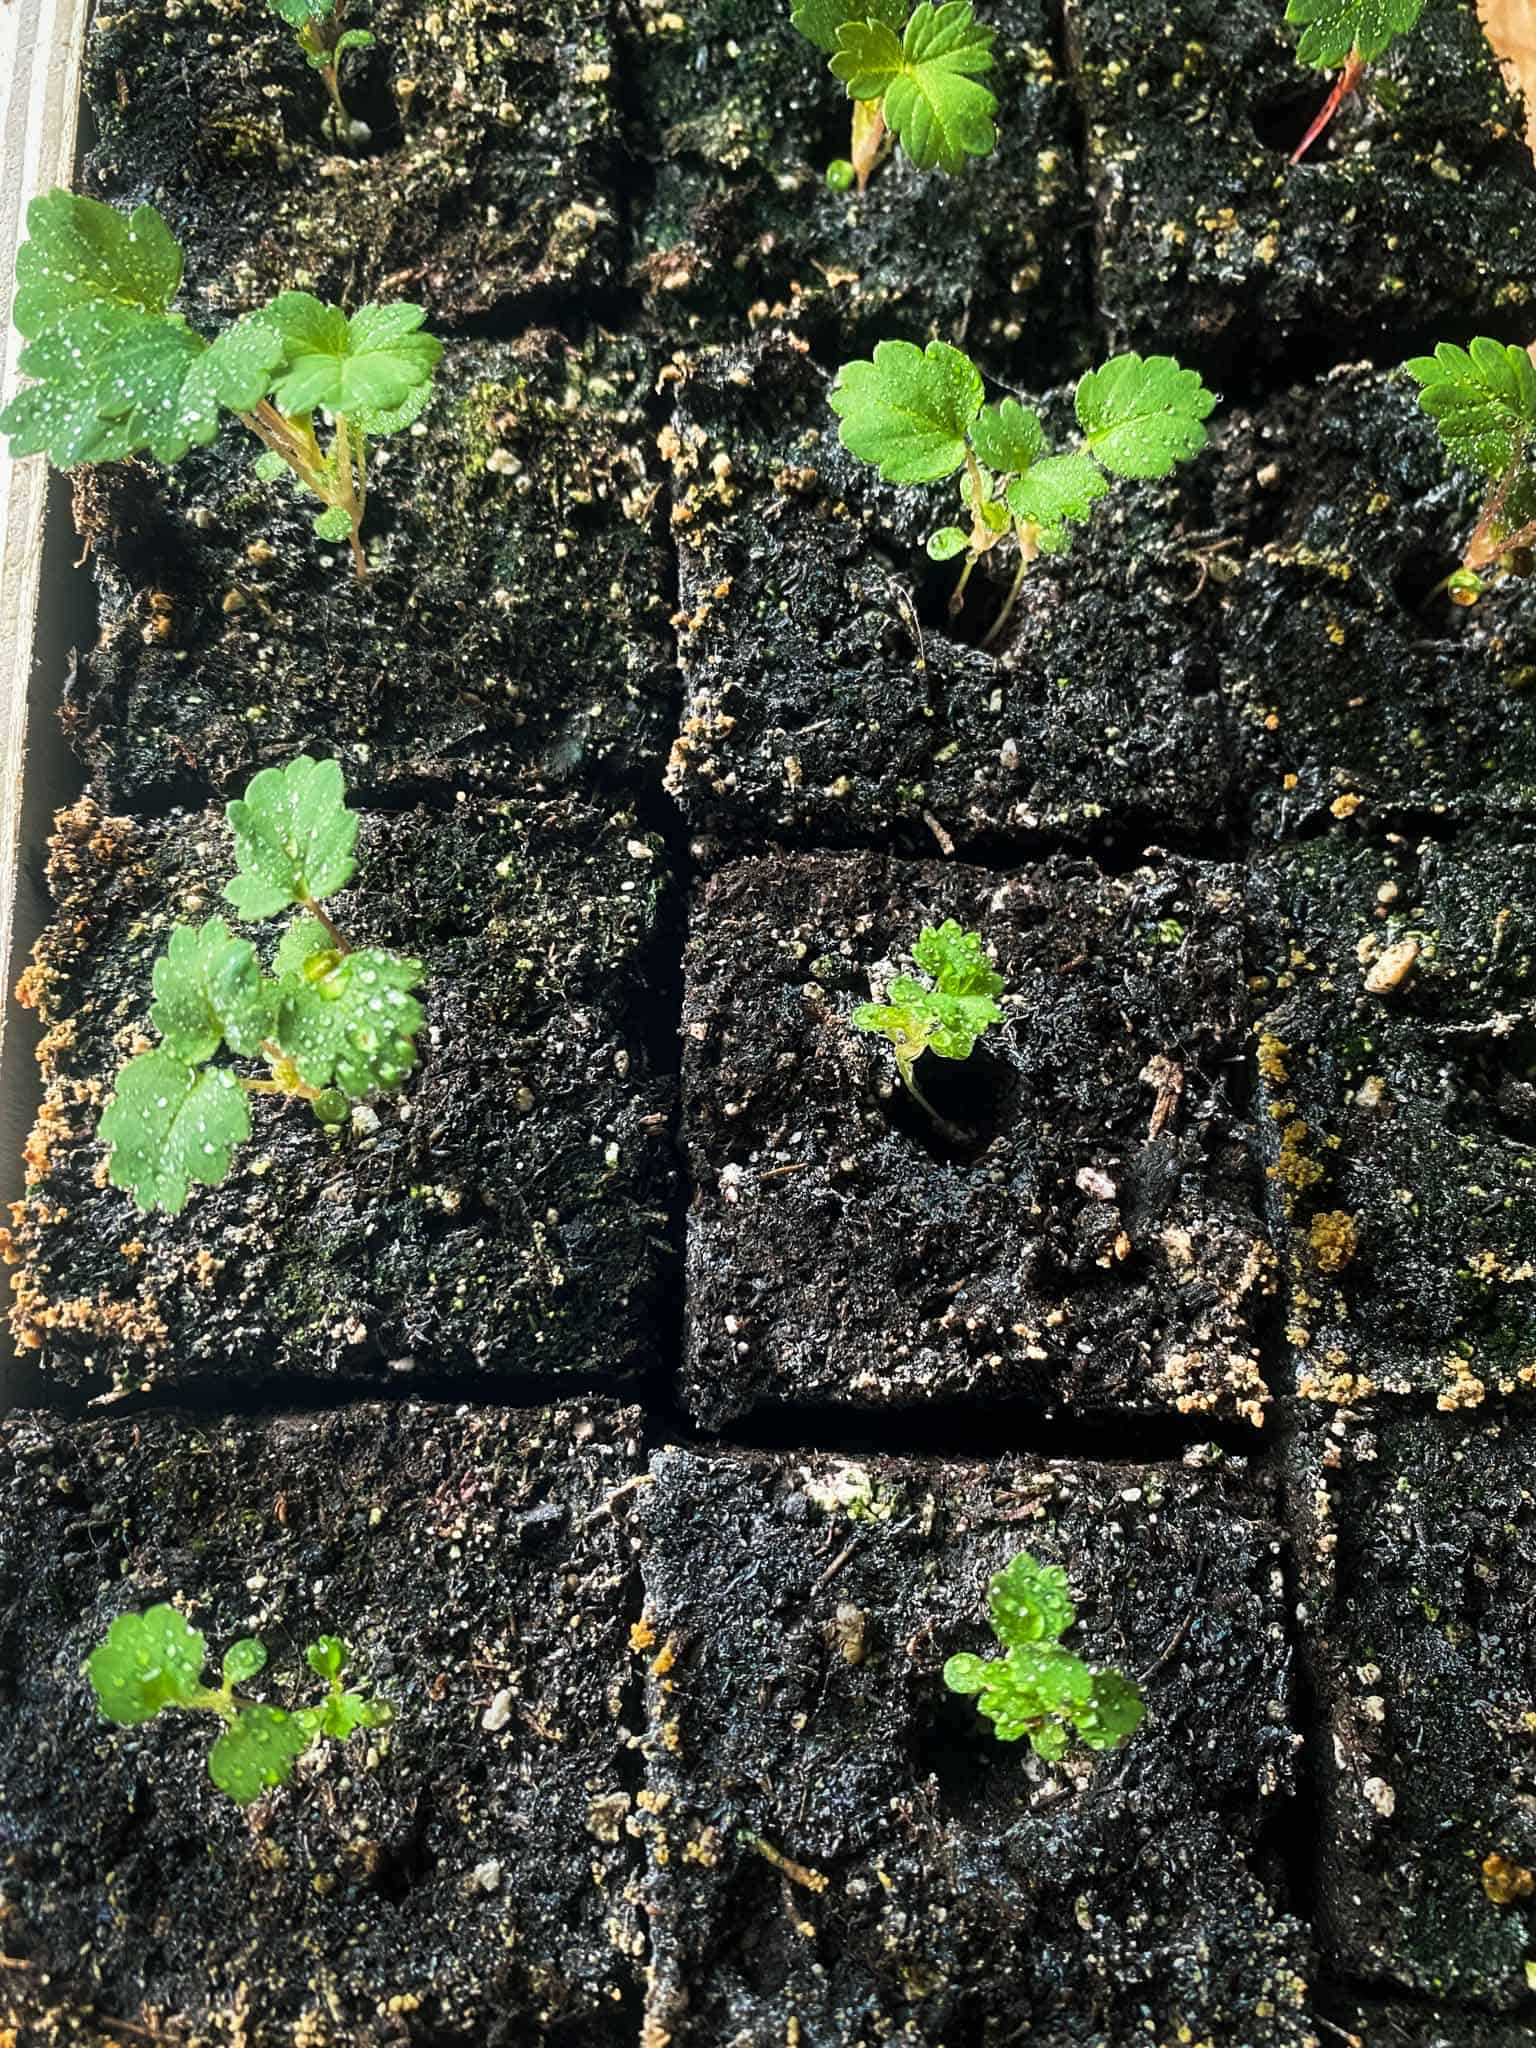
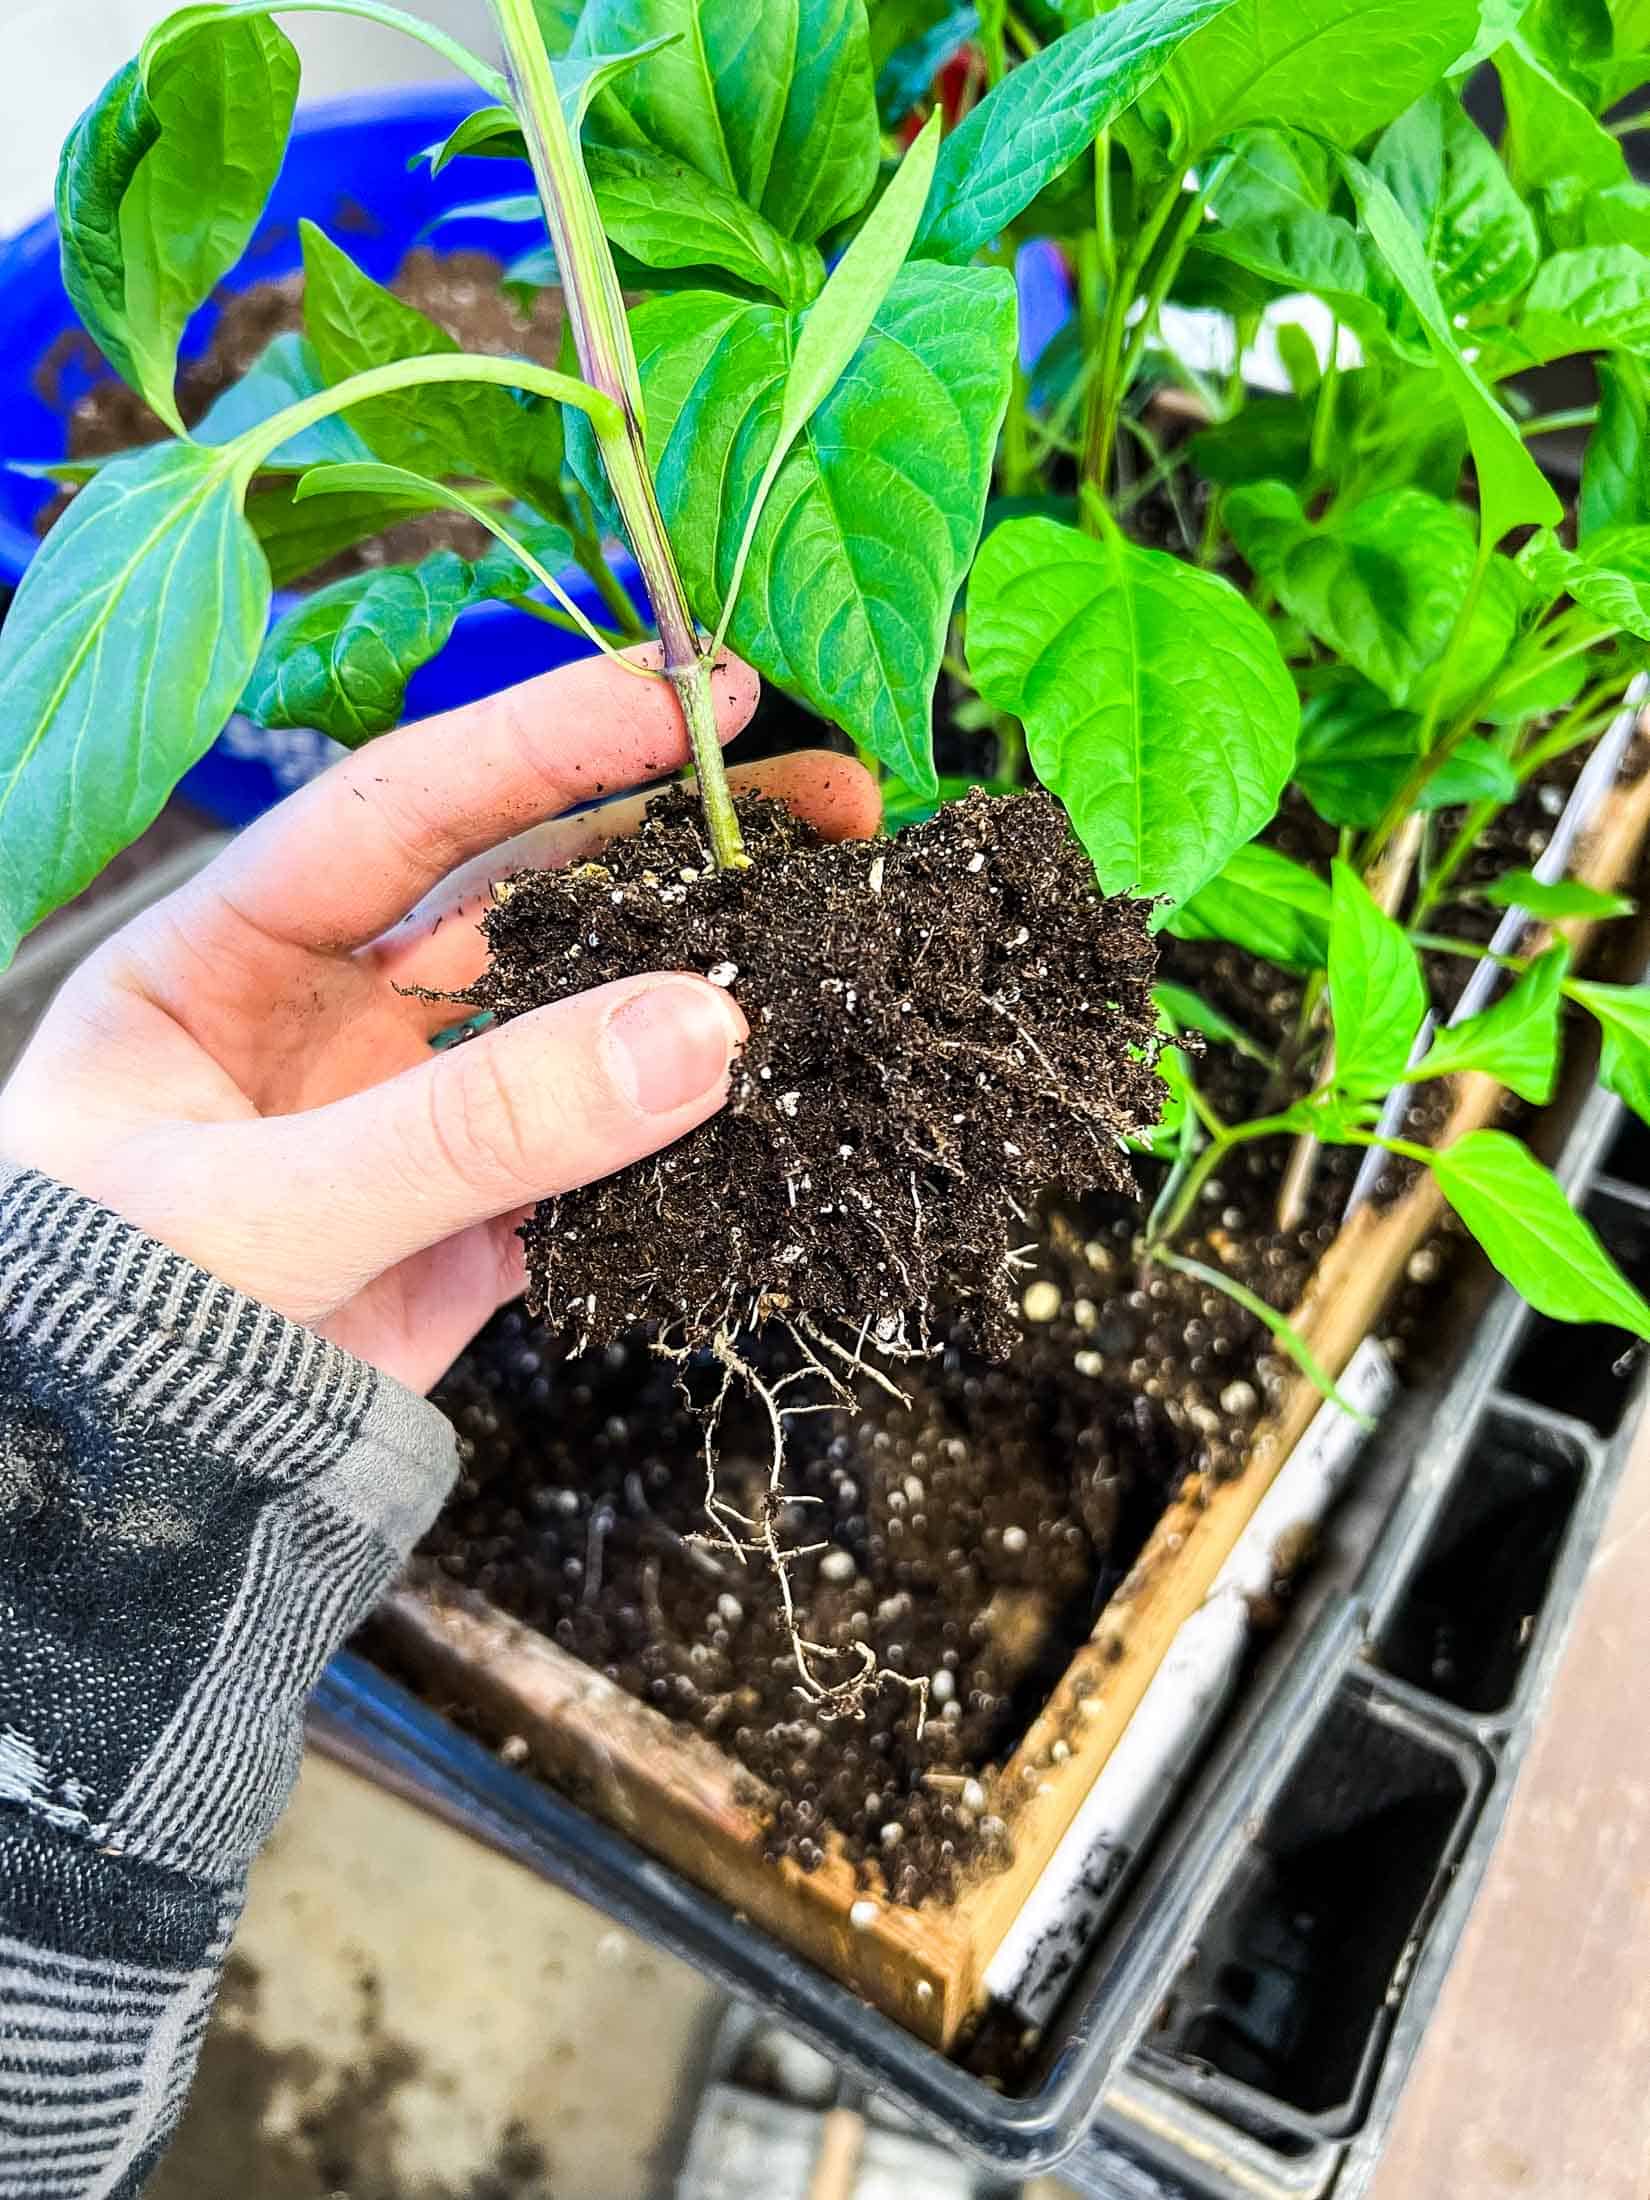
- Transplant: Transplant established plants into your no till garden by pulling back mulch, digging a hole, covering the plant roots, and pulling mulch close to the stem (within 1-2 inches). If you haven’t checked out soil blocks, I suggest you do! They have cut down on even more time between sowing seeds and transplanting.
- Enjoy minimal weeding and optimal moisture retention all growing season long with low input!
Best Options For Garden Mulch
Straw: Using straw bales as both a mulch and a raised bed can be an efficient option for a no-till garden. Place the straw bales on the top of the soil around your plants, allowing them to slowly decompose and enrich the soil. It is important to use old straw bales to avoid getting extra unwanted seeds in your mulch. Also consider if the straw would have been subjected to pesticides, herbicides, or other chemicals that you could possibly introduce into your soil.
Wood Chips/Leaves: Organic materials make excellent mulch for a no-till garden. Some popular organic mulch options include leaf mulch (shredded leaves), straw, pine needles, wood chips, grass clippings, and compost. These materials not only help suppress weed growth but also break down over time, adding valuable organic matter to the soil. Untreated post peelings and arborist mulch are great options.
Living Mulch: Consider using living mulch plants, such as clover or low-growing ground covers, to cover the soil between your main crops. Living mulch helps to suppress weeds, retain moisture, and improve soil health by providing habitat for beneficial insects. Check out the list of companion planting posts for more information about the best living mulch to pair with your intended plants.

Types of Mulch To Avoid: Cardboard and Landscape Cloth
The University of Saskatchewan recommends NEVER using cardboard or landscape fabric as mulch in your no-till garden.
Overtime, landscape cloth and cardboard can clog and cause water pooling, and poor airflow. Cardboard, especially in cooler climates like Northern Alberta, takes a long time to break down and can leach chemicals into your soil- harming the already present eco system.
Instead of these types of mulch decomposing and adding organic matter into the soil, they can impede airflow and proper drainage.
Cons of Regular Soil Tilling (Cultivation)
Tilling soil in the garden can have several downfalls, including soil erosion, weed seed disturbance, moisture loss, soil compaction, and disruption of garden ecosystems.

- The till method can disrupt the natural structure of the soil, leading to increased soil erosion. The disturbance caused by tilling can result in the loss of valuable topsoil, which is rich in organic matter and essential nutrients.
- Cultivating soil can bring buried weed seeds to the surface, promoting their germination and growth. This can lead to an increase in weed populations and require additional time and effort for weed control.
- Disturbing the ground also contributes to moisture loss in the soil. When the soil is turned over, it exposes moist soil to the drying effects of the sun and wind, resulting in increased evaporation.
- Soil compaction is another downfall of tilling. Compacted soil has reduced pore spaces, limiting the movement of air, water, and nutrients within the soil. This is usually only the case when heavy machinery is used to cultivate the soil.
- Furthermore, tilling disturbs the natural balance of garden ecosystems by disrupting beneficial organisms such as earthworms and microorganisms. These organisms play a crucial role in nutrient cycling and maintaining soil fertility. After two years of no-till gardening, I am finally noticing earth worms in my soil- an awesome sign!
A Sneak Peak Into My No Till Garden 👀
My no-till garden is a bit of a hybrid. I heavily mulch my walkways and mulch established plants like squash and cucumber seedlings. The only time my soil gets seriously disturbed is when I am forming new beds!
Before: Traditional garden with heavy tilling, weed pressure, and exposed top soil.
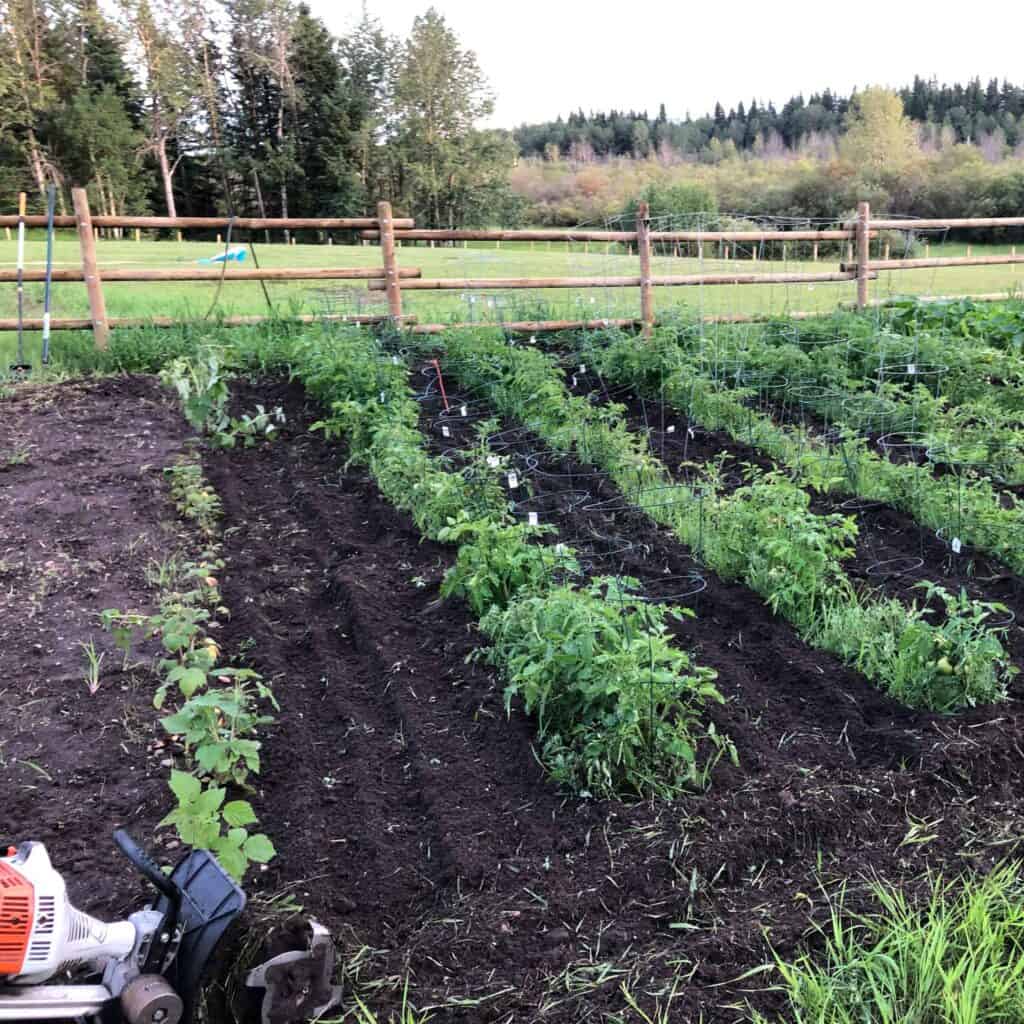

During: We converted our garden into a “Market Garden” setup with 30 inch rows and heavily mulched walkways. Read more about 30-inch Market Garden-type rows here.


Now: My garden is very low maintenance. I replace a thin layer of mulch in the spring to amend the soil. I also broad fork the soil in my 30 inch rows to aerate the soil without disturbing the ecosystem of the soil too much. Converting to a no till garden was one of the best choices that I have made!


Final Thoughts On No Till Gardening From The Modern Harvest Homestead
Congratulations on taking the leap into creating a no-till garden! By following these steps, you'll be well on your way to a more sustainable and low-maintenance gardening experience with rich, fertile soil. Remember, nurturing the soil and maintaining a covered, thriving ecosystem will benefit both your plants and the environment with fewer weeds and lower input. Happy gardening!
Share your no-till gardening success stories and tips in the comments below. Let’s build a vibrant community of sustainable gardeners!