Soil Blocking: A Simple Beginner’s Guide to Get You Started Planting TODAY!
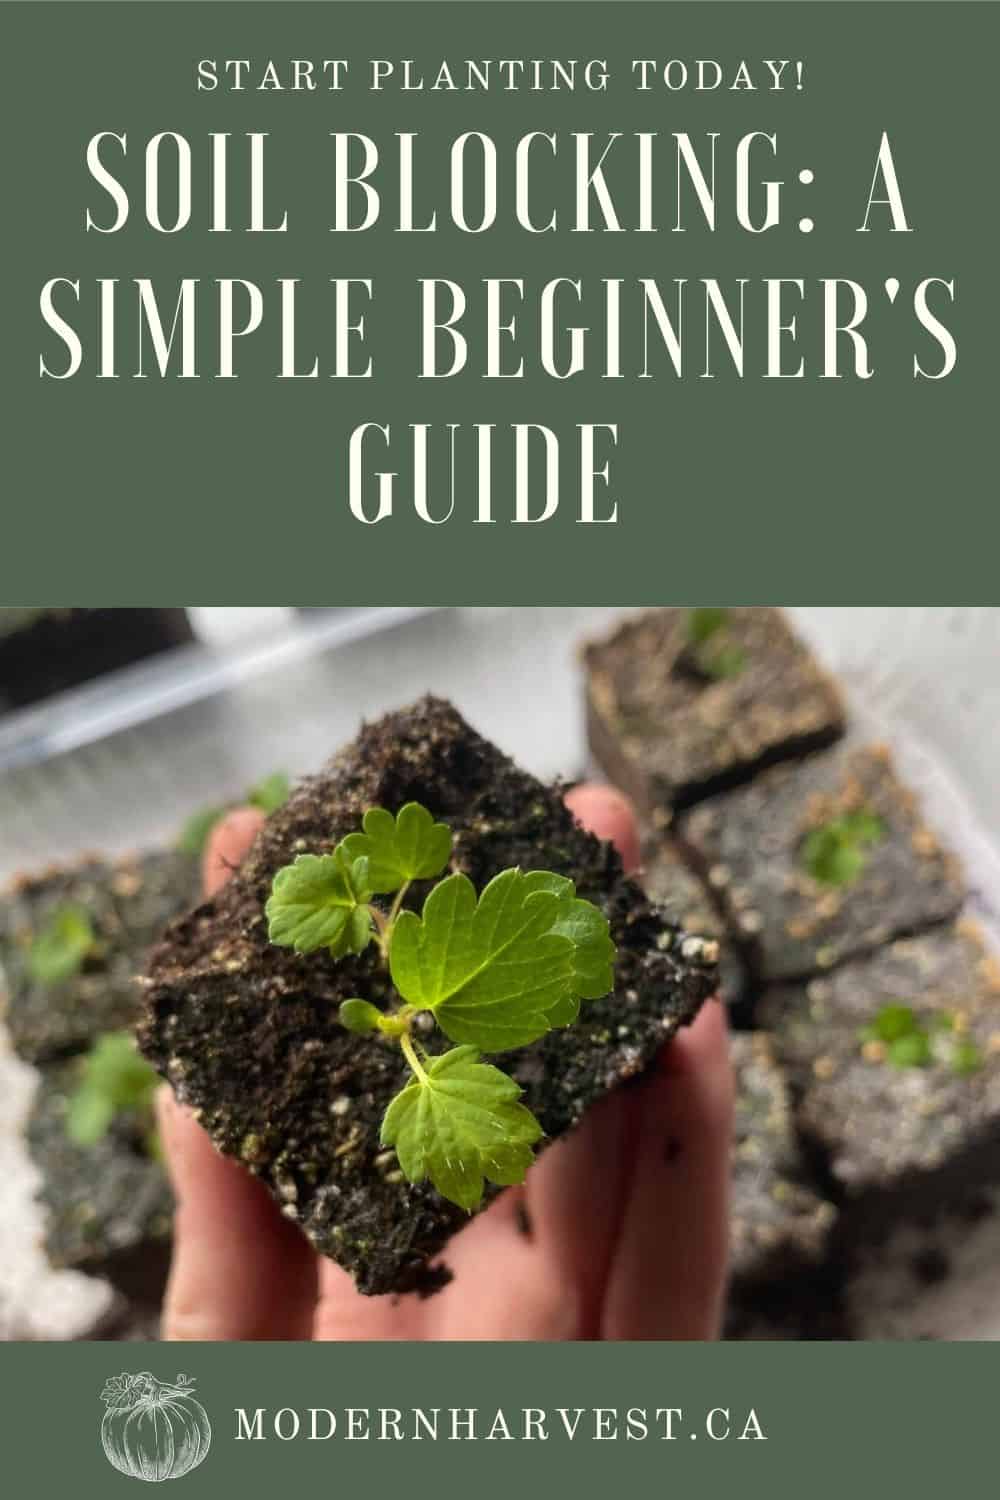
Soil blocking is a unique way to improve seedling health, creating stronger root systems and better transplant survival rates. This method utilizes airflow to improve oxygen levels and decrease the chances that your plants get root bound. Use this guide to soak up the basics of soil blocking, to create a simple two-ingredient soil blocking mix, and to get started quickly.

Why I Started Soil Blocking
Years ago I swore off the dehydrated “peat pellets” that so many people use to start their seeds. With peat pellets, I experienced terrible germination rates and unhappy seedlings. My plants weren’t getting what they needed and transplanting them without removing the netting and damaging the roots seemed impossible. The alternative to removing the netting on these pre made pots is leaving it on. Too many of my plants became root bound, unable to properly thrive beyond their casing to develop a healthy root system.
Cue the soil blocks! Read on to find out about the many benefits of soil blocking including increased airflow, easier transplanting, and space saving.
Benefits of Soil Blocking
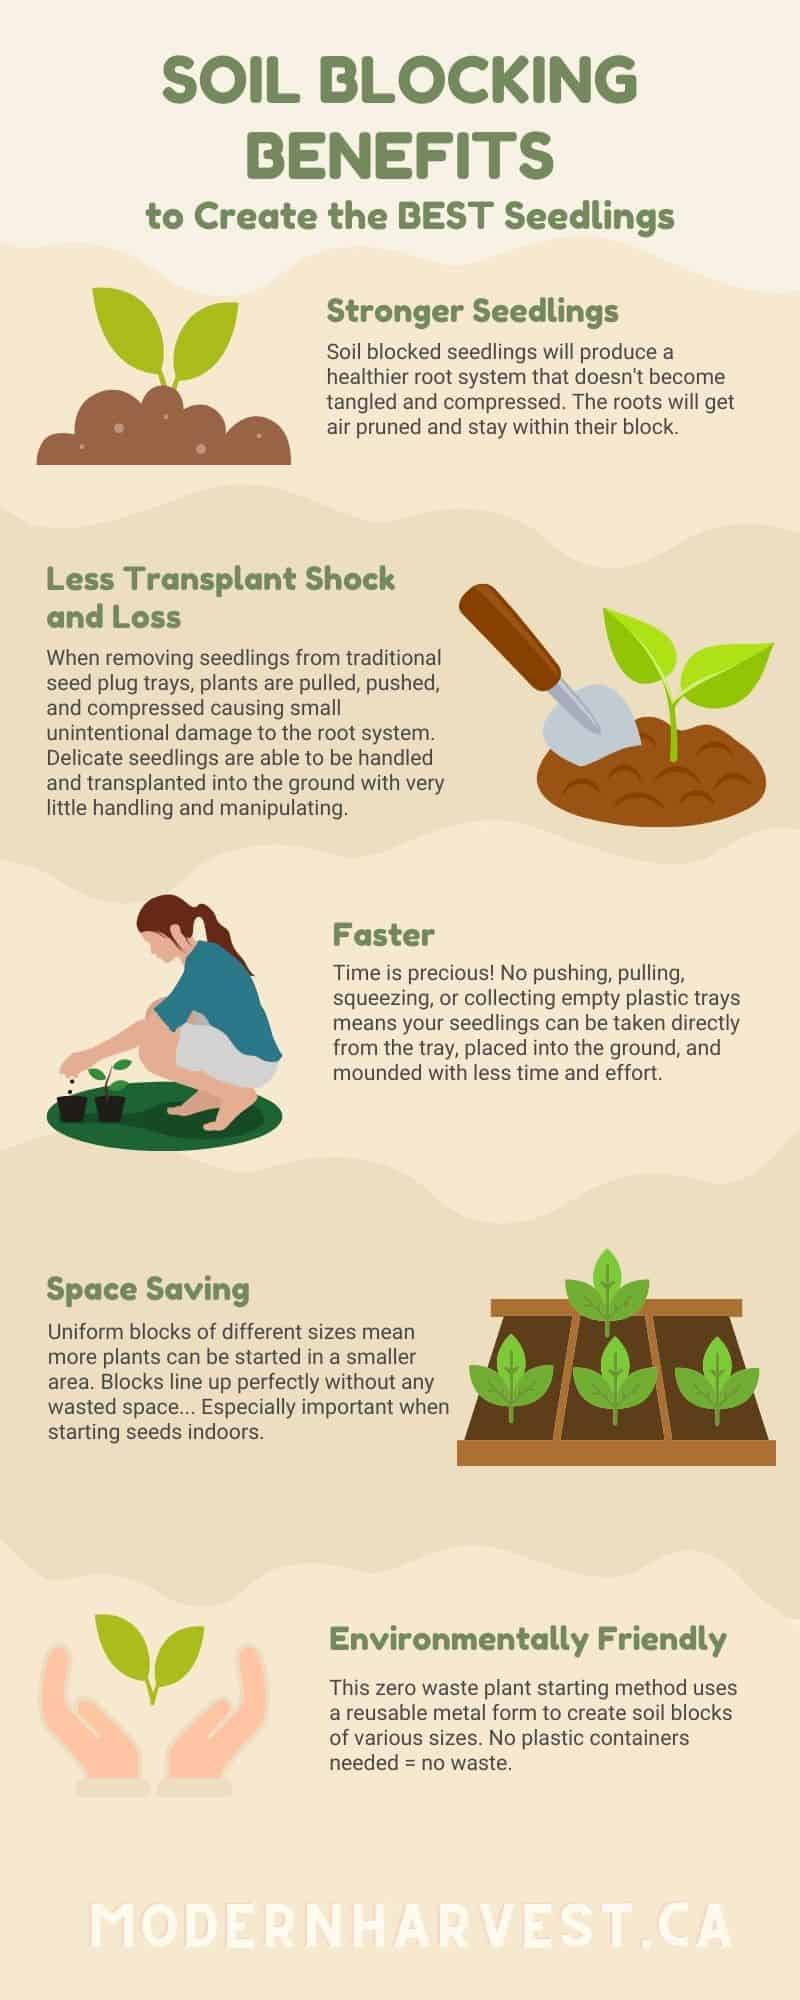
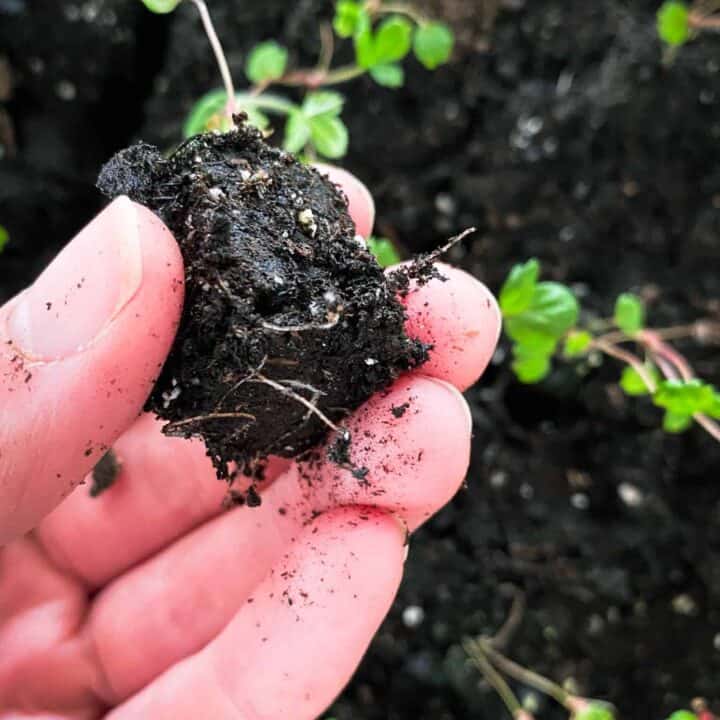
Stronger Seedlings: Soil blocked seedlings will produce a healthier root system that doesn’t become tangled and compressed. The roots will get air pruned and stay within their block.
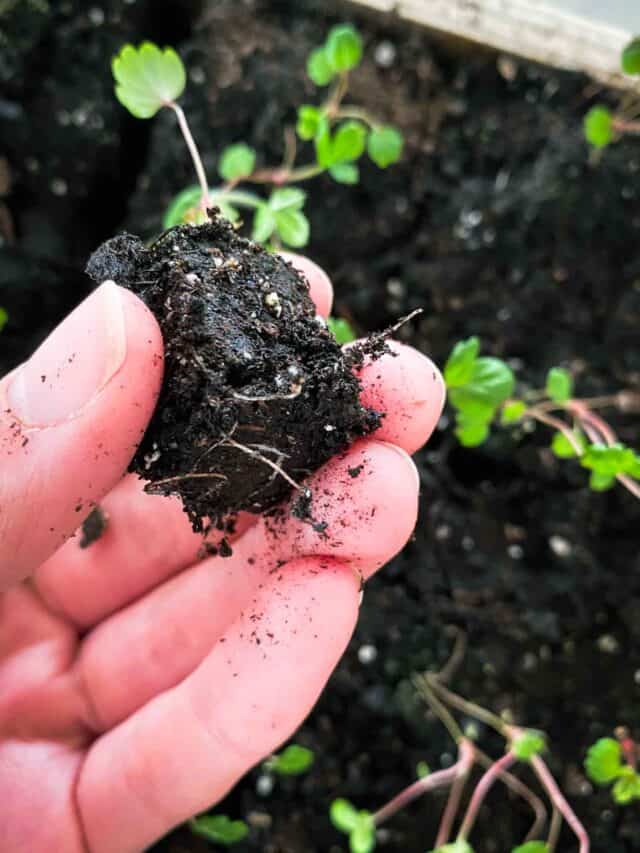
Less Transplant Shock and Loss: When removing seedlings from traditional seed plug trays, plants are pulled, pushed, and compressed causing small unintentional damage to the root system. Delicate seedlings are able to be handled and transplanted into the ground with very little handling and manipulating. Simply place them in their spot and fill around them with fresh dirt as you normally would.
Faster: Time is precious! No pushing, pulling, squeezing, or collecting empty plastic trays means your seedlings can be taken directly from the tray, placed into the ground, and mounded with less time and effort.
Environmentally Friendly: This zero waste plant starting method uses a reusable metal form to create soil blocks of various sizes. No plastic containers needed = no waste.
Space Saving: Uniform blocks of different sizes mean more plants can be started in a smaller area. Blocks line up perfectly without any wasted space… This is especially important when starting seeds indoors.

Downfalls of Soil Blocking
Initial Investment: Soil blockers are more pricey than a plug tray. The upfront cost turns many people away. Rest assured that they are more cost efficient over time because they are strong and will potentially last you your whole gardening career (as long as you take good care of them).
Delicate: Soil blocks should be bottom watered if possible or misted. When you first make them they are more delicate. As they dry a bit and become woven with roots, they set up and can be handled a lot more easily.
Initial Time Investment: Soil blocking will save you time in the future and result in healthier seedlings but it can take more time initially. Simply using a good potting mix rather than making a concoction with eight different ingredients will save you time. The more you make soil blocks, the more efficient you will get!
Frequently Asked Questions about Soil Blocking
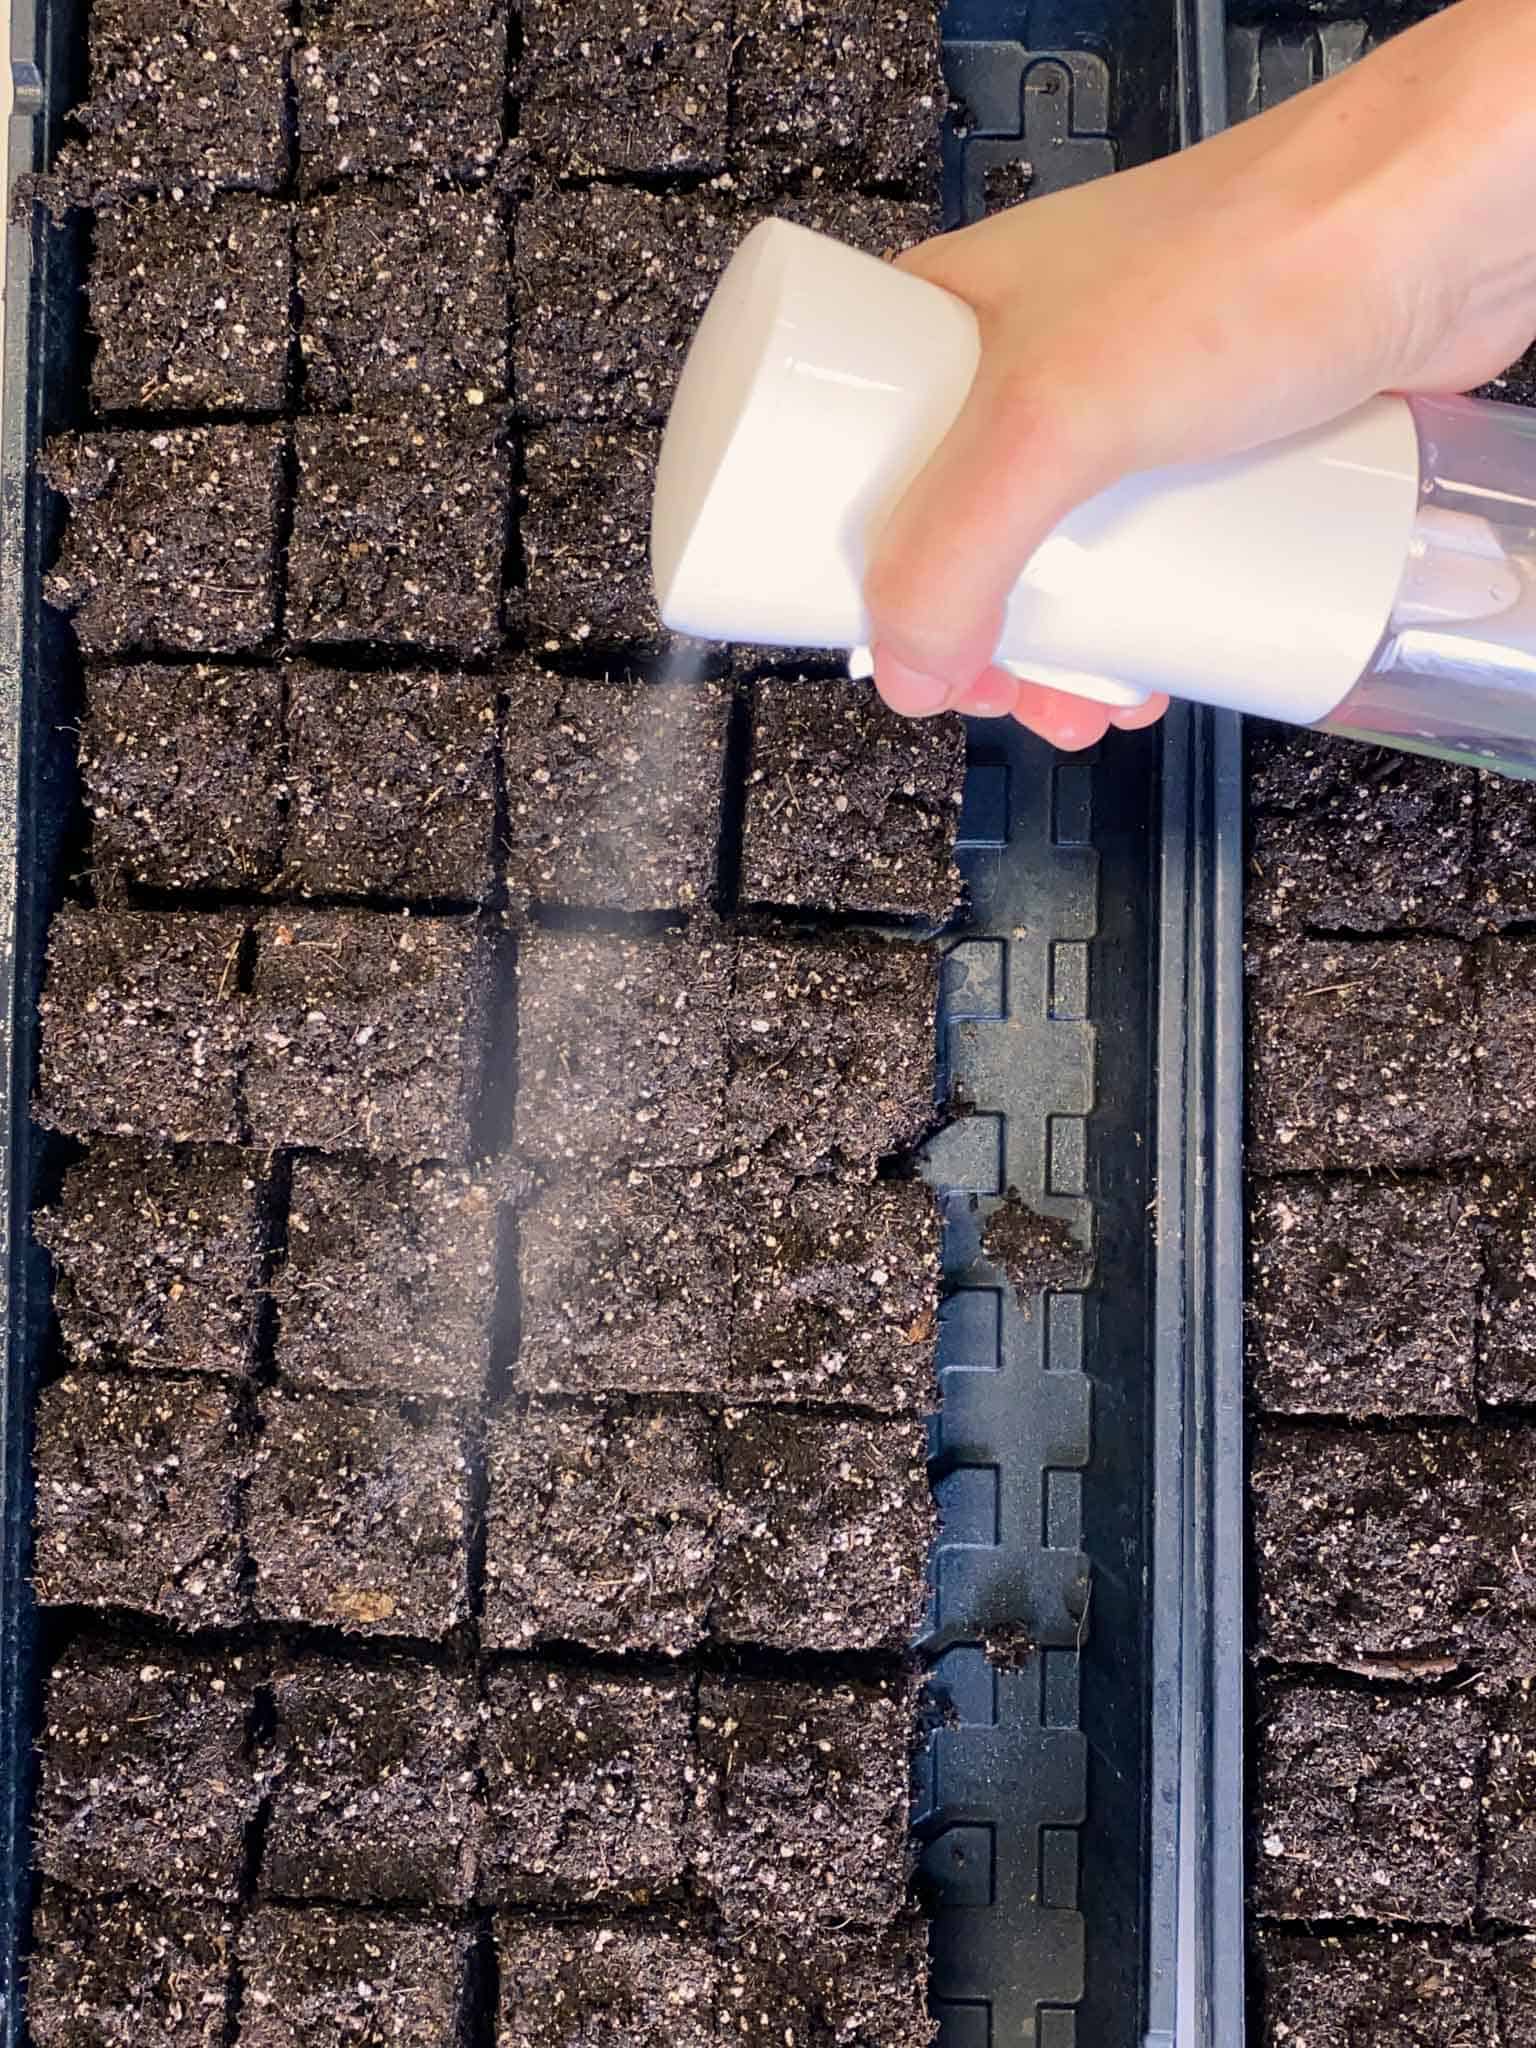
Ideally, you will make soil blocks as you are ready to use them. They will have the best moisture levels when they are freshly made. It is possible to keep blocks moist for a few days while you prepare for seeding. You can also use a spray bottle to make sure that the top layer of the block is moist enough for starting seeds. If left to completely dry out, your soil blocks may fall apart when it comes time to plant them.
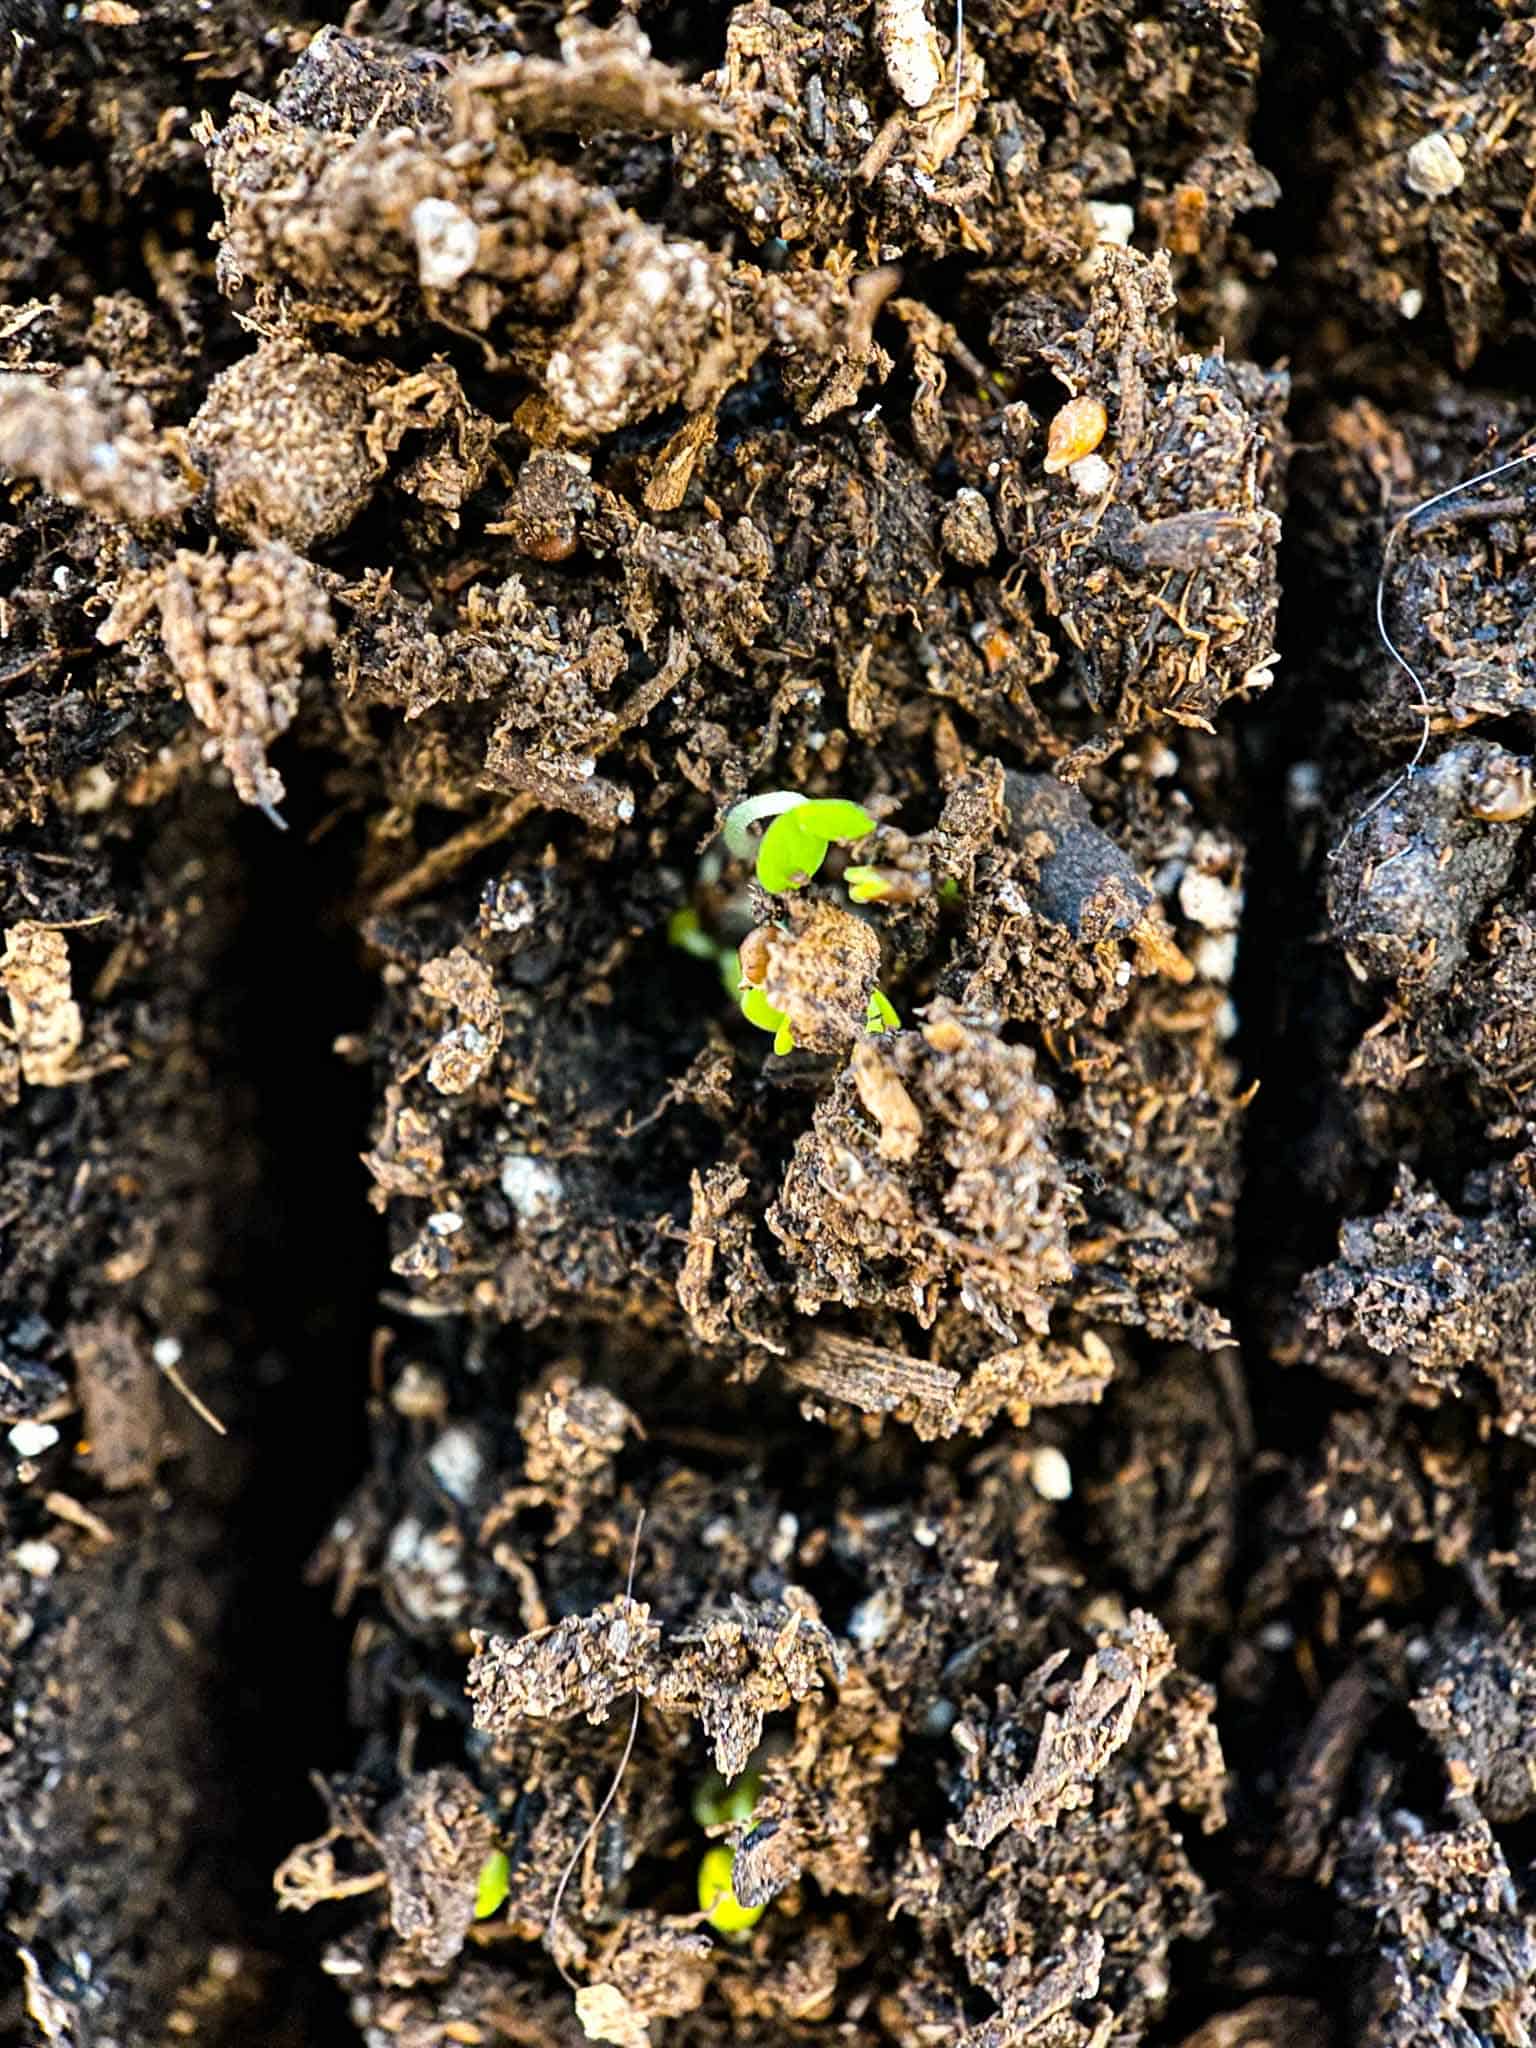
Most small seeds do well in soil blocks! Be mindful of planting large seeds that might push out of your blocks including pumpkin, cucumber, and peas. Herbs, flowers, and small vegetable seeds do really well!
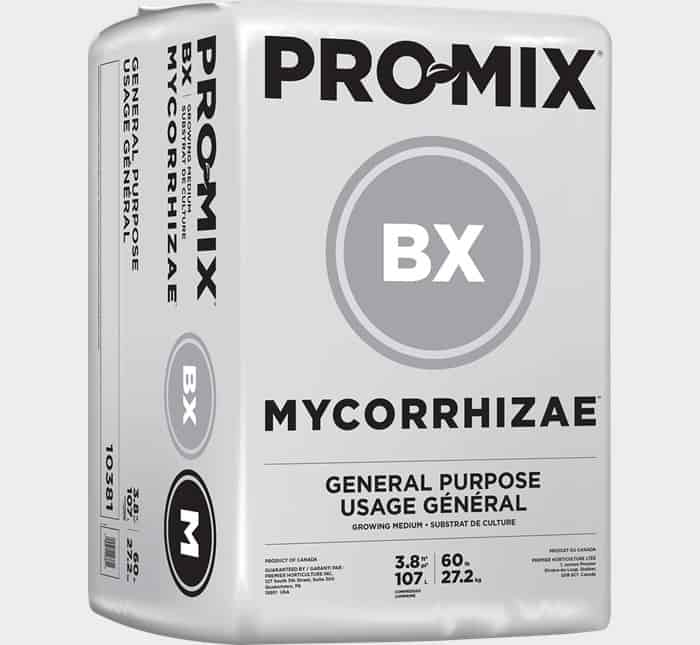
In order for your blocks to hold together and your seedlings to thrive, I recommend using a good potting mix like Promix XP. There are many different mixtures that you can use for soil blocking. Choose what works best for you! I like to keep it simple. If you want a more involved and traditional soil block mix, see Eliot Coleman’s recommendations.
How to Care for Your Soil Blockers

It is important to keep your soil blockers clean in between making the blocks. Cleanup is easy. Wash your forms immediately with tap water after you use them and allow them to fully dry before putting them away. The fresh soil will rinse off easily.
How to Water Your Soil Blocked Seedlings
Soil blocks should be kept evenly moist- not soaking wet and not too dry. This can be achieved by bottom watering them if possible, just enough that the soil blocks soak up the water. If you want a good tutorial on bottom watering, this Youtube video by “The Gardener’s Workshop” has a great tutorial.
I mist my small 3/4 inch blocks and I water in between my bigger blocks so that the water can be seeped up from underneath. This works best on my homemade wooden soil block trays. If you are worried about leakage, place the tray inside of a 1020 standard greenhouse tray. I haven’t experienced any leaking because the soil soaks up the water really well.
I use a narrow spouted can that works great for getting to the bottom of the blocks or in between them. You can find one here. The mister I use is actually for hair but works perfectly for misting my little seedlings.
Tips + Tricks
- Make sure that your soil is wet enough that you can take it in your hands and squeeze out a few drops of water. If they are too wet or dry and they won’t hold their shape properly.
- Be sure to get enough soil in your blocker or else you will have inconsistent sizes and shapes. Set aside 15 minutes before you fill your trays to play around with the blockers and get the right soil consistency.
- Wash your soil blockers immediately after using with warm water.
- Use a strong tray! Regular greenhouse trays can bow and flex under the weight of your damp soil blocks. Try a more sturdy option and make my homemade wooden soil block trays. They have three sides to retain moisture, and open side for easy access to the blocks, and a sturdy bottom. It is easy to stack them and transport them.
- Sift through your potting mix with your hands to remove any larger pieces that could wreck the structure of your soil blocks.
- Pair No Till Gardening with soil blocking to make transplanting and plant maintenance even simpler.
Key Ingredients
Promix BX potting soil mix or another potting soil mix with similar attributes: I chose to use Promix BX because it is a general purpose medium that includes vermiculite, perlite, and peat moss. It works well for nutrient retention, drainage, and an overall well balanced growing environment. When you are making smaller 3/4 inch mini soil blocks you can use a more fine seed starting medium. It will help to keep your small blocks uniform.
Equipment:
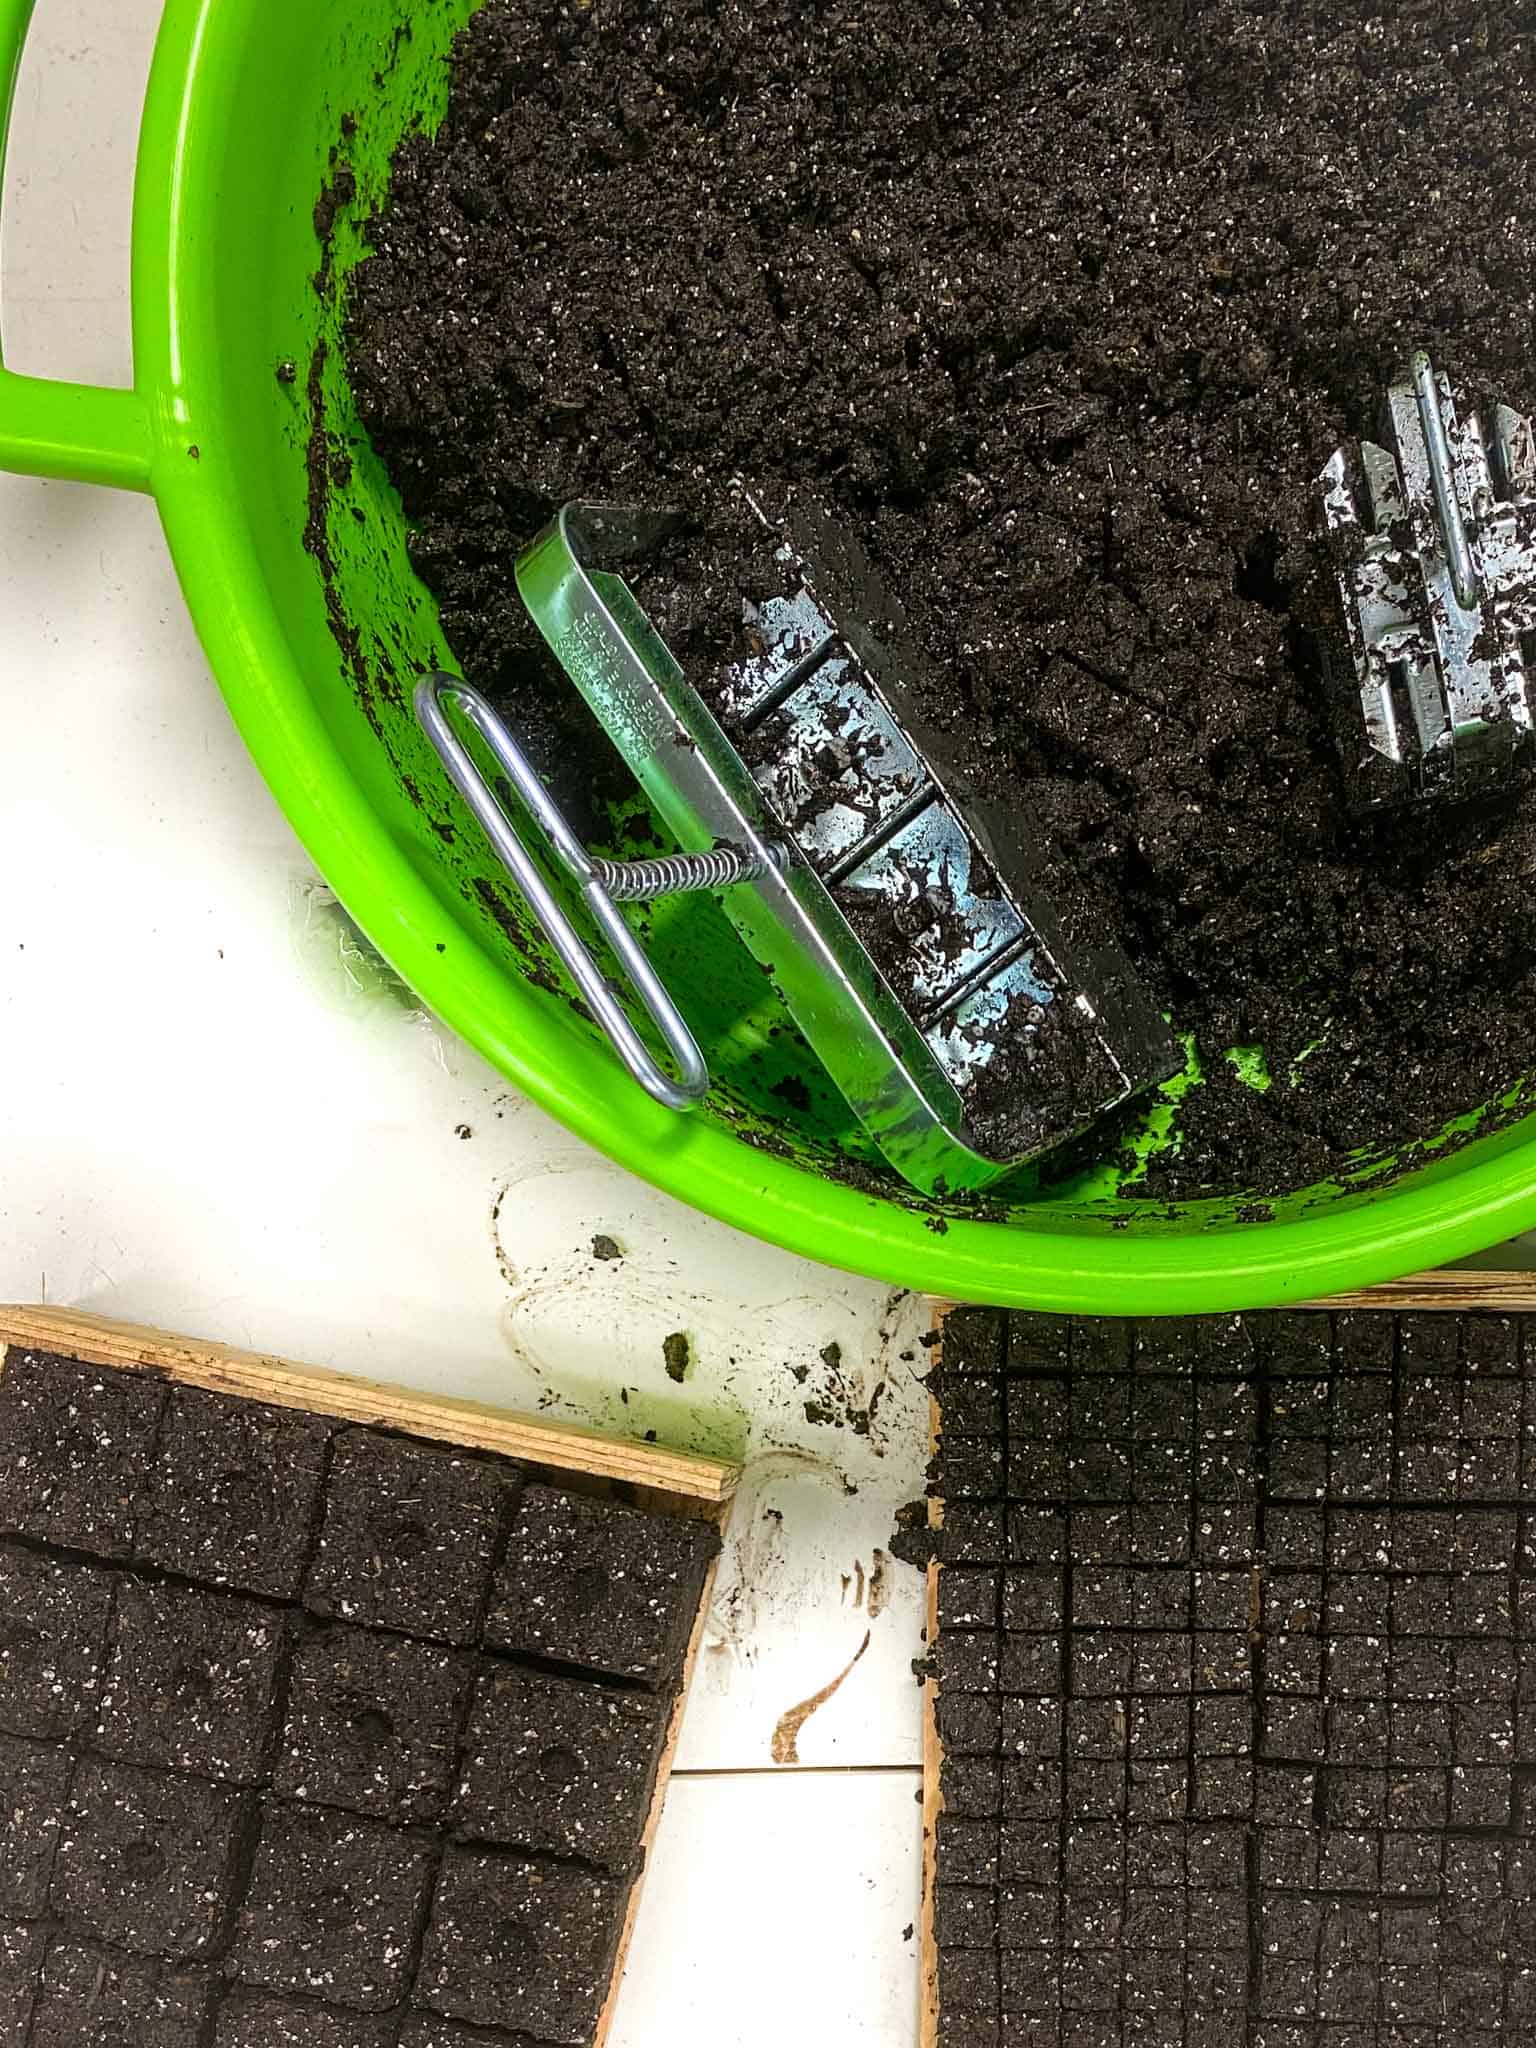
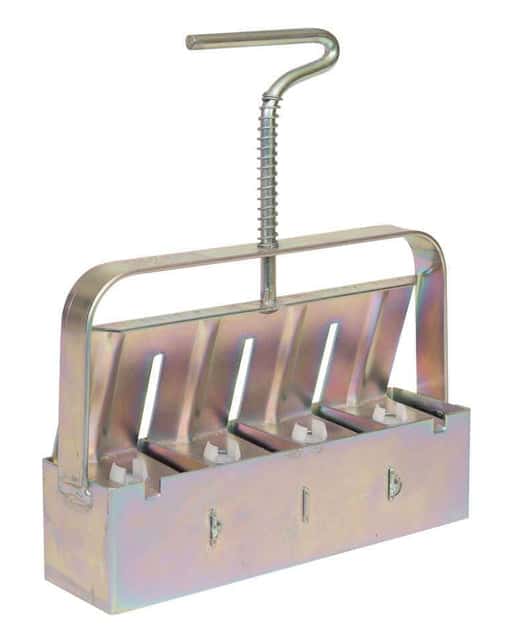
Soil blockers: Soil blockers come in several different sizes. I have a 3/4 inch mini blocker , a 2 inch blocker, and pins. The pins make a hole in the 2 inch blocks which help fit 3/4 inch soil blocks when it is time to pot up. These two sizes seem to be enough for what I need to start my seedlings. If you want a bigger soil block that you wont have to pot up and for larger seeds, you might want to look into the 3.5 inch soil blocker.
Large Flat Bottomed Container: You will need a large container that you can mix the soil and water together in and form the blocks. The bottom needs to be flat in order to produce well packed soil blocks. I use an animal feed tub that I got from our local Co Op.
Trays: You have many options for trays including recycled bread containers, old cookie sheets, standard greenhouse trays, or these homemade wooden soil block trays. I prefer the wooden soil blocking trays because they are stronger, hold moisture, have a flat surface area for small 3/4 inch blocks, and are easy to transport.
How to Make Soil Blocks
Soil Blocking: A Simple Beginner's Guide to Get You Started Planting TODAY!
Soil blocking is a unique way to improve seedling health, creating stronger root systems and better transplant survival rates. Use this guide to soak up the basics of soil blocking, to create a simple two-ingredient soil blocking mix, and to get started quickly.
Materials
- Promix BX
- Water
Tools
- Soil blockers of desired size. This tutorial uses 2-inch and 3/4-inch blockers.
- Large, flat bottomed container for soil mixing.
- Small bucket or bowl to measure your soil and water. My bucket is 2.25L.
- Sturdy trays to press the soil blocks into.
Instructions
- Sift through your soil with your hands and remove any large pieces that might wreck your soil blocks. Add four parts soil and 1 part water to your large flat bottomed container (I use a honey pail). Mix well!
- Squeeze the soil in your hands and you should be able to squish out a few drops. If you cant squeeze out any drops, add more water. If it’s too wet simply add more potting mix.
- Fill the soil blocker by pressing it into the soil and rotating from side to side repeatedly until it is well packed. Release the blocker onto your tray and continue the process, filling up the tray with as many blocks as you want.
- Sow your seeds according to the instructions on your packet, covering them with enough soil for optimal growth.
- At this point, your blocks are already moist- you can mist them but shouldn’t need to water them for a day. Watch your seedlings grow and thrive!
Notes
You may get more or less soil blocks depending on the size of your measuring bucket and how hard you pack your blocks. My bucket was 2L.
Recommended Products
As an Amazon Associate and member of other affiliate programs, I earn from qualifying purchases.
Posts That You Might Like
Pin It!
Web Stories
♥ Thanks for supporting me! Sharing, commenting, and reviewing all help to spread the word about Modern Harvest and help to grow the site! As an Amazon Associate I earn from qualifying purchases. I will never promote or link products that I don’t personally use or love. ♥