Tangy Dill Pickled Garlic Scapes | Canning Recipe
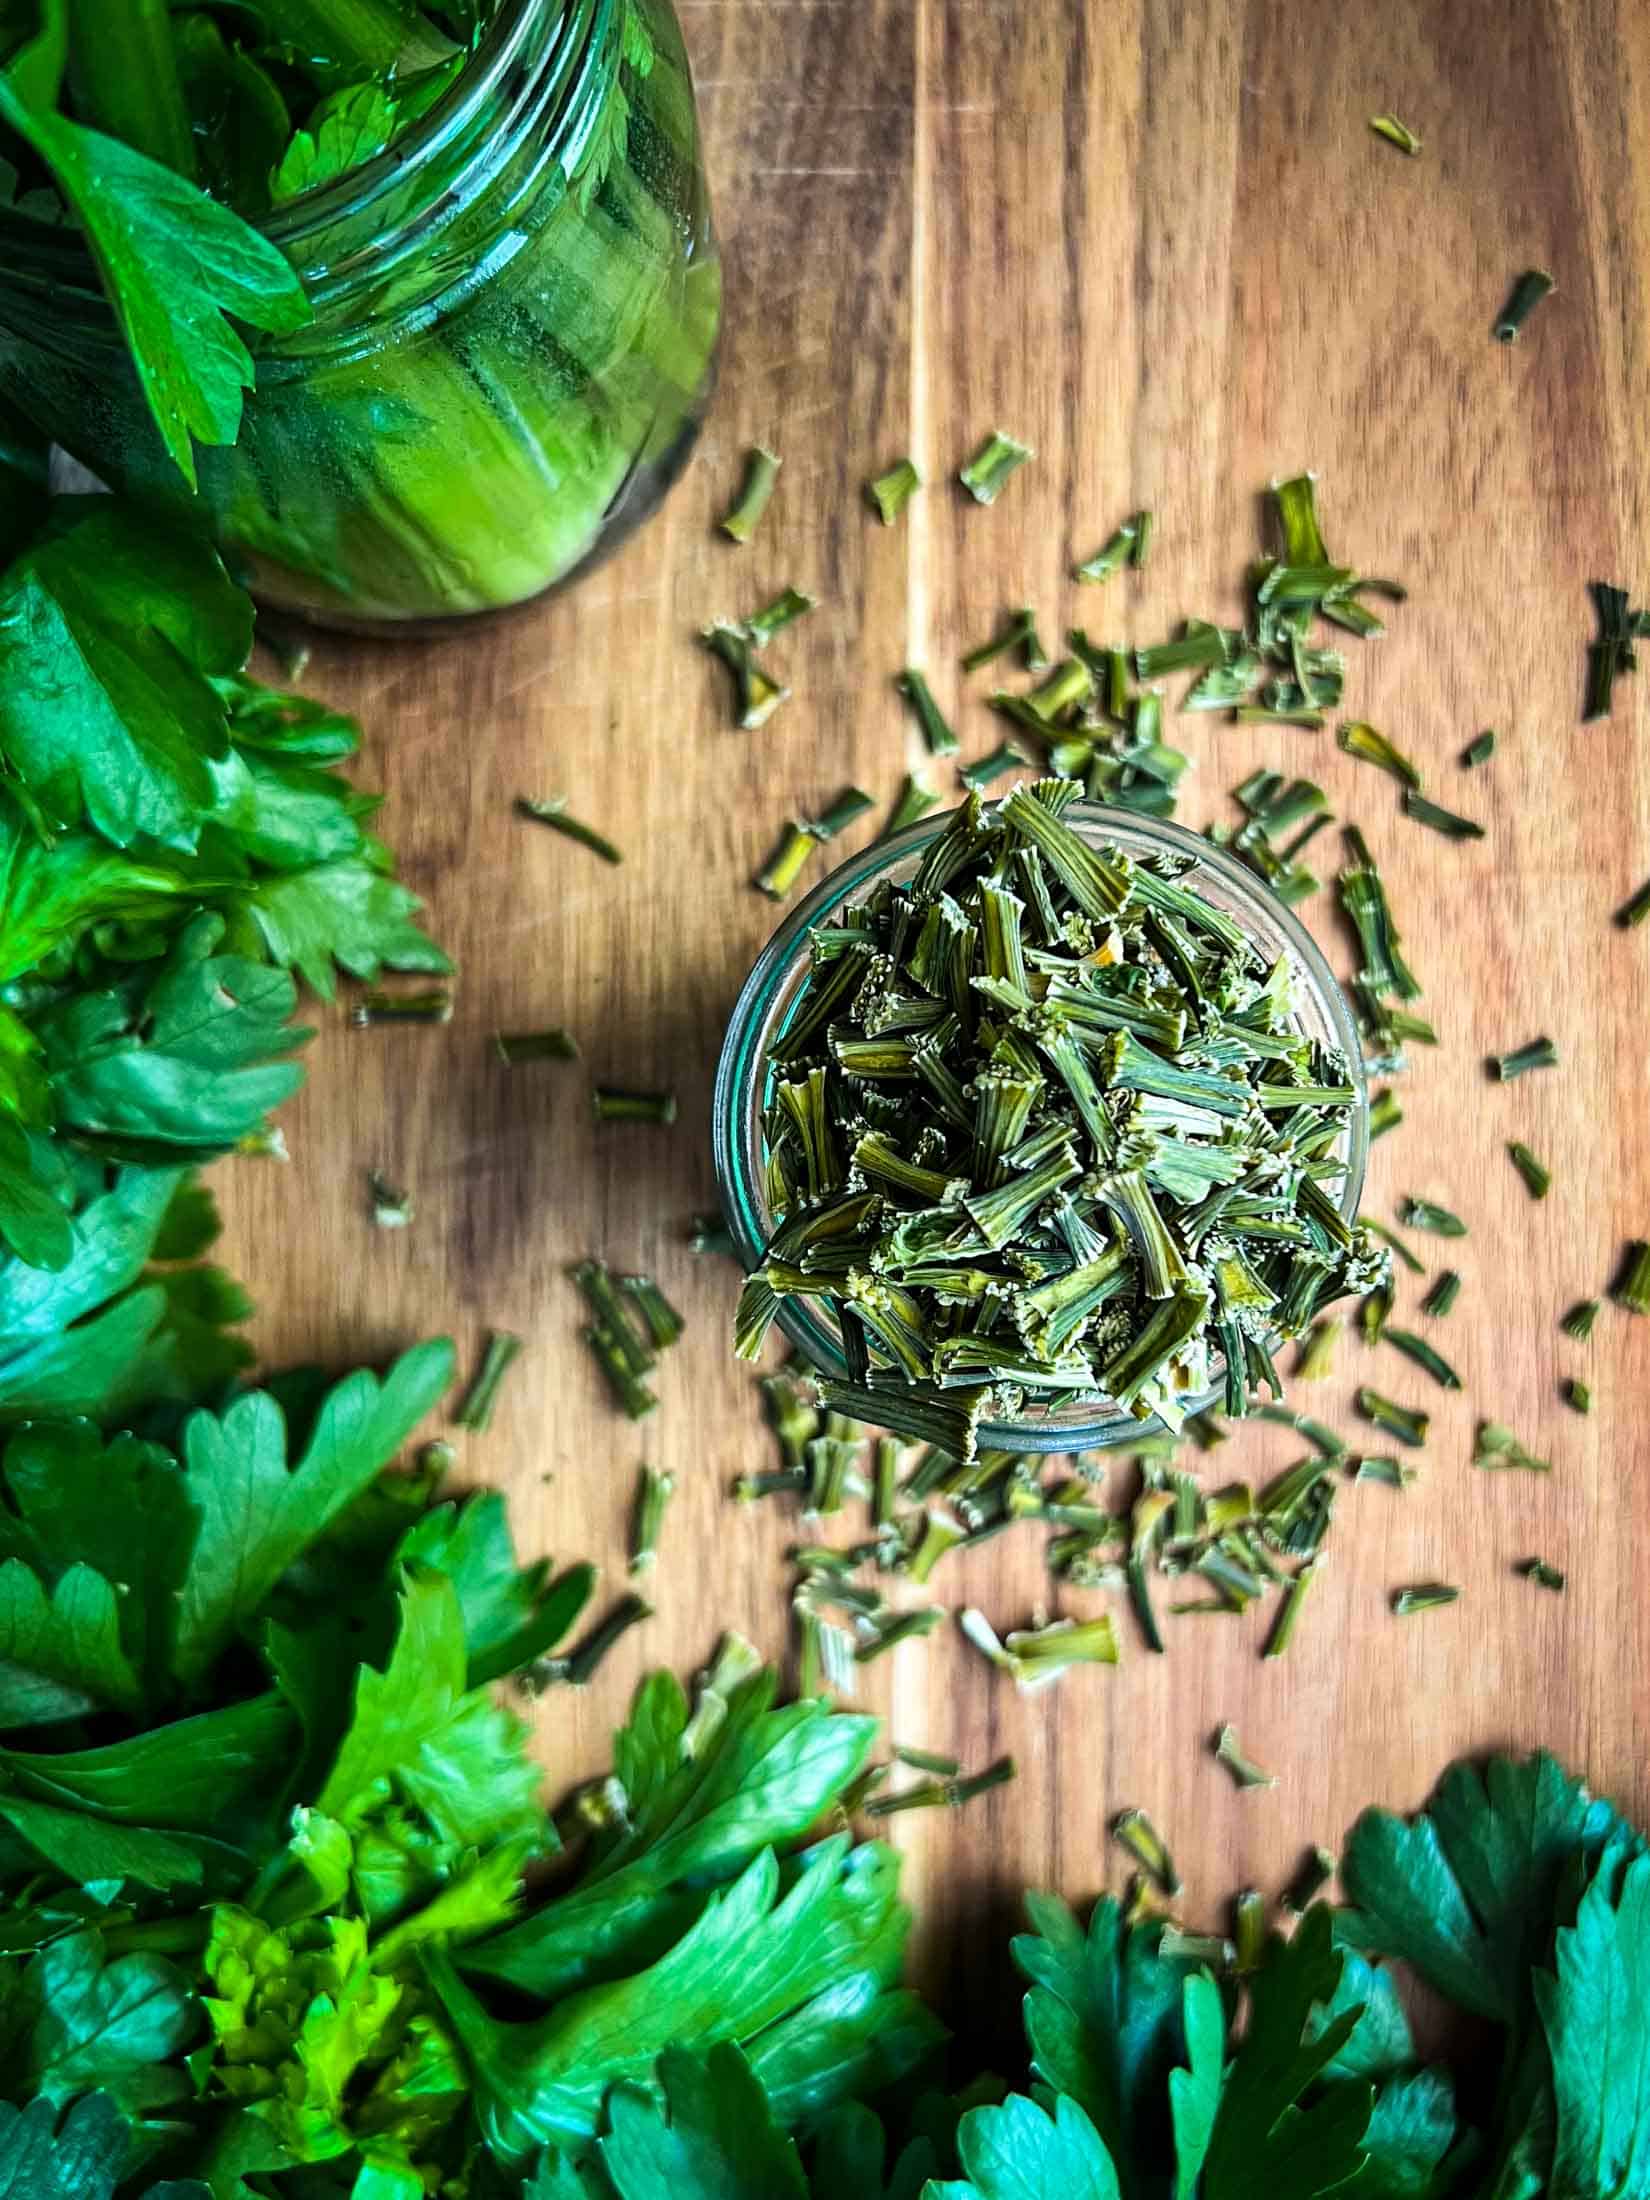
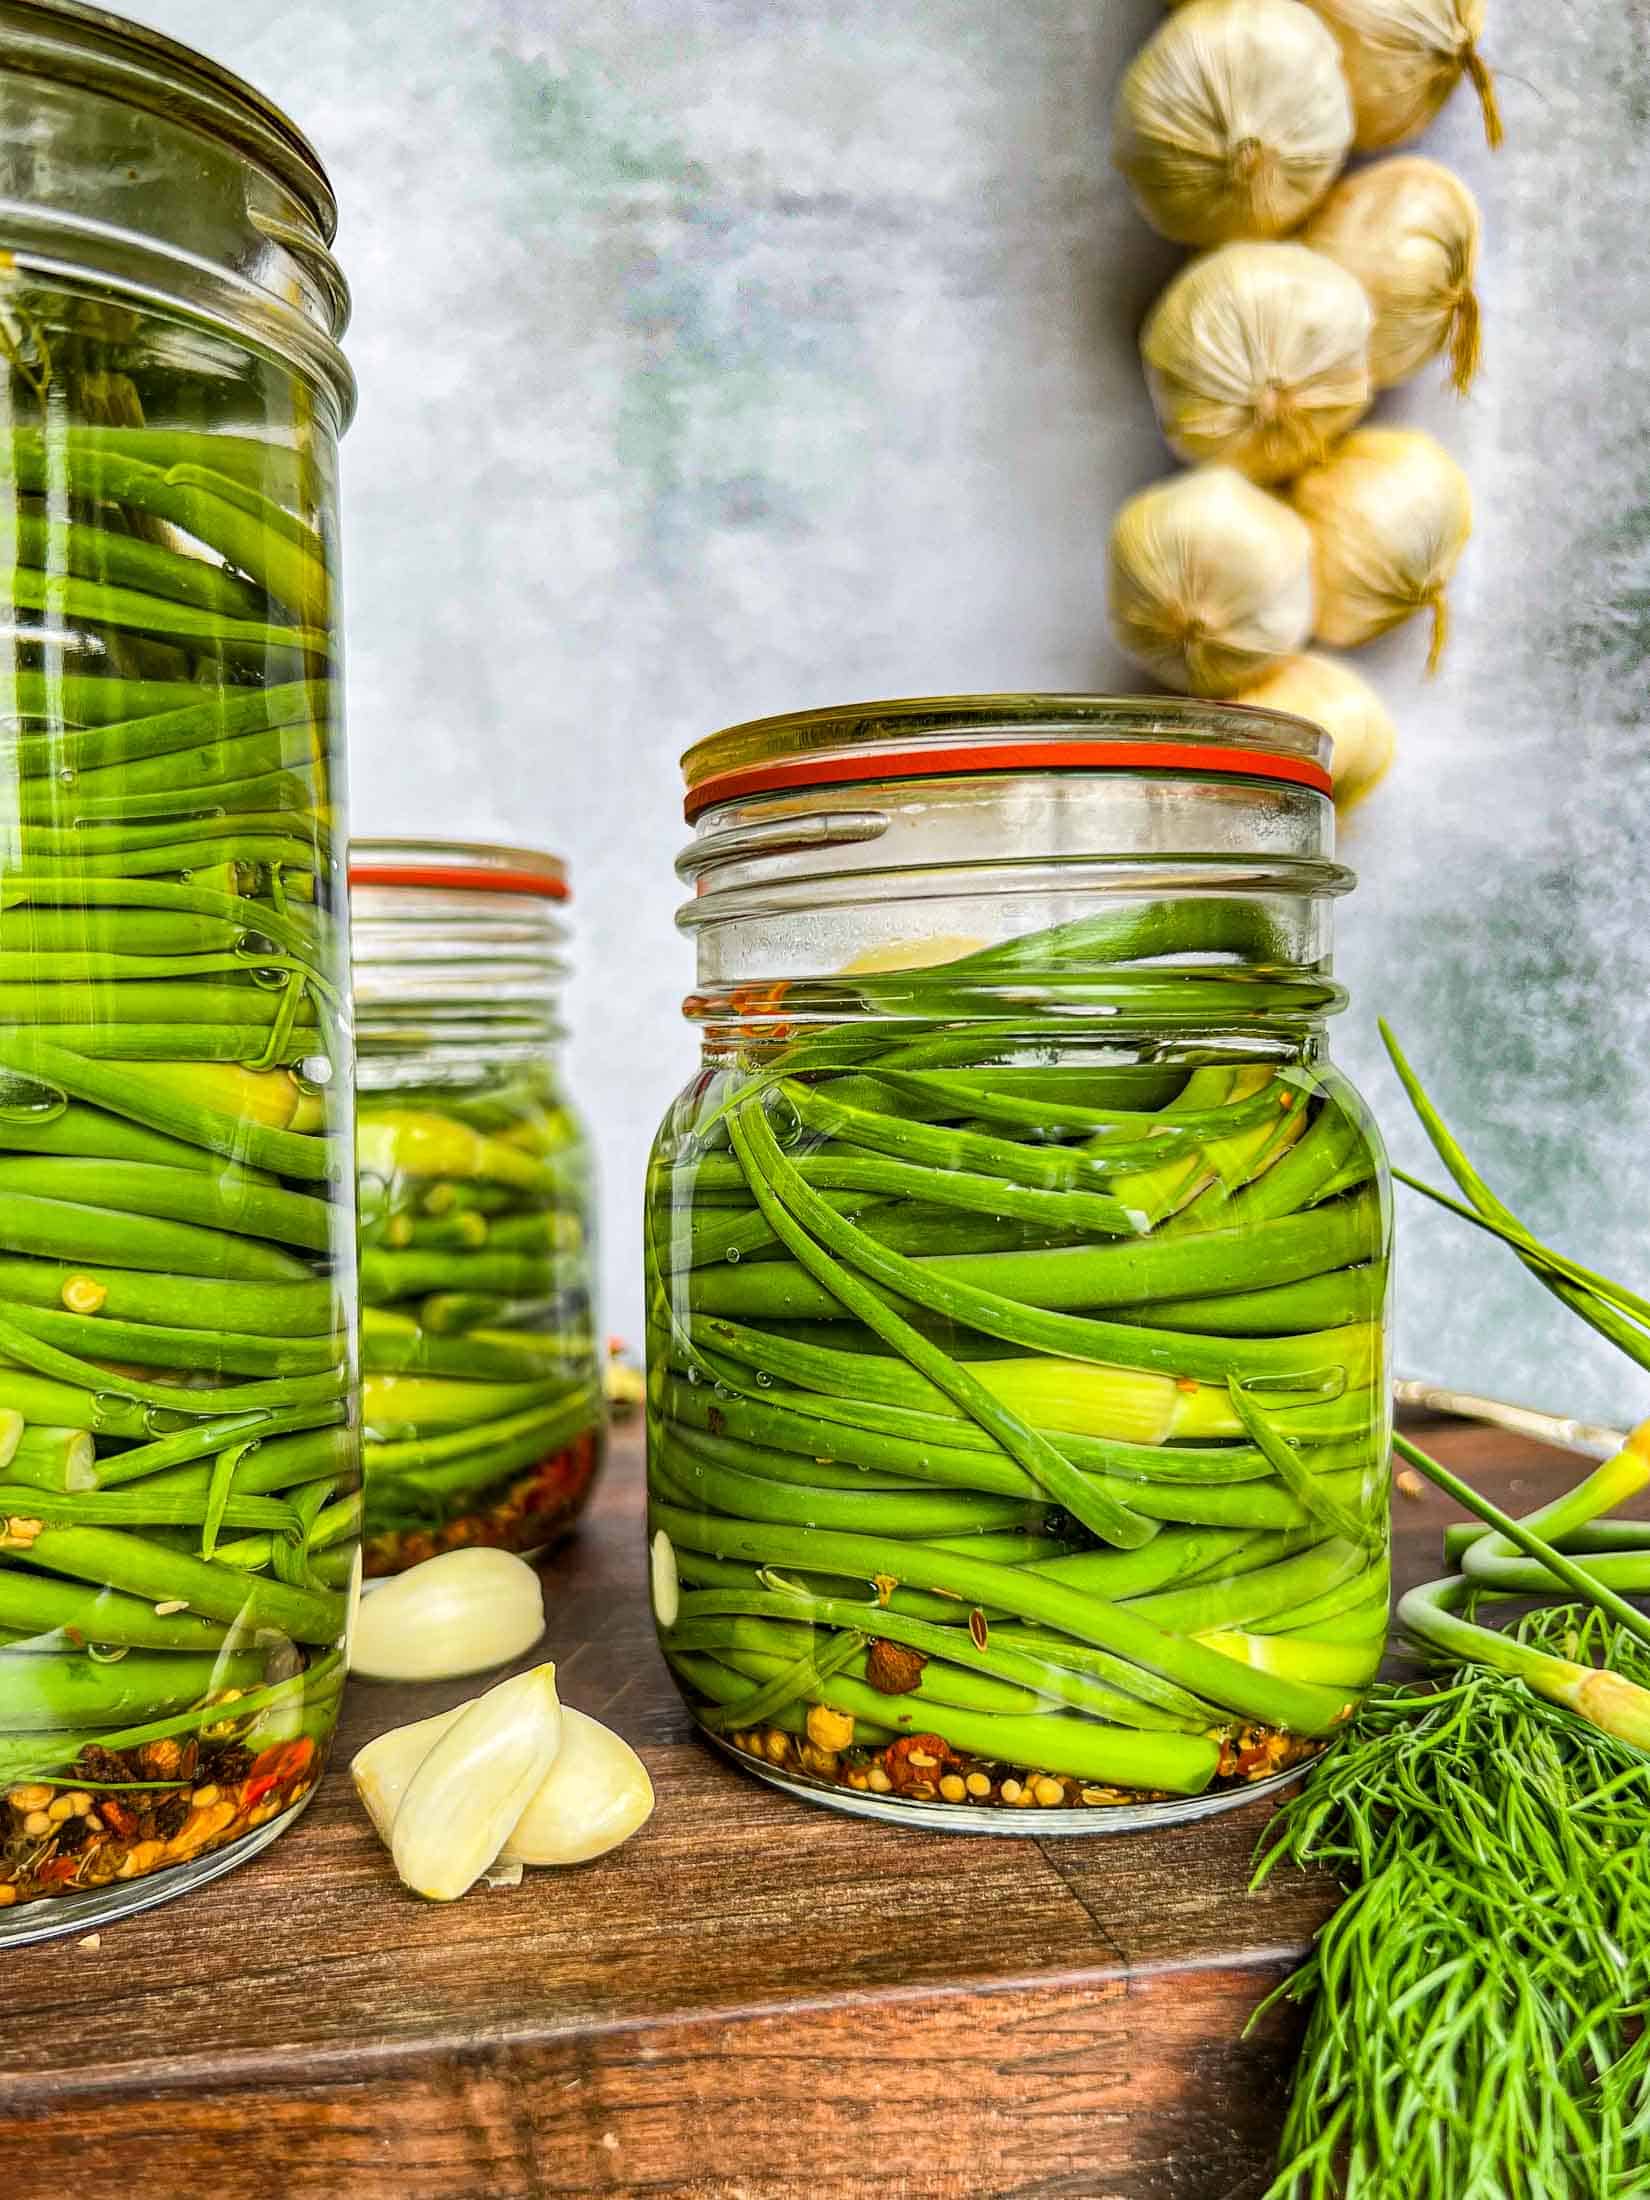
Pickled garlic scapes are a MUST for any garlic grower or pickle lover! The curly green shoots are the flower stalks of the garlic plant, and they have a mild garlic flavor with a texture similar to green beans. Pickling them alongside dill and optional spicy peppers adds a tangy, zesty twist to their natural flavor, making them a versatile addition to any meal. These tangy dill pickle garlic scapes are a delicious and unique treat that is becoming increasingly popular among food lovers. Enjoy them straight out of the jar as a snack, add them to salads, sandwiches, or use them as a garnish for your favorite dishes. The possibilities are endless when it comes to pickled garlic scapes!
No canner? No problem! Check out this recipe for Tangy Dill Quick Pickled Garlic Scapes | No Canning.
Why Pickled Garlic Scapes ROCK!

All About Garlic Scapes
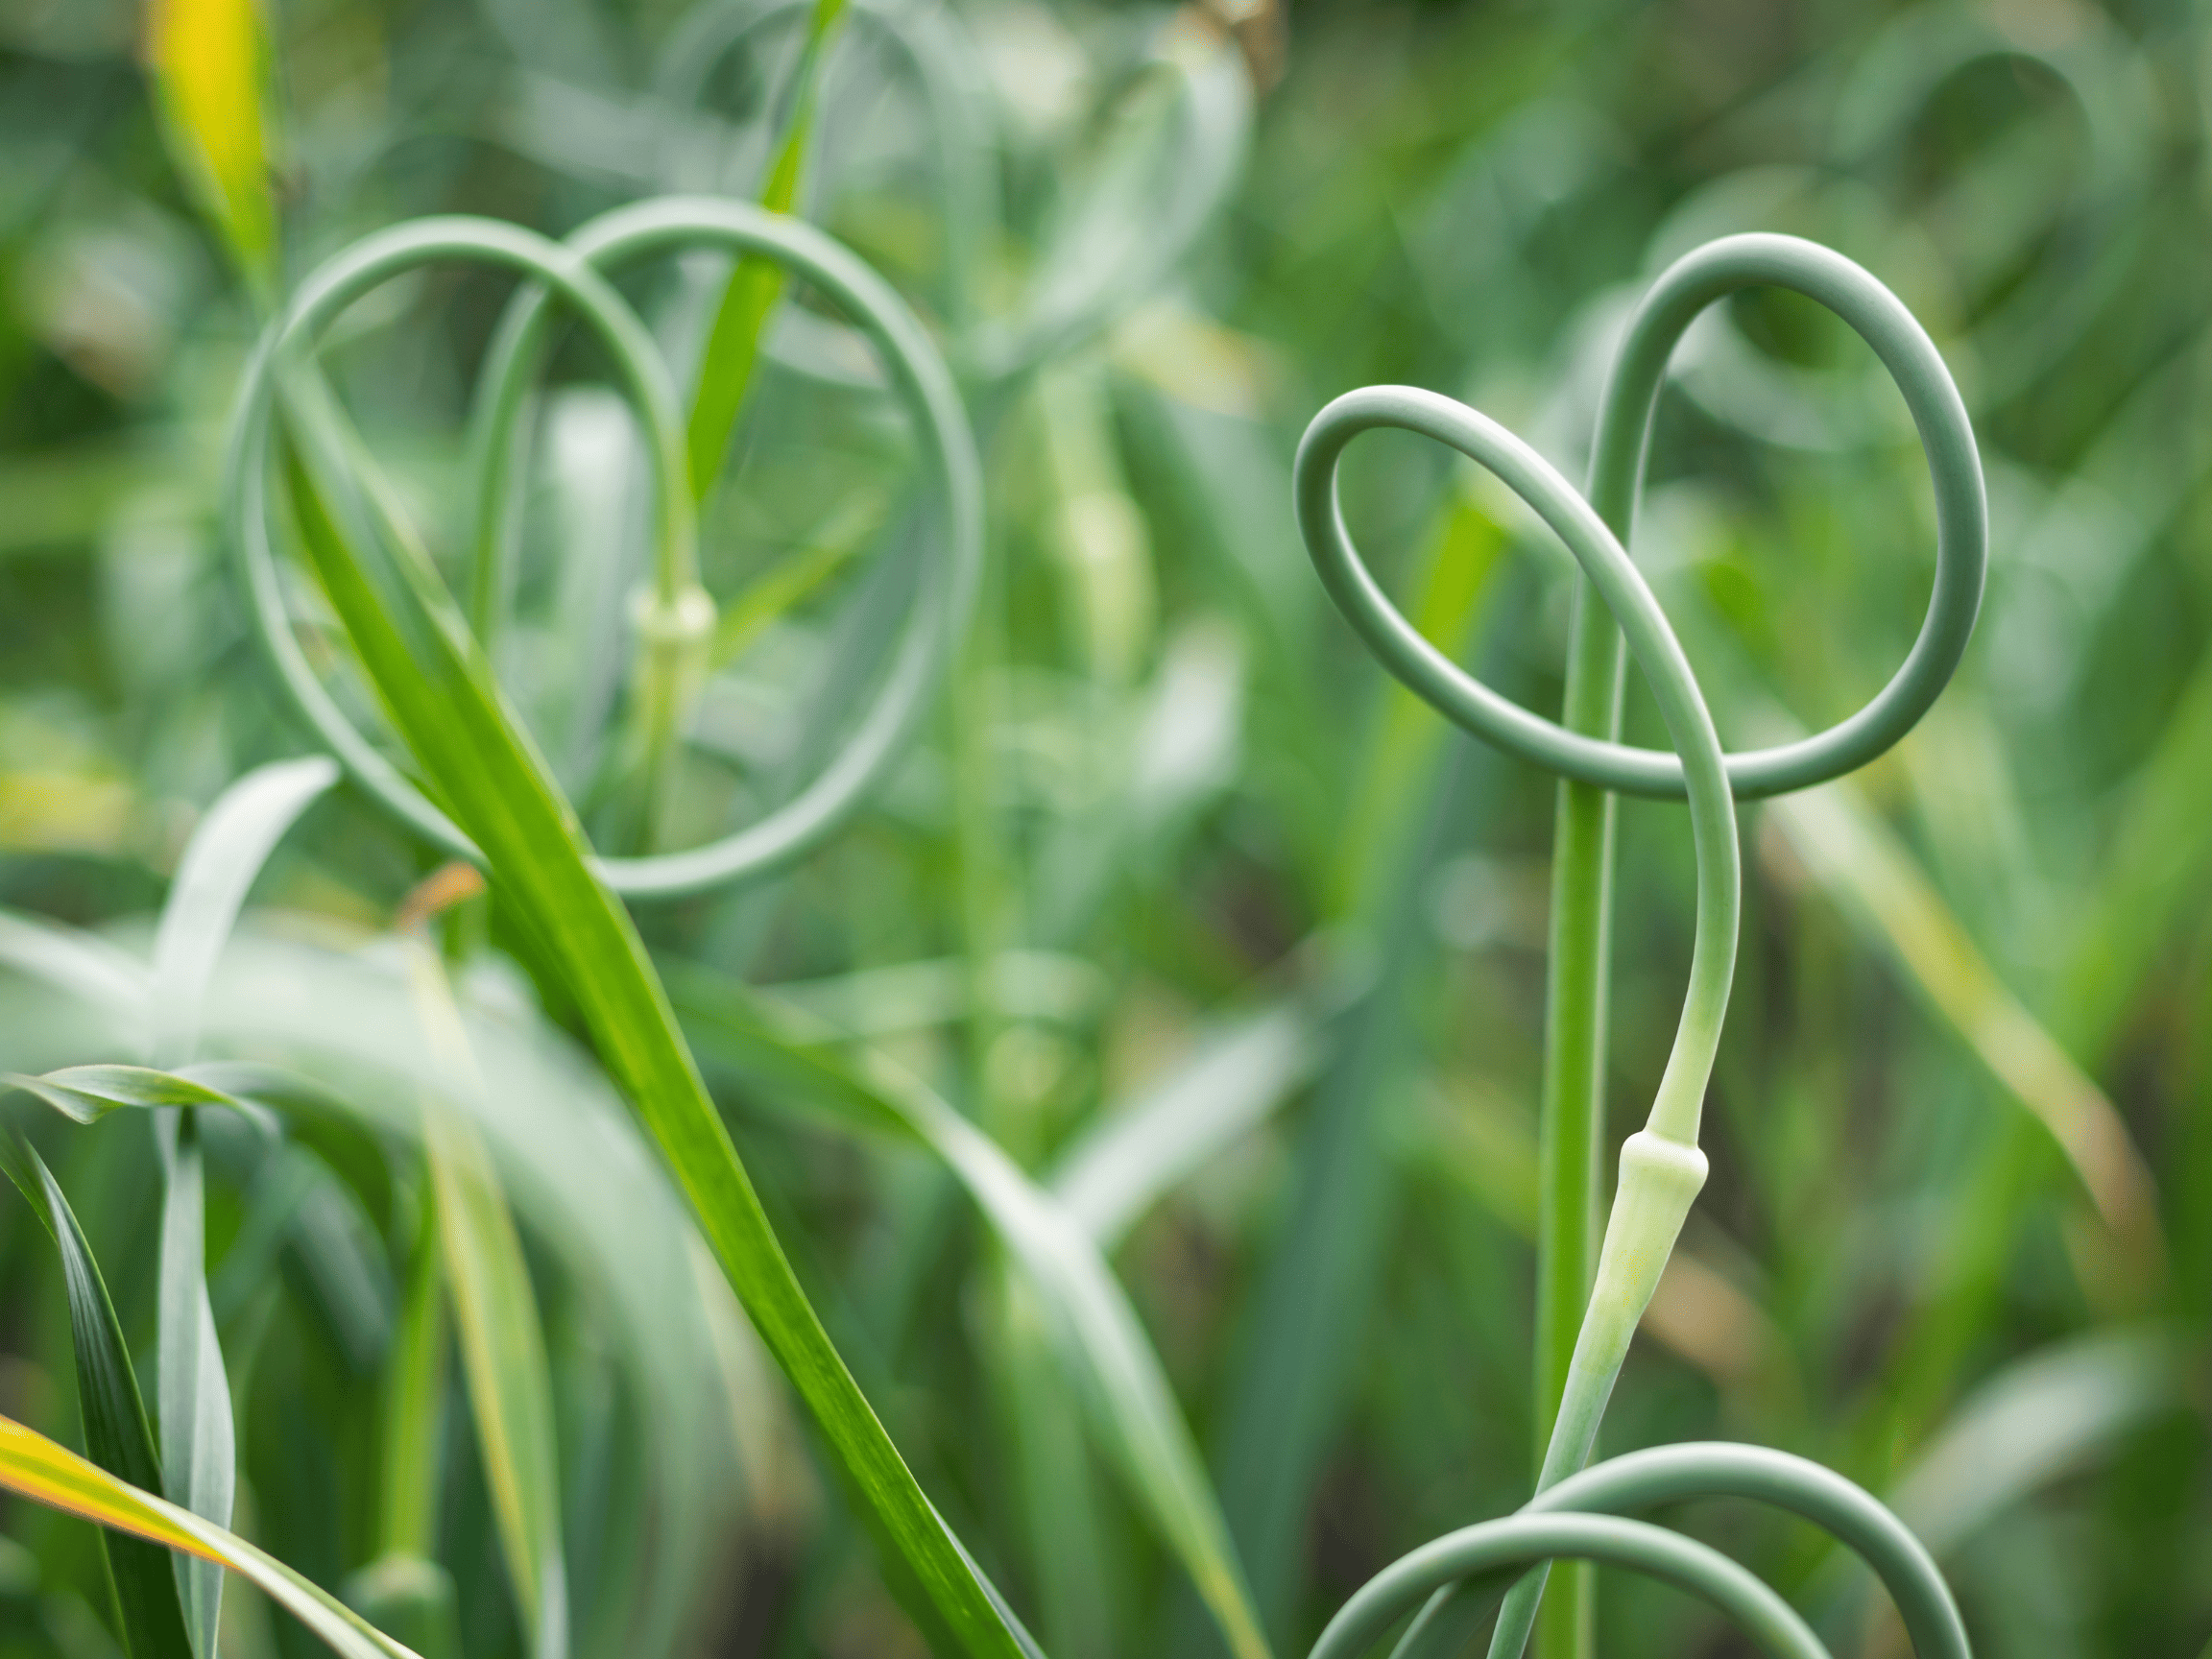
If you’re a garlic lover, you may be familiar with garlic scapes – the curly, green shoots that emerge from garlic plants in late spring. Garlic scapes are a delicious and versatile ingredient that can be used in a variety of dishes. When it comes to harvesting garlic scapes, it’s important to know the difference between hardneck and softneck garlic. Hardneck garlic produces thick + woody scapes, while softneck garlic doesn’t produce a scape at all.

Garlic scapes are starting to become more popular! You can find them at farmer’s markets, from a neighbour, or grown from your own garden patch.
Related: Harvesting Garlic Scapes | A Complete Guide For When & How To Harvest Garlic Scapes
Tips + Tricks For The BEST Pickled Garlic Scapes
Use the freshest garlic scapes possible when pickling. This will help the scapes maintain a firm “crunch” after processing.
Add 1/4 teaspoon of “pickle crisp” or calcium chloride to prevent enzymes from softening your scapes, keeping them even more crispy. Totally optional, if I have it on hand I use it, if not I simply go without.
Store pickled garlic scapes in a cool place to prolong the shelf life and to keep them crispier for longer!
Add in carrot spears, asparagus, cucumbers, or extra garlic cloves to your scapes for a mixed jar of pickled goodness.
Key Ingredients

Garlic Scapes– When it comes to harvesting garlic scapes, timing is key. You’ll want to wait until the scapes have grown to about 10-12 inches long and have started to curl. If you are sourcing out your scapes, make sure that they are as fresh as possible! It takes roughly 15-20 scapes to fill a 500 ml (pint jar).
Pickling Vinegar- Always use vinegar with 5% acidity or higher whether it is white vinegar or cider vinegar is up to personal preference.
Water- I use my RO filtered water in all of my pickling recipes but if you don’t have filtered water, regular tap water will work.
Pickling Spice- I use Bernardin or Ball Pickling Spice but you can easily make your own. Check out this recipe for more information.
Peppers (Optional)- Add 1/2 teaspoon of spicy dehydrated pepper flakes or 1 fresh cayenne pepper to each jar. Dial the amount up or down depending on your heat preference.
Pickle Crisp (Optional)- Adding 1/4 teaspoon of pickle crisp to each pint helps to maintain their colour and texture– keeping the scapes extra crisp. The pickles will still be delicious without this ingredient.
Canned Pickled Garlic Scapes
This recipe makes approximately 4 pints. It can easily be halved or doubled to suit your needs.
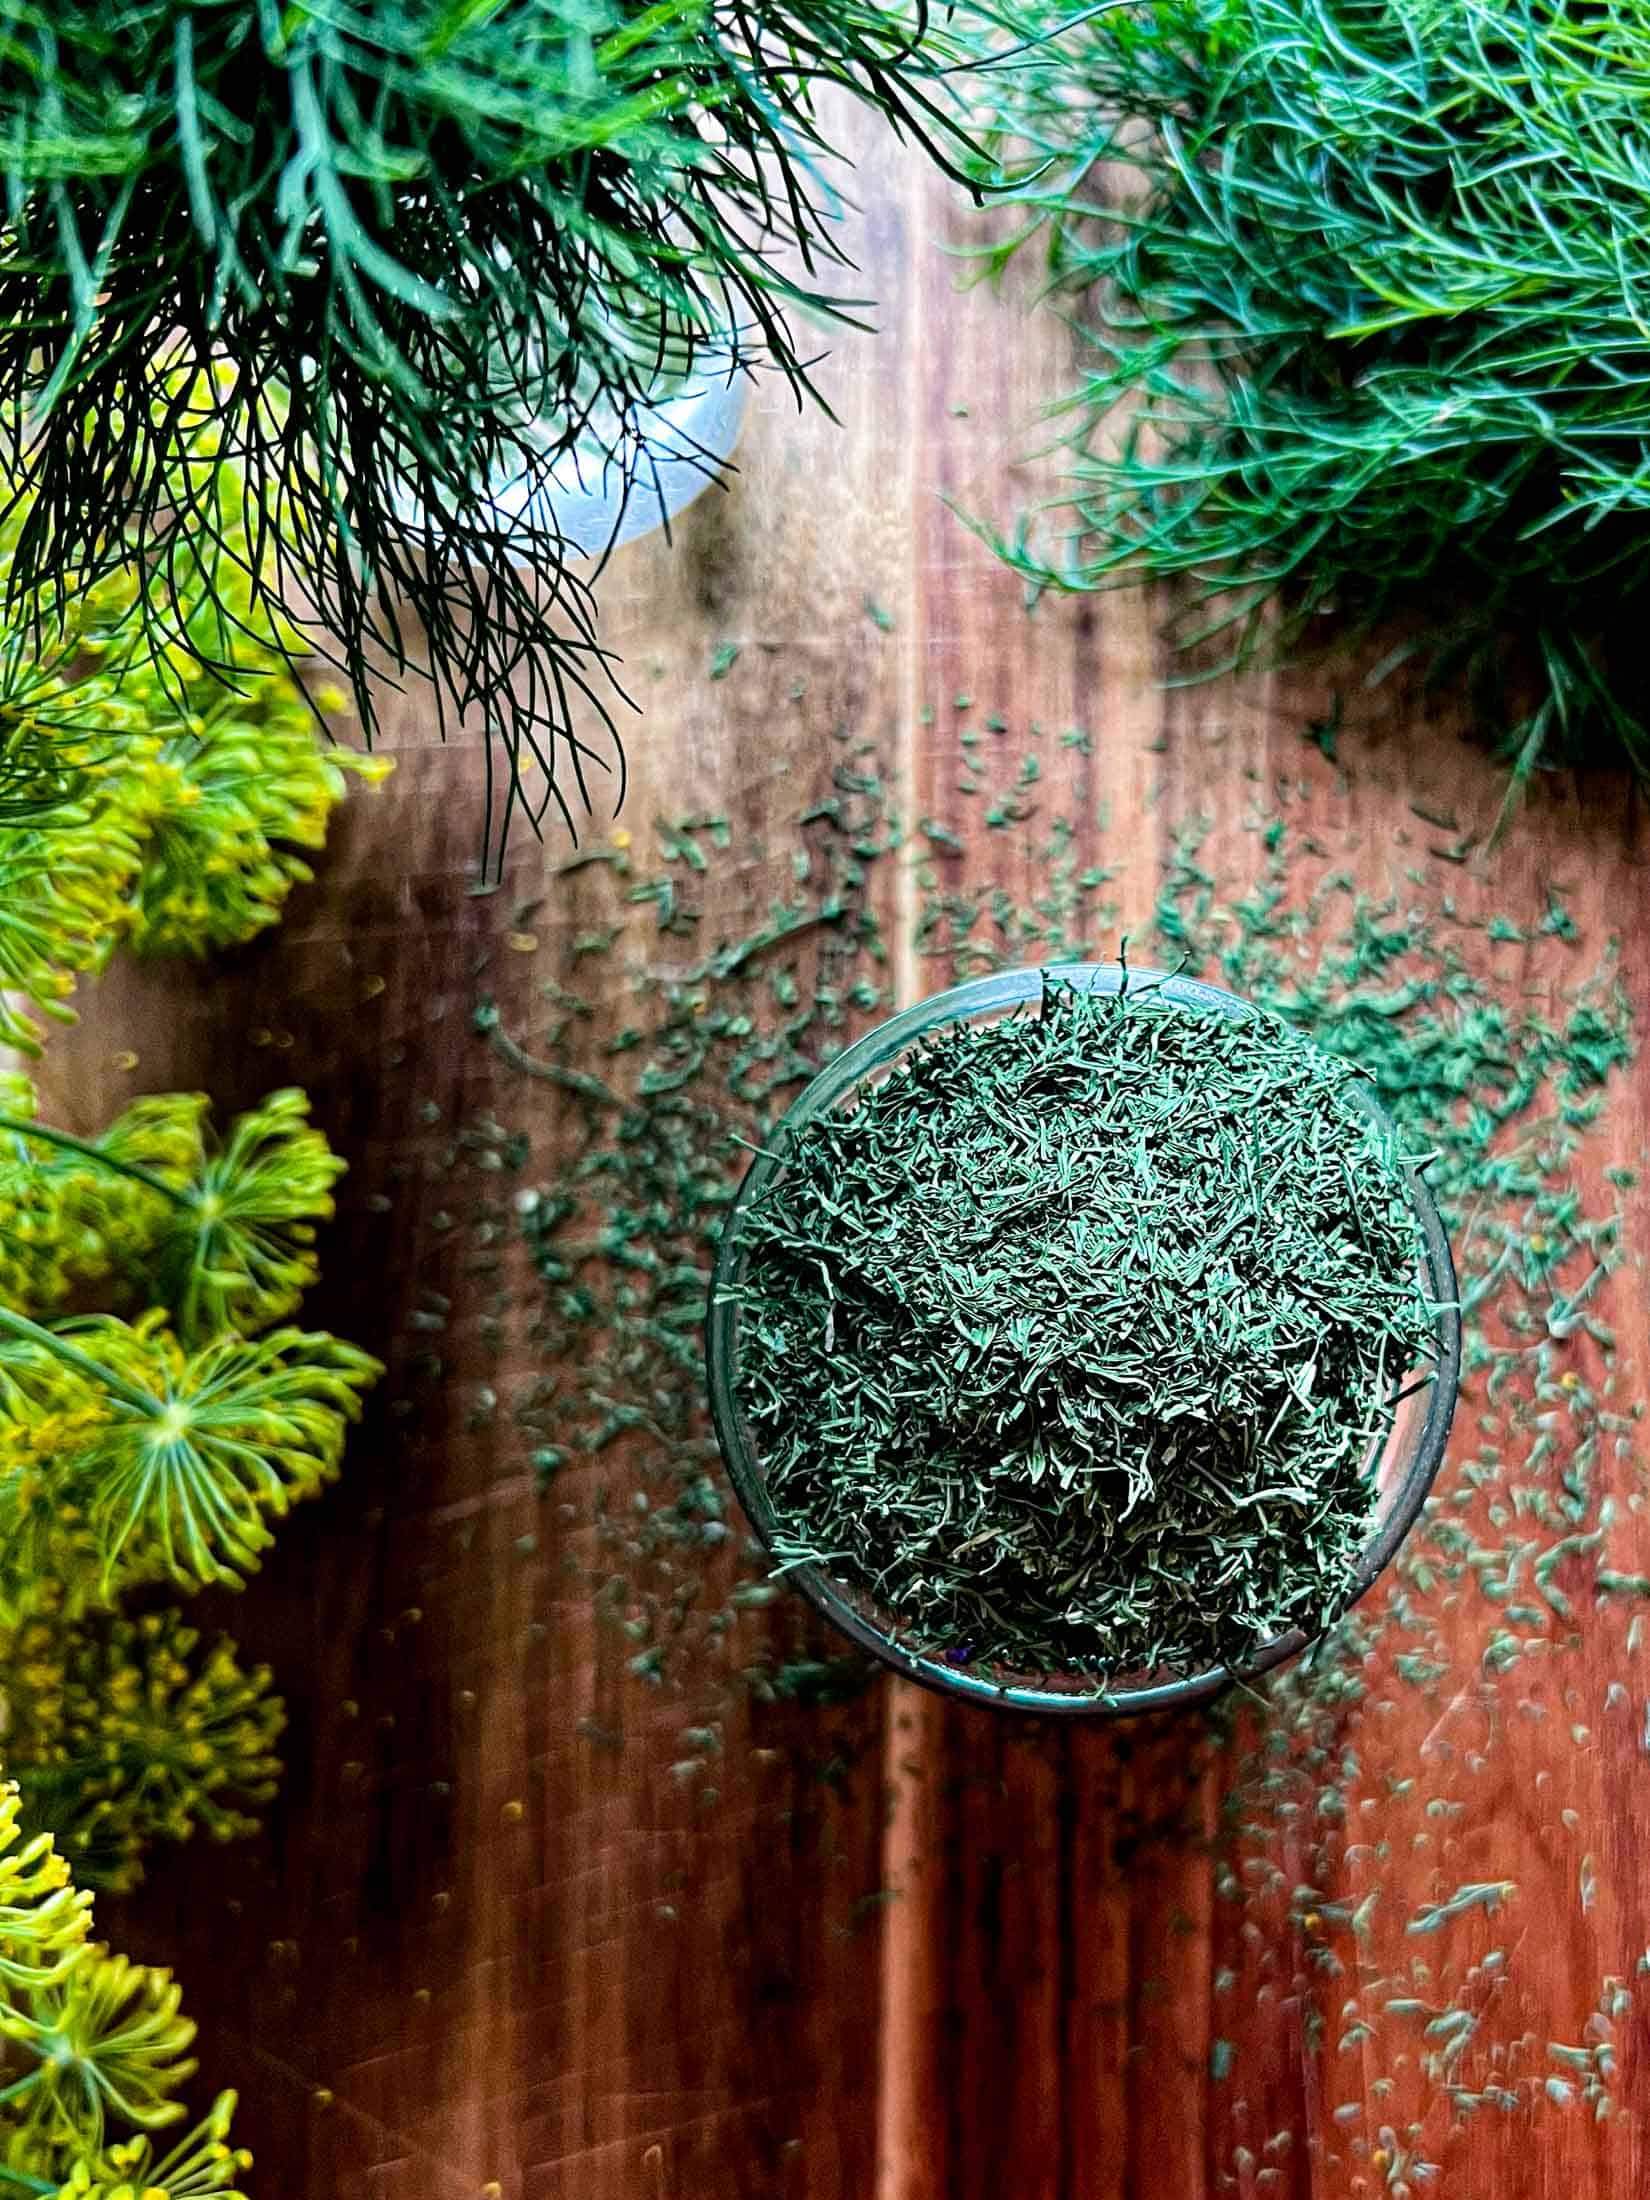
Step 1. Harvest + Prep: Harvest the garlic scapes the morning that you plan on pickling them for best results. If you are sourcing them from somewhere else, be sure to pickle them as soon as possible! Wash and discard any yellowed or withered ends. Wash the dill in a cold water bath and separate into large sprigs (you need two per jar). Peel the garlic cloves. Wash the jars, seals, and rings thoroughly with warm, soapy water.


Step 2. Prepare the Brine + Canner: Fill your canner and bring to a rolling boil over medium-high heat. Combine water, salt, and vinegar in a large pot. Bring to a strong simmer over medium heat. While the brine is heating….


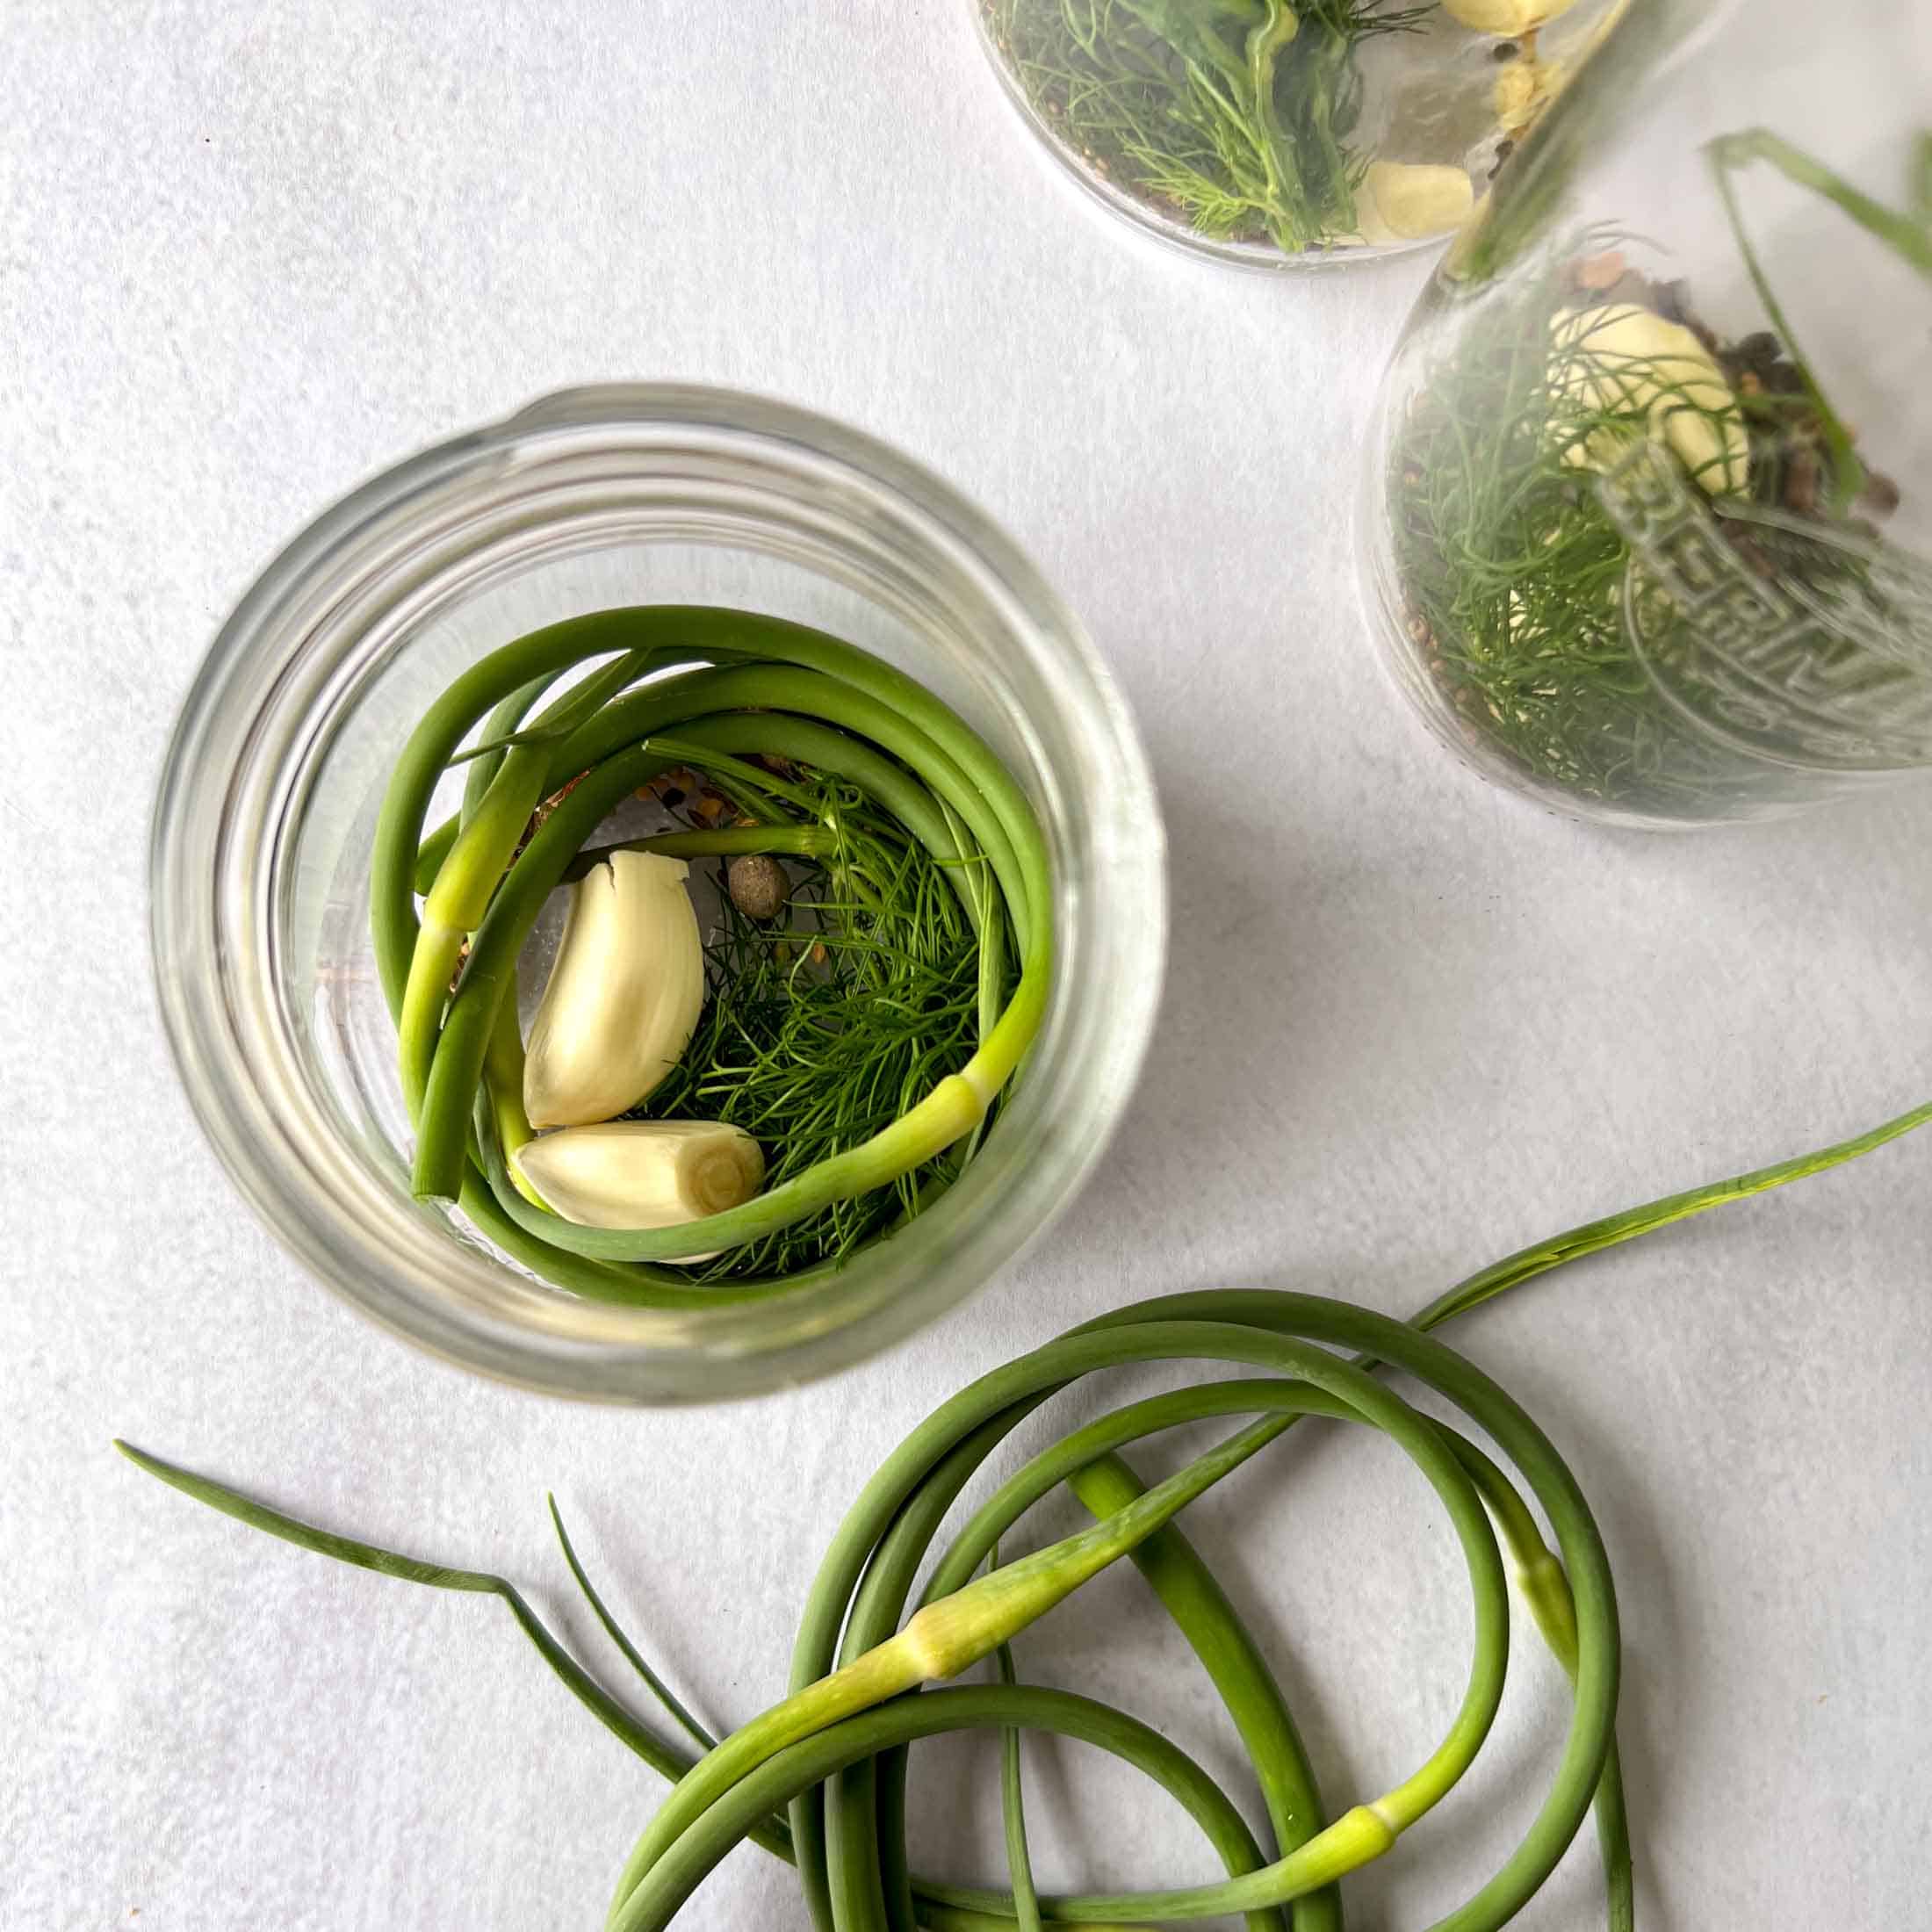
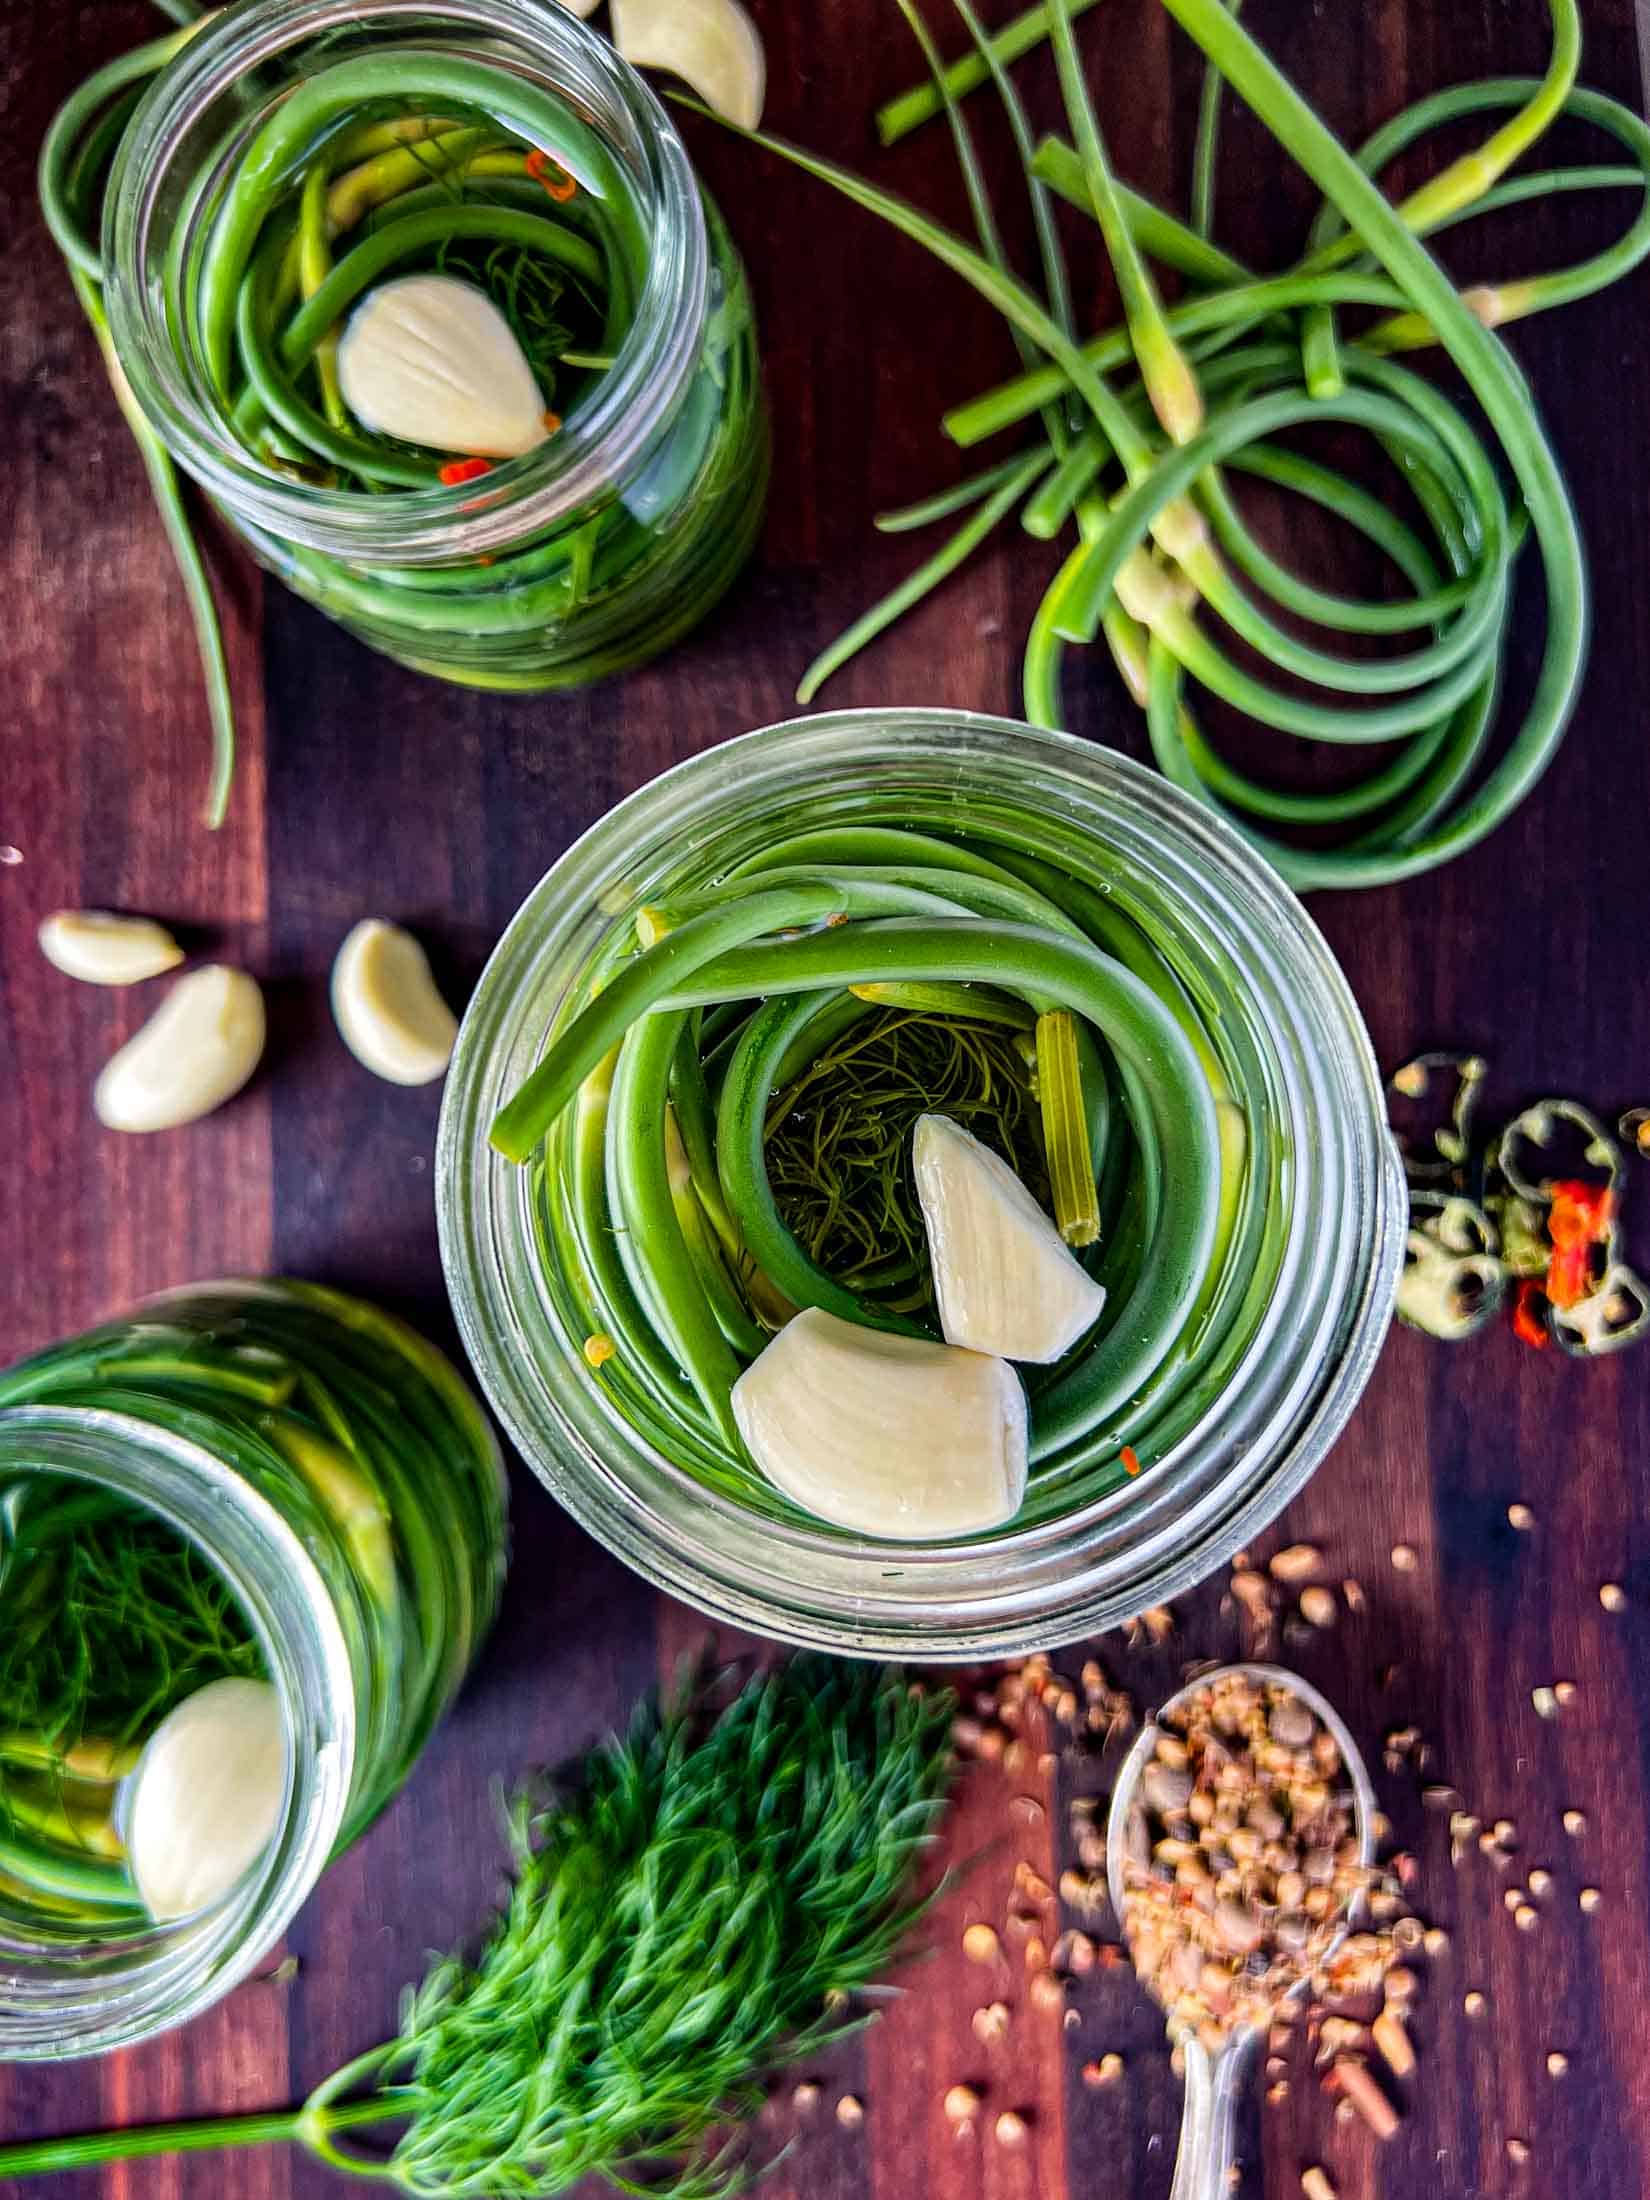
Step 3. Fill Jars: Measure out 1/2 teaspoon of pickling spice at the bottom of each pint jar. Add one clove of garlic, a sprig of dill, and 1/2 teaspoon of dehydrated spicy peppers (optional). As an alternative to dehydrated peppers you can use one whole cayenne pepper. Carefully wrap garlic scapes around your hand, two-three at a time. Place them in the jar, filling the jar up to the neck, leaving enough room to cover with brine and maintain 1/2 inch of headspace. Add another clove of garlic and sprig of dill to the middle of the mixture. Ladle the hot brine onto the scapes and push down any floating pieces with a clean utensil.


Step 4. Seal + Process: Wipe the top rim of the jars with a clean, moistened cloth or paper towel. Place the seals and rims onto the jars, making sure that they are only finger tight. Carefully lower the jars into the canner. Ensure that the water level is 1-2 inches above the tops of your pints, top off with extra if necessary. Processing time starts when the canner has come to a full rolling boil WITH the jars inside. Process for 10 minutes at 0-1000 elevation. It is important to know your elevation because water bath canning relies on the temperature of boiling water to kill harmful bacteria. Read more about water bath canning temperatures here.


| Elevation | Processing Time |
| 0-1000 ft. | 10 minutes |
| 1001-3000 ft. | 15 minutes |
| 3001-6000 ft. | 20 minutes |
Step 5. Cool + Store + Enjoy! Turn the heat off to your canner after the processing time has finished. Allow the jars to sit in the hot water for 5 minutes before slowly removing them and placing them on a heat safe surface. Leave untouched for 24 hours, check seals, label, and store in a cool, dark space. The canned scapes will be more dull in color after canning, this is fine. Pickled garlic scapes should be left for 6-8 weeks before eating them to allow the brine and all of the flavoring to properly penetrate the scapes.
There are many ways to enjoy pickled garlic scapes including using them as garnish for your favorite beverage (Caesar or Bloody Mary), on your charcuterie board alongside other pickled goodies, on top of hot dogs or burgers, or as a side to one of your main courses, and even chopped up in a salad.
Batch + Storage
This recipe makes 4 pints (or 2 quarts) but can easily be halved or doubled to suit your needs.
Canned pickled garlic scapes will keep for up to 12 months in a dark, cool location.

More Preserved Recipes From The Harvest Kitchen
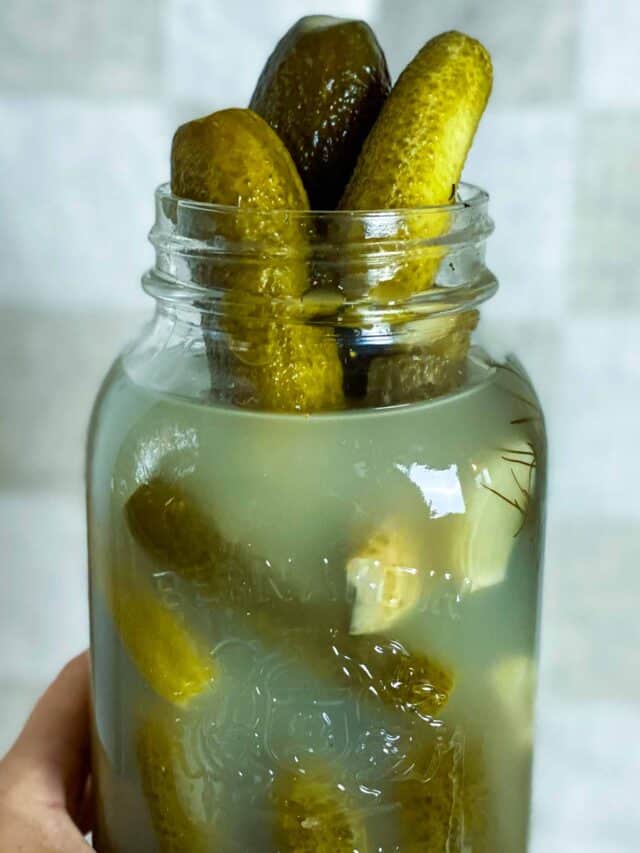
Quick + Crunchy Old Fashioned Fermented Dill Pickles (With Video)
Crispy, crunchy, and tangy with the perfect amount of “fizz,” these cucumbers are lacto fermented with garlic, dill, and carrots to create the ultimate pickle recipe. Sugar, salt, vinegar and water combine to make the perfect brine for preserving these old fashioned fermented dill pickles without needing any canning equipment.

The BEST Strawberry Rhubarb Freezer Jam With Cinnamon & Vanilla
The tangy flavor of rhubarb combined with the sweetness of ripe strawberries creates an irresistible taste that’s perfectly complemented by subtle hints of lemon, vanilla, and c

Foolproof Raw Sauerkraut Recipe | Two Ingredients
This tangy lacto-fermented sauerkraut is a breeze with two ingredients and simple instructions, you will be enjoying raw sauerkraut in no time. Transform your raw cabbage into an enzyme and probiotic-rich superfood.
Pickled Garlic Scape FAQ
There are many ways to enjoy pickled garlic scapes including using them as garnish for your favorite beverage (Caesar or Bloody Mary), on your charcuterie board alongside other pickled goodies, on top of hot dogs or burgers, or as a side to one of your main courses, and even chopped up in a salad.
The whole green curly tendril and bud are edible! Pickled garlic scapes resemble pickled asparagus.
Printable Recipe Card

Tangy Dill Pickled Garlic Scapes (Canning Recipe)
Pickled garlic scapes are a MUST for any garlic grower or pickle lover! Pickled garlic scapes are a delicious and unique treat that are becoming increasingly popular among food lovers. These curly green shoots are the flower stalks of the garlic plant, and they have a mild garlic flavor with a texture similar to green beans. Pickling them adds a tangy, zesty twist to their natural flavor, making them a versatile addition to any meal. Enjoy them straight out of the jar as a snack, add them to salads, sandwiches, or use them as a garnish for your favorite dishes. The possibilities are endless when it comes to pickled garlic scapes!
Ingredients
- 4 bunches of garlic scapes (around 80 scapes, 15-20 per jar)
- 4 cups white pickling vinegar or cider vinegar (5% acidity)
- 1/3 cup Pickling Salt or Sea Salt
- 8 cloves garlic, peeled
- 8 large sprigs dill
- 2 tablespoons pickling spice
- 1/4 teaspoon pickle crisp per jar (optional)
- 1/2 teaspoon dehydrated peppers per jar (optional)
Instructions
- Harvest + Prep: Wash four pint sized jars, seals, and rings thoroughly with warm, soapy water, pop the jars into a warm oven until ready to fill (175°F). Harvest the garlic scapes the morning that you plan on pickling them for best results. If you are sourcing them from somewhere else, be sure to pickle them as soon as possible! Wash and discard any yellowed or withered ends. Wash the dill in a cold water bath and separate into large sprigs (you need two per jar). Peel the garlic cloves.
- Prepare the Brine + Canner: Fill your canner and bring to a rolling boil over medium-high heat. Combine water, salt, and vinegar in a large pot. Bring to a strong simmer over medium heat. While the brine is heating....
- Fill Jars: Measure out 1 1/2 teaspoon of pickling spice at the bottom of each pint jar. Add one clove of garlic, a sprig of dill, and 1/2 teaspoon of dehydrated spicy peppers (optional). As an alternative to dehydrated peppers you can use one whole cayenne pepper. Carefully wrap garlic scapes around your hand, two-three at a time. Place them in the jar, filling the jar up to the neck, leaving enough room to cover with brine and maintain 1/2 inch of headspace. Add another clove of garlic and sprig of dill to the middle of the mixture. Ladle the hot brine onto the scapes and push down any floating pieces with a clean utensil.
- Seal + Process: Wipe the top rim of the jars with a clean, moistened cloth or paper towel. Place the seals and rims onto the jars, making sure that they are only finger tight. Carefully lower the jars into the canner. Ensure that the water level is 1-2 inches above the tops of your pints, top off with extra if necessary. Processing time starts when the canner has come to a full rolling boil WITH the jars inside. Process for 10 minutes at 0-1000 elevation. It is important to know your elevation because water bath canning relies on the temperature of boiling water to kill harmful bacteria. Read more about water bath canning temperatures here. 0-1000 feet >> 10 minutes, 1001-3000 feet >>15 minutes, 3001-6000 feet >>20 minutes.
- Cool + Store + Enjoy! Turn the heat off to your canner after the processing time has finished. Allow the jars to sit in the hot water for 5 minutes before slowly removing them and placing them on a heat safe surface. Leave untouched for 24 hours, check seals, label, and store in a cool, dark space. The canned scapes will be more dull in color after canning, this is fine. Pickled garlic scapes should be left for 6-8 weeks before eating them to allow the brine and all of the flavoring to properly penetrate the scapes.
Notes
Use the freshest garlic scapes possible when pickling. This will help the scapes maintain a firm "crunch" after processing.
Add 1/4 teaspoon of "pickle crisp" or calcium chloride to prevent enzymes from softening your scapes, keeping them even more crispy. Totally optional, if I have it on hand I use it, if not I simply go without.
Refer to the USDA's Complete Guide to Home Canning as the ultimate authority on canning safety. There is also a lot of great information at National Center for Home Food Preservation.
Recommended Products
As an Amazon Associate and member of other affiliate programs, I earn from qualifying purchases.


Nutrition Information:
Yield: 16 Serving Size: 1Amount Per Serving: Calories: 13Total Fat: 1gSaturated Fat: 0gTrans Fat: 0gUnsaturated Fat: 0gCholesterol: 0mgSodium: 83mgCarbohydrates: 2gFiber: 0gSugar: 0gProtein: 0g
Pin It!

Refer to the USDA’s Complete Guide to Home Canning as the ultimate authority on canning safety. There is also a lot of great information at National Center for Home Food Preservation.