

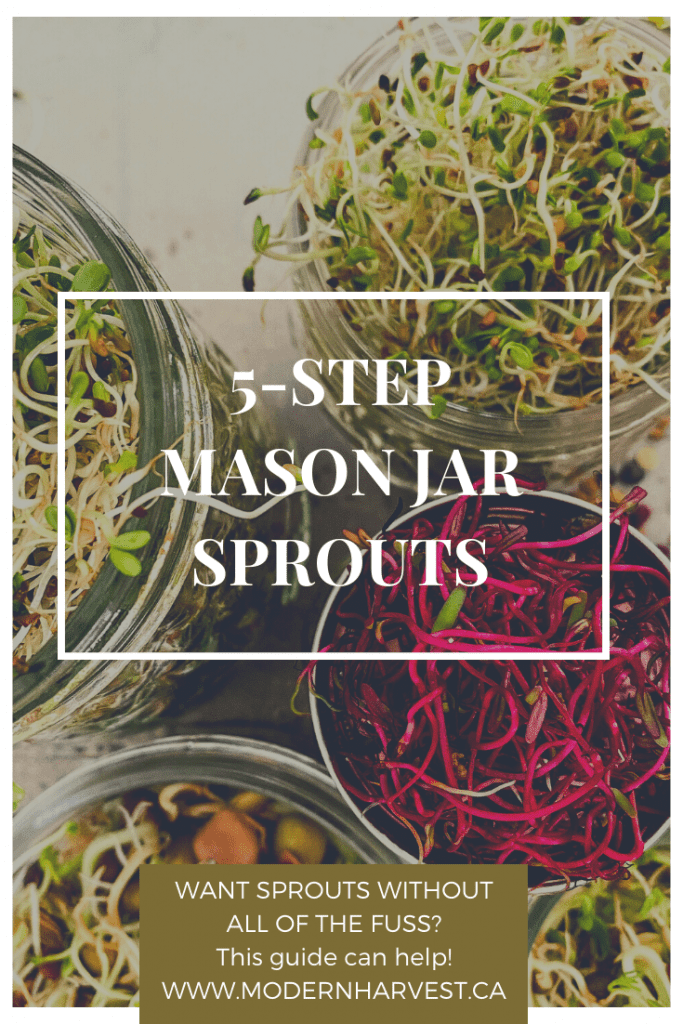
Mason Jar Sprouts | Simple Guide To Get Started Sprouting Today!
Follow this simple guide for growing mason jar sprouts and start enjoying them in as little as 3 days! It’s fall guys… the garden is out and I am already missing my garden’s fresh greens. Something about homegrown vegetables just tastes better than any store bought produce ever could. Cue the sprouts! Nothing helps to boost my grow-jo than making some sprouts. This is an uncomplicated, step by step guide to help you add some fresh and healthy greens to your diet using a simple vessel– the mason jar.
What is Sprouting?
Simply put, a sprout is a germinated seed. When you are sprouting, you are soaking your desired seed in water. Soaking the seed causes it to swell, allowing a series of chemical reactions to occur creating aerobic respiration; developing a delicious and nutritious sprout in a few days time. Kitchen gardening? Yes please!
Why Sprout?
There are many benefits to sprouting your own seeds. Firstly, growing sprouts at home tastes better because they are FRESH! Sprouts are also nutritional powerhouses– nutrient dense, packed with fibre, phytonutrients, chlorophyll, protein (beans and legumes). Sprouted seeds are easily digested and have low fat, low sodium, and zero cholesterol. Depending on your seed selection, sprouts can easily be gluten-free. Sprouting your own seeds will also save you tons of money when compared to buying from the store. Two tablespoons of alfalfa seeds will fill a quart sized mason jar and easily provide you with fresh sprouts for up to a week.
Where to Buy Your Seeds
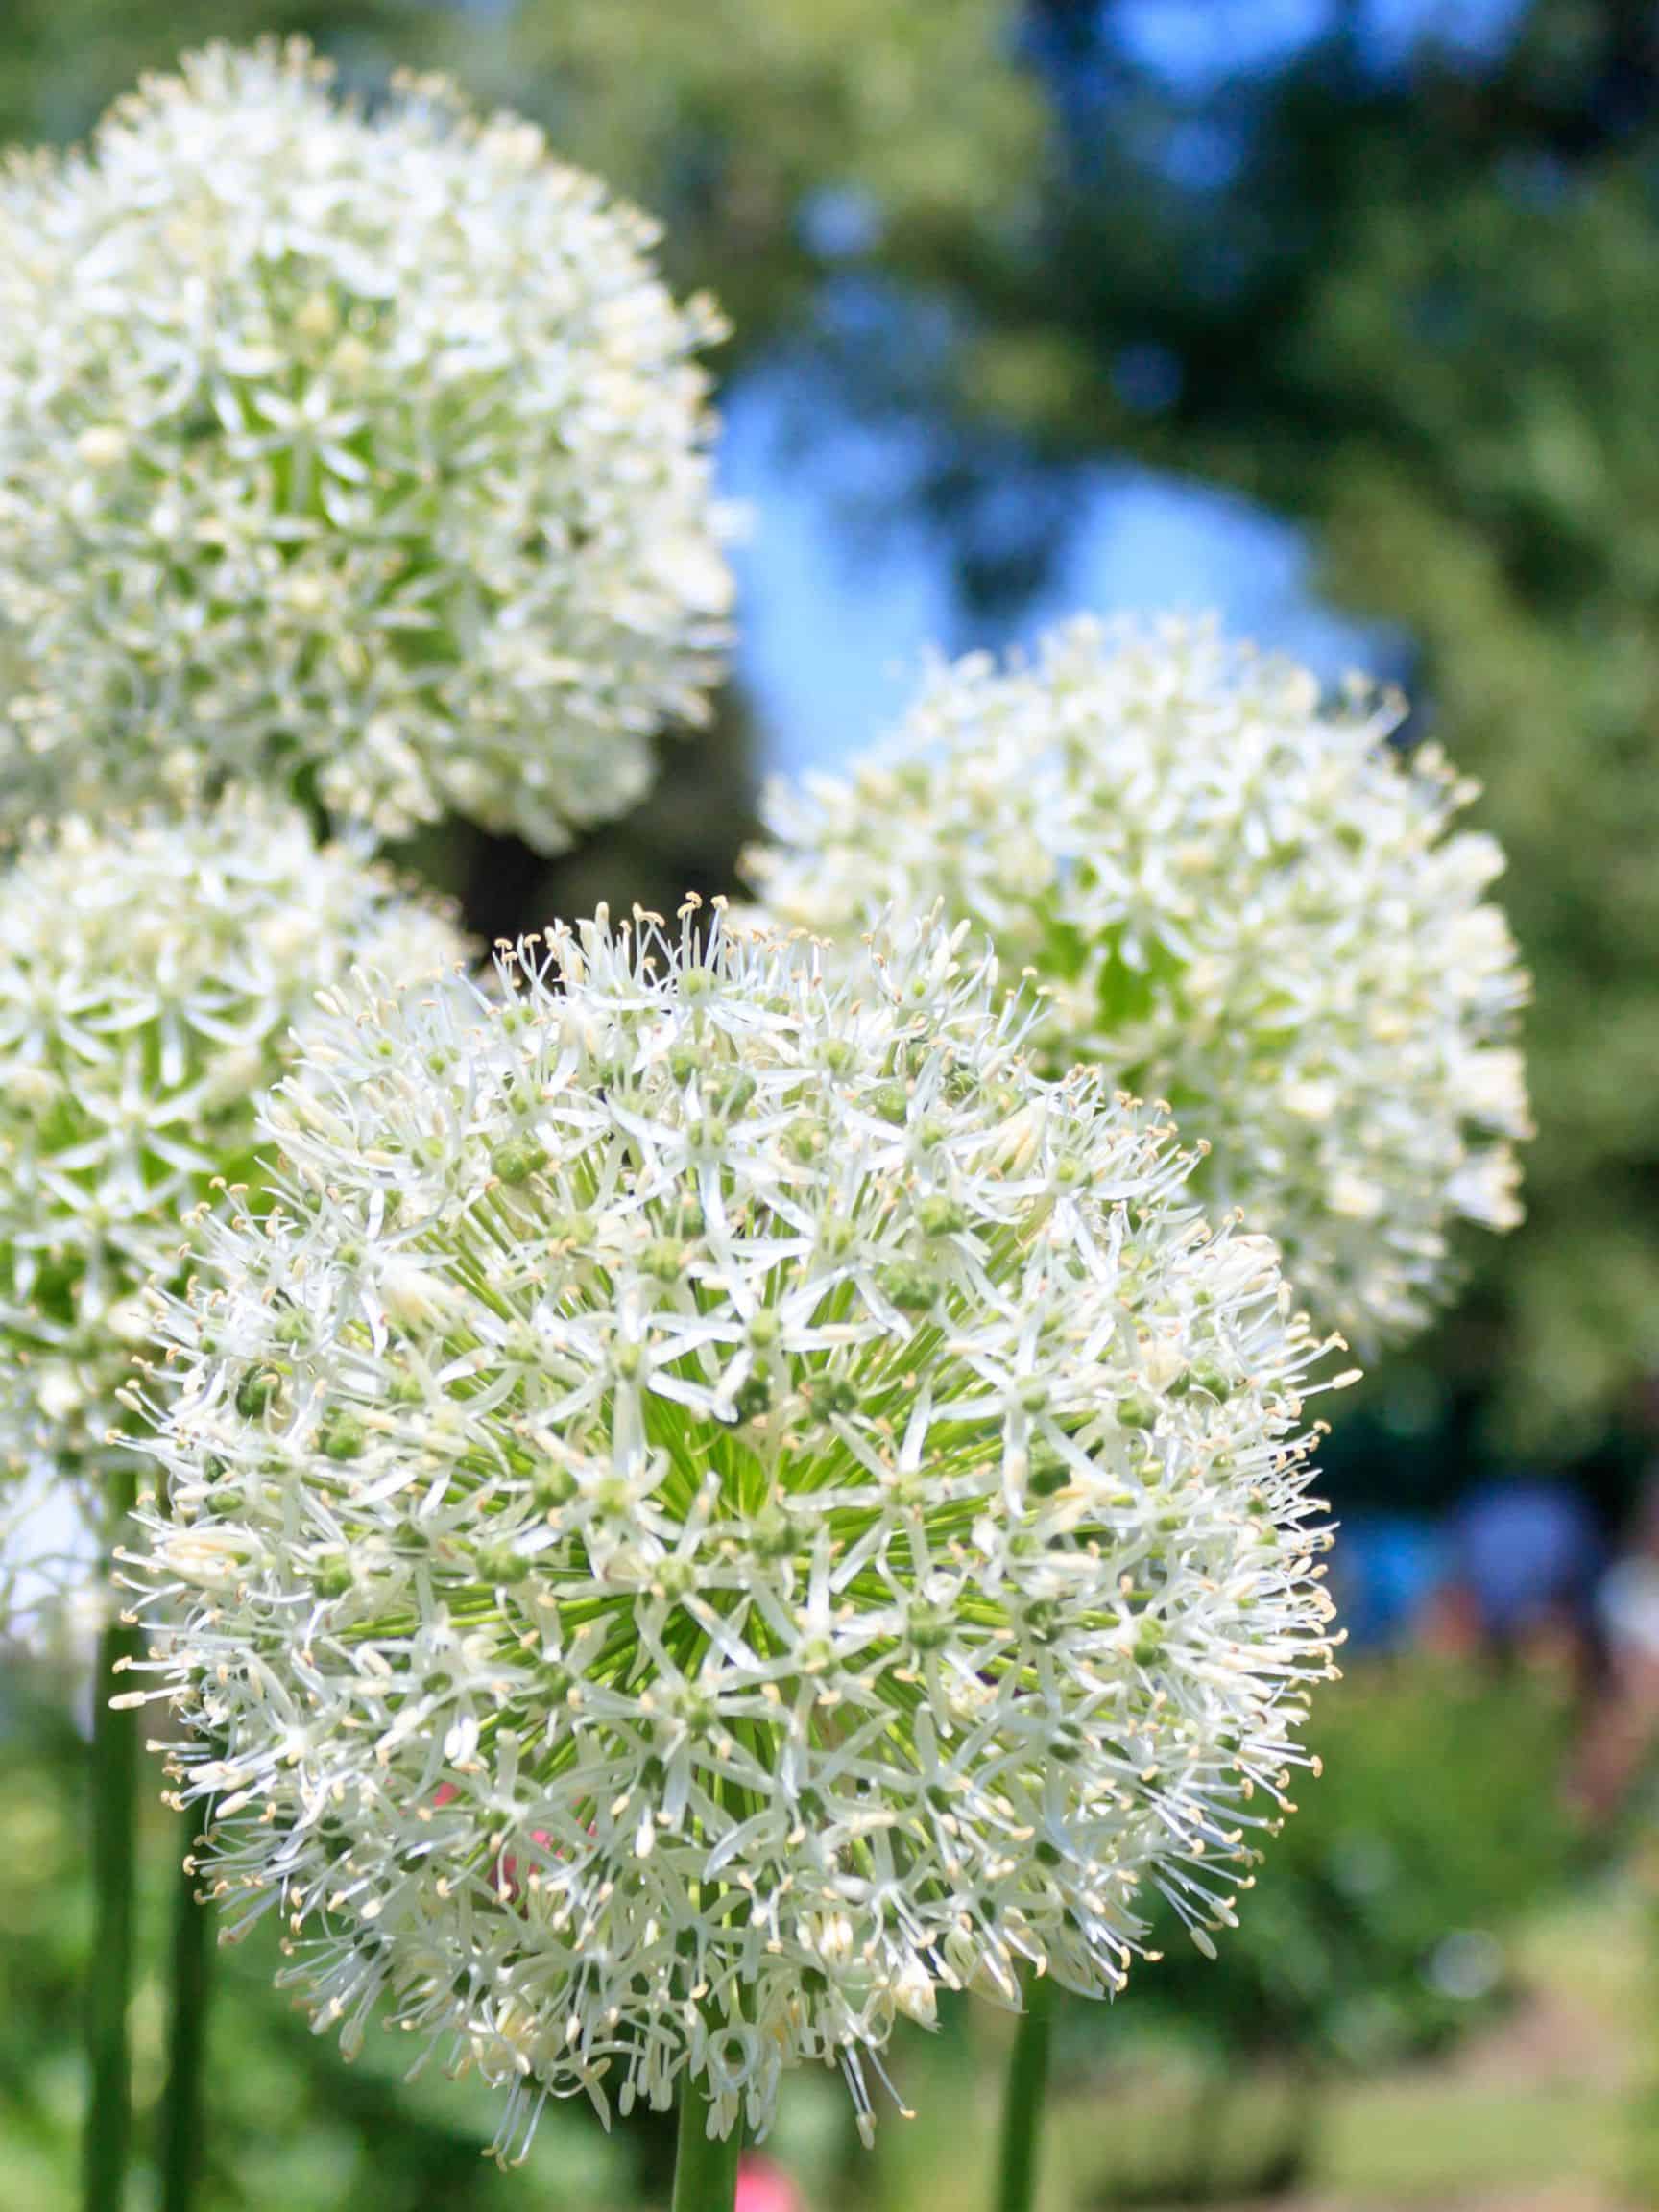
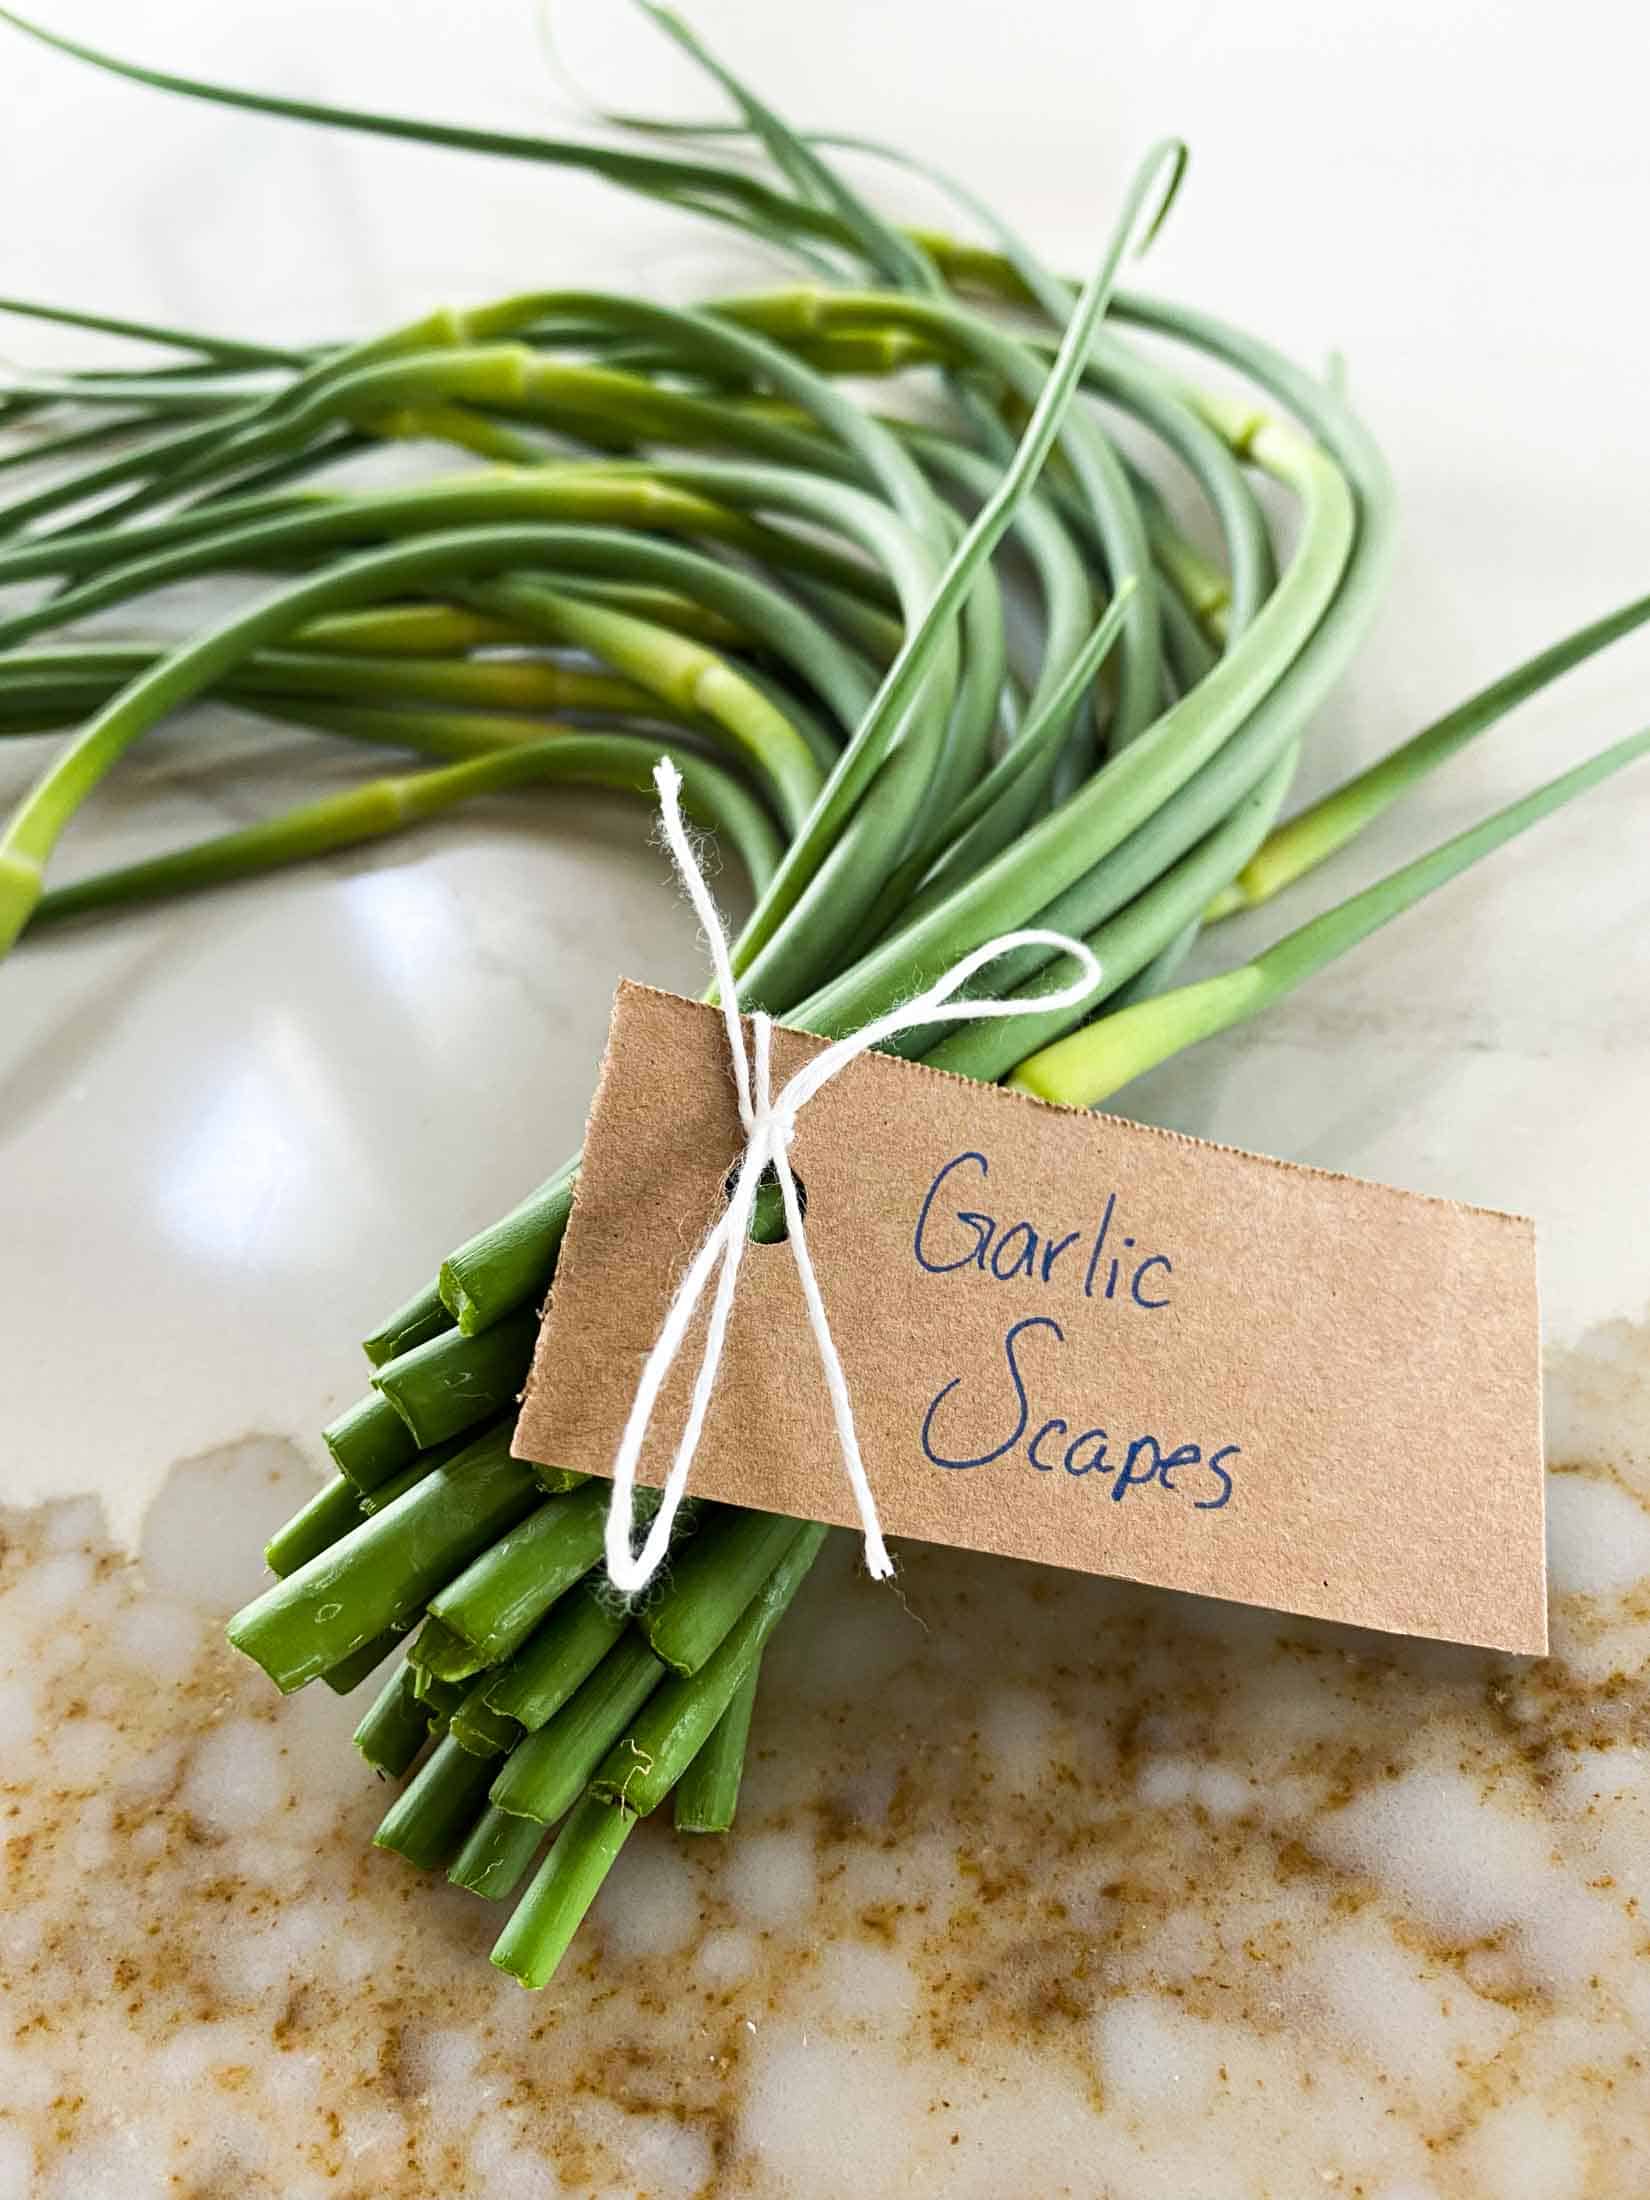
I purchased my sprouting seeds from Mumm’s Seeds. They offer a wide variety of organic sprouting seeds from a little farm in Saskatchewan, AB. I have also seed sprouting seeds at places like Canadian Tire, Amazon, and my local hardware store.
Some people have had luck sprouting lentils and other seeds straight from the grocery store but there are a few things to consider before doing this. Sprouting seeds have to go through certain tests to make sure that they are free of e.coli and salmonella. Seeds and lentils that you buy from the grocery store don’t have this guarantee– likely because the manufacturers assume that they will be boiled before consumption. They also may be irradiated to make sure that they don’t sprout on the shelf- so no matter your effort, they will not sprout at all.
Best Sprouting Seeds for Beginners
Alfalfa seeds are awesome if you are just starting out sprouting your own seeds. My favourite easy sprout mix is the Sandwich Booster from Mumm’s Seeds. It requires as little as 4 hours pre-soaking and takes around five days. This mix includes a variety of seeds including alfalfa, mustard, radish, and clover.
More Sprouting Seeds To Experiment With
Broccoli Sprouts- Broccoli sprouts, those little green powerhouses of nutrition, are germinated seeds of the broccoli plant. Not only do they bring an earthy taste to your dishes, but they also add a satisfying crunch. These tiny sprouts have gained popularity for their health benefits and versatility in the kitchen. Loaded with fiber and protein while being low in calories, they pack quite the nutritional punch. In fact, broccoli sprouts can contain anywhere from 10 to 100 times more glucoraphanin than mature broccoli!
Related: Broccoli Companion Plants- A Guide For What & What NOT To Plant
Mung Bean Sprouts / Bean sprouts- Mung bean sprouts are often used in Asian cuisine. They bring a fresh and vibrant element that complements a wide range of dishes. Try out this crunchy bean mix from Mumm’s Sprouting Seeds. From stir-fries to salads, wraps to spring rolls, mung bean sprouts add a delightful crunch and a touch of nuttiness. Not only do they enhance the overall texture of a dish, but they also provide a burst of vitamins, minerals, and antioxidants.
Cooking with bean sprouts is a breeze. They can be enjoyed raw in salads for a refreshing crunch or quickly stir-fried to retain their crispiness. One popular recipe is sautéed bean sprouts, where they are cooked with garlic and other seasonings for a flavorful side dish.
Pea Sprouts- Pea sprouts, those vibrant and nutritious greens, are a fantastic addition to any adventurous home cook’s repertoire. These tender shoots offer a fresh and flavorful twist to various dishes. Whether you’re looking to grow your own pea sprouts or explore delicious recipes, there’s plenty to discover about these delightful greens.
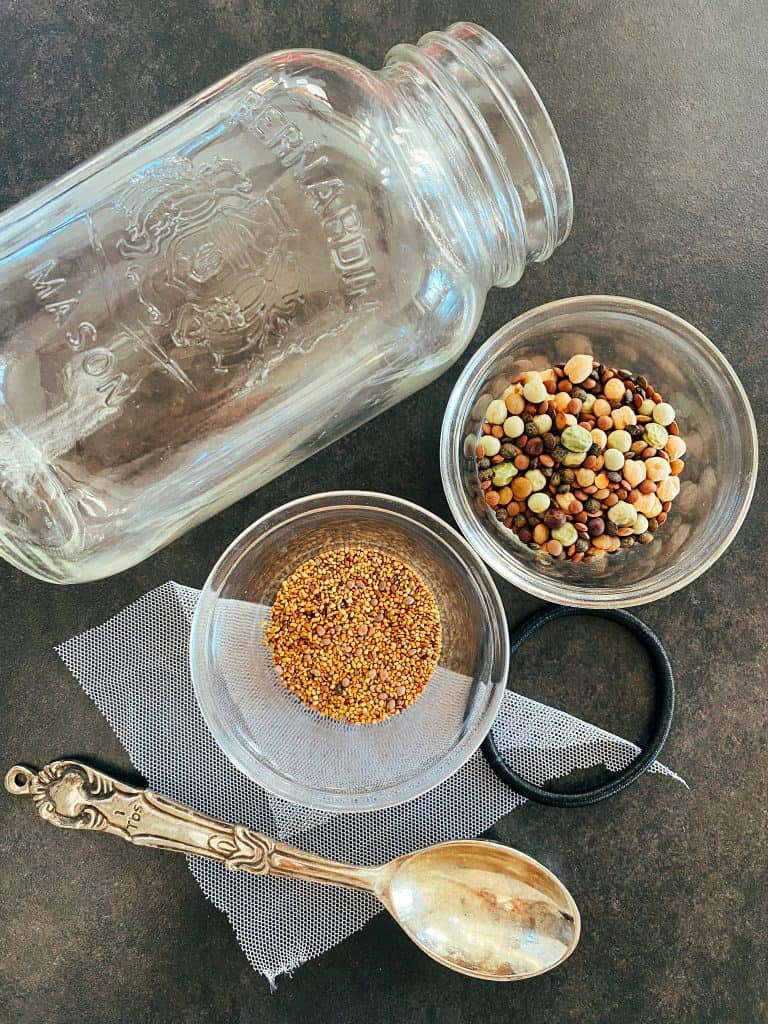
Equipment Needed
- mason jar
- elastic (rubber band)
- cheese cloth or fine mesh bag cut into 5×5 squares, alternately a fine mesh strainer can be used and scraped off each time that the sprouts need to be rinsed (harder option).
- sprouting seeds
- Optional: Sprouting Lid- some people prefer to use pre-made sprouting lids. If you want to press the easy button, check out these sprouting lids on Amazon. “As an Amazon Associate I earn from qualifying purchases.”
Tips + Tricks For The BEST Sprouts
- To avoid mould and to improve air circulation, make sure to rinse your sprouts twice a day.
- To avoid fruit flies, place your sprouts in the fridge for a few hours or overnight. Placing a fan near your sprouts will also help to deter any fruit flies. Seeds will germinate best when kept at around 18°C or 65°F. I keep mine near my sink but out of direct sunlight for easy rinsing. It is important to keep your sprouts out of direct sunlight or exposed to any heat because they can easily dry out.
- Try to choose un-chlorinated water for your soaking water to ensure that the seeds sprout properly.
- Double up mesh when making alfalfa sprouts and sprouting smaller seeds.
The Process: Exactly How To Make Sprouts In A Mason Jar
- Wash your jars thoroughly with soap and water to make sure that they are free from any bacteria that could spoil your sprouts.
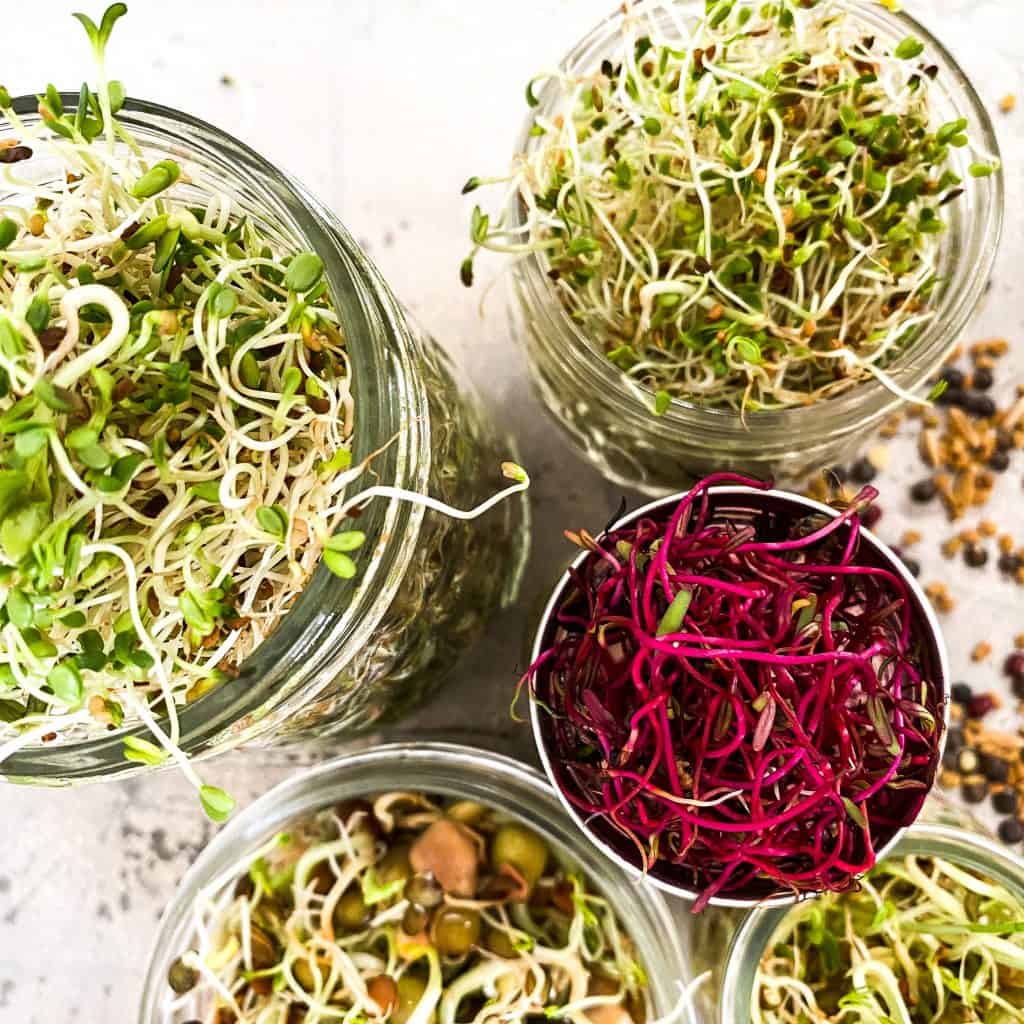
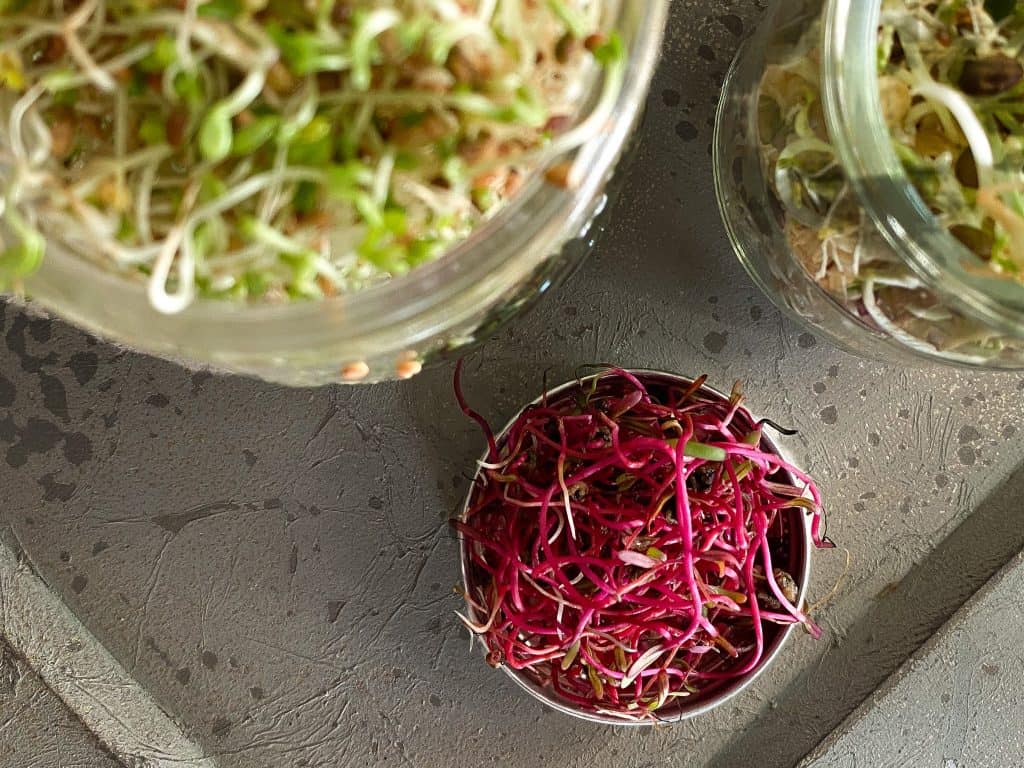
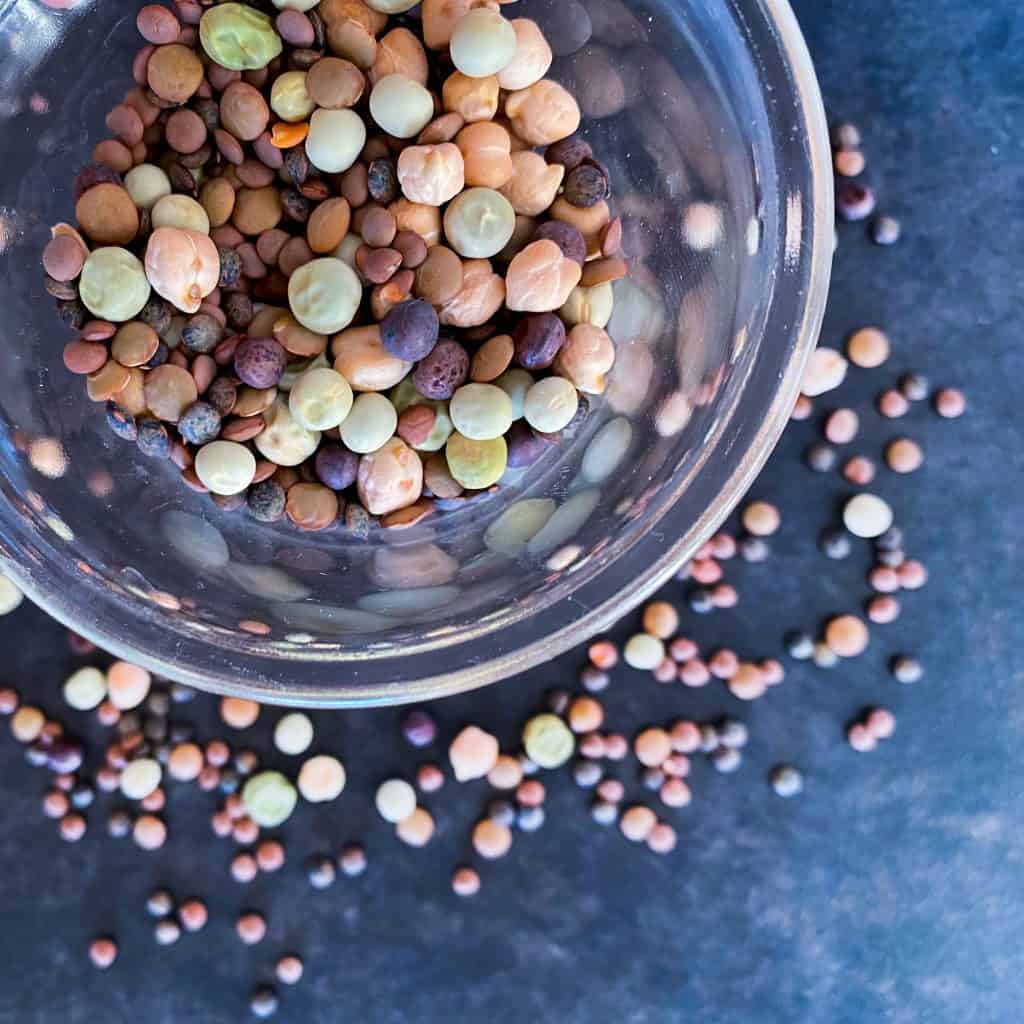
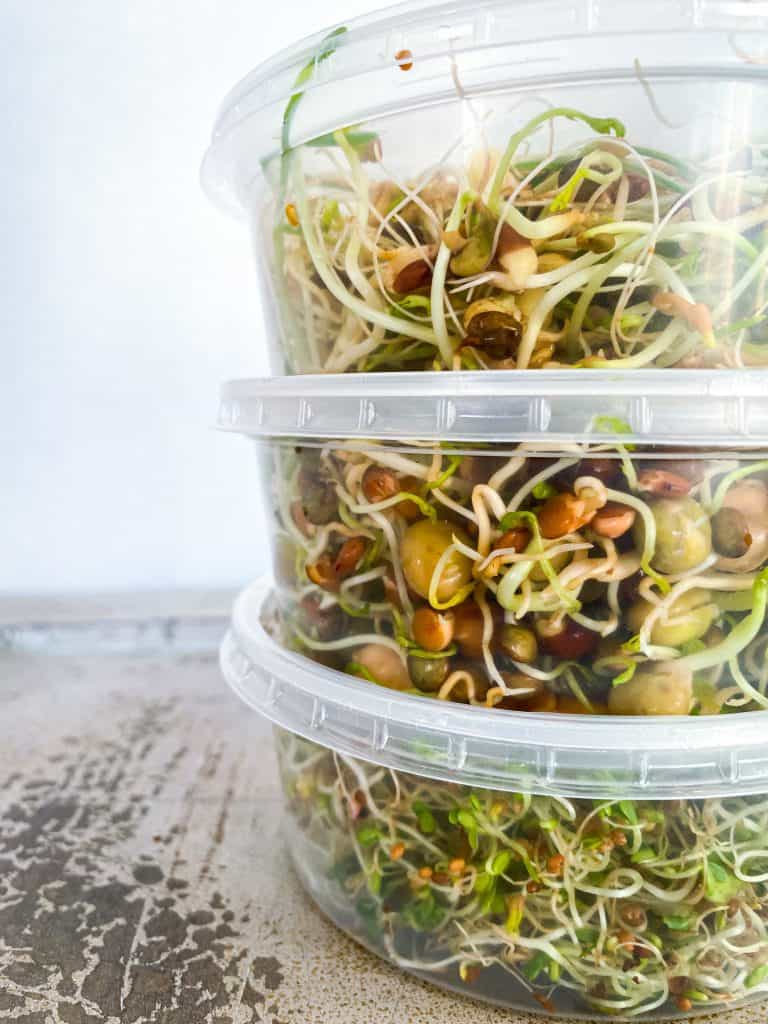
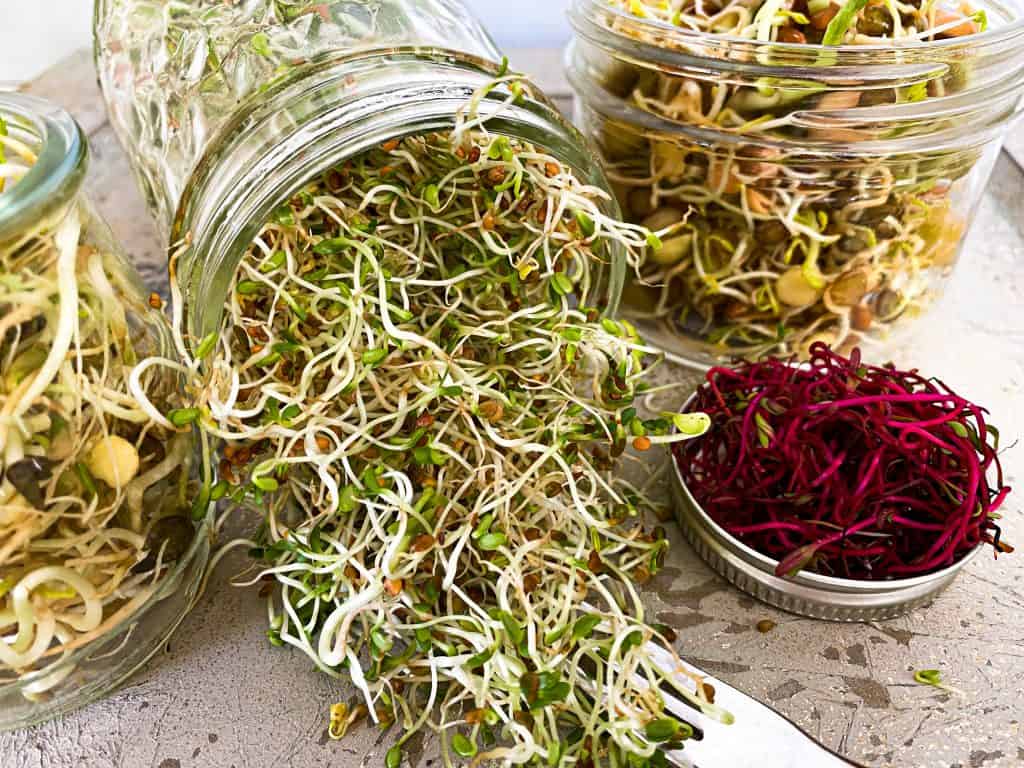
- Choose the type of sprouts that you would like to use. I chose a Sandwich Booster blend, beets, a Crunchy Bean Mix, and an Ancient Eastern Blend. The Sandwich Booster blend from Mumm’s seeds is my personal favourite. It includes clover, alfalfa, radish, and mustard seed. It germinates and grows quickly and efficiently and has great flavor! If you like a little more texture and crunch, the Crunchy Bean Mix is the way to go.
- Once seeds are measured and placed into your jars, place your cheese cloth or fine mesh on top of your jar and secure it with an elastic. Tip: I like to double up my mesh when using small seeds like alfalfa.
- Follow the instructions specific to your sprouting seeds. Be sure to read about how much soaking water to add to the jar and how to prepare your sprouts before you get started. Some sprouts require a full soak for 12 hours while others can be rinsed and started in as little as 4 hours.
- Invert your jar of sprouts (place your jar upside down or on an angle) in a bowl to allow proper drainage and for excess water to escape. Keep them out of direct heat and sunlight. They like to be about 18°C or 65° F. With absolutely no sun, they will be pale- place them in indirect light. Rinse, swirl, and drain twice a day until sprouts have reached full maturity.

How to Store Your Sprouts
Once the mason jar sprouts are fully mature, store them in an airtight container with a layer of paper towel at the bottom and place in the fridge. They can be kept for up to a week. I like to start a new batch when I am about halfway done my fresh supply.
How to Use Your Mason Jar Sprouts
-Place a handful on top of your avocado sourdough toast.
-Sprinkle a healthy amount of sprouts on top of your favourite smoked beet salad.
-Elevate your sandwich or burger with a nutrient and texture boost by tossing a handful of mason jar sprouts on top.
-Stir the sprouts into homemade tomato soup or other soups (especially if the sprouts are bean based).
-Add them on top of a breakfast scramble.
-Stirred into a stir fry.
-Blended into a smoothie (awesome way to sneak extra greens into your kids)
LIKE THIS GUIDE? CLICK BELOW TO SAVE IT ON PINTEREST!


Ok I’m not a gardener but love the idea of growing my own food for my family this was a awesome way for me to learn the basics while providing a healthy home grown food for my kiddos!
Love this…I always forget how easy this is to make and keep a batch always on hand. I will experiment with some of these new seeds.
Yes! Such a simple way to sneak in some extra greens and nutrients- especially during the winter months.