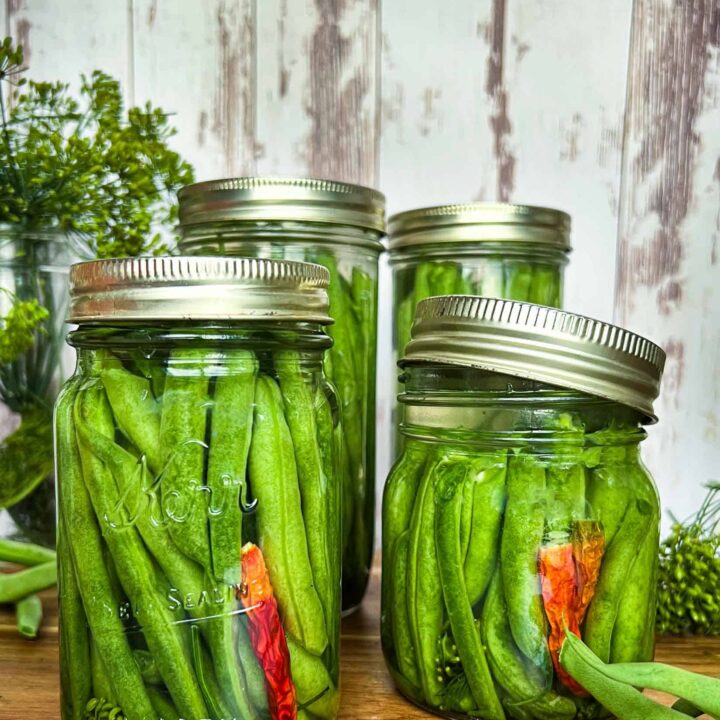
Fermented Green Beans With Dill + Garlic
Fermented green beans with dill and garlic are the ultimate snack. Whether you are plopping them into your favorite drink, arranging them on a pickle tray, or eating them straight from the jar, these lacto fermented green beans are a MUST! This favorite recipe requires no special canning equipment and is full of gut-healthy probiotics. Naturally gluten-free and vegan, fermented green beans are a great addition to any plate.
When my garden is plentiful, I preserve green beans using this ferment recipe but I also love to throw them on the smoker. Check out this Smoked Green Beans Recipe for inspiration.
A Note About Green Beans
Green beans are vibrant, versatile, and are a delightful addition to any plate. From the crisp snap of a fresh green bean to the crunch of a fermented dilly bean, these veggies offer a world of possibilities. There are several different varieties that can be fermented including string beans, snap beans, and French haricots verts, there’s a green bean for every taste bud.
Why Fermented Green Beans ROCK!
Key Ingredients
Green Beans- Source out fresh green beans in season when possible! If you don’t have string beans/snap beans in your garden, consider grabbing from a local market or the fresh section in your local grocery store. Frozen green beans and canned green beans will not work in this recipe.
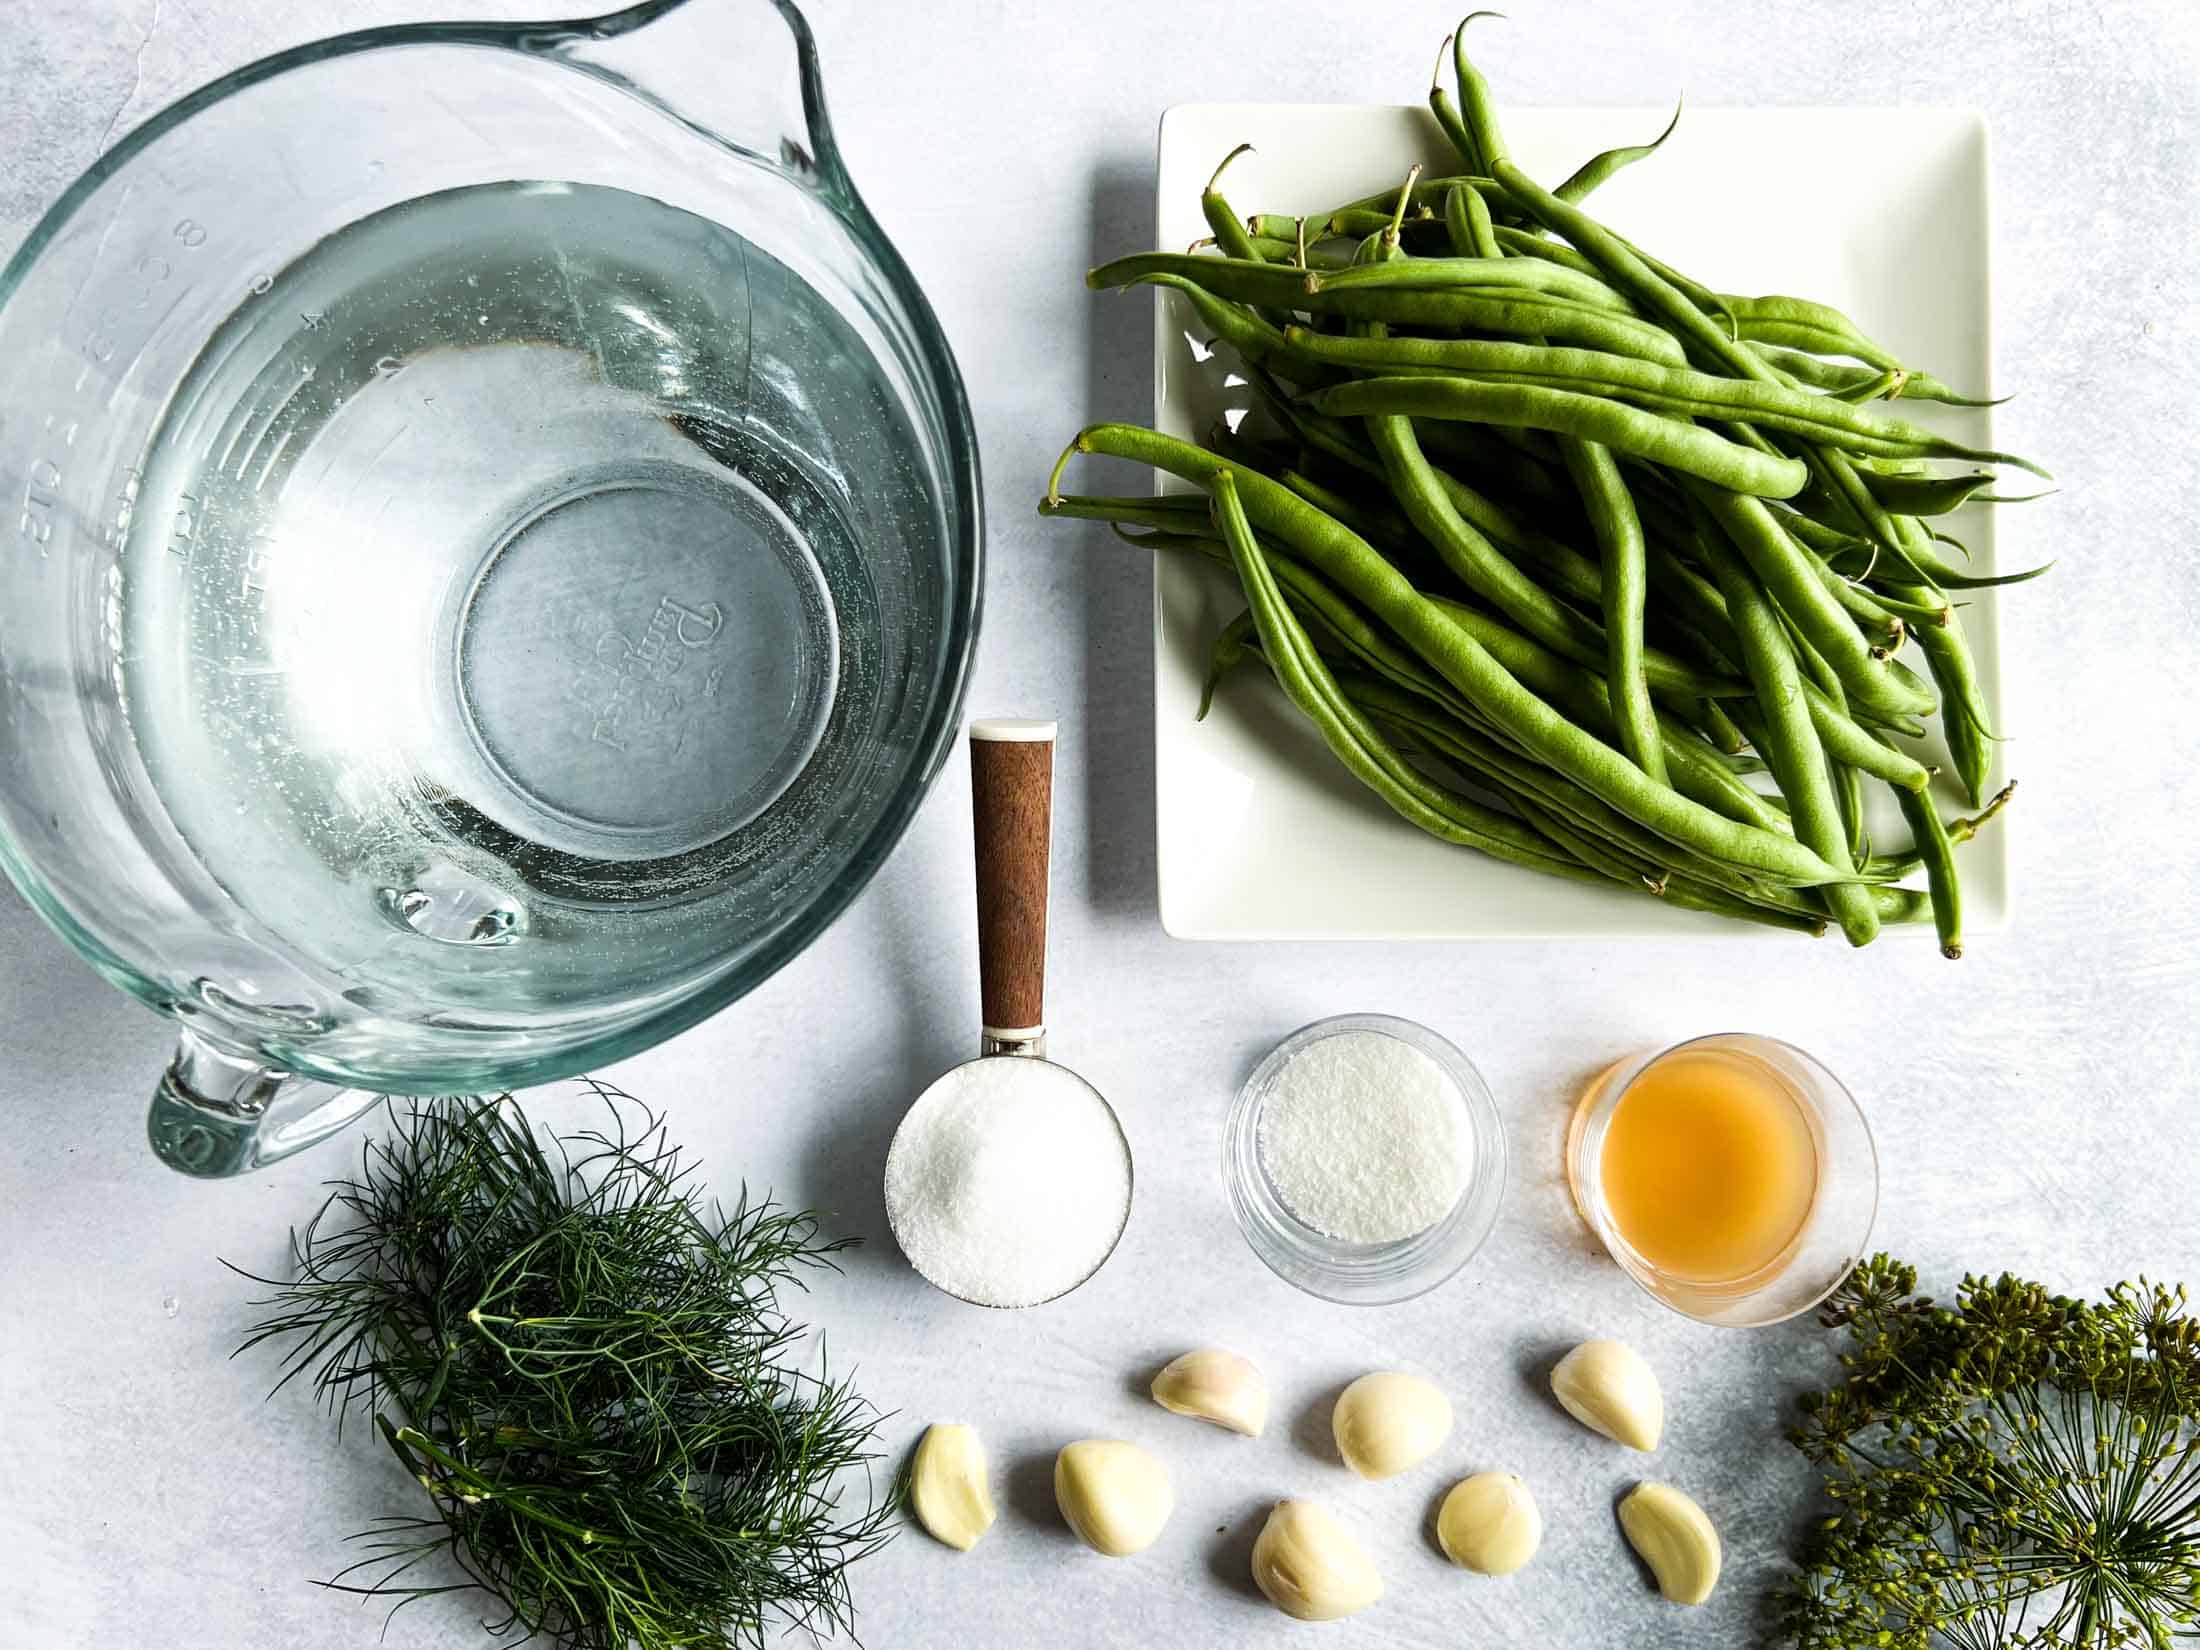
Salt- Use pickling salt, sea salt or kosher salt- ensure that it is pure salt without any additives like iodine or anti caking agents.
Apple Cider Vinegar- For this recipe I choose to use apple cider vinegar because it already has active cultures and a nice tang! Regular white vinegar will also work. Aim for a 5% acid concentration.
Water- Water must be non-chlorinated! Chlorine will kill the bacteria forming in the ferment and your fermented green beans will be wasted.
Exactly How To Make Fermented Green Beans (Dilly Beans)
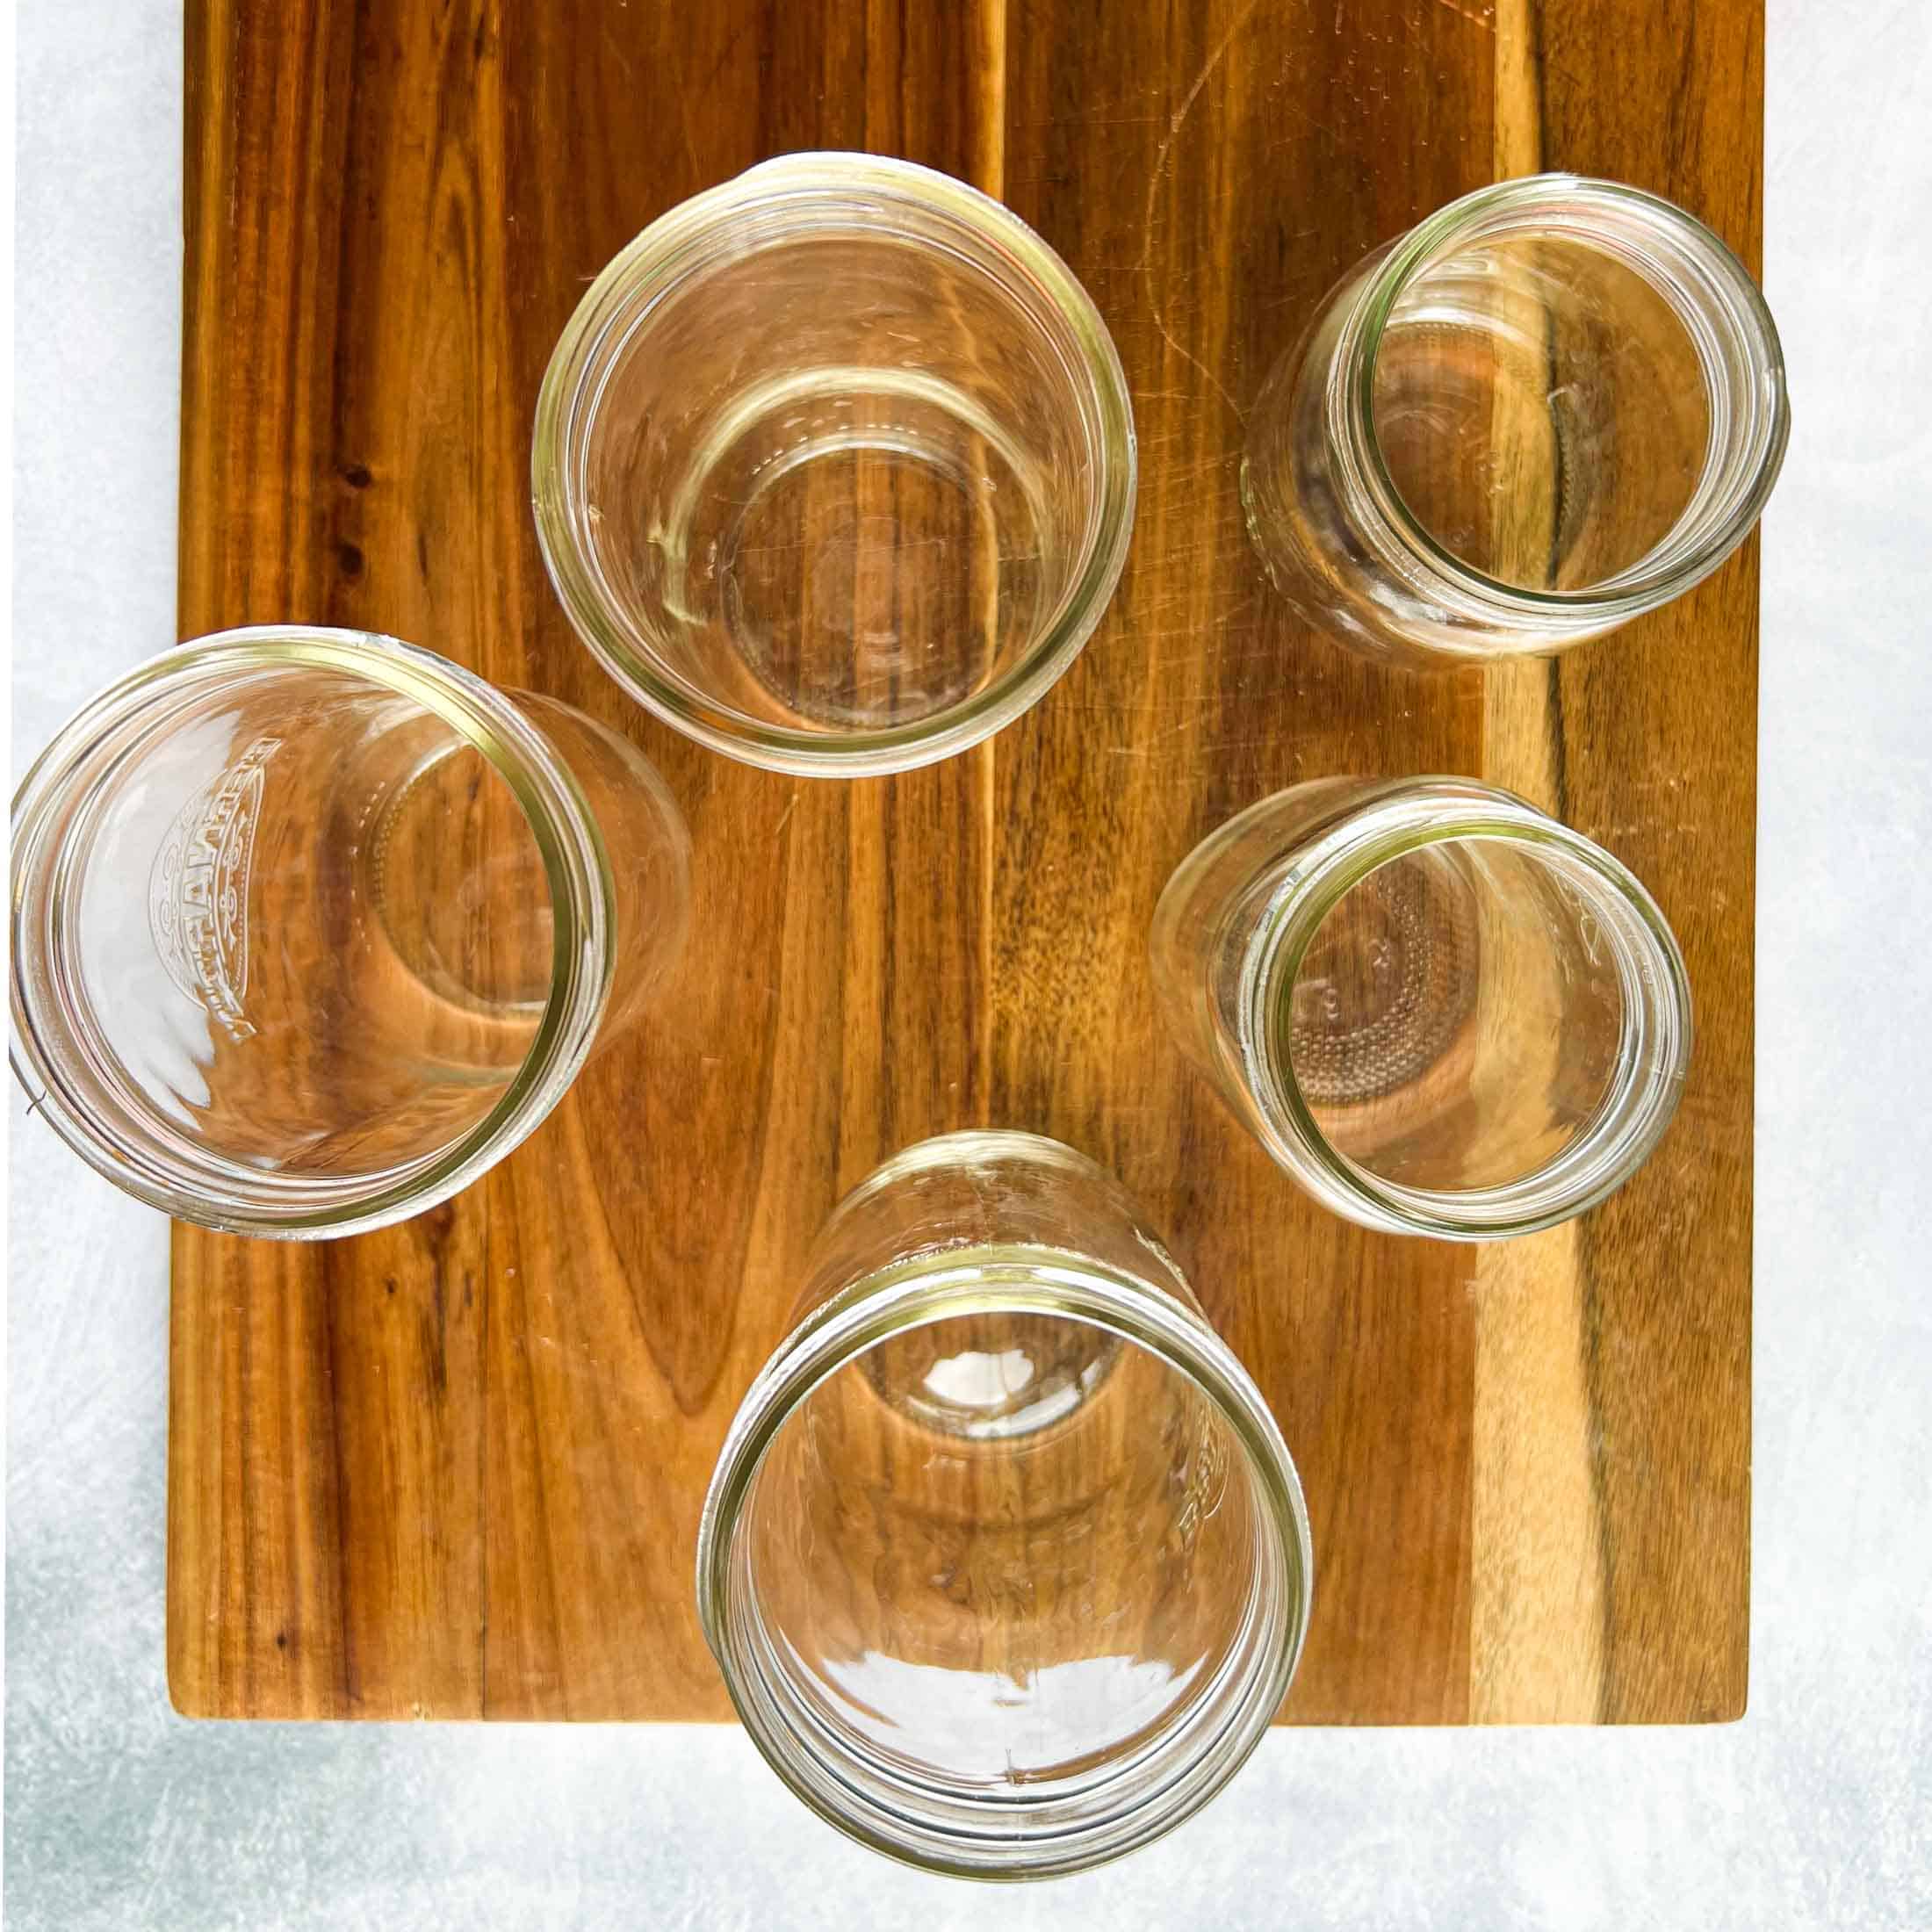
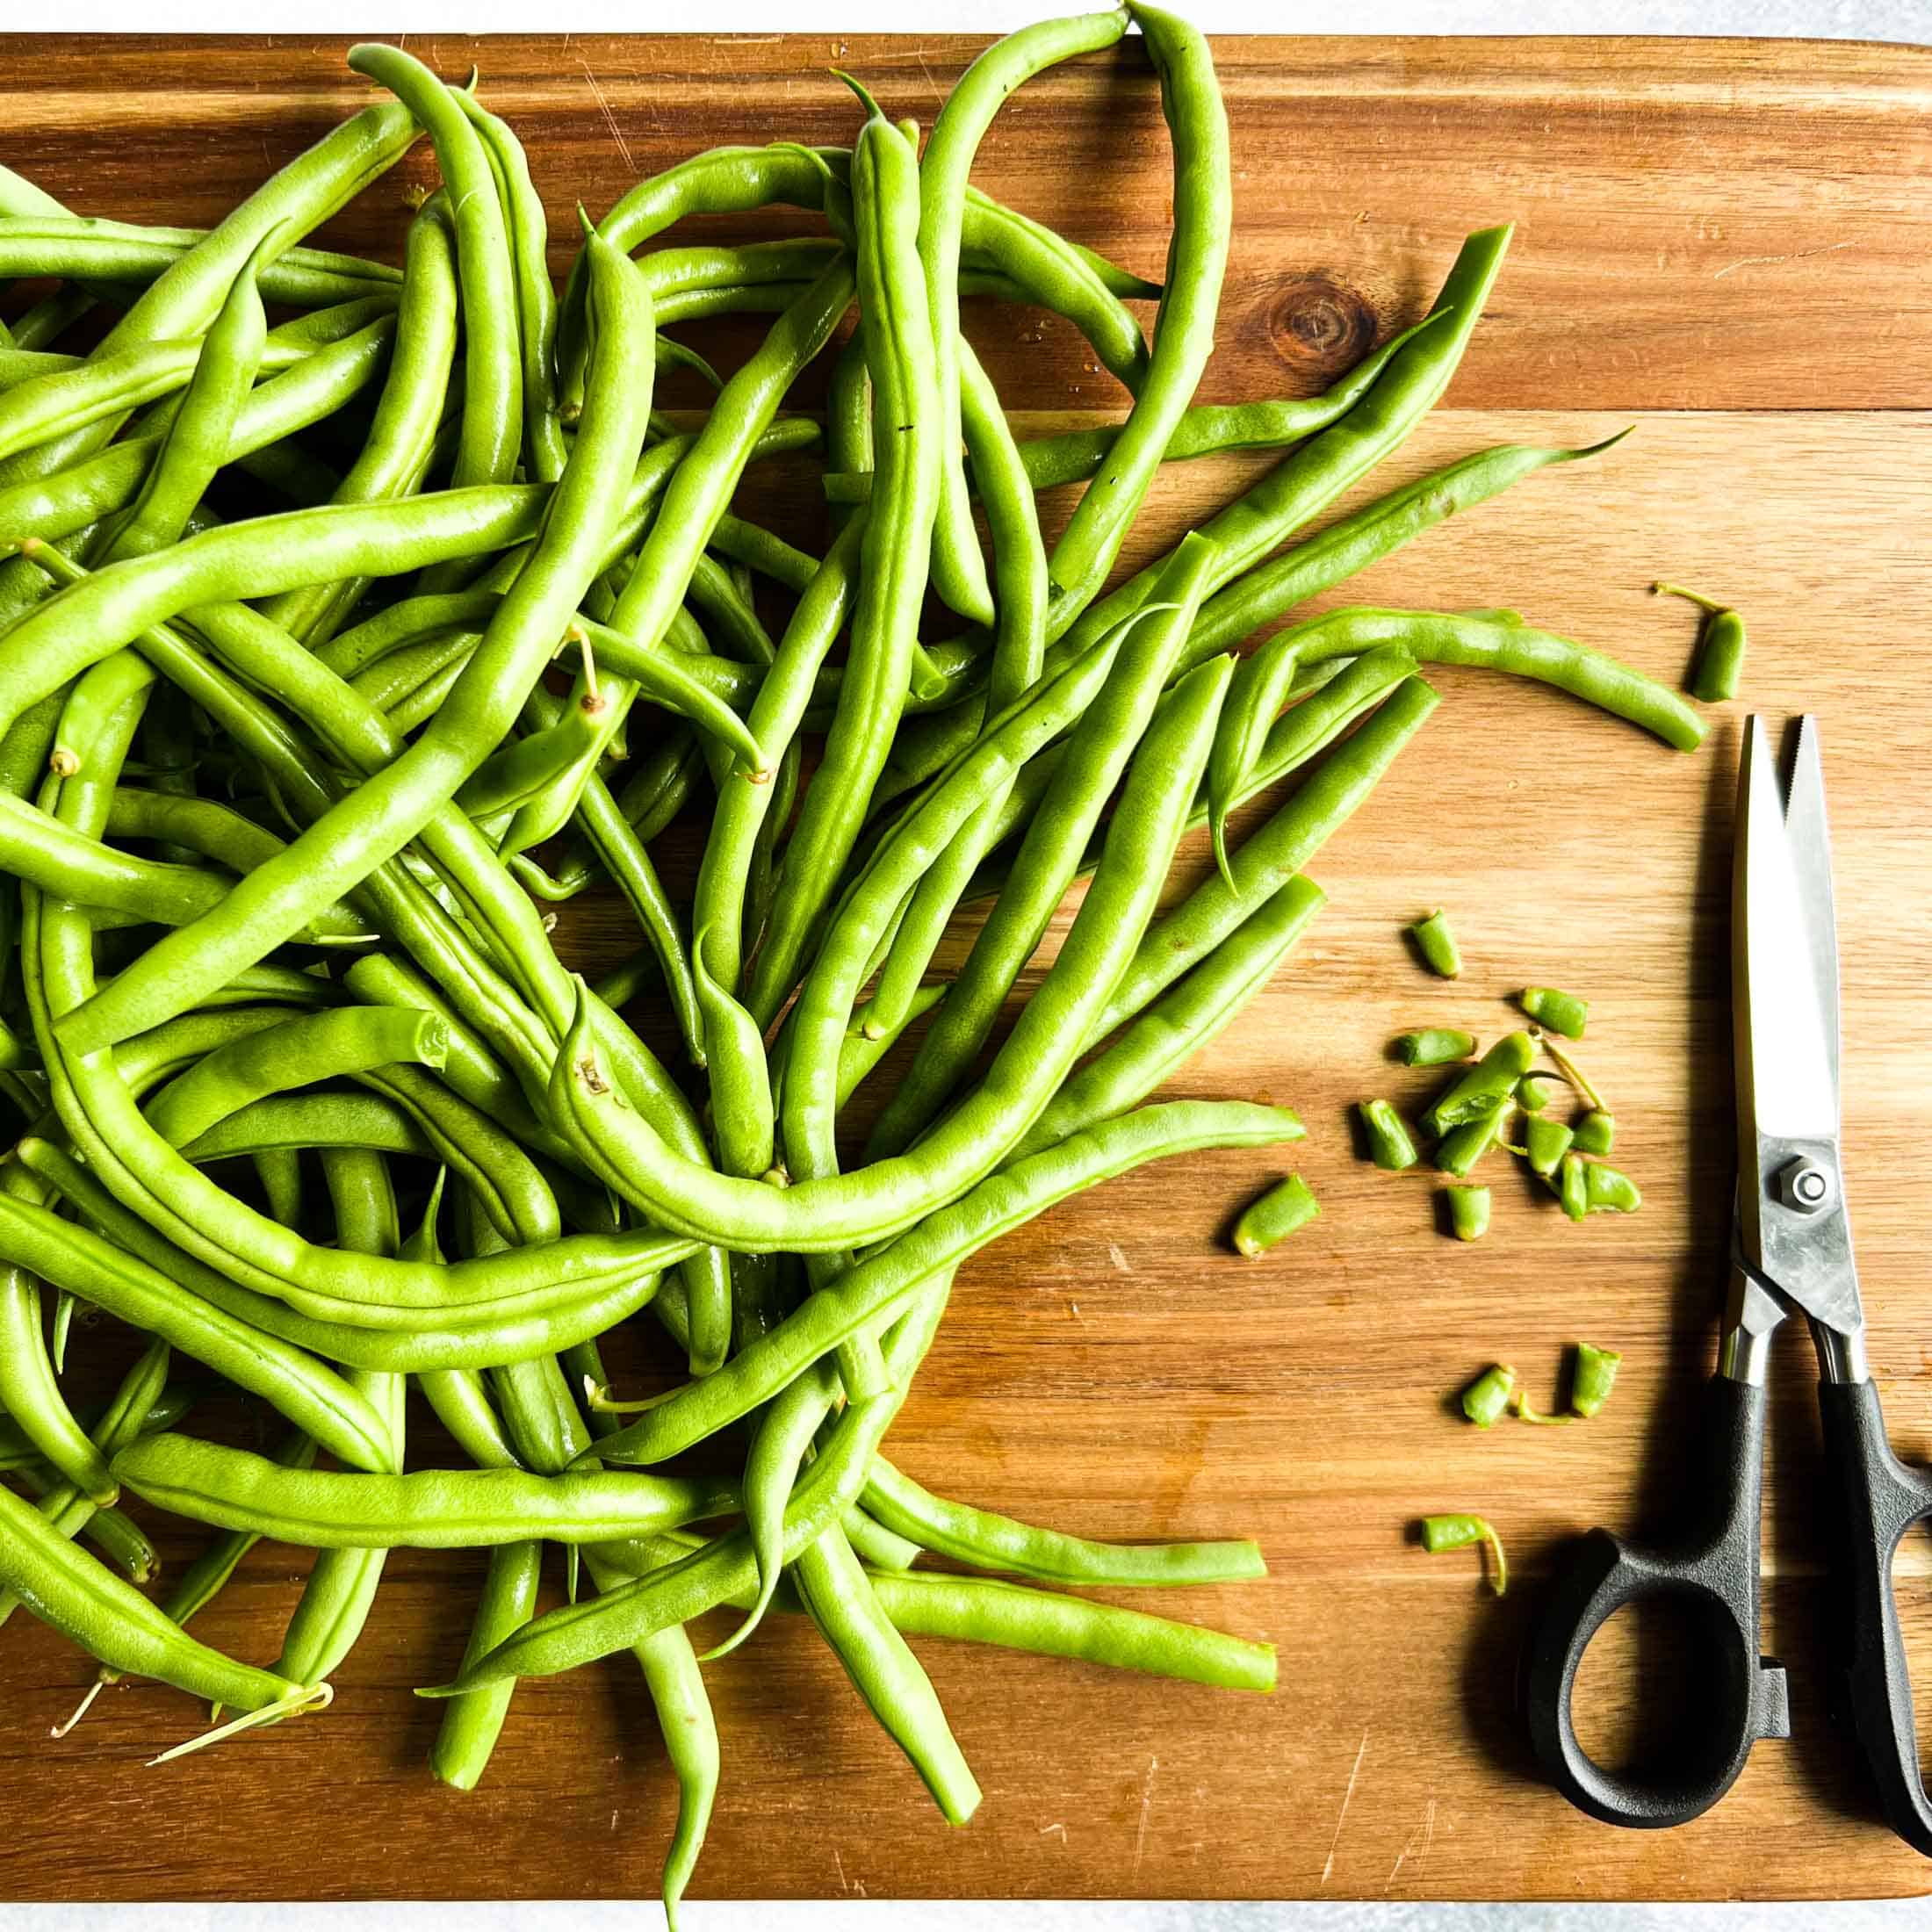
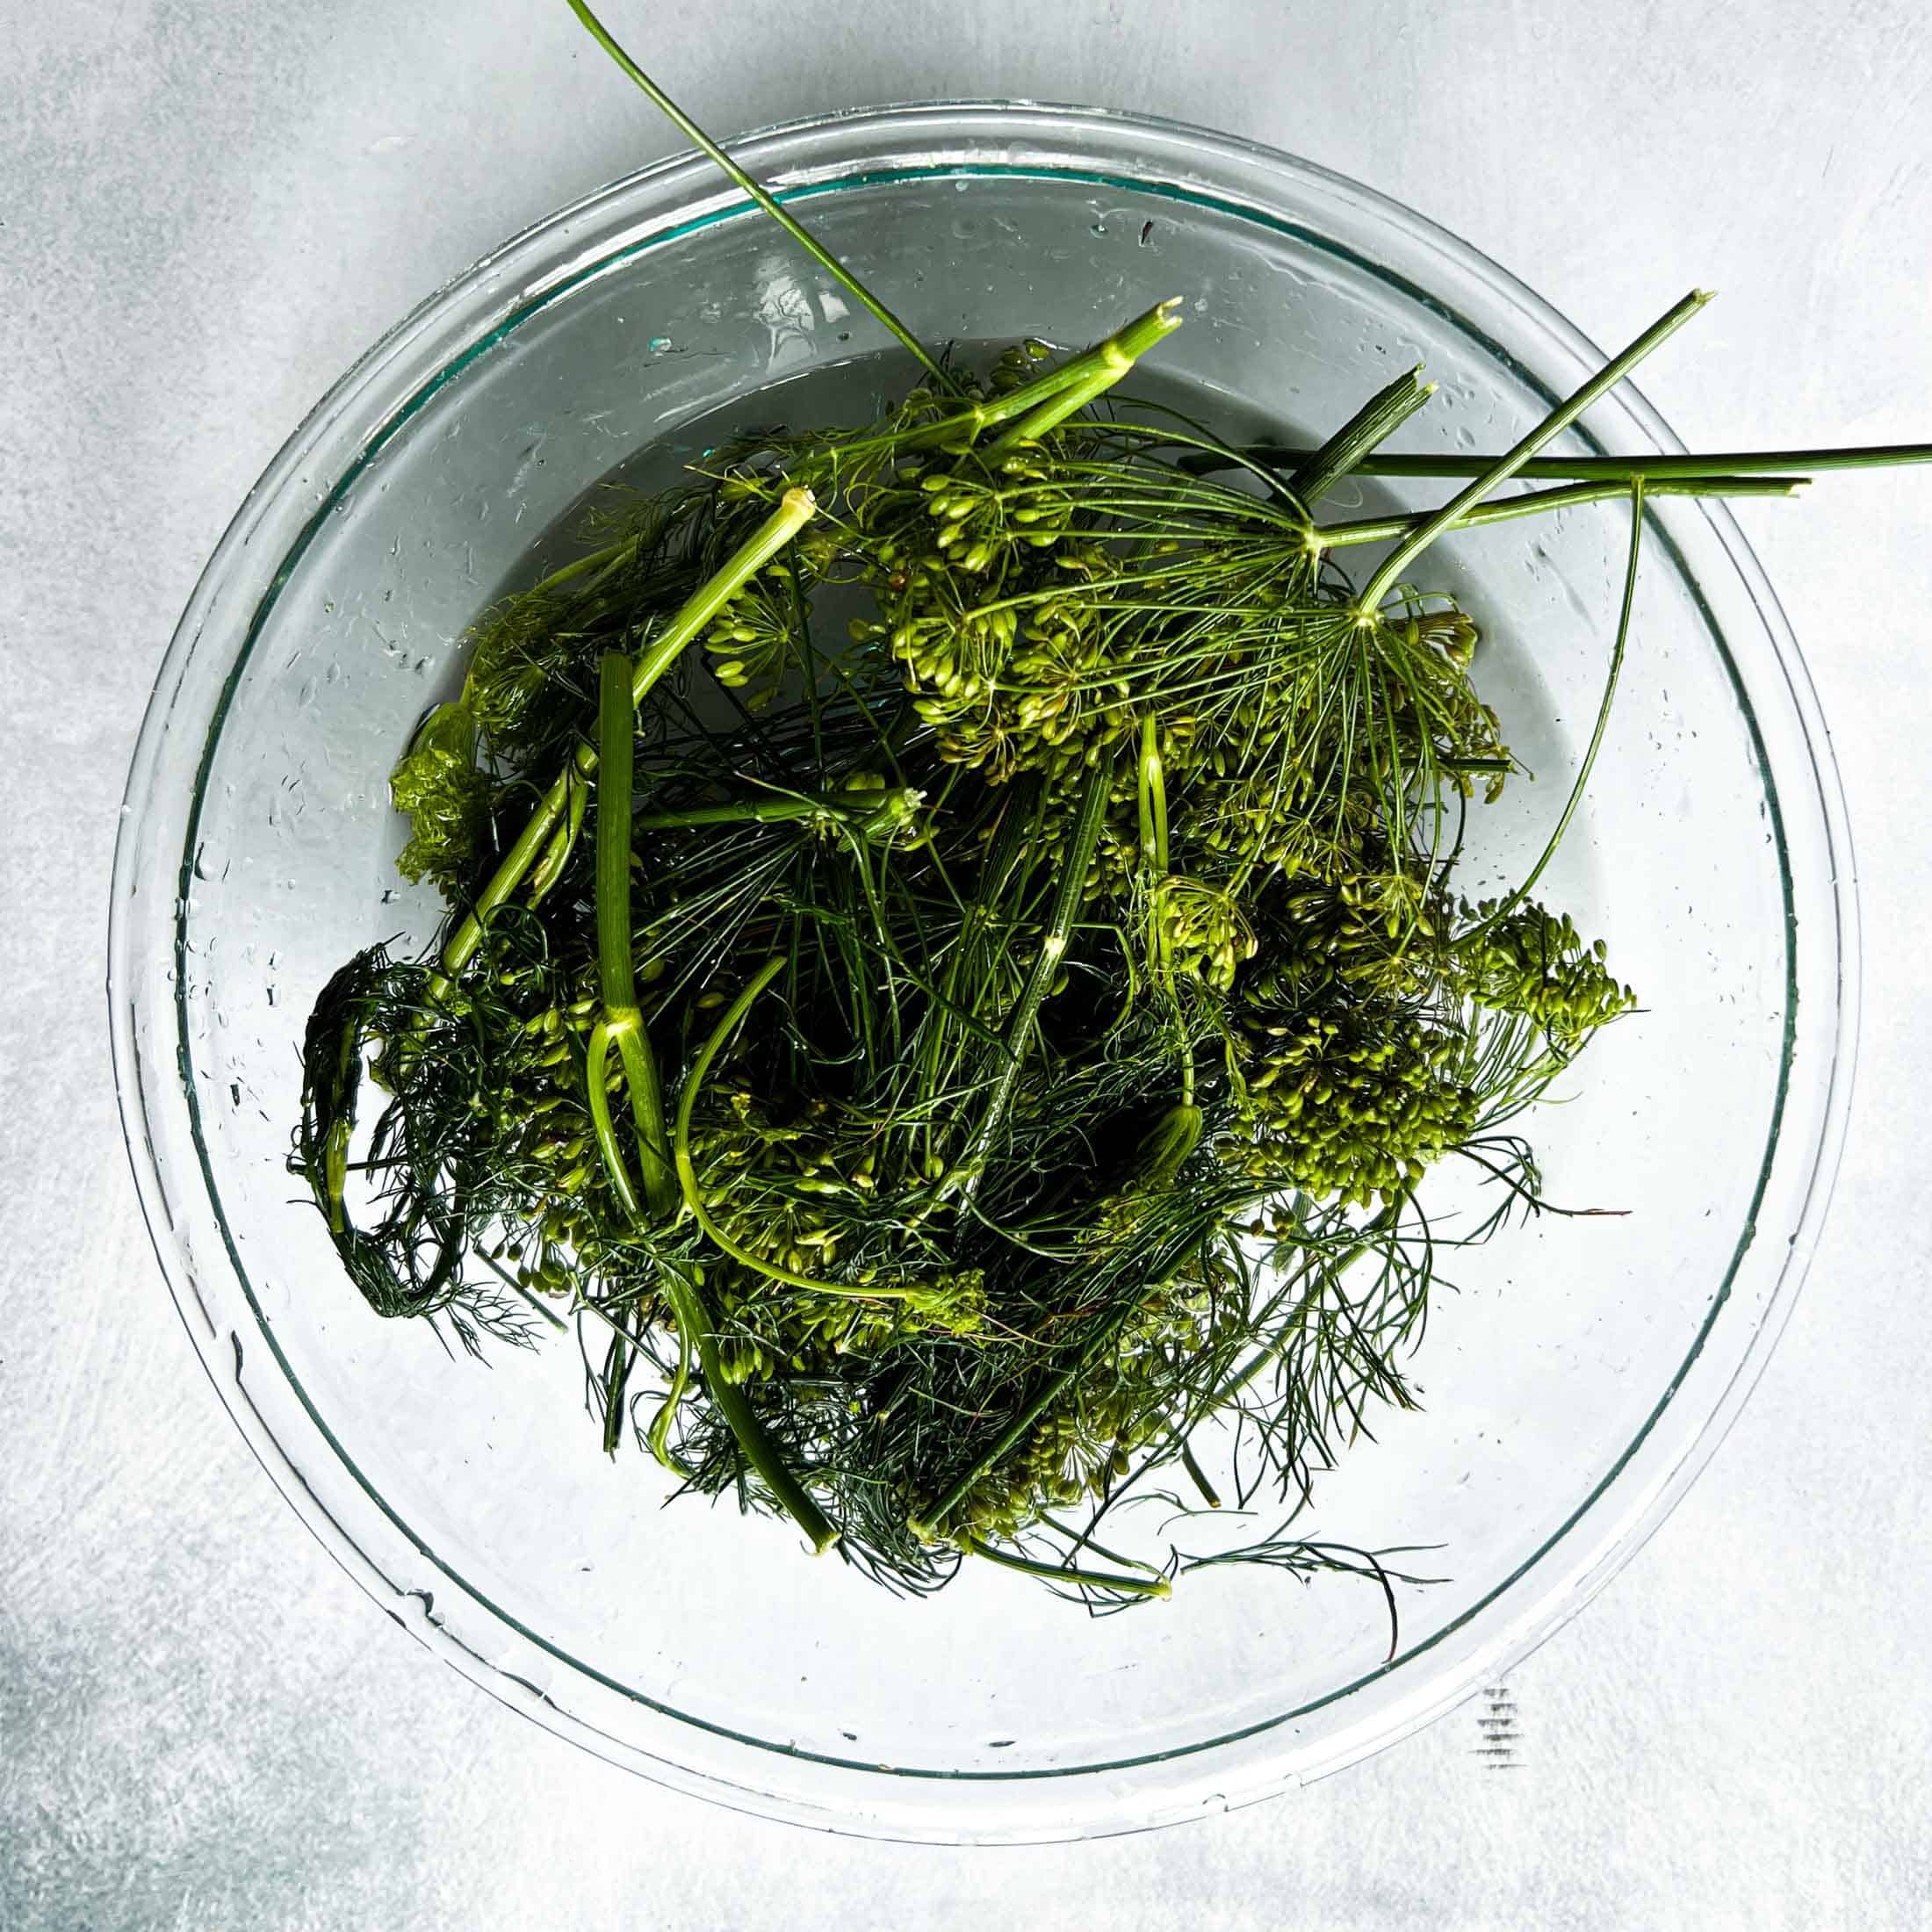
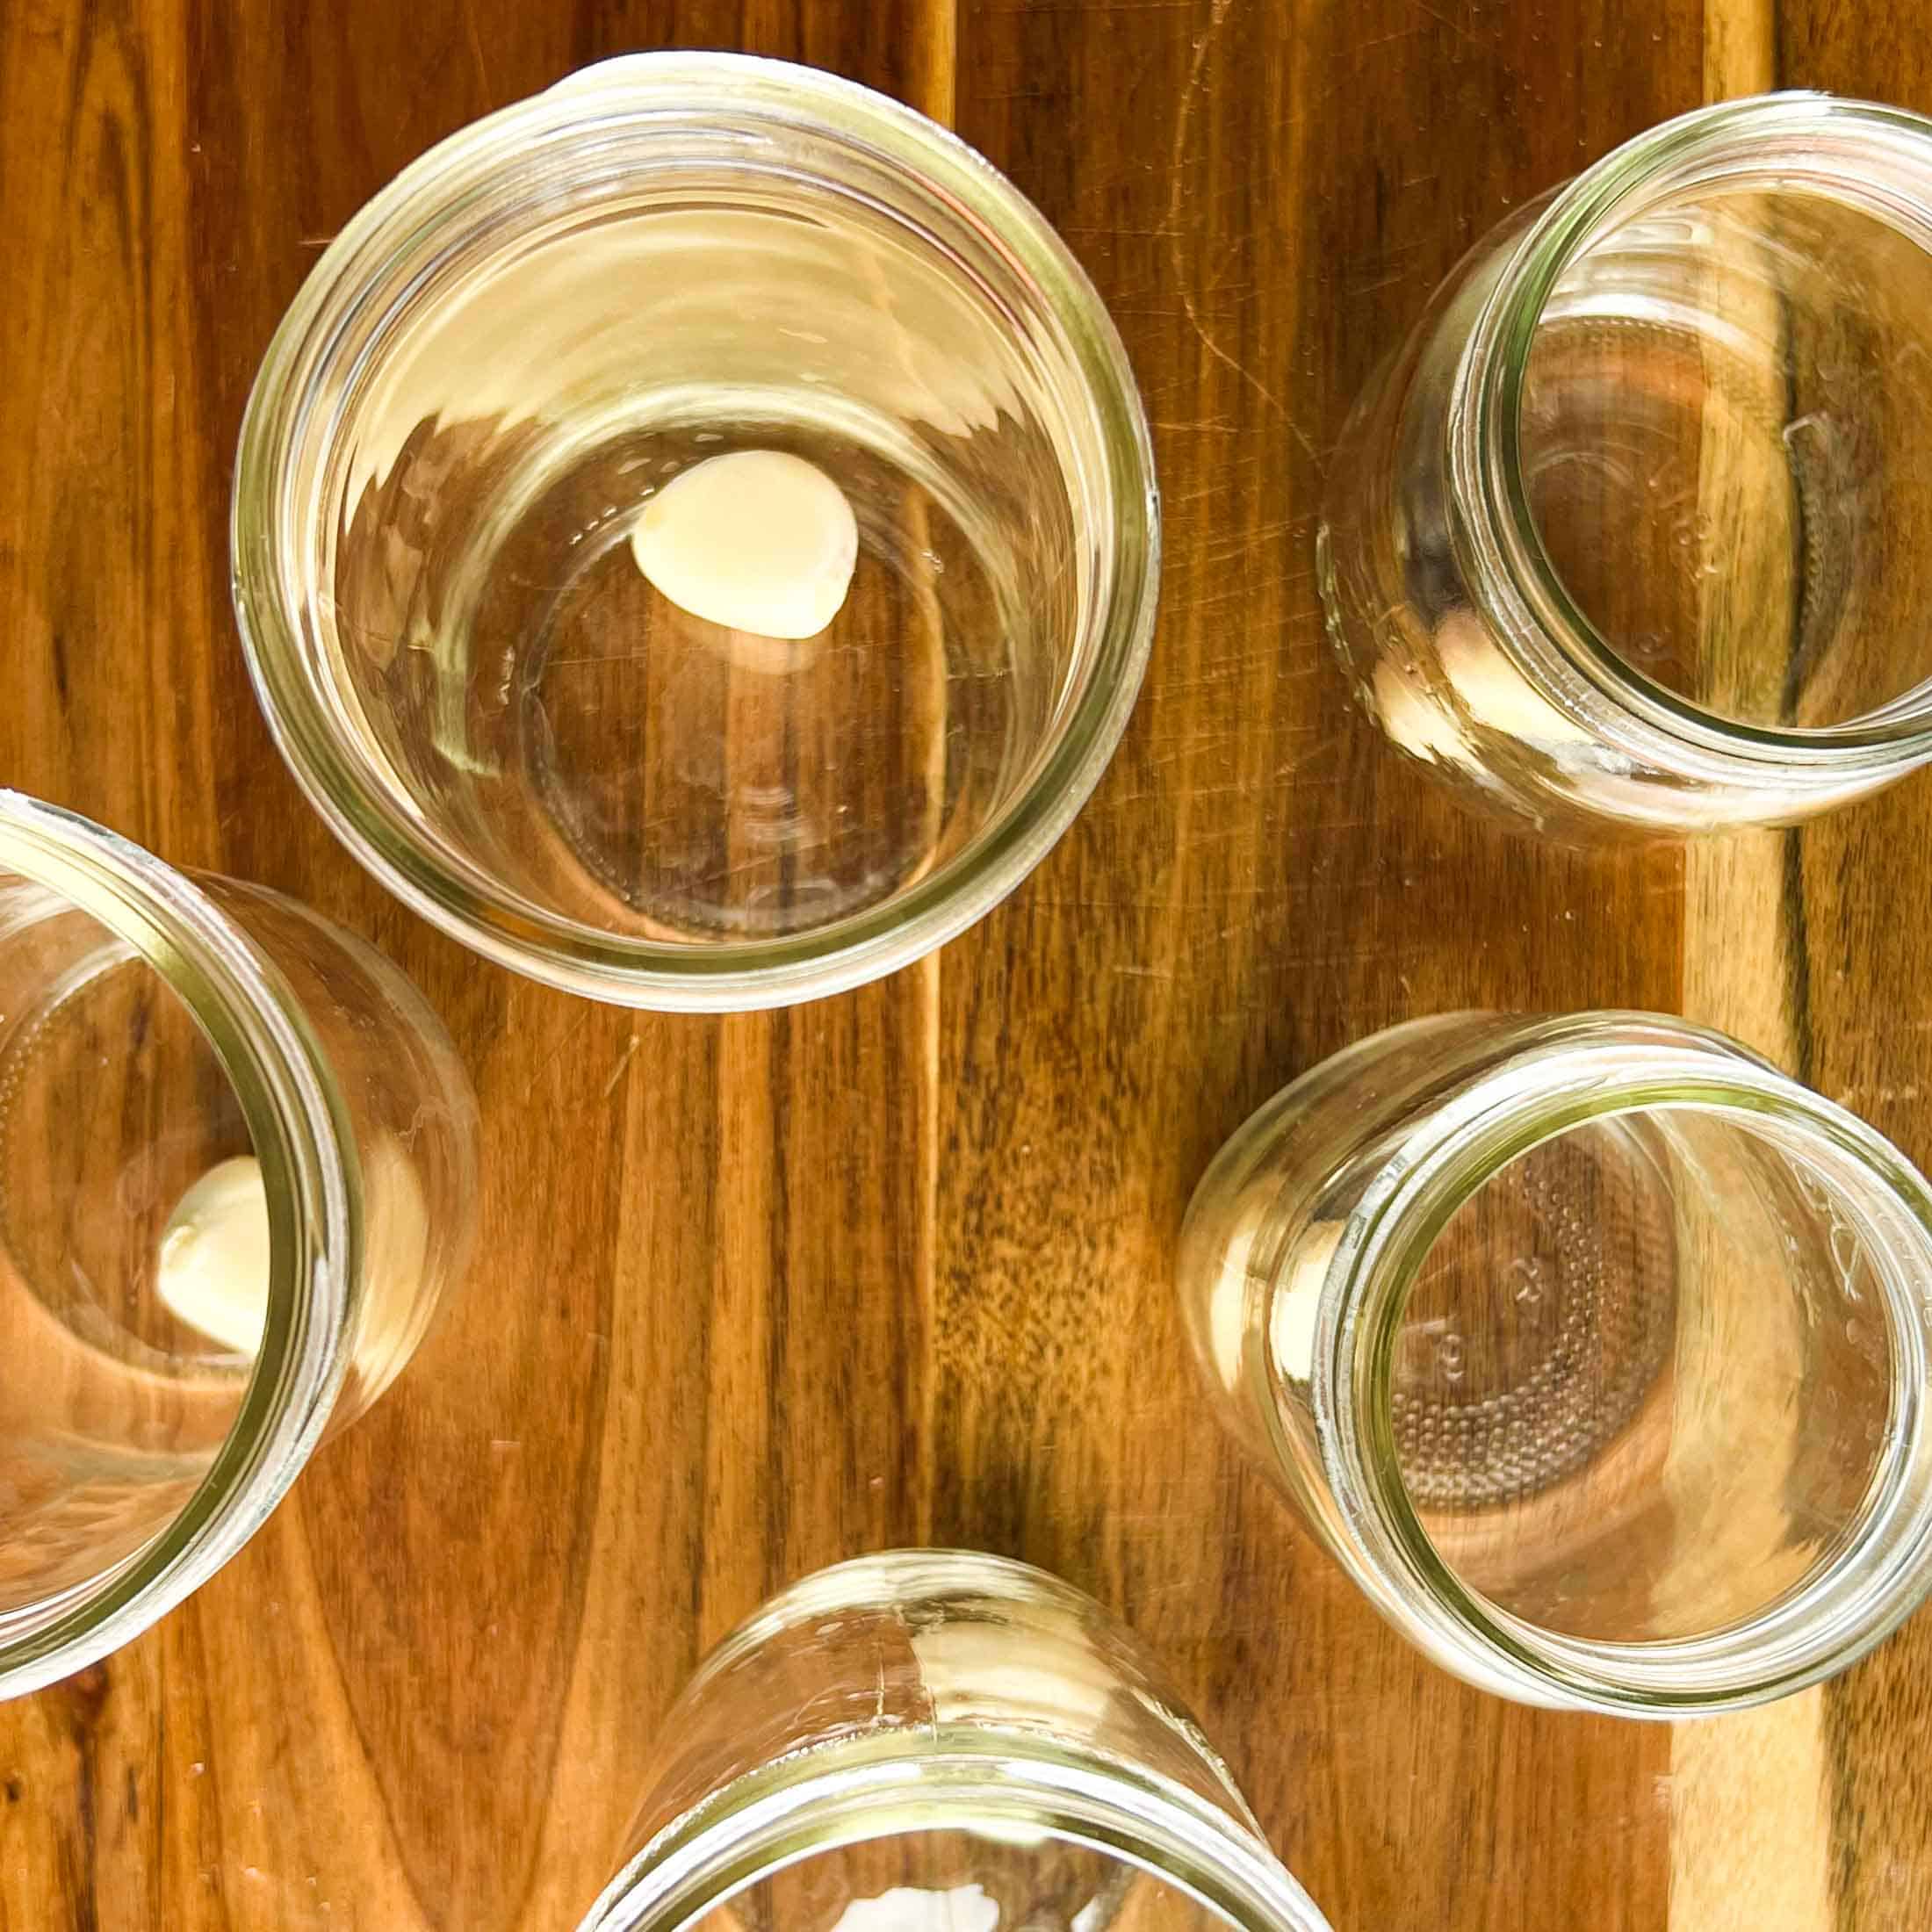
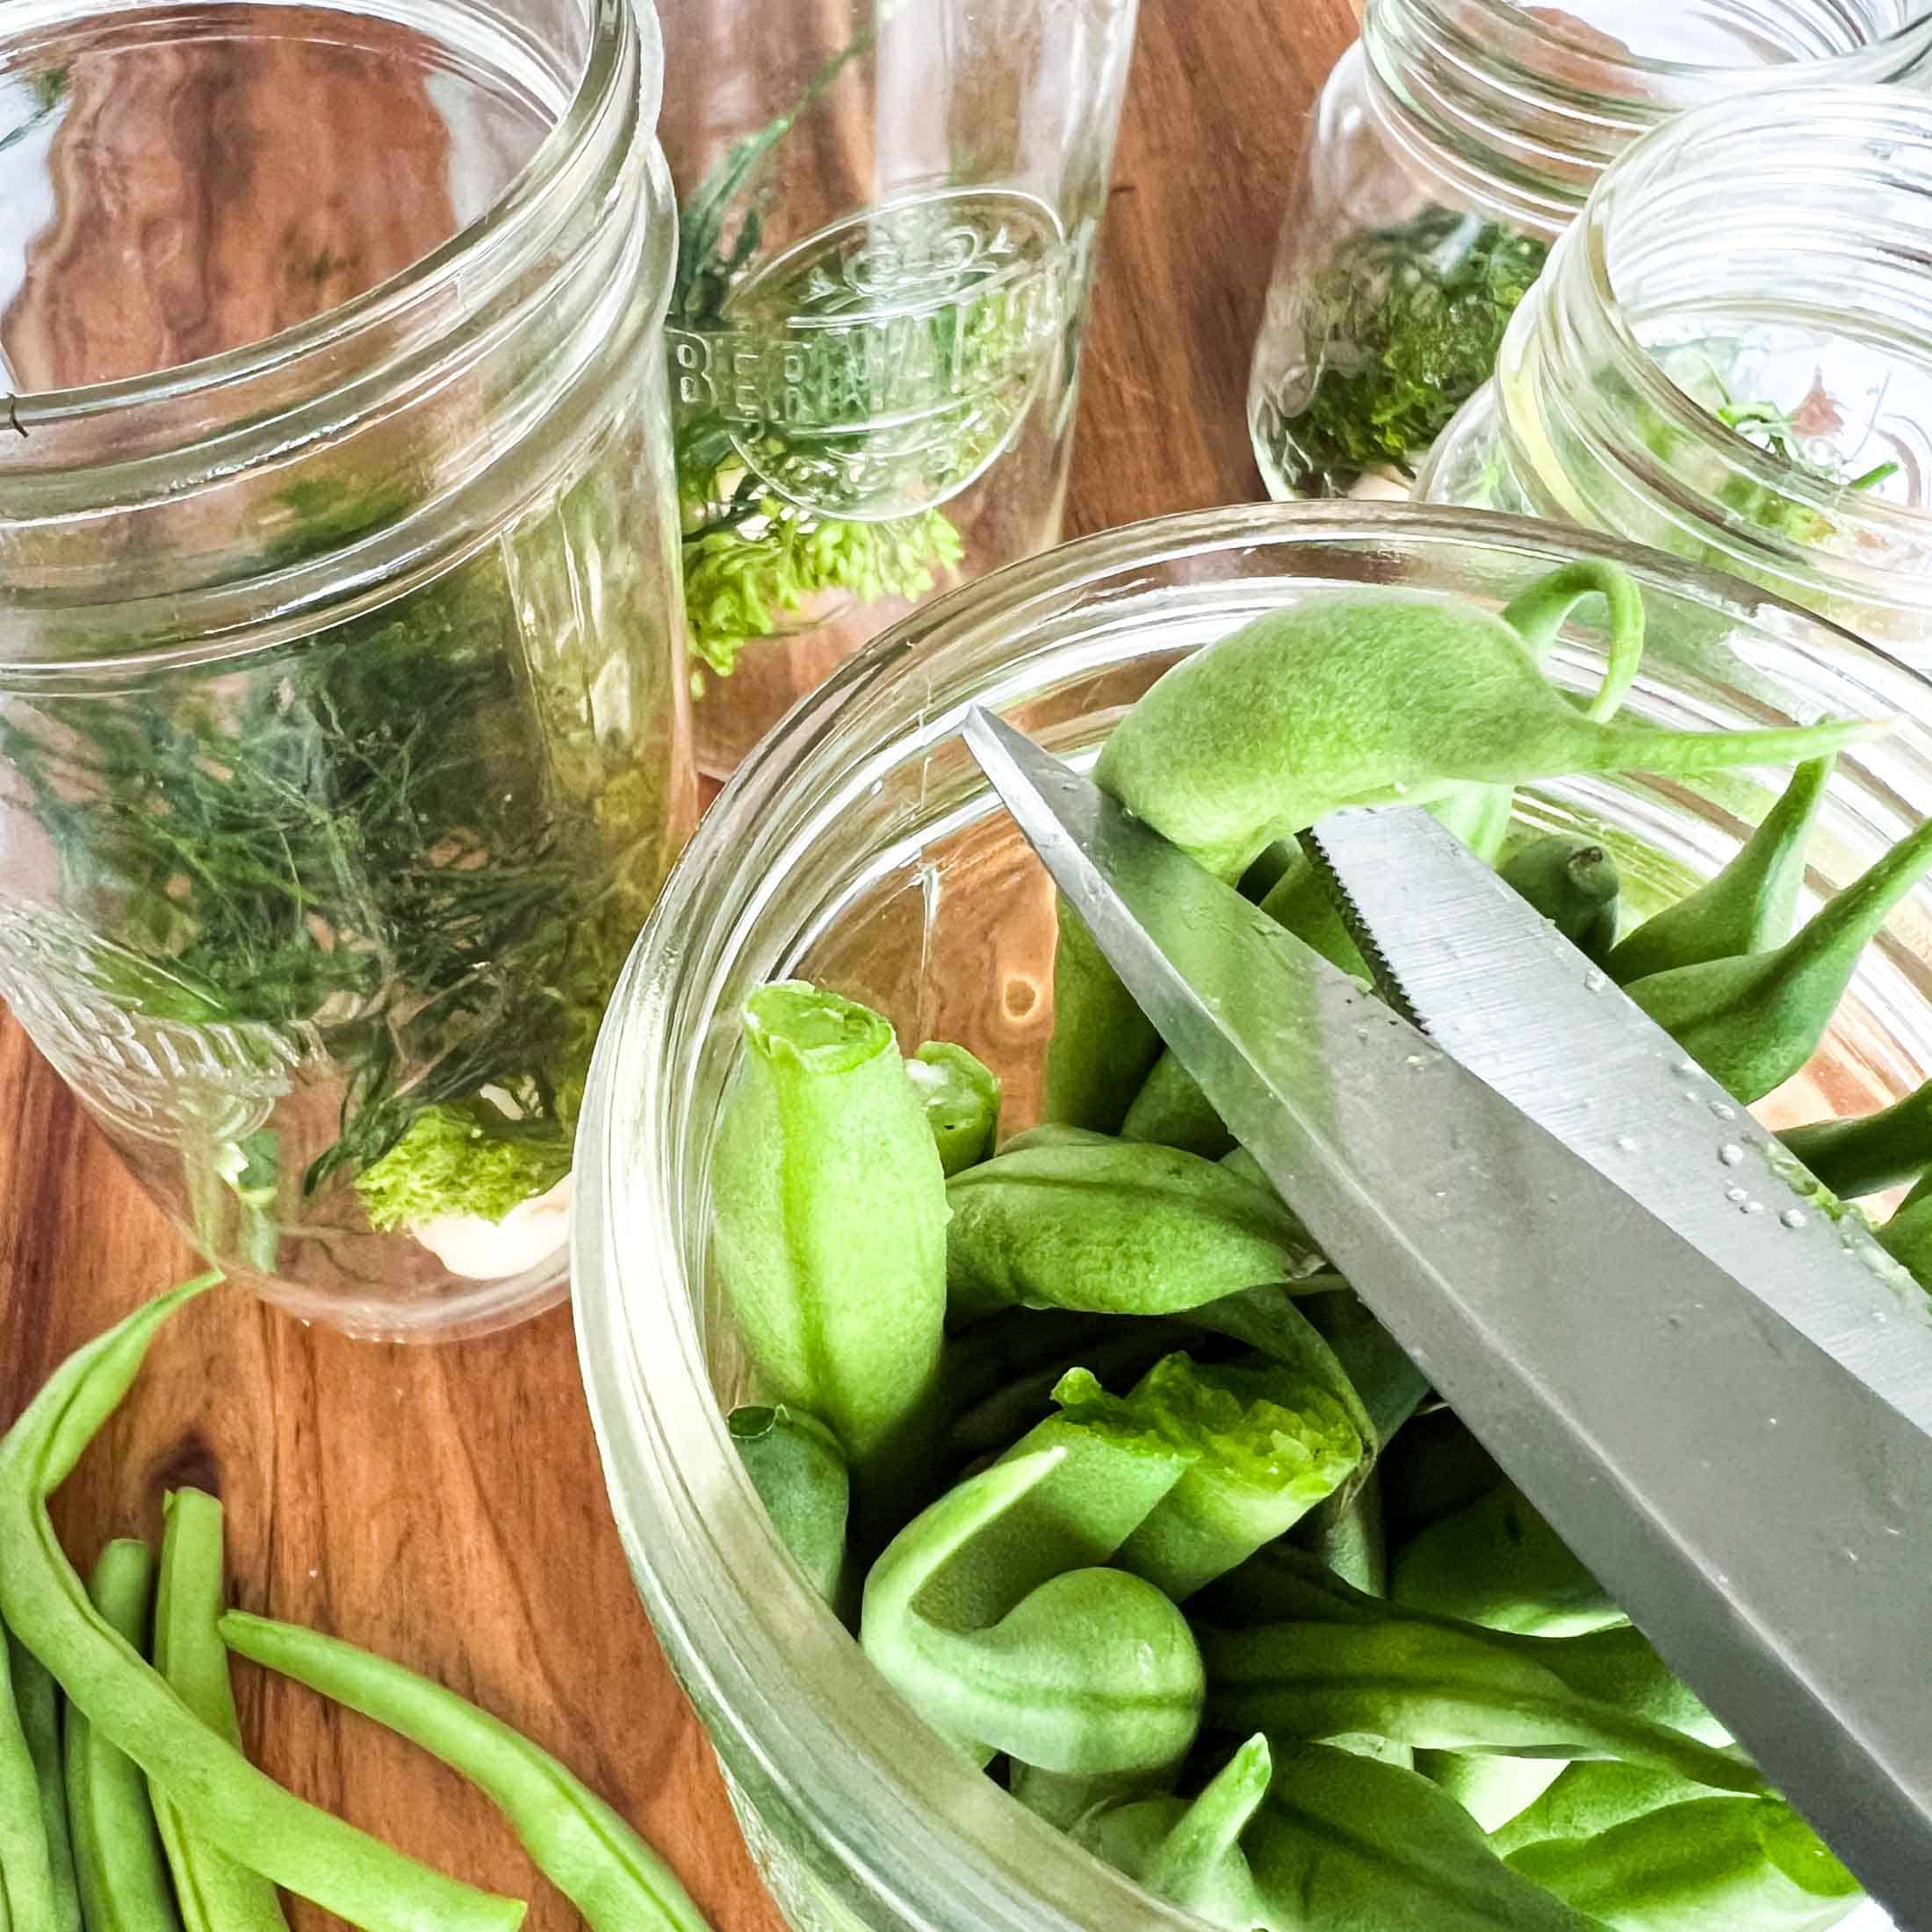
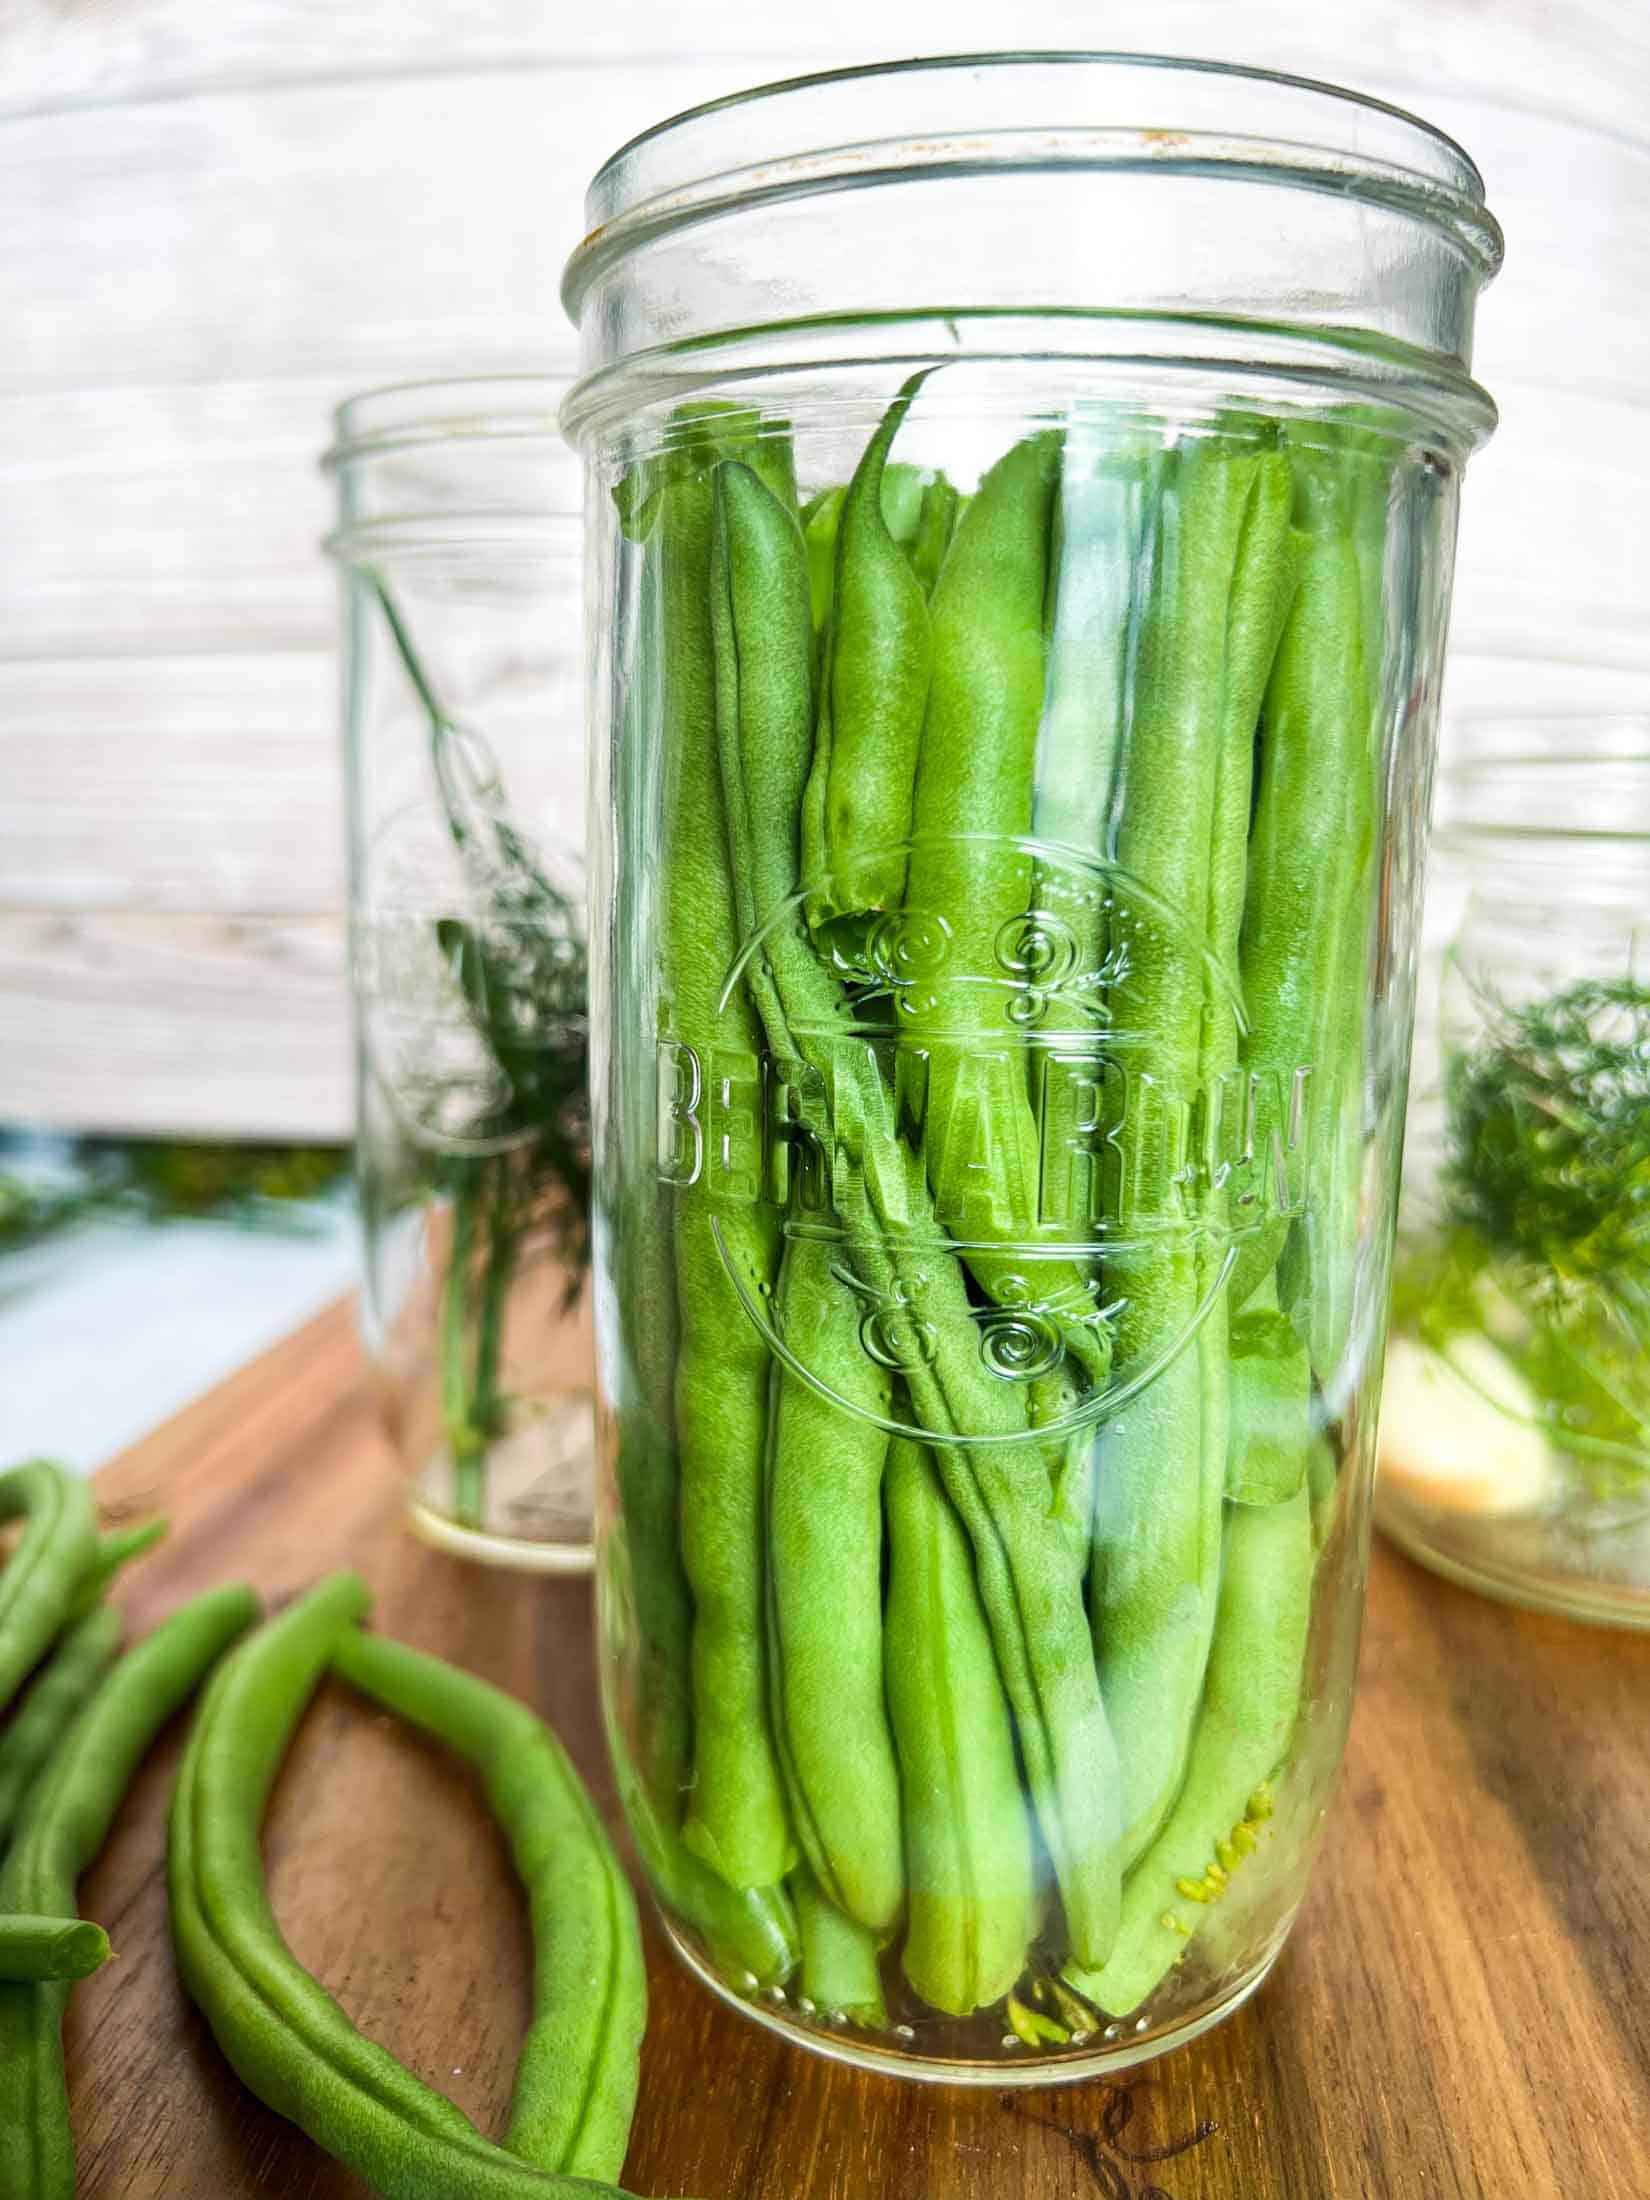
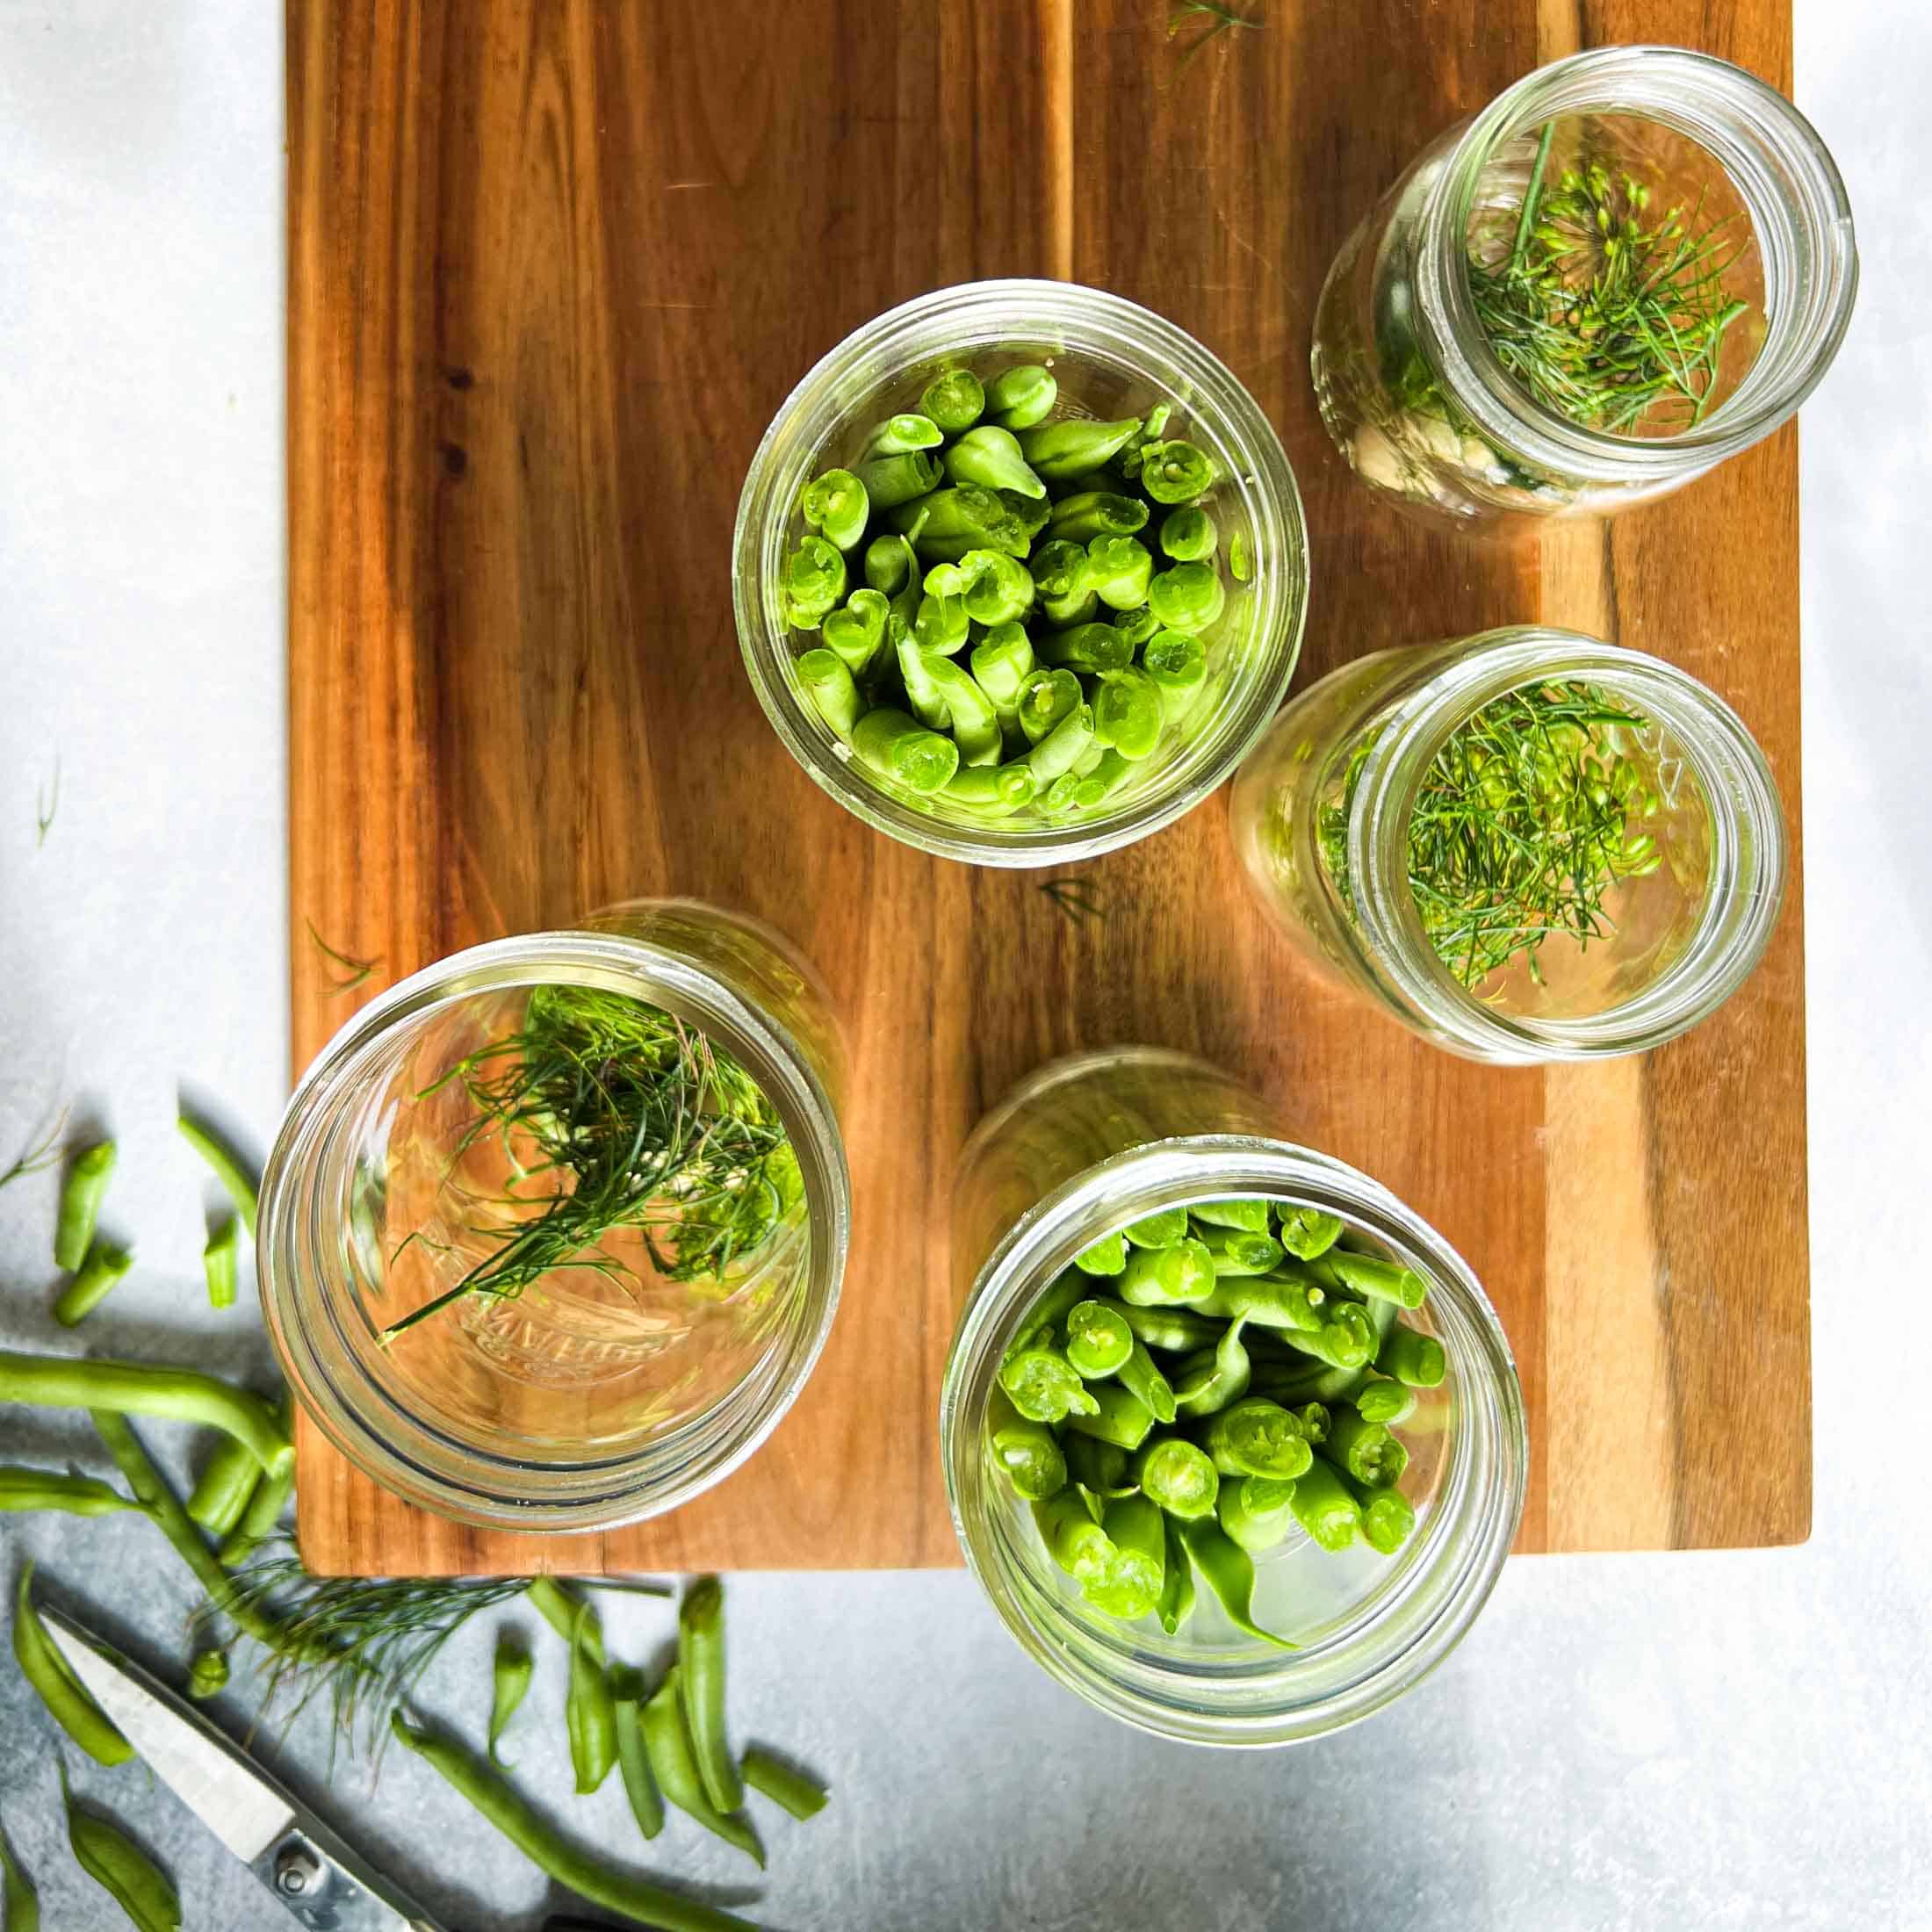
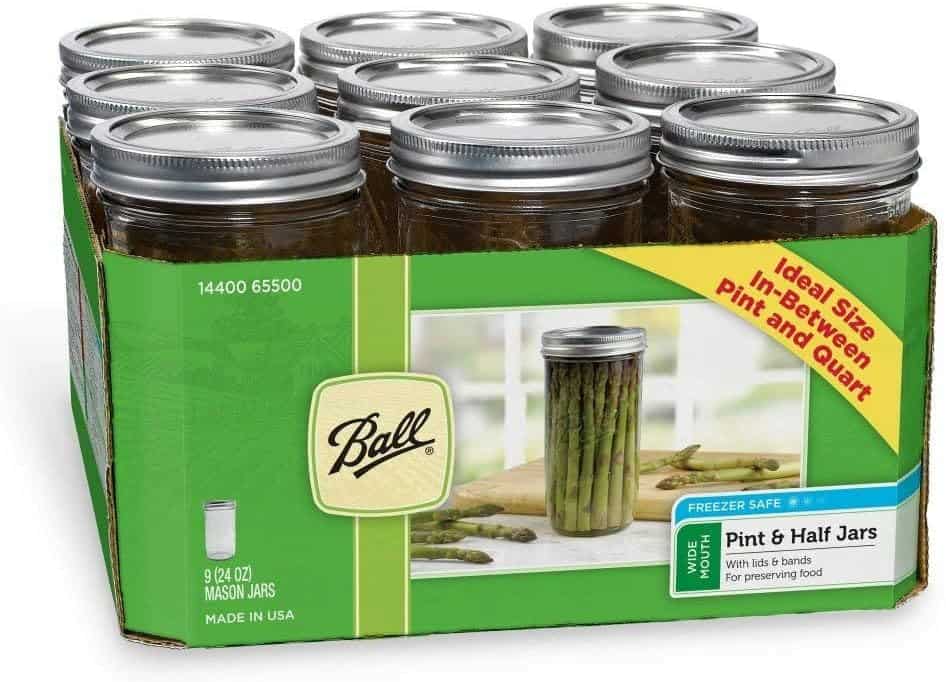
Step 1. Wash + Prepare: Prepare your jars by washing with hot soapy water, rinse well. My favorite jars for canning green beans are the 750ml pint and a half jars. Wash green beans in cold water and leave to dry on a clean kitchen towel or paper towel. Wash the dill in a cold water bath and separate into large sprigs (you need two per jar). Reserve one dill flower for each jar (sub in a dill sprig if you don’t have the flower). Peel the garlic cloves. Wash the jars, seals, and rings thoroughly with warm, soapy water. Trim the ends of the beans. ↓↓↓
Trimming the ends off of green beans can become cumbersome. Use these tips to speed things up.
- Grab a handful of fresh green beans + place them on your cutting board.
- Using a large chef’s knife, push all of the beans against the edge of the knife.
- Hold the beans tightly with your non-dominant hand and chop the ends off with the other hand. Repeat with the other side. Continue until all beans are trimmed.
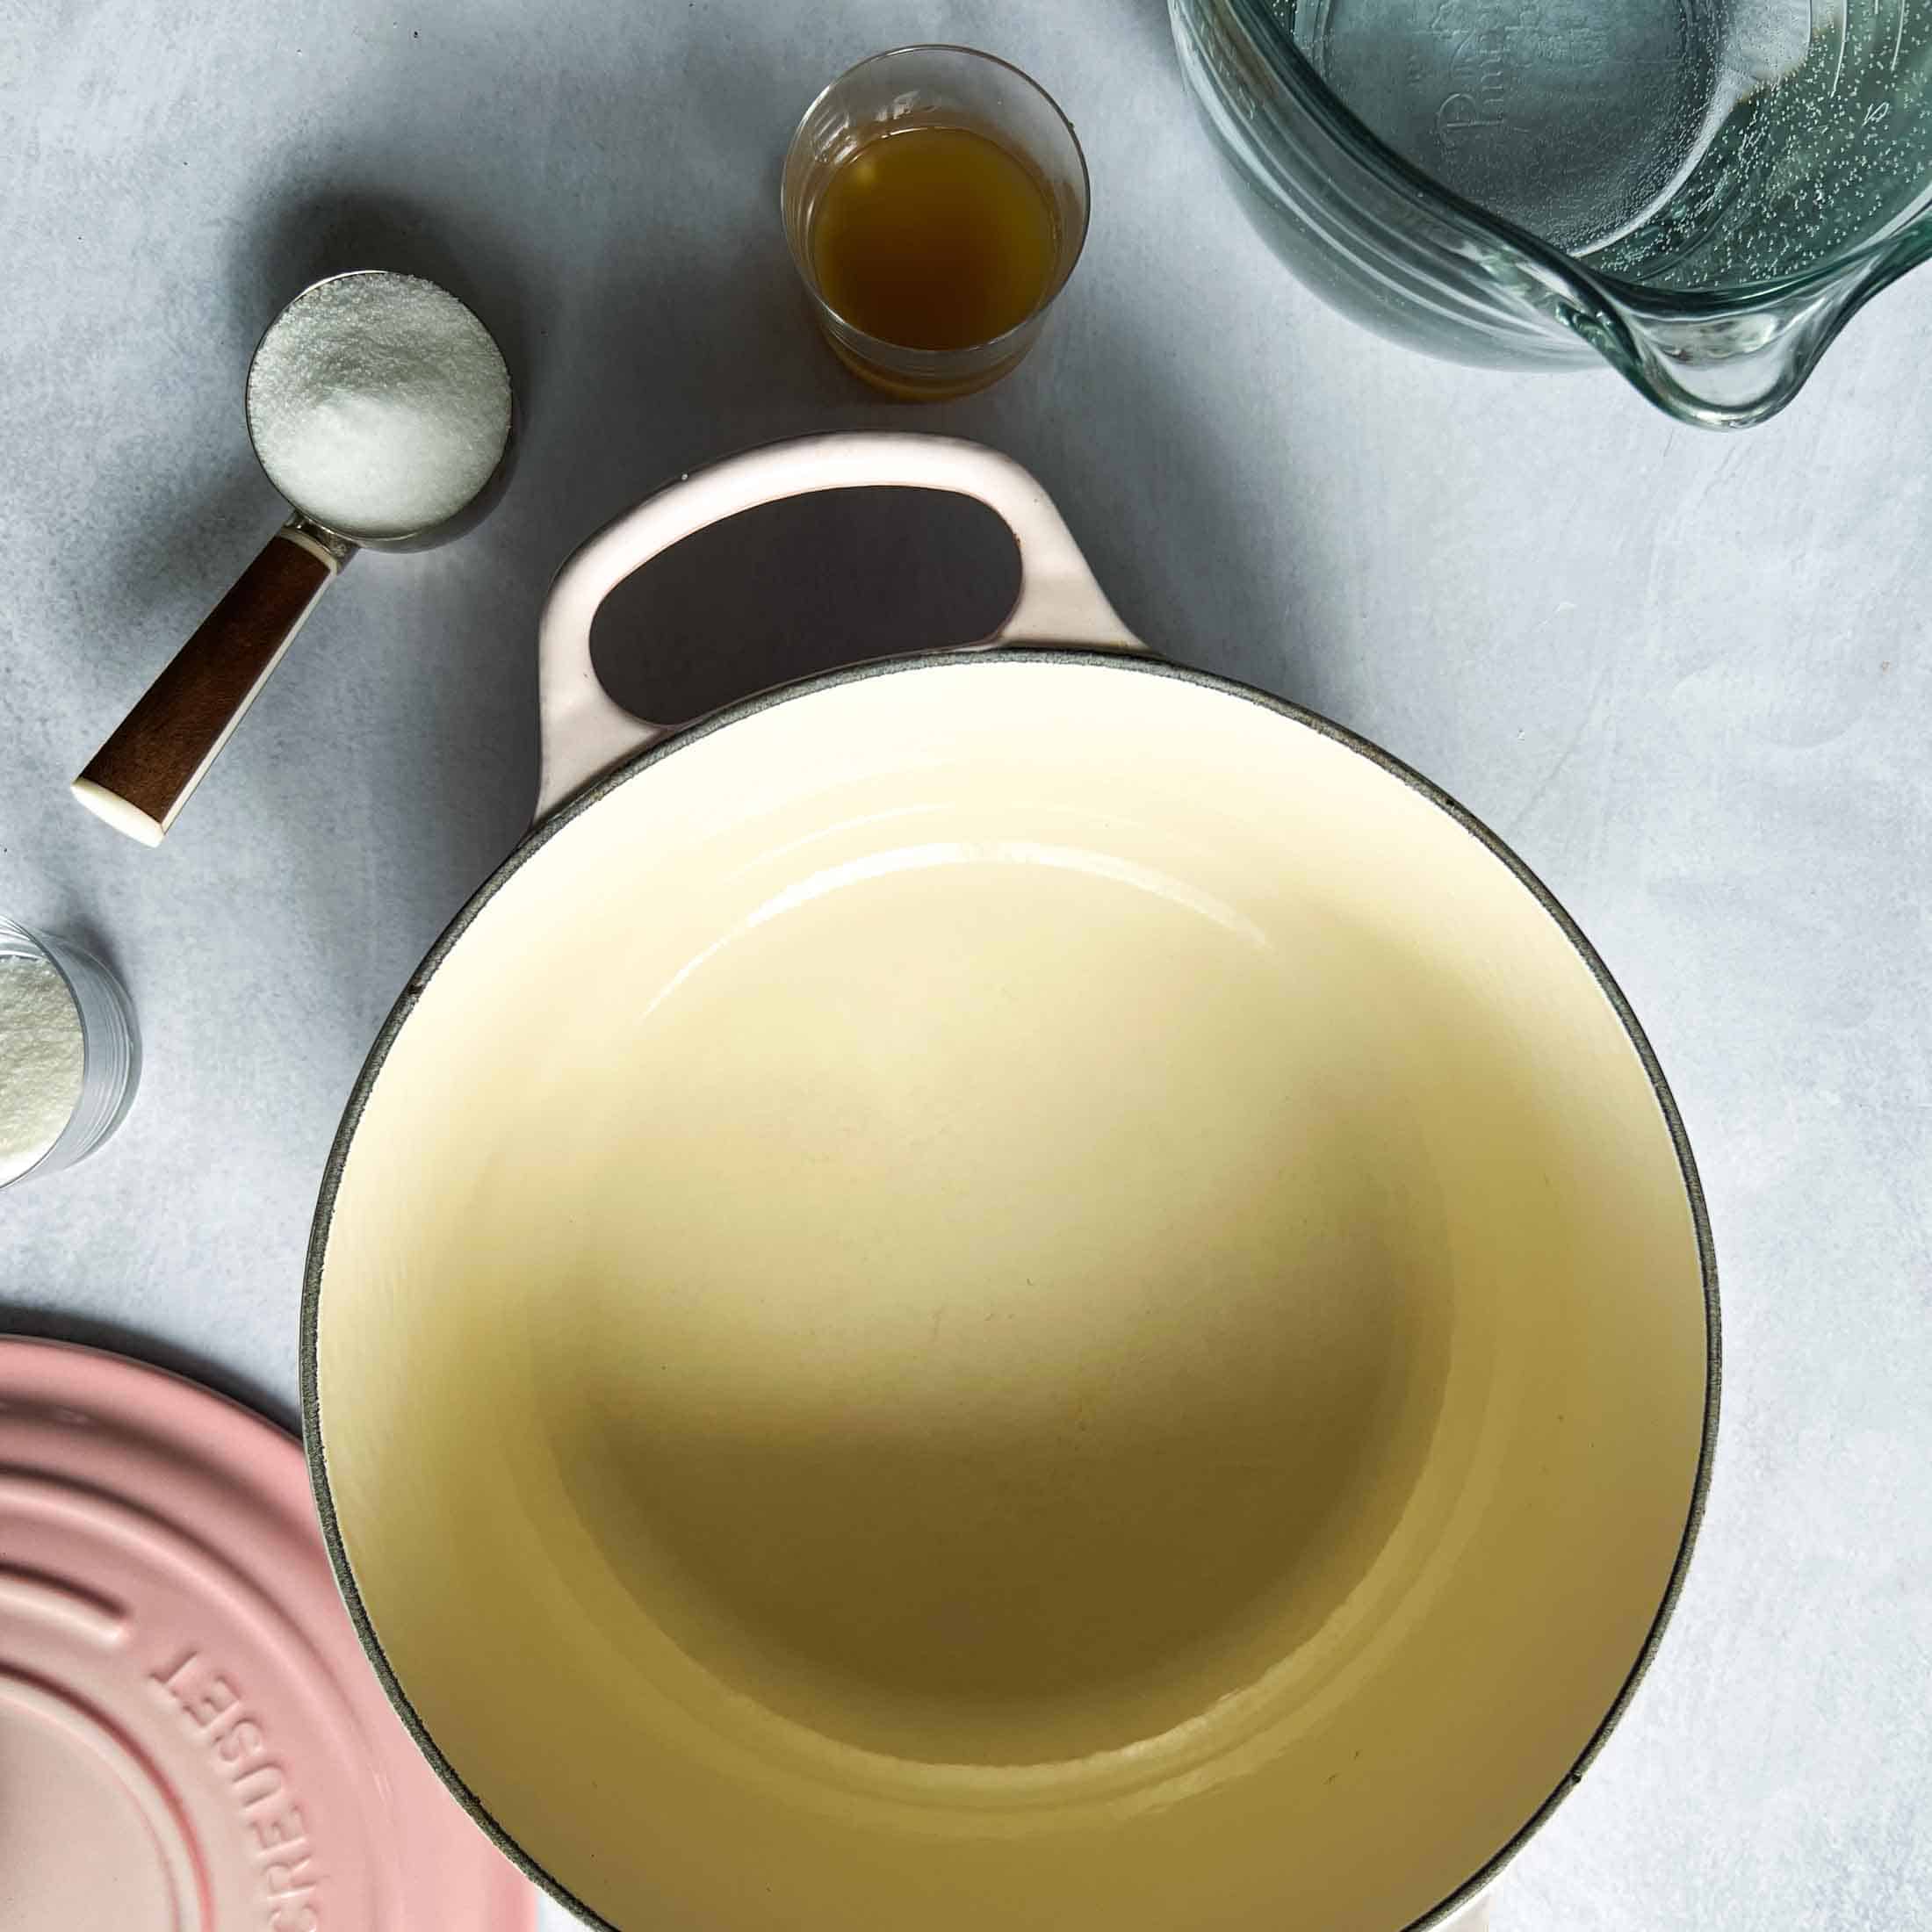
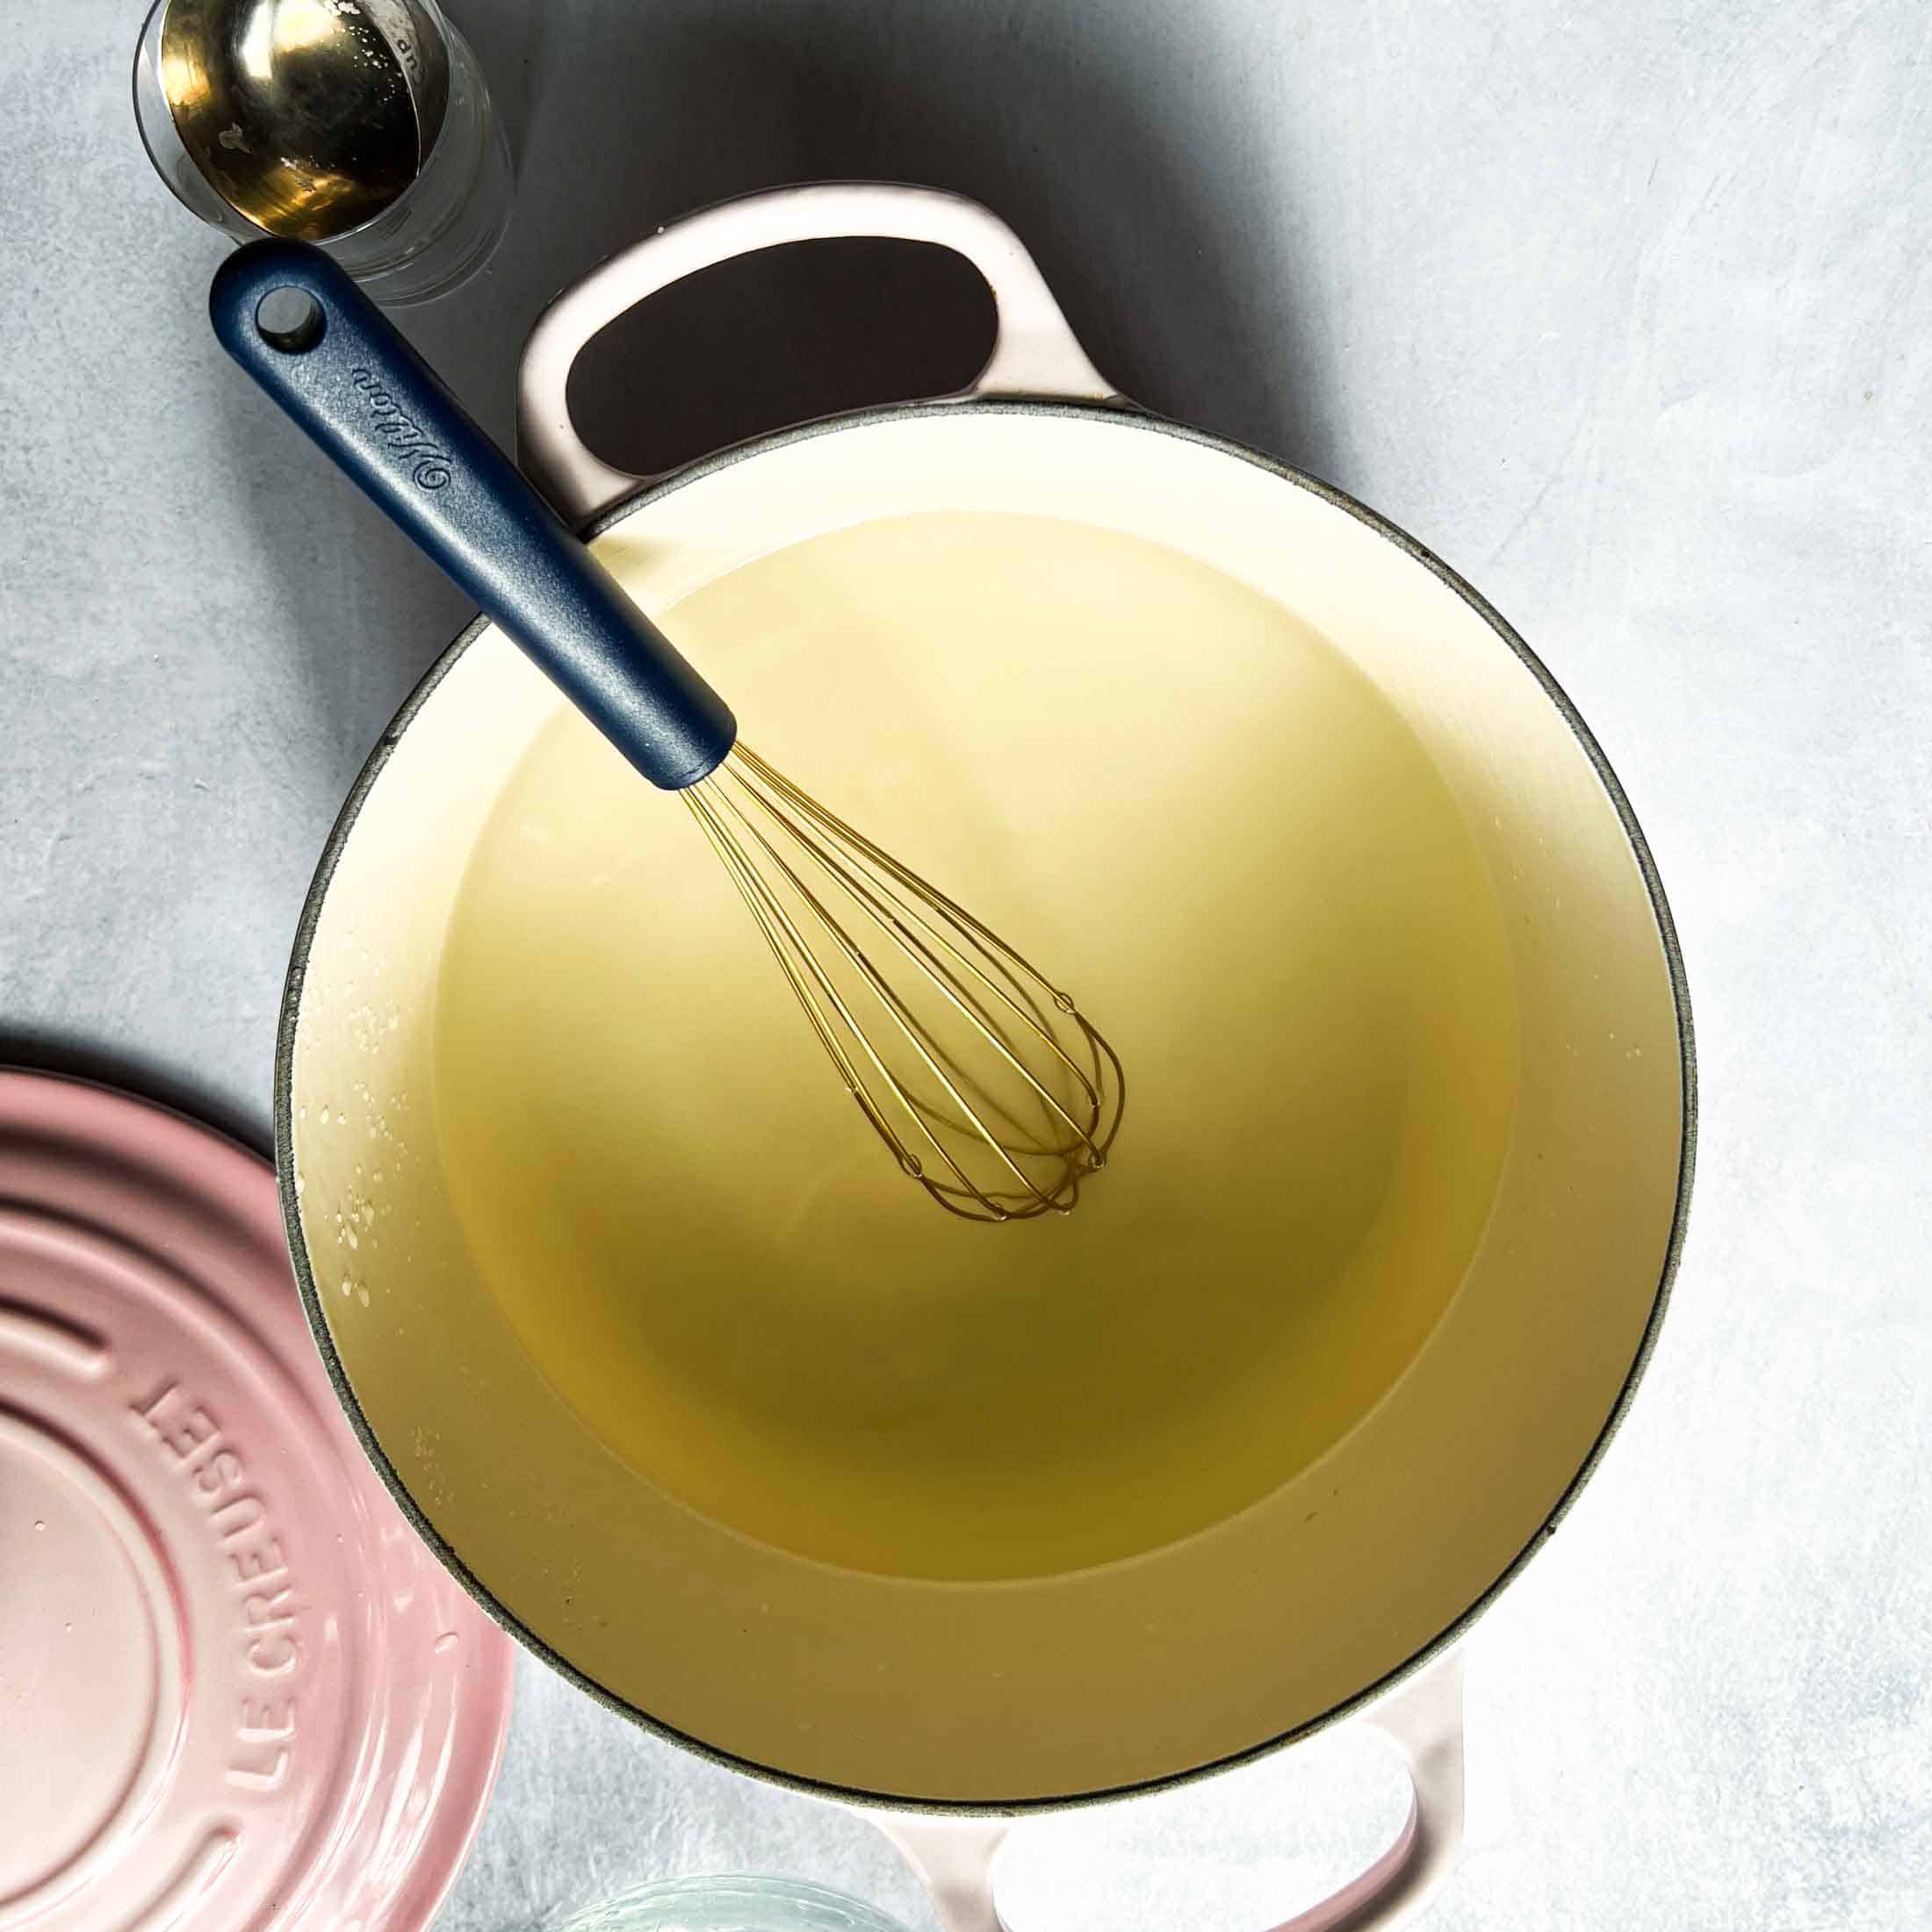
Step 2. Make The Brine. Mix together 6 cups of water with 1/4 cup of salt, 1 tbsp apple cider vinegar, and 1 tablespoon of granulated sugar in a heavy bottomed pot. Bring to a simmer.
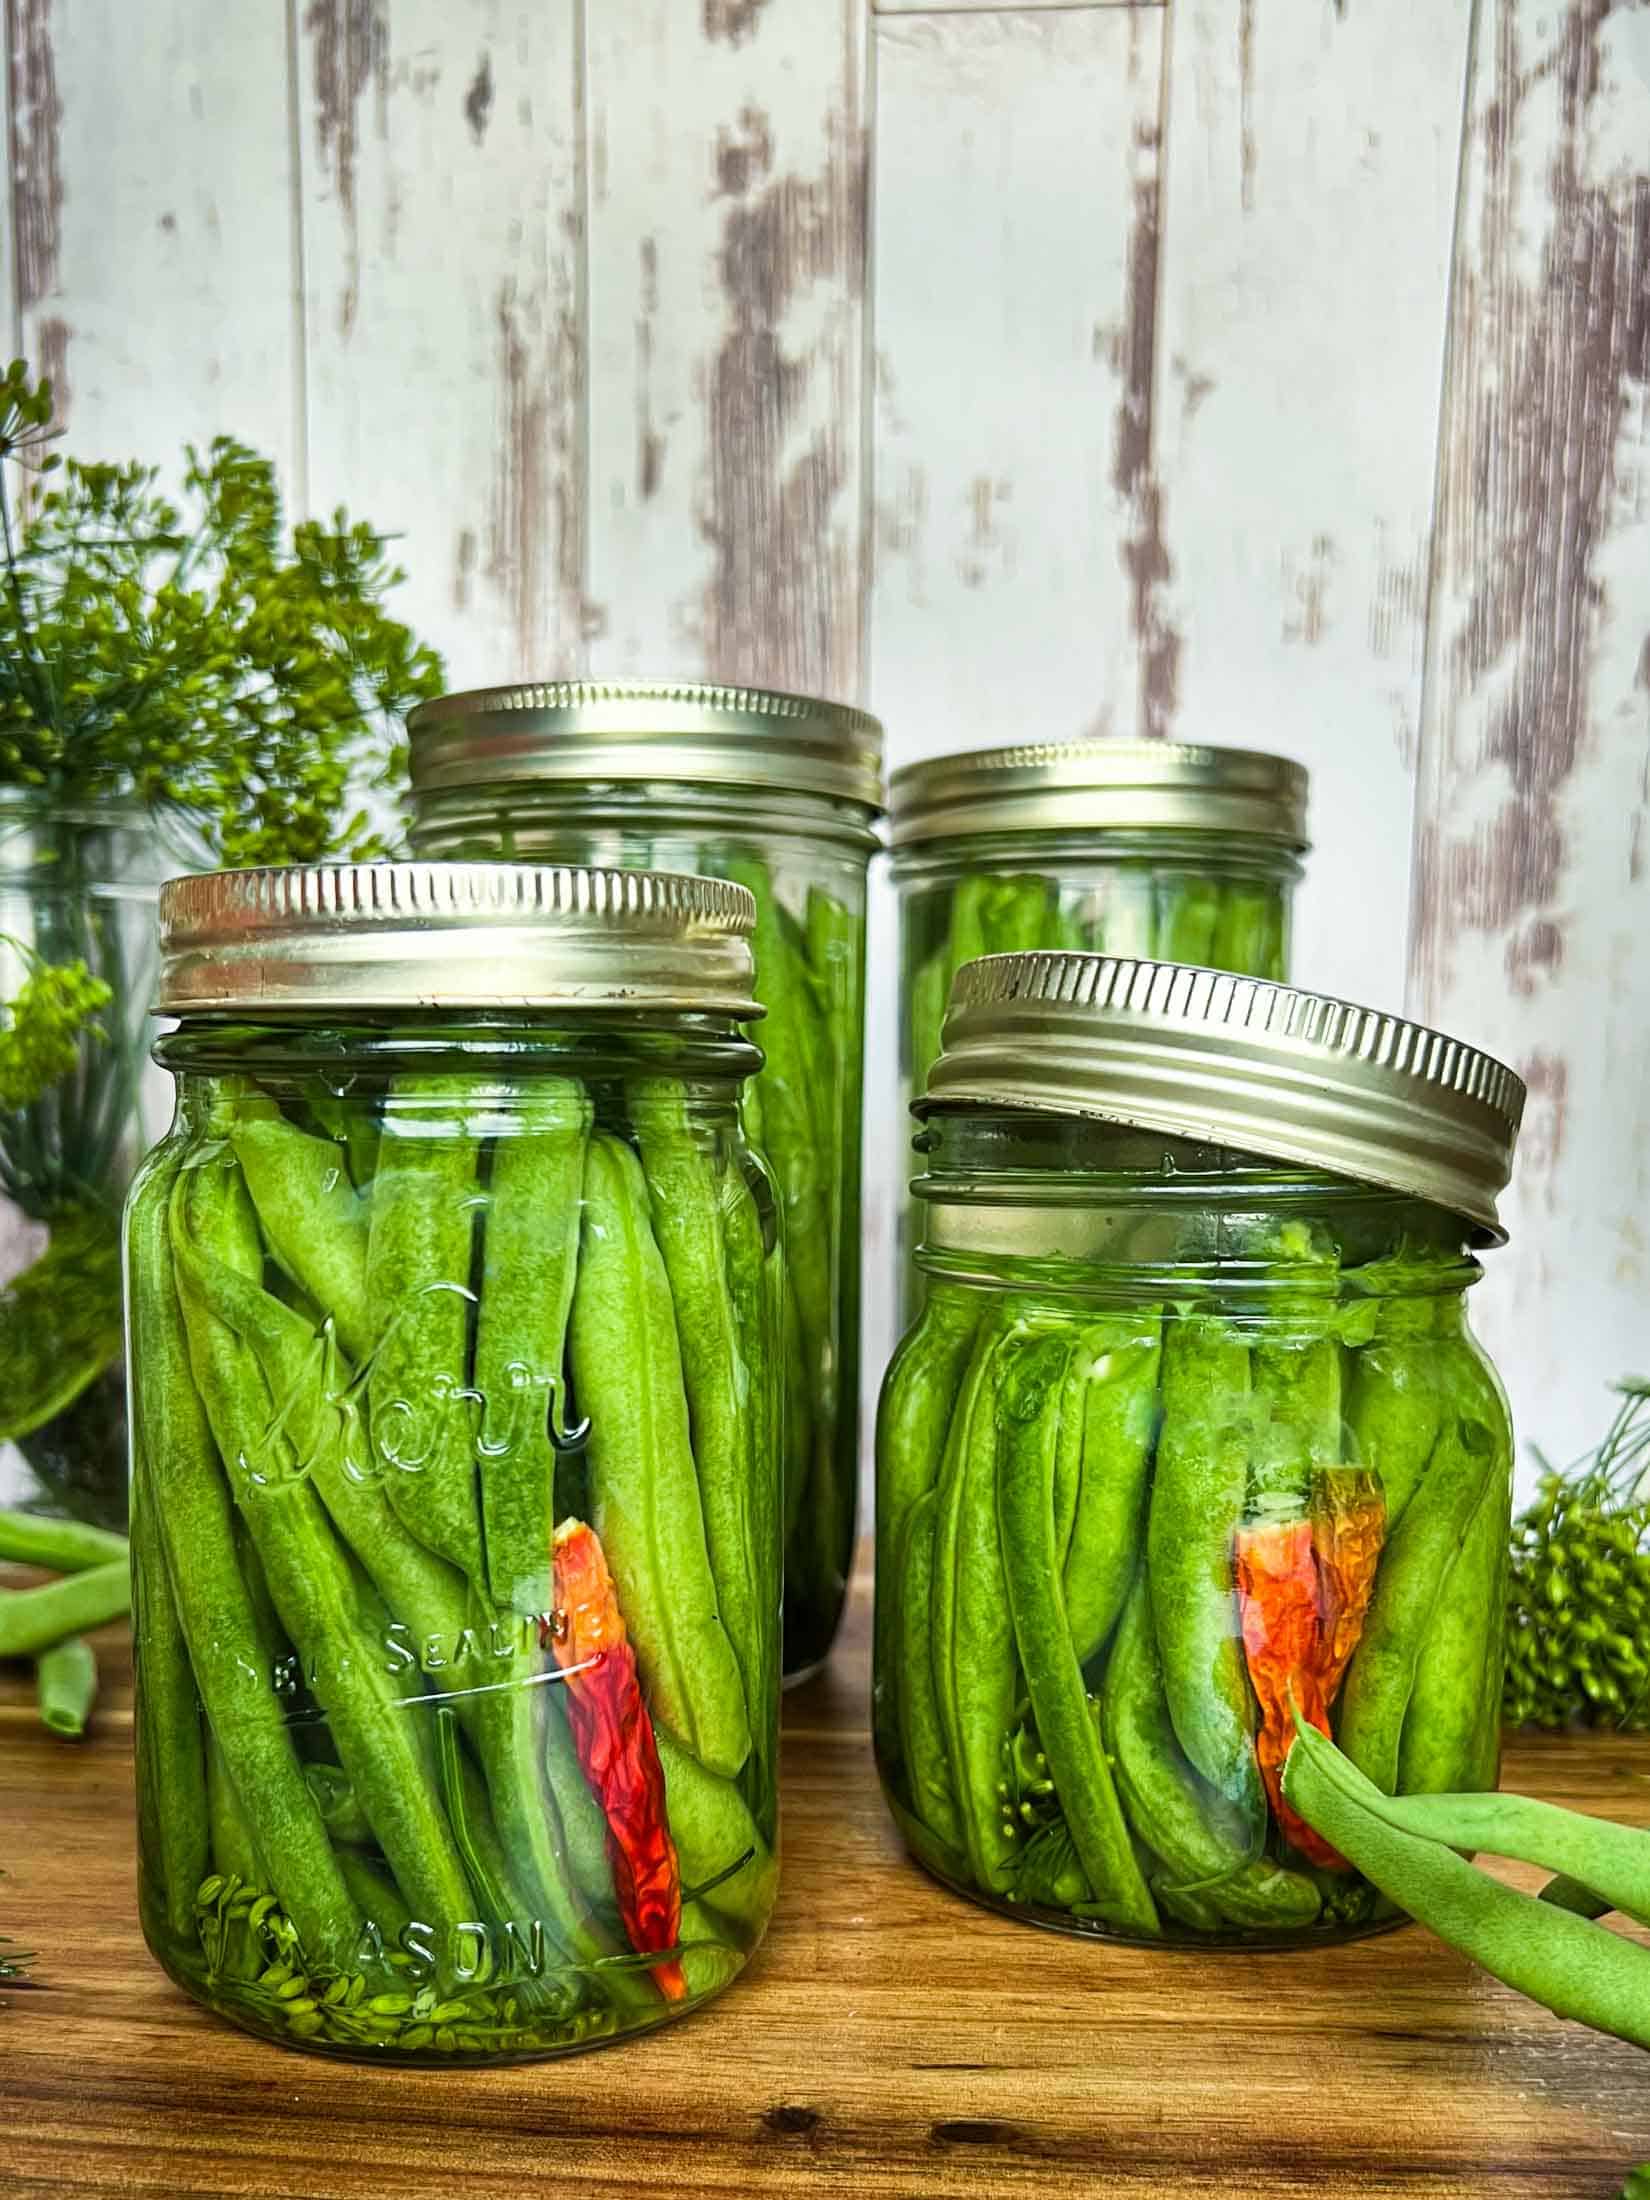
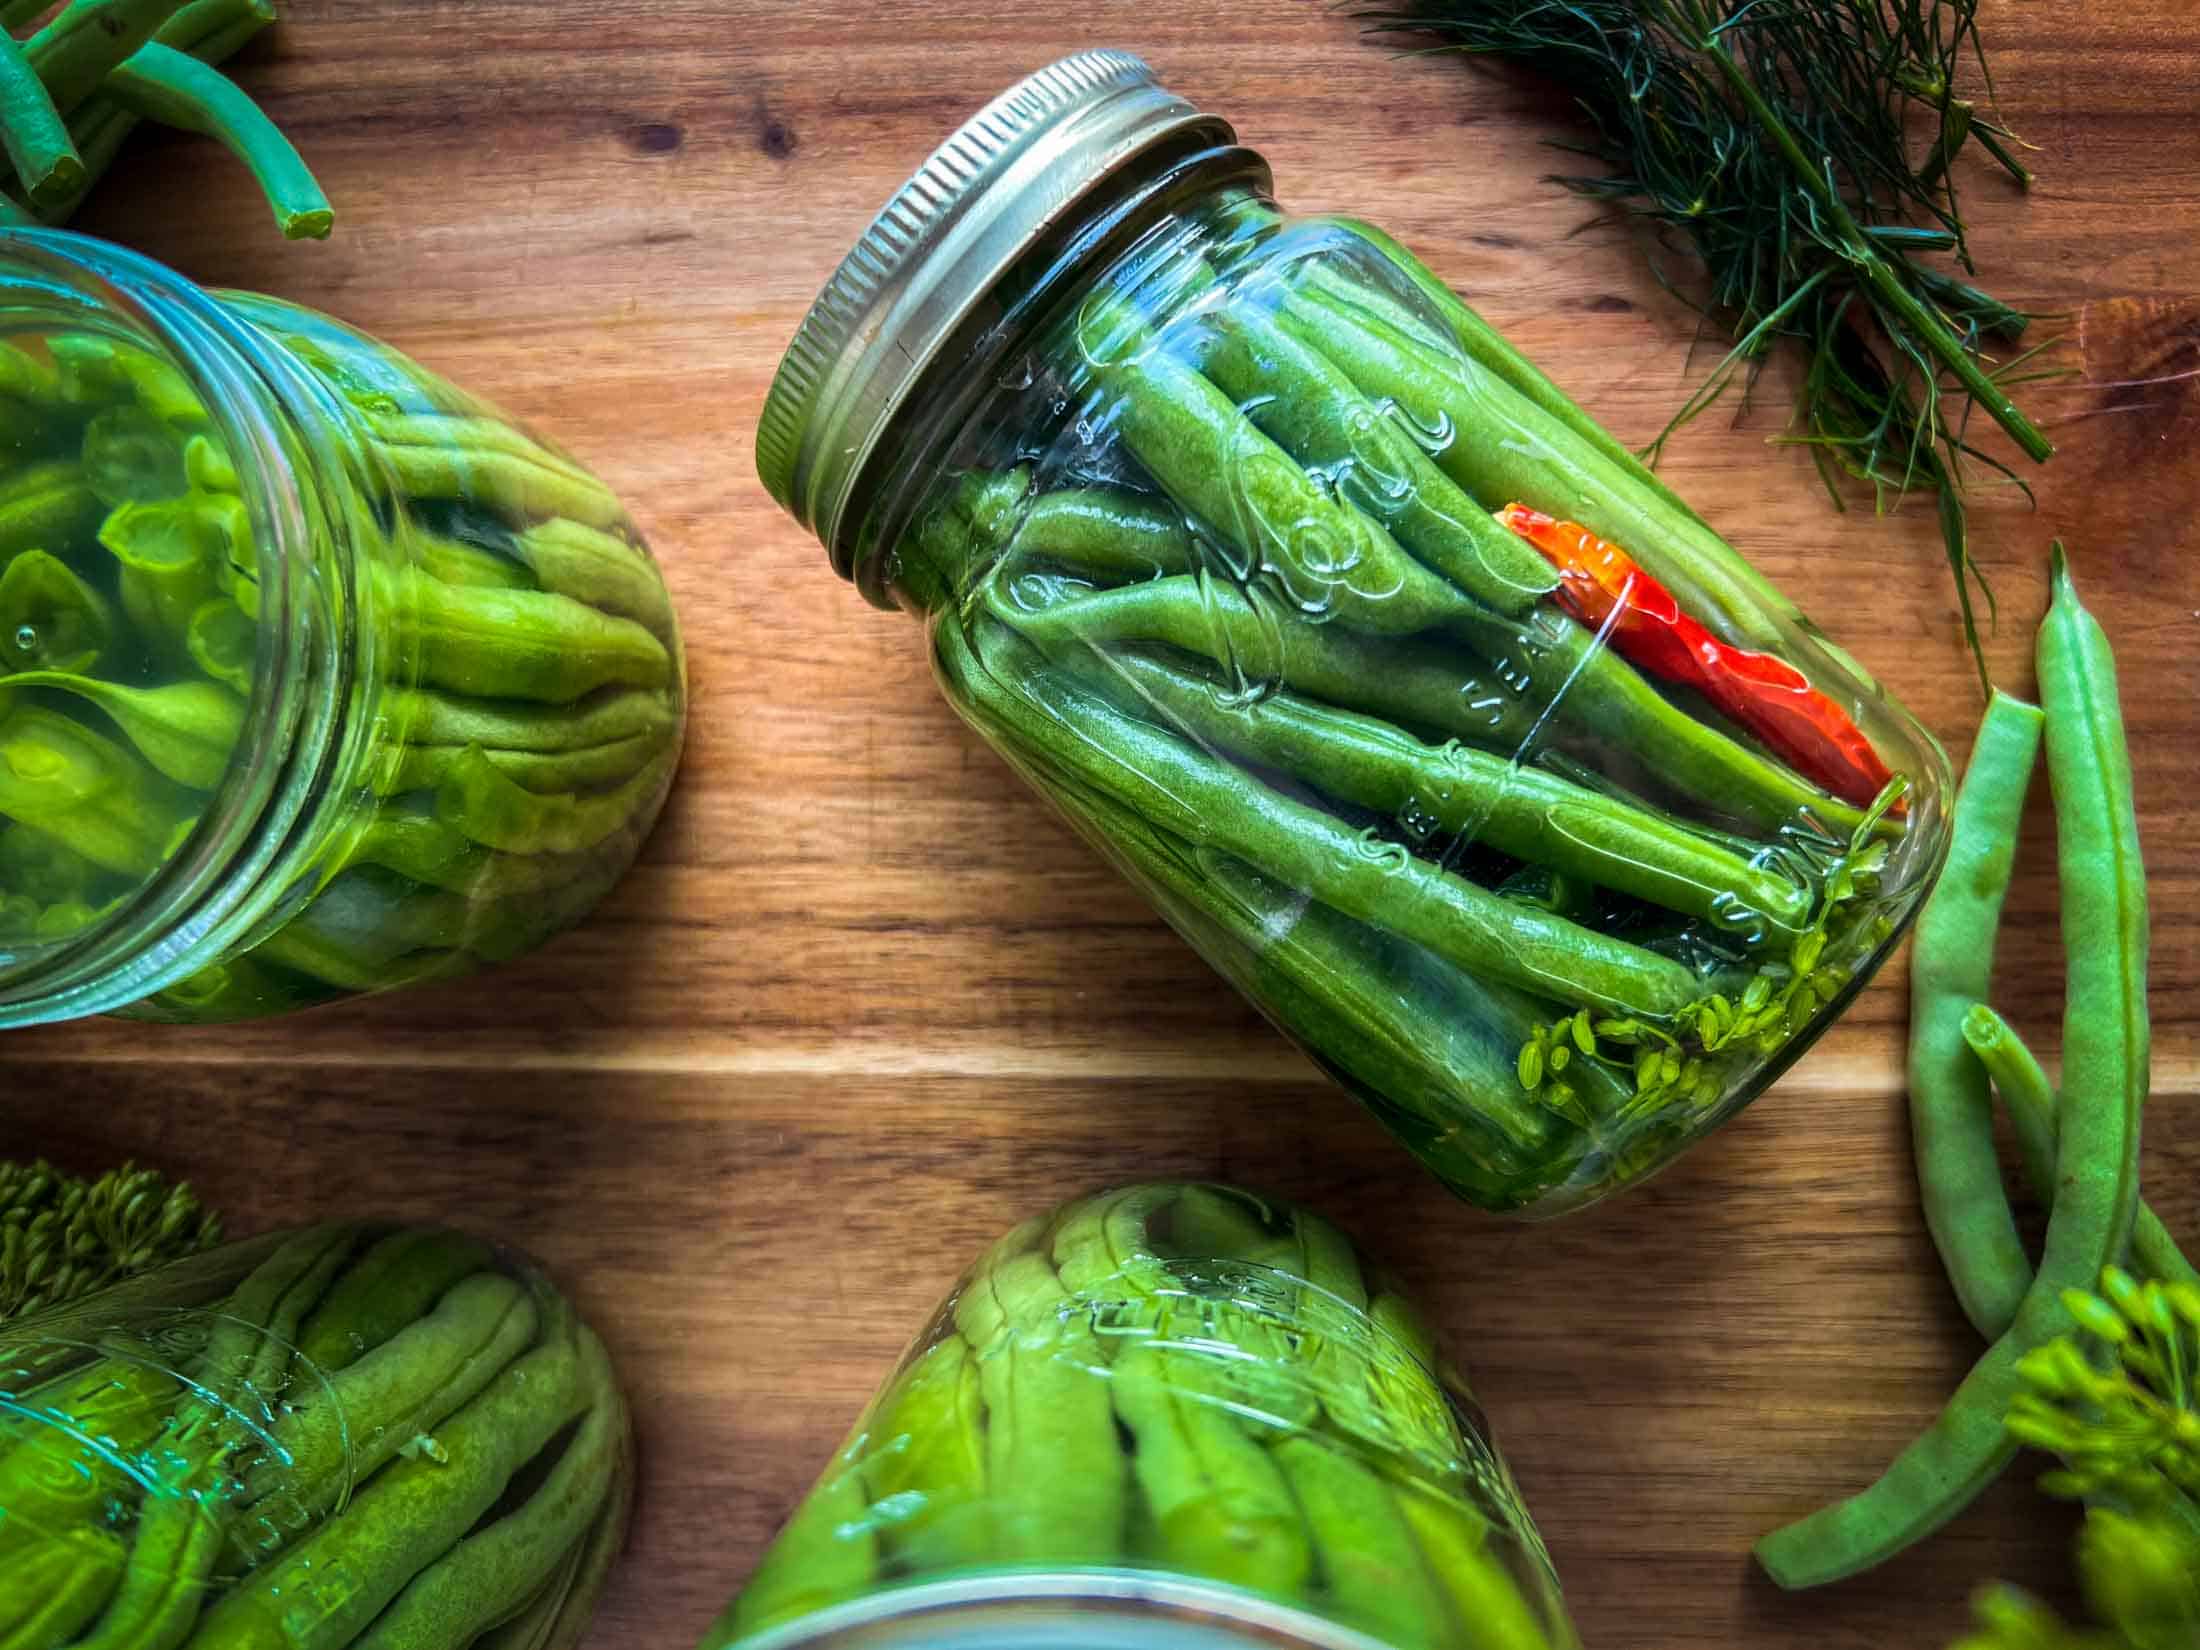
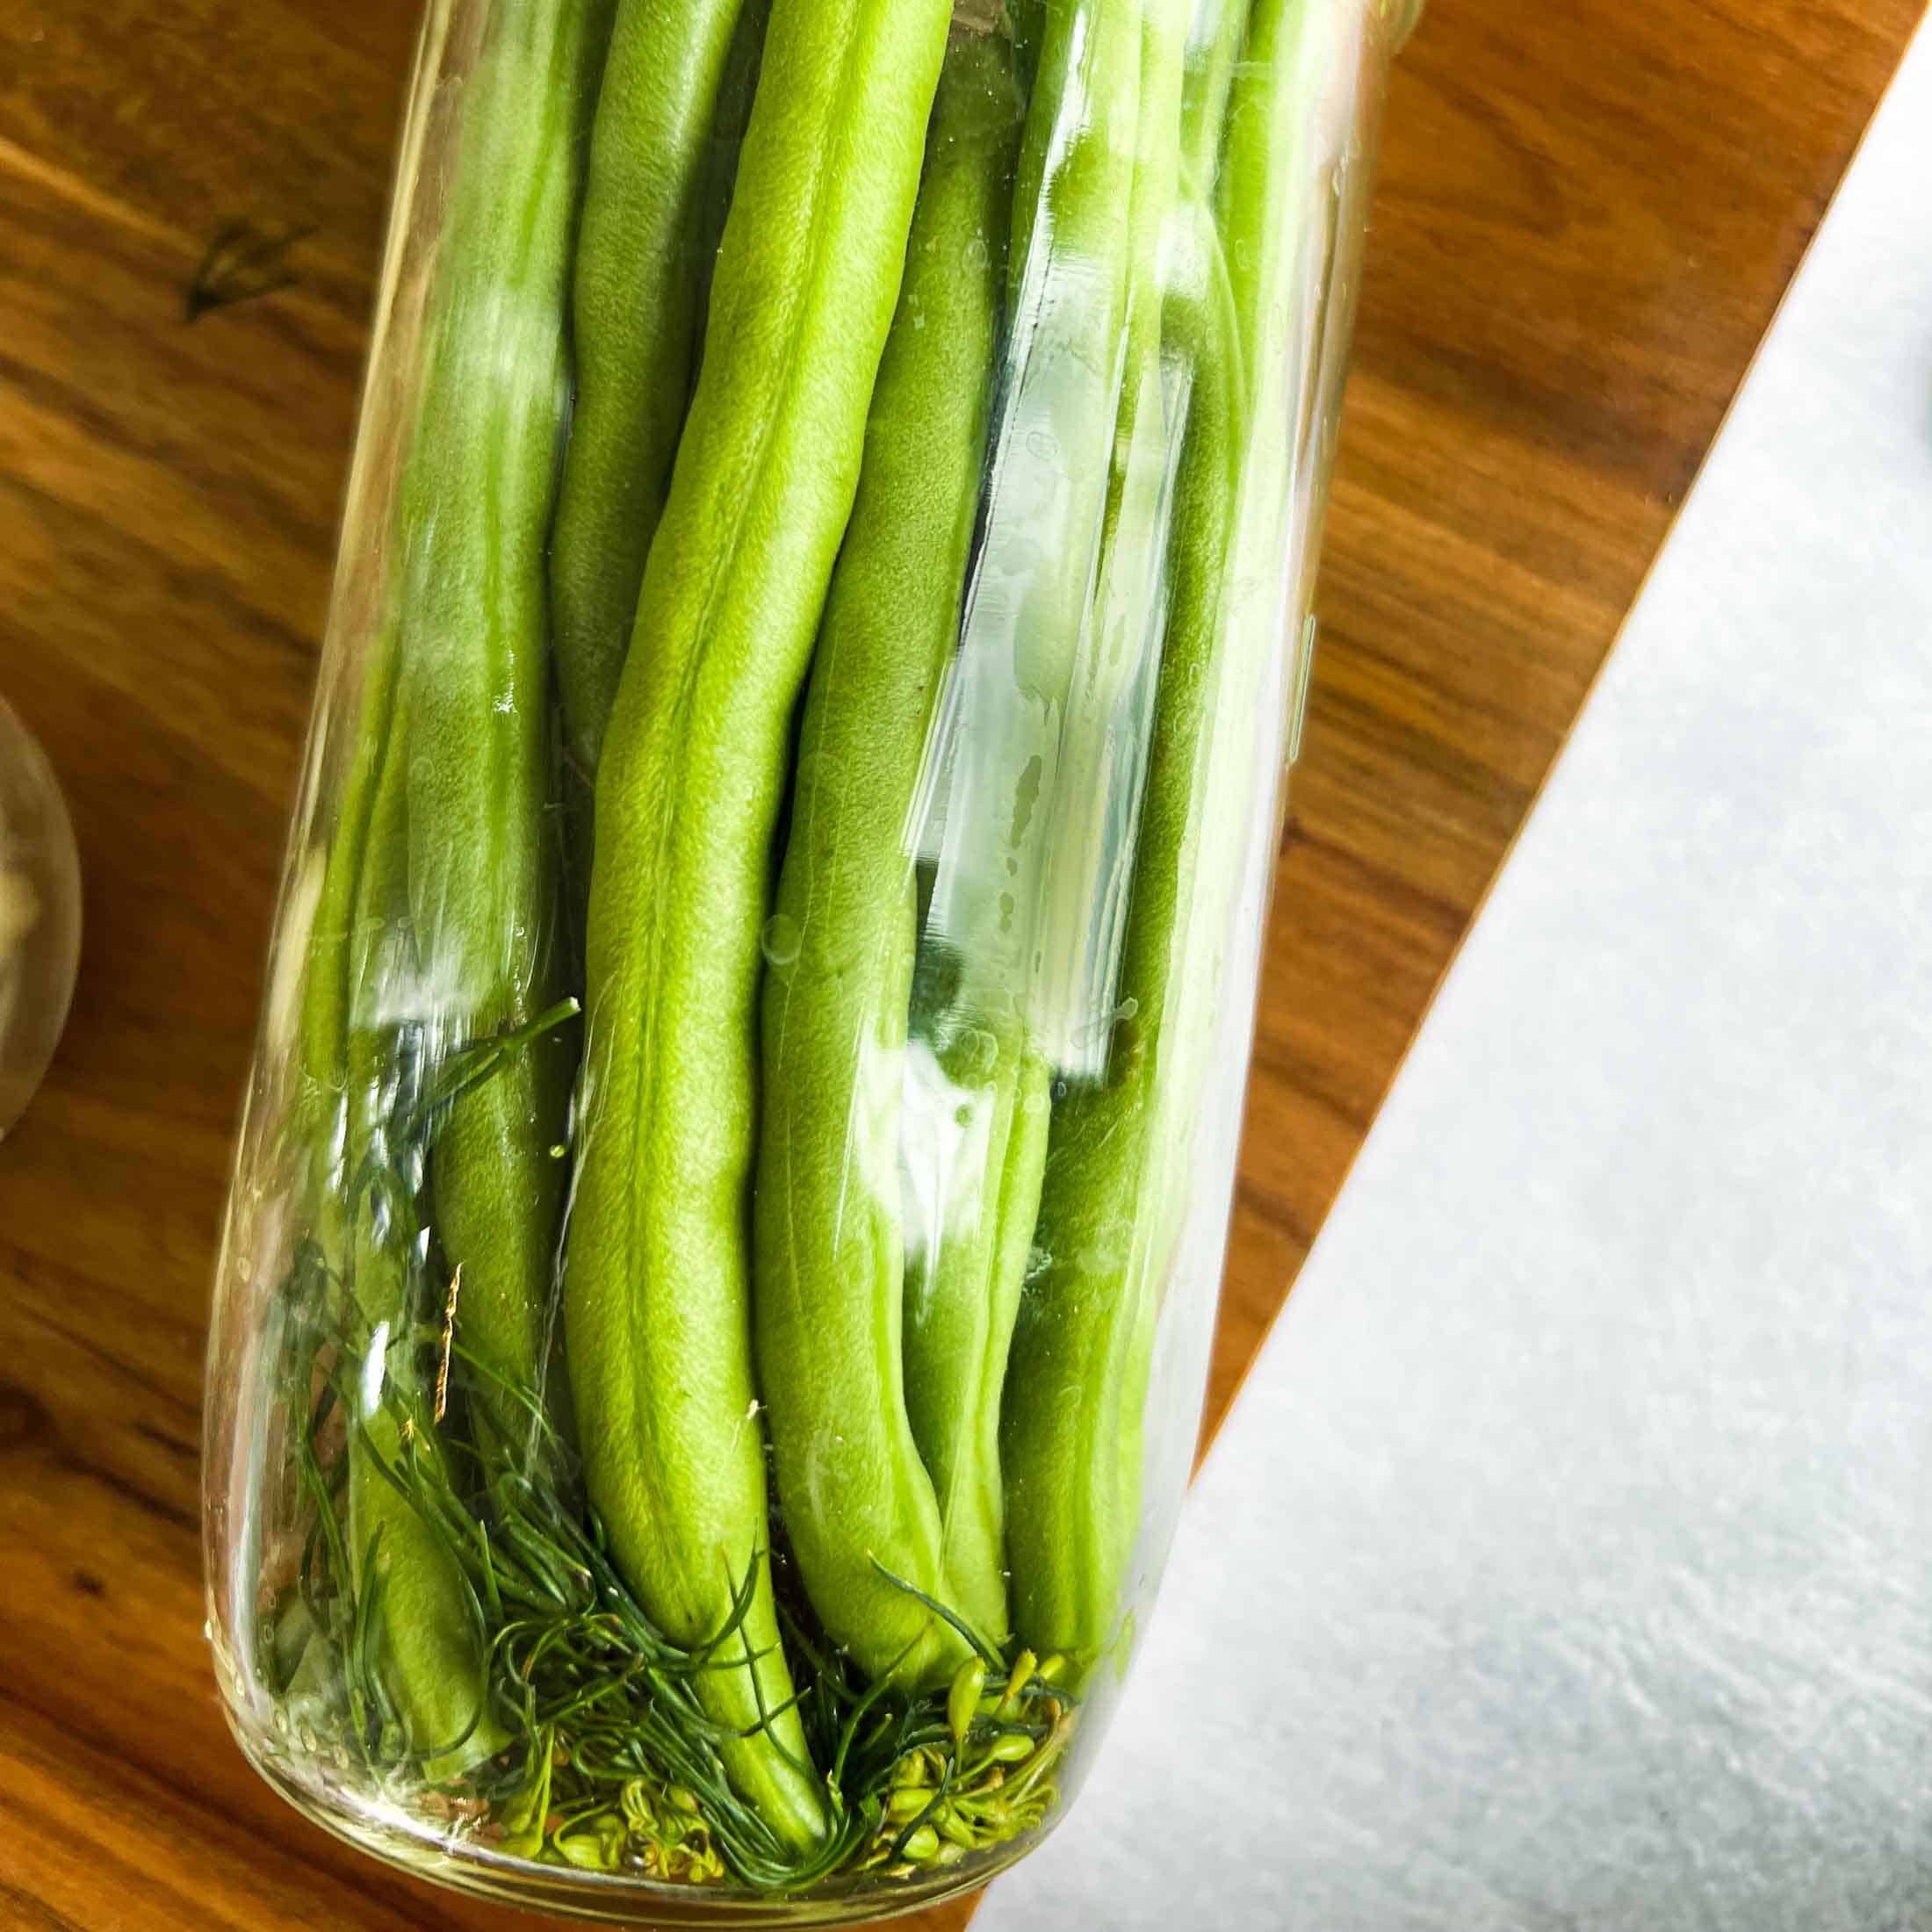
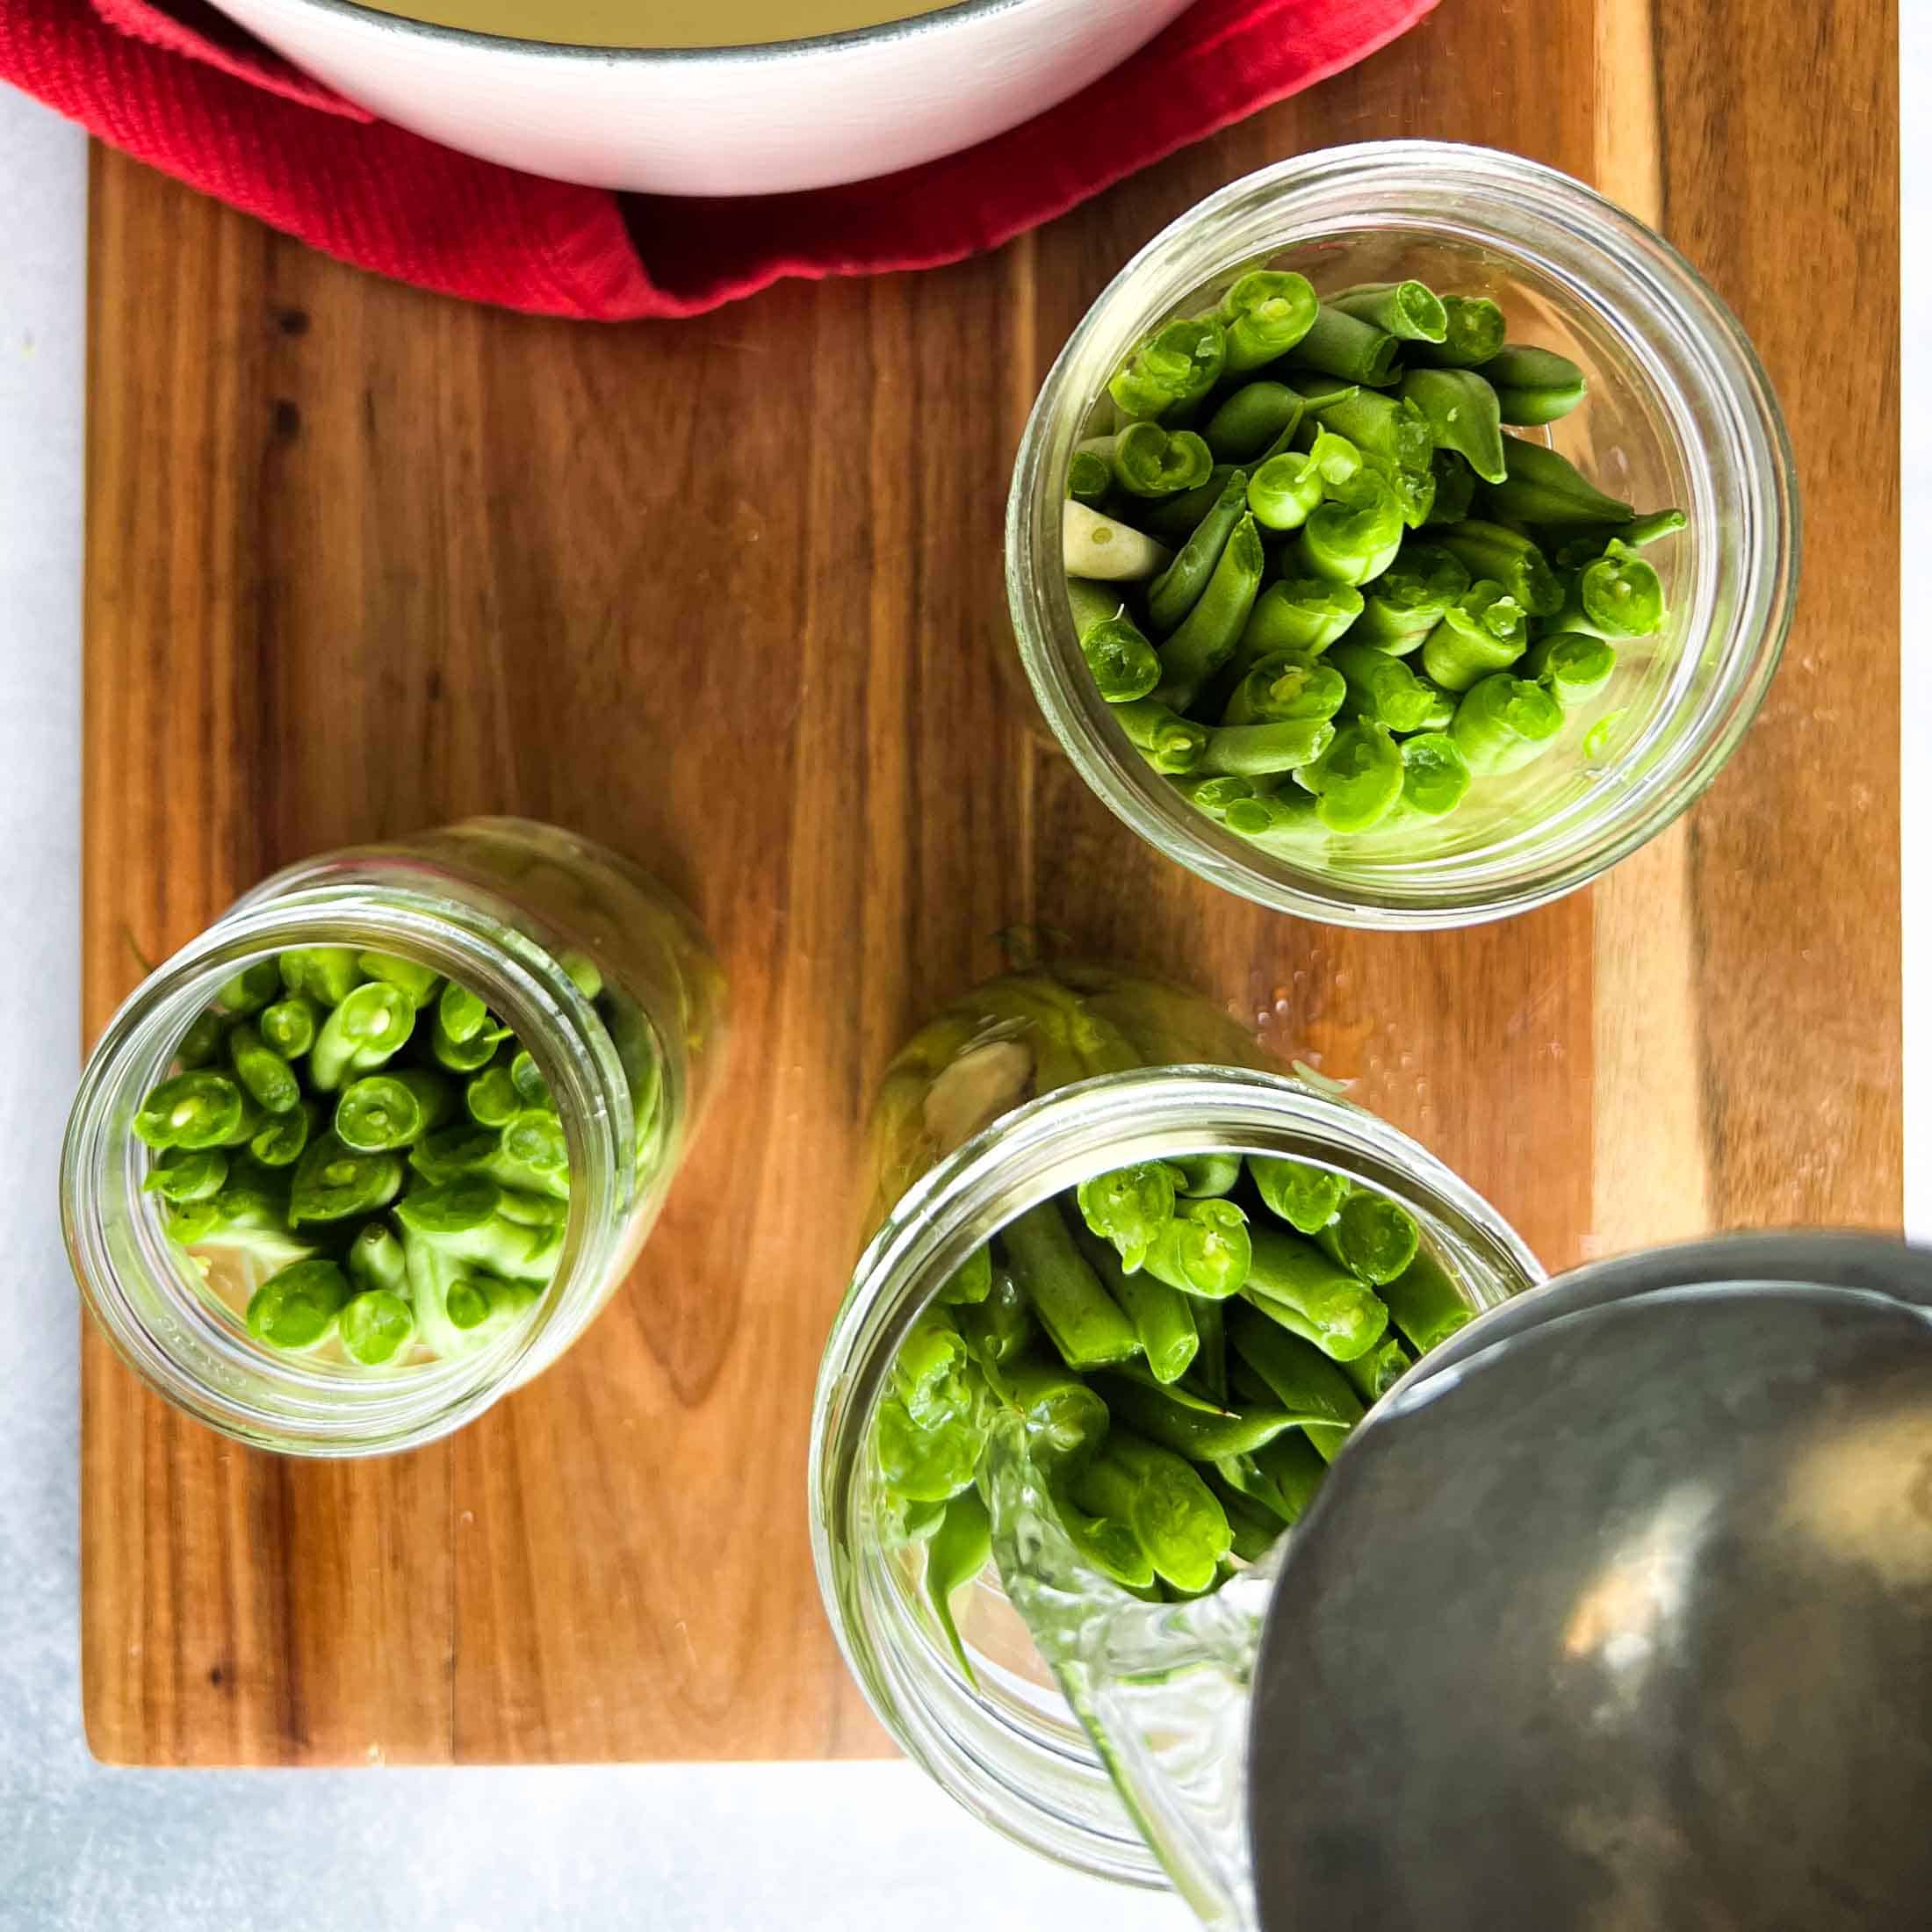
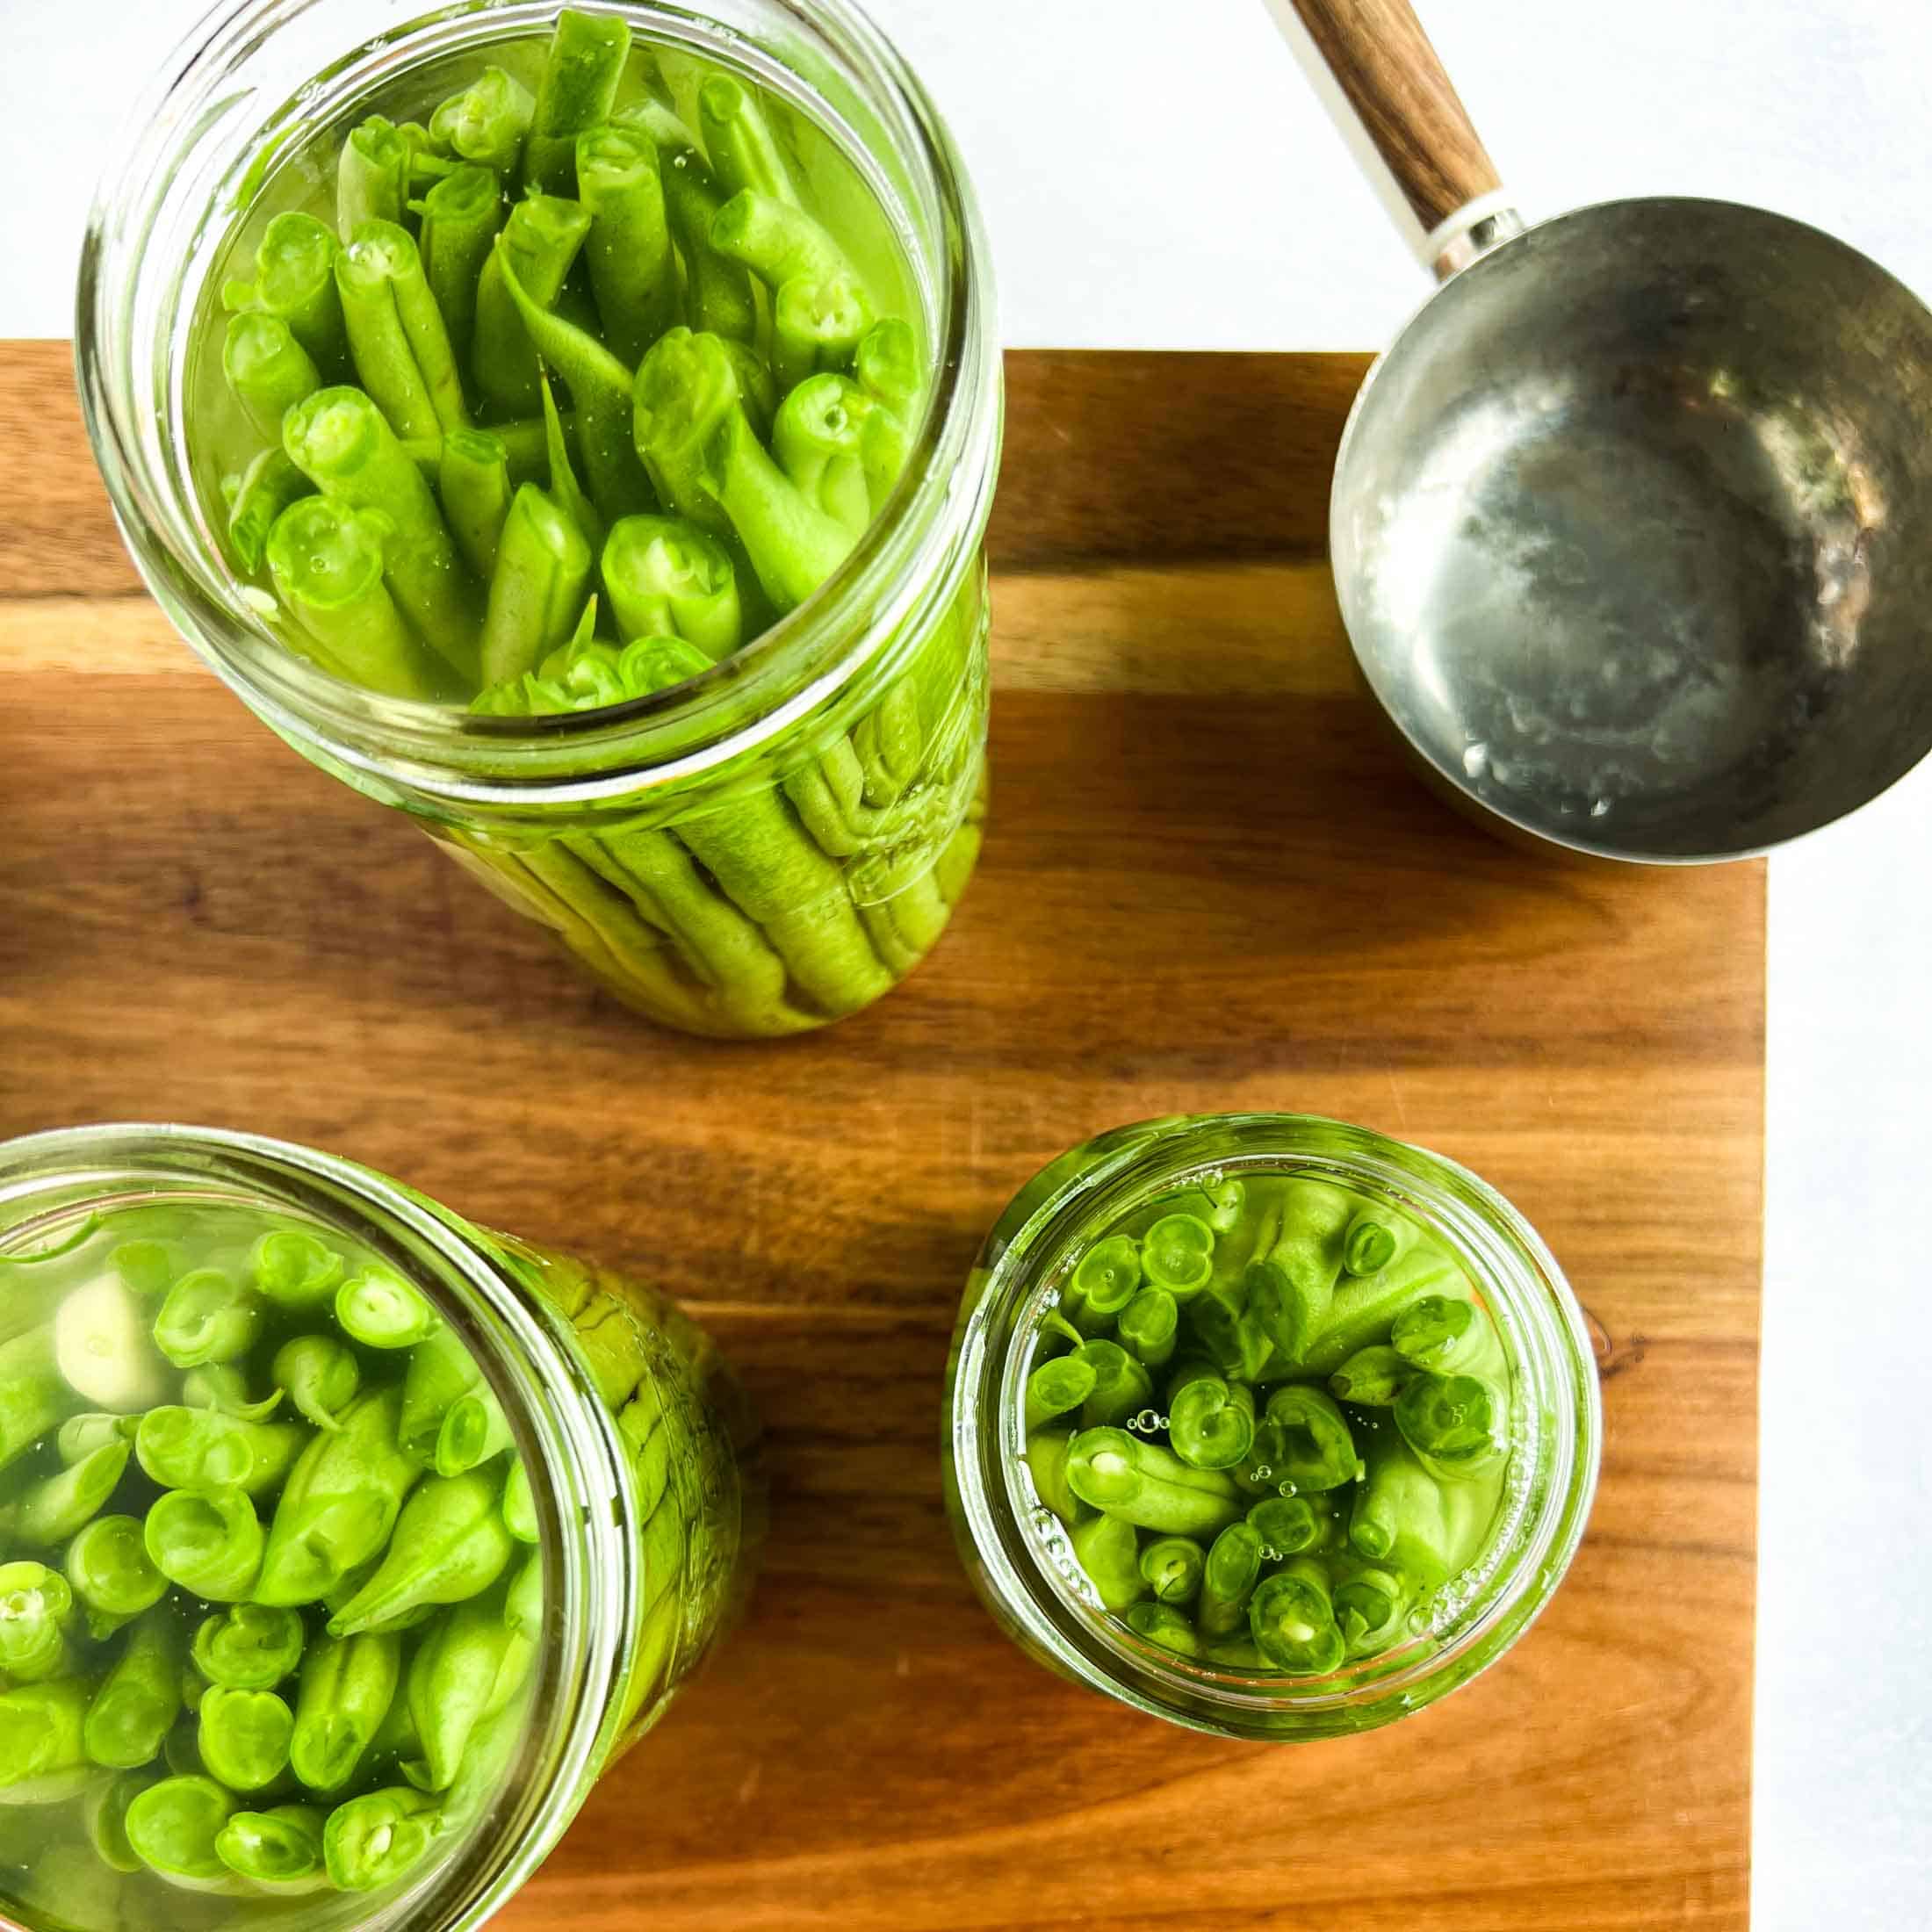
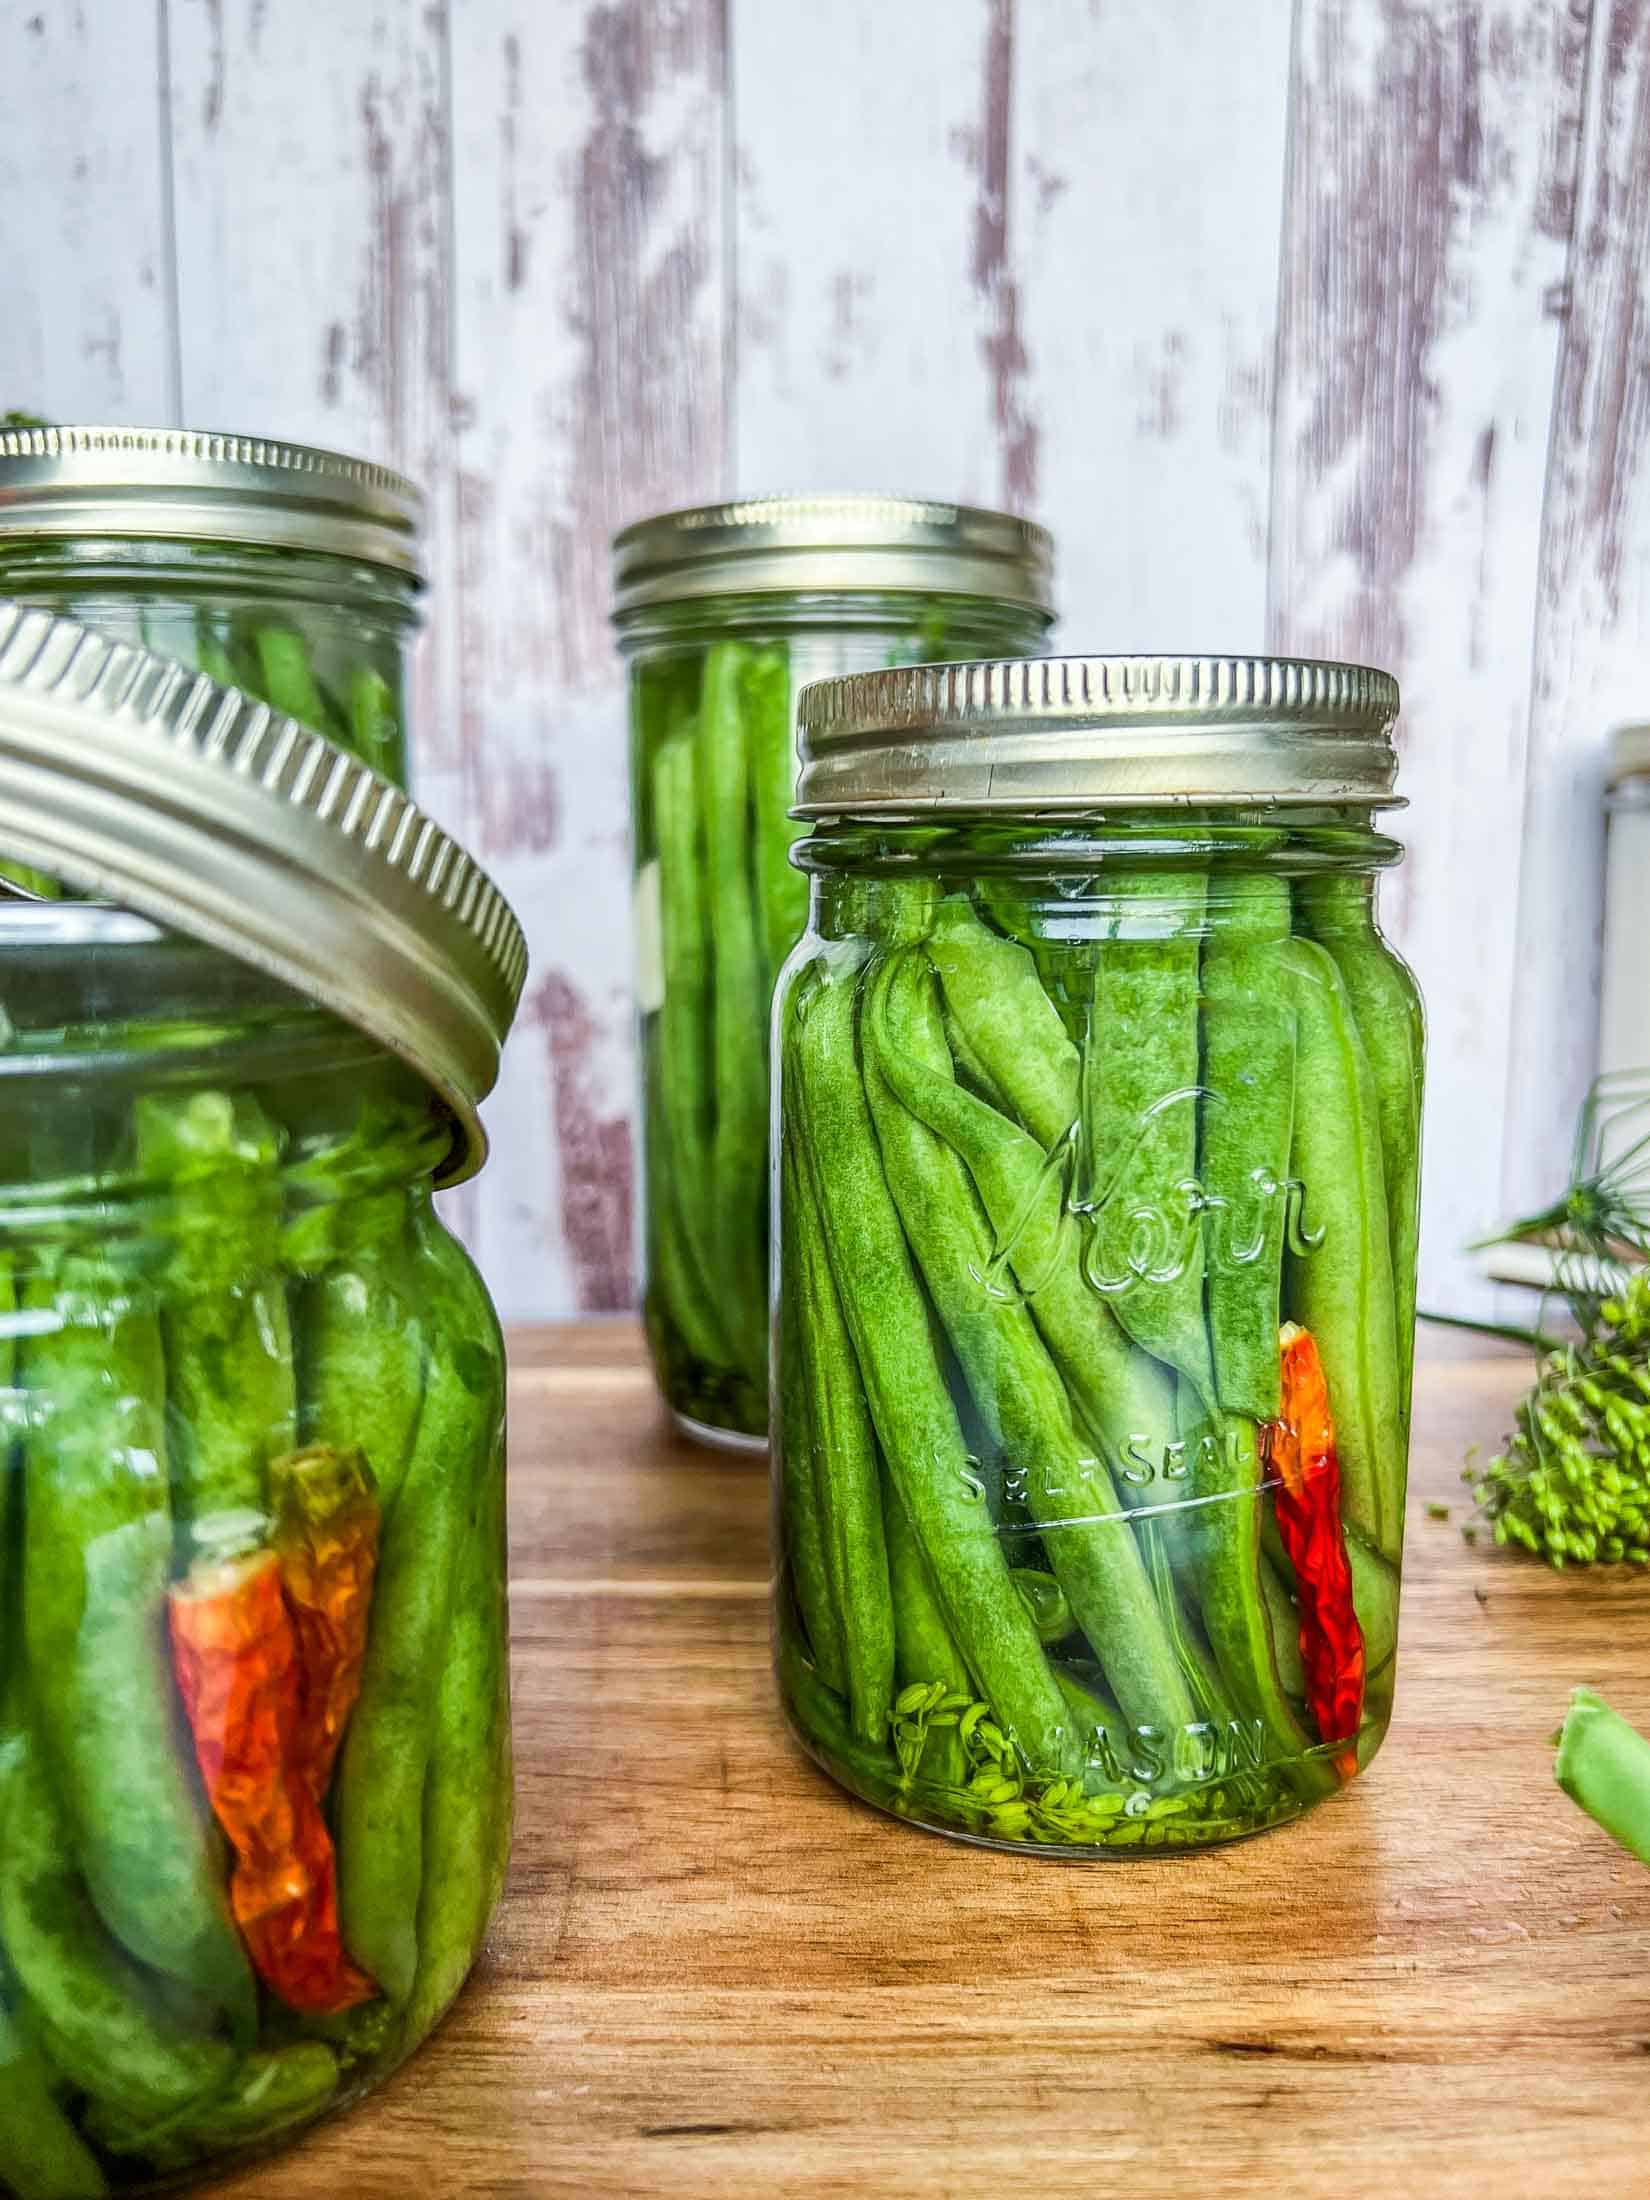
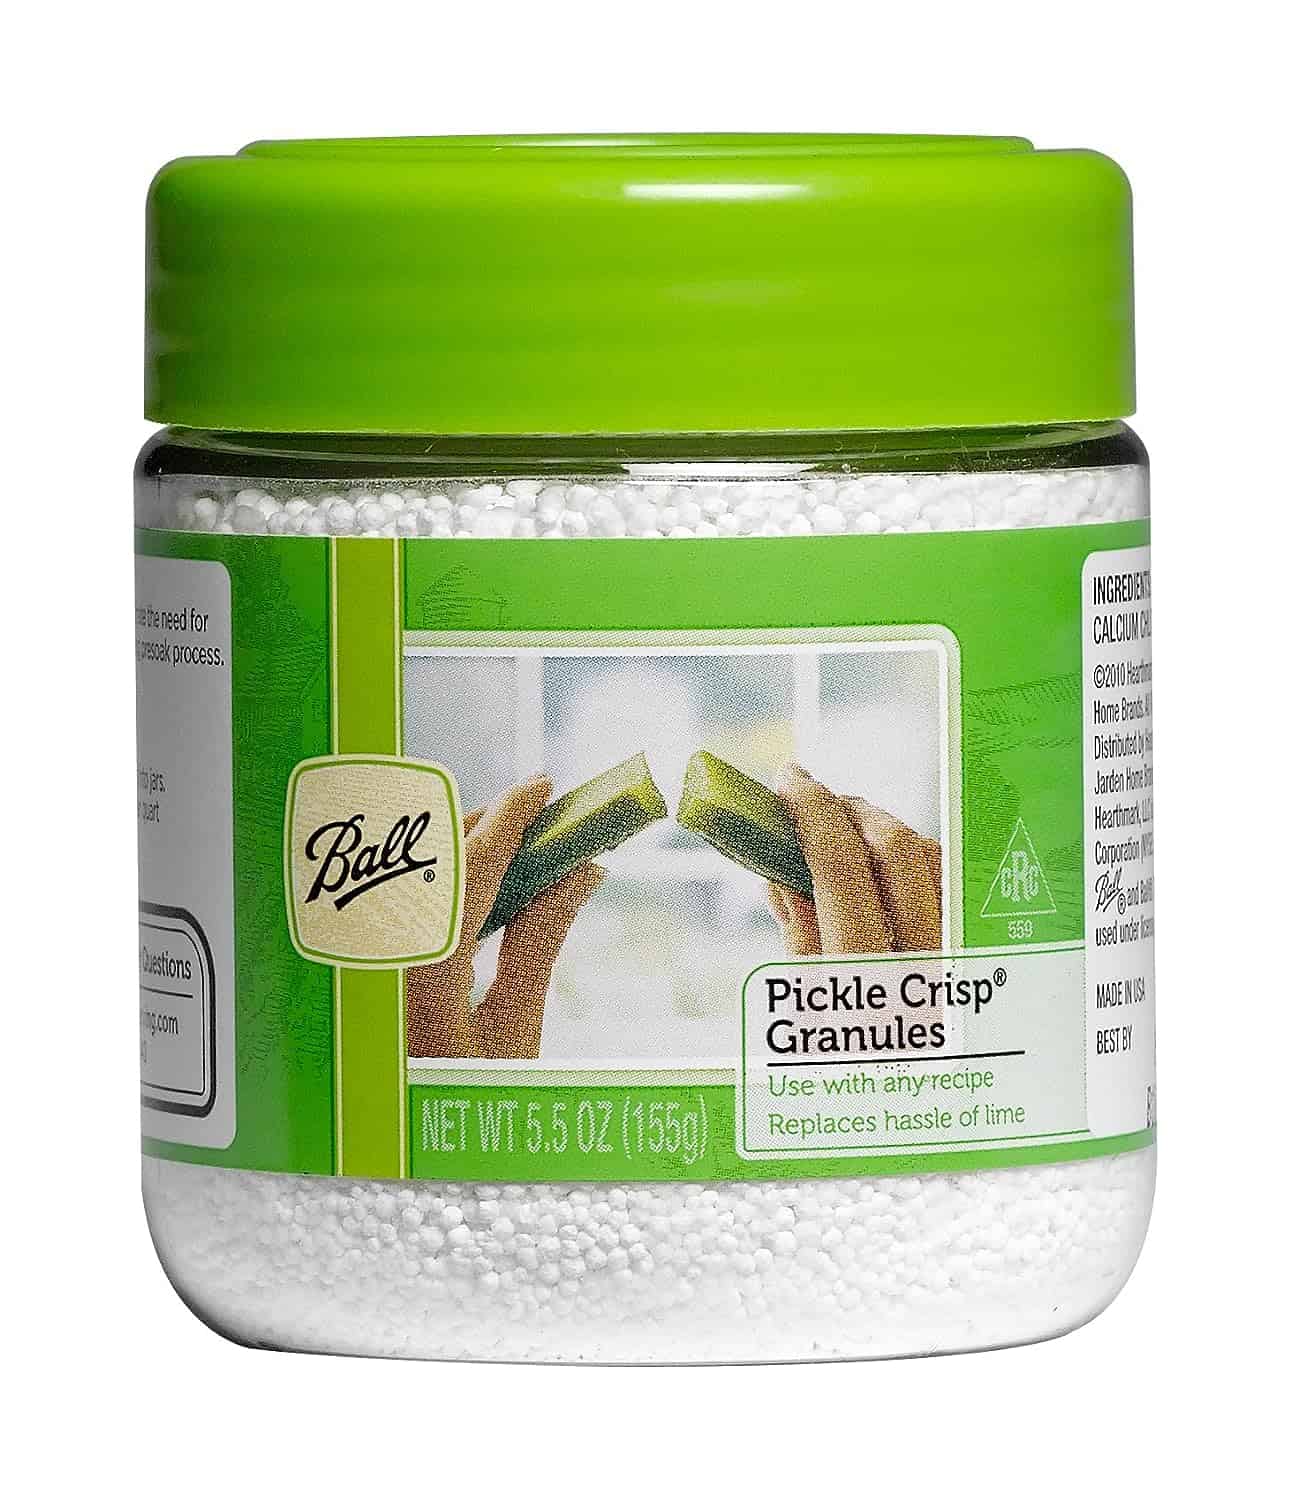
Step 3. Pack the Jars. Place the dill flower, a sprig of dill, and a clove of garlic in the bottom of each jar. Tightly pack your green beans into the jar (the tighter, the better). Trim the tops of any beans that are sticking out, leaving about an inch of headspace in the jar (right around the shoulder of the jar). At this point you can add a spicy pepper to each jar or omit. You can also add 1/4 teaspoon of pickle crisp/quart or 1/8 teaspoon of pickle crisp/pint.

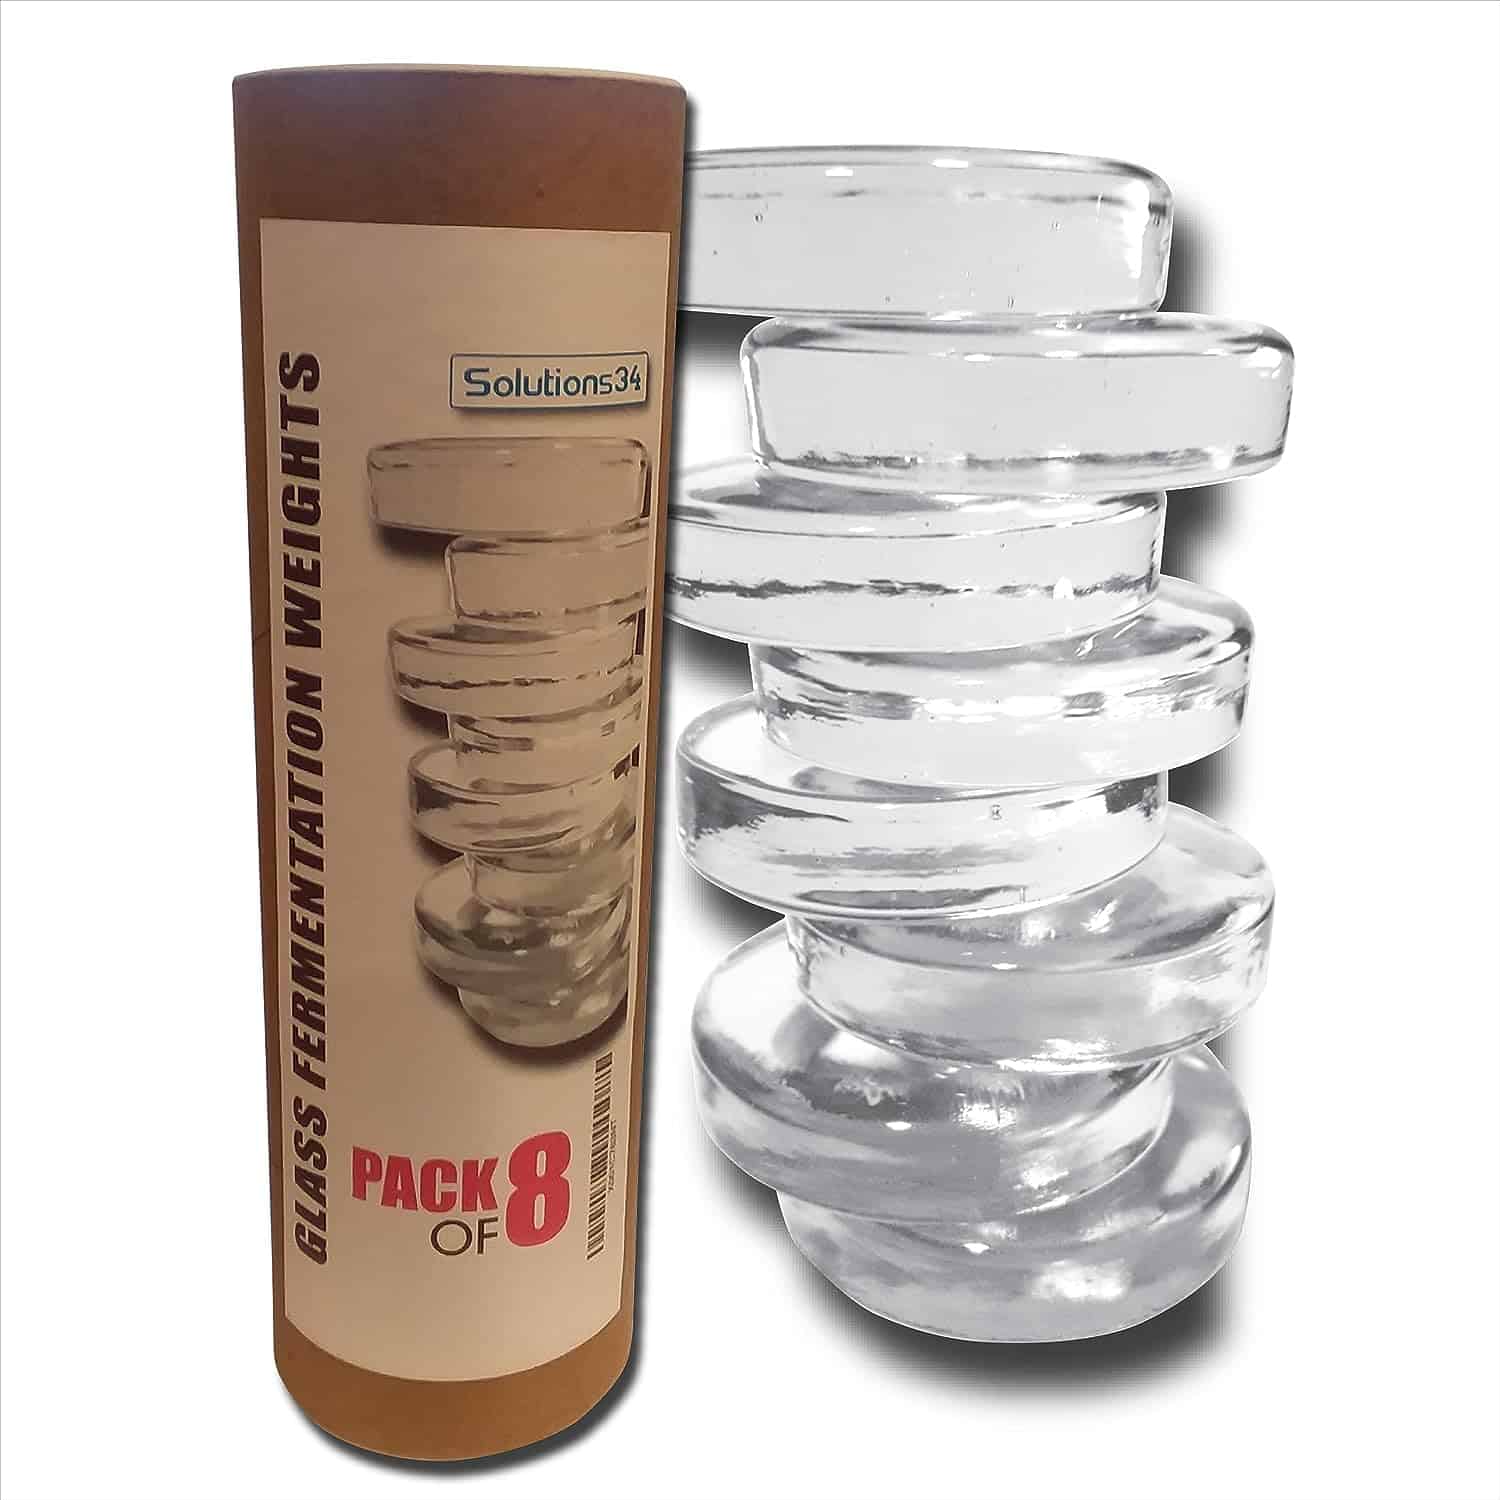
Step 4. Add Brine– Spoon the hot brine overtop of the green beans until they are fully covered. There should be nothing floating above the brine (creating the perfect anaerobic environment for fermentation to take place). You may choose to place a jar weight into the beans but it is not 100% necessary- I always just make sure that I have no floaters!

Step 5. Cap + Store- Screw the lid on each mason jar, finger tight, and allow the ferment to sit for 7-10 days or until the brine is nice and cloudy. Once the brine has clouded up, transfer the beans to a cool, dark place. I recommend leaving the green beans in a cool storage spot for 3-4 weeks for the flavors to fully develop before enjoying.
HOW TO KNOW IF YOUR LACTO FERMENTED GREEN BEANS ARE READY TO EAT:
Your ferment should be sitting out on the counter in a moderately warm spot until you notice it start to get cloudy. You will be able to see the beans getting cloudy. I leave them get quite cloudy before transferring them to my cold room (around 7 days). Don’t be afraid to open them up, smell, taste, feel. The flavour should be complex, tangy, sour. The pickled green beans should be less salty, and more sour because of the lactic acid. The green beans should be less crunchy than a fresh bean but not soggy (like a regular pickle crunch). They should smell like….pickles! If the green beans smell bad, they usually are bad. Unlike other ferments- there should be no skimming required during the fermentation process, ensure that the vegetables are all covered in brine and you are good to go!
Tips + Tricks
- Use the freshest green beans possible when pickling. This will help the beans maintain a firm “crunch” after processing.
- The recipe calls for one clove of garlic per jar but if you are a garlic lover like me, you may choose to double it. Opt for local garlic with the peels still on to ensure no bleach or other cleaners have been used.
- I love to use a combination of dill sprigs and flowers. If all you have available are dill sprigs, that is fine too!
- Add 1/4 teaspoon of “pickle crisp” or calcium chloride to prevent enzymes from softening your green beans, keeping them even more crispy. Totally optional, if I have it on hand I use it, if not I simply go without.
- Save any leftover brine for your next ferment!
- Burb jars every second day while at room temperature to help release some pressure. This involves slightly unscrewing the lid to let some pressure. Once the fermented dilly beans are transferred to a cold room or fridge, this step is unnecessary.
Batch + Storage
2 lbs of green beans will generally yield about 4 pints, 3 pint and a half jars full, or two quart jars- depending on how tightly they are packed.
Store the ferment in a cool, dark place for up to 6 months. My cold room is quite cool and I have had them last up to 12 months without any issues. If kept in the fridge, closed, the beans will last around 12 months.
Frequently Asked Questions
The use of sugar and vinegar mimics the Old Fashioned Fermented Pickle Brine that I have. The sugar helps to move the ferment along a little bit faster and the small amount of vinegar helps to ward off unwanted bacteria from taking over at the beginning of the ferment.
Each pint requires about 1/2 lb of fresh green beans.
This recipe makes a bit of extra brine to account for the fluctuation in bean size and how much headspace and space in between the beans there is in your own jars. Extra brine can be used for other fermented vegetables.
Printable Fermented Green Bean (Fermented Dilly Beans
Fermented Green Beans With Dill + Garlic
Fermented green beans with dill and garlic are the ultimate snack. Whether you are plopping them into your favorite drink, arranging them on a pickle tray, or eating them straight from the jar, these lacto fermented green beans are a MUST!
Ingredients
- 2 pounds of green beans
- 6 cups filtered water (chlorine free)
- 1/4 cup pickling salt
- 1 tablespoon apple cider vinegar
- 1 tablespoon granulated sugar
- 4 cloves garlic (more to taste)
- 4 dill flowers (swap for extra dill sprigs if no flowers are available)
- 4 sprigs dill
- 1 spicy pepper or 1/2 teaspoon dried spicy pepper flakes, or chili flakes
Instructions
- Wash + Prepare: Prepare your jars by washing with hot soapy water, rinse well. My favorite jars for canning green beans are the 750ml pint and a half jars. Wash green beans in cold water and leave to dry on a clean kitchen towel or paper towel. Wash the dill in a cold water bath and separate into large sprigs (you need two per jar). Reserve one dill flower for each jar (sub in a dill sprig if you don’t have the flower). Peel the garlic cloves. Wash the jars, seals, and rings thoroughly with warm, soapy water. Trim the ends of the beans.
- Make The Brine. Mix together 6 cups of water with 1/4 cup of salt, 1 tbsp apple cider vinegar, and 1 tablespoon of granulated sugar in a heavy bottomed pot. Bring to a simmer.
- Pack the Jars. Place the dill flower, a sprig of dill, and a clove of garlic to the bottom of each jar. Tightly pack your green beans into the jar (the tighter, the better). Trim the tops of any beans that are sticking out, leaving about an inch of headspace in the jar (right around the shoulder of the jar). At this point you can add a spicy pepper to each jar, 1/2 teaspoon of pepper flakes or omit. You can also add 1/4 teaspoon of pickle crisp/quart or 1/8 teaspoon of pickle crisp/pint.
- Add Brine– Spoon the hot brine overtop of the green beans until they are fully covered. There should be nothing floating above the brine (creating the perfect anaerobic environment for fermentation to take place). You may choose to place a fermentation weight into the beans but it is not 100% necessary- I always just make sure that I have no floaters!
- Cap + Store- Place the lid on each jar, finger tight, and allow the ferment to sit for 7-10 days, burping every second day, or until the brine is nice and cloudy. Once the brine has clouded up, transfer the beans to a cool, dark place. I recommend leaving the green beans in a cool storage spot for 3-4 weeks for the flavors to fully develop before enjoying.
Notes
HOW TO KNOW IF YOUR LACTO FERMENTED GREEN BEANS ARE READY TO EAT:
Your ferment should be sitting out on the counter in a moderately warm spot until you notice it start to get cloudy. You will be able to see the beans getting cloudy. I leave them get quite cloudy before transferring them to my cold room (around 7 days). Don’t be afraid to open them up, smell, taste, feel. The flavour should be complex, tangy, sour. It should be less salty, and more sour because of the lactic acid. The green beans should be less crunchy than a fresh bean but not soggy (like a regular pickle crunch). They should smell like….pickles! If the green beans smell bad, they usually are bad. Unlike other ferments- there should be no skimming required, ensure that the vegetables are all covered in brine and you are good to go!
Use the freshest green beans possible when pickling. This will help the beans maintain a firm “crunch” after processing.
Leftover brine can be saved for another ferment.
Recommended Products
As an Amazon Associate and member of other affiliate programs, I earn from qualifying purchases.
Nutrition Information:
Yield: 16 Serving Size: 1/2 cupAmount Per Serving: Calories: 25Total Fat: 0gSaturated Fat: 0gTrans Fat: 0gUnsaturated Fat: 0gCholesterol: 0mgSodium: 41mgCarbohydrates: 6gFiber: 2gSugar: 3gProtein: 1g
♥ Thanks for supporting me! Sharing, commenting, and reviewing all help to spread the word about Modern Harvest and help to grow the site! As an Amazon Associate I earn from qualifying purchases. I will never promote products or use affiliate links for things that I don’t personally use or love. ♥
More Pickled Recipes From The Harvest Kitchen
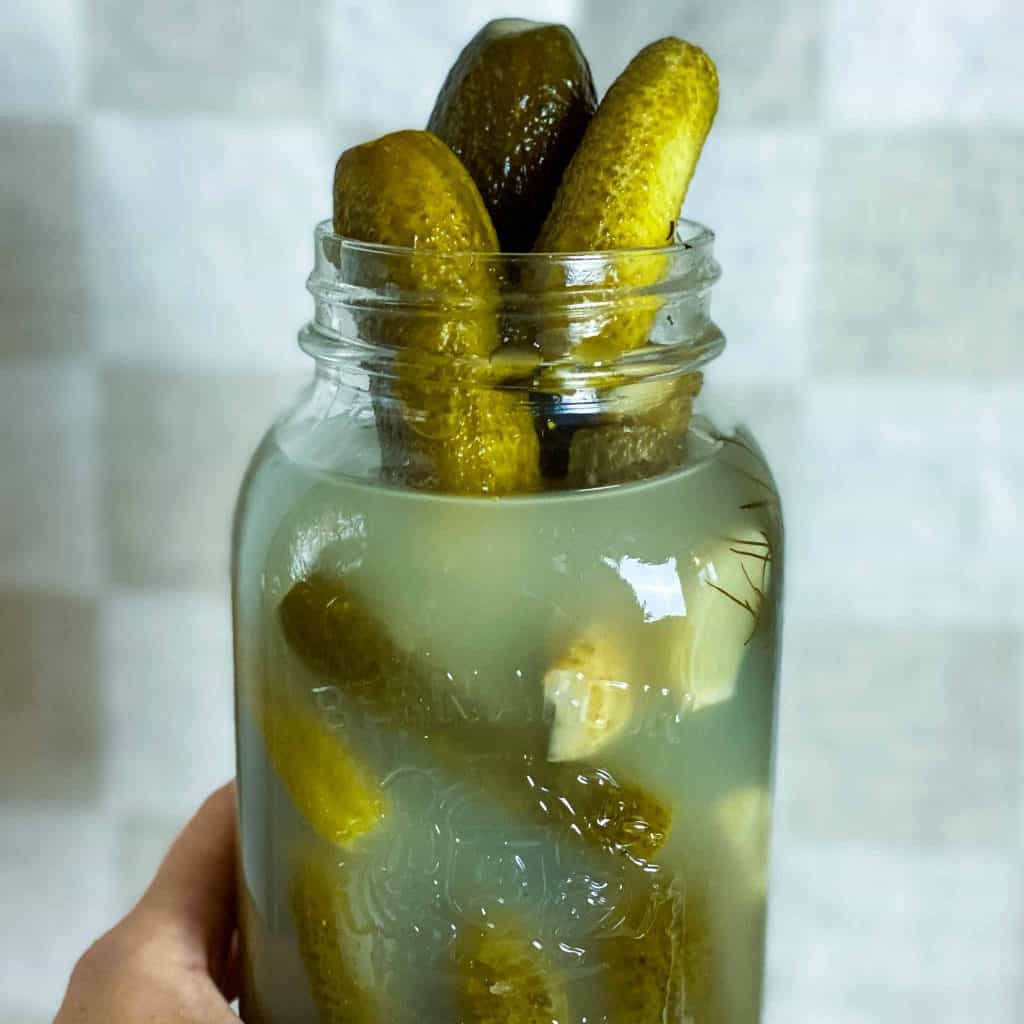
Quick + Crunchy Old Fashioned Fermented Dill Pickles (With Video)
Crispy, crunchy, and tangy with the perfect amount of “fizz,” these cucumbers are lacto fermented with garlic, dill, and carrots to create the ultimate pickle recipe.
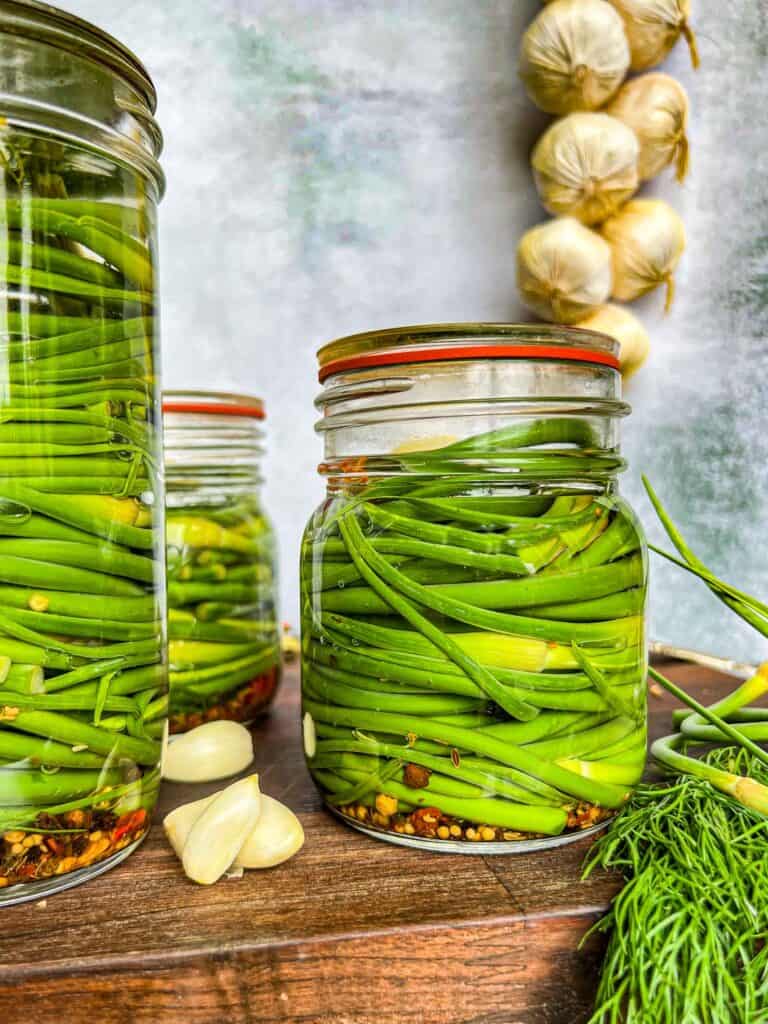
Tangy Dill Pickled Garlic Scapes | Canning Recipe
Pickled garlic scapes are a MUST for any garlic grower or pickle lover! The curly green shoots are the flower stalks of the garlic plant, and they have a mild garlic flavor with a texture similar to green beans.
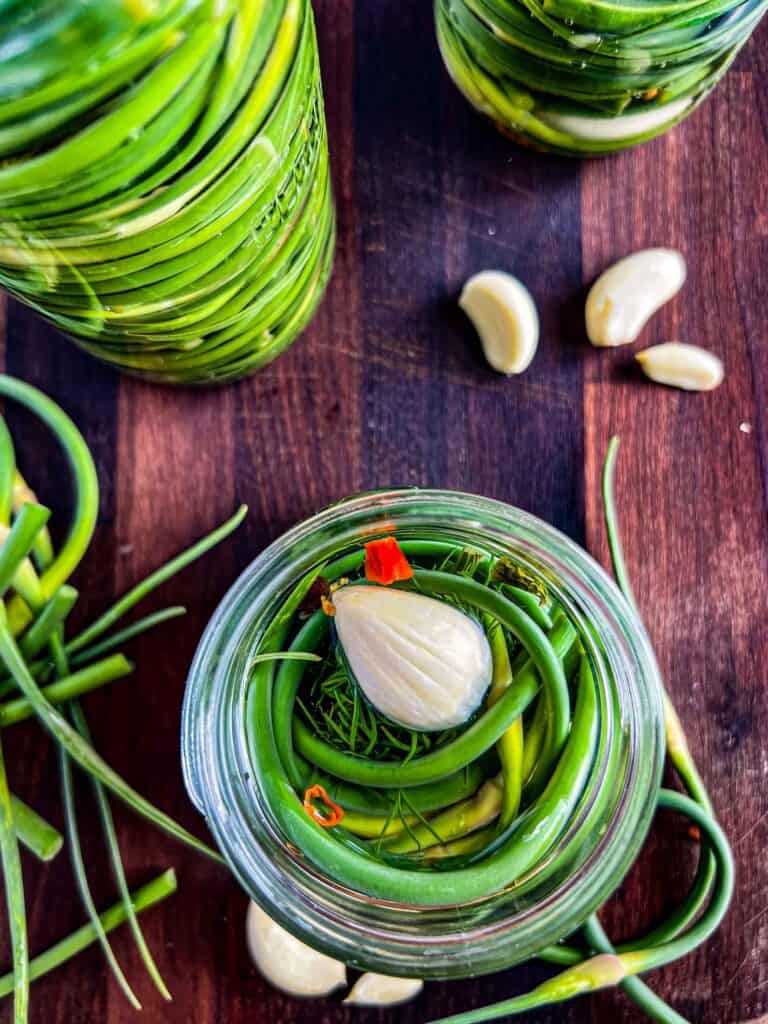
Quick Pickled Garlic Scapes With Dill | Refrigerator Recipe
Quick pickled garlic scapes, also known as refrigerator pickles, are an easy and delicious way to enjoy the unique flavor of these curly green shoots.