

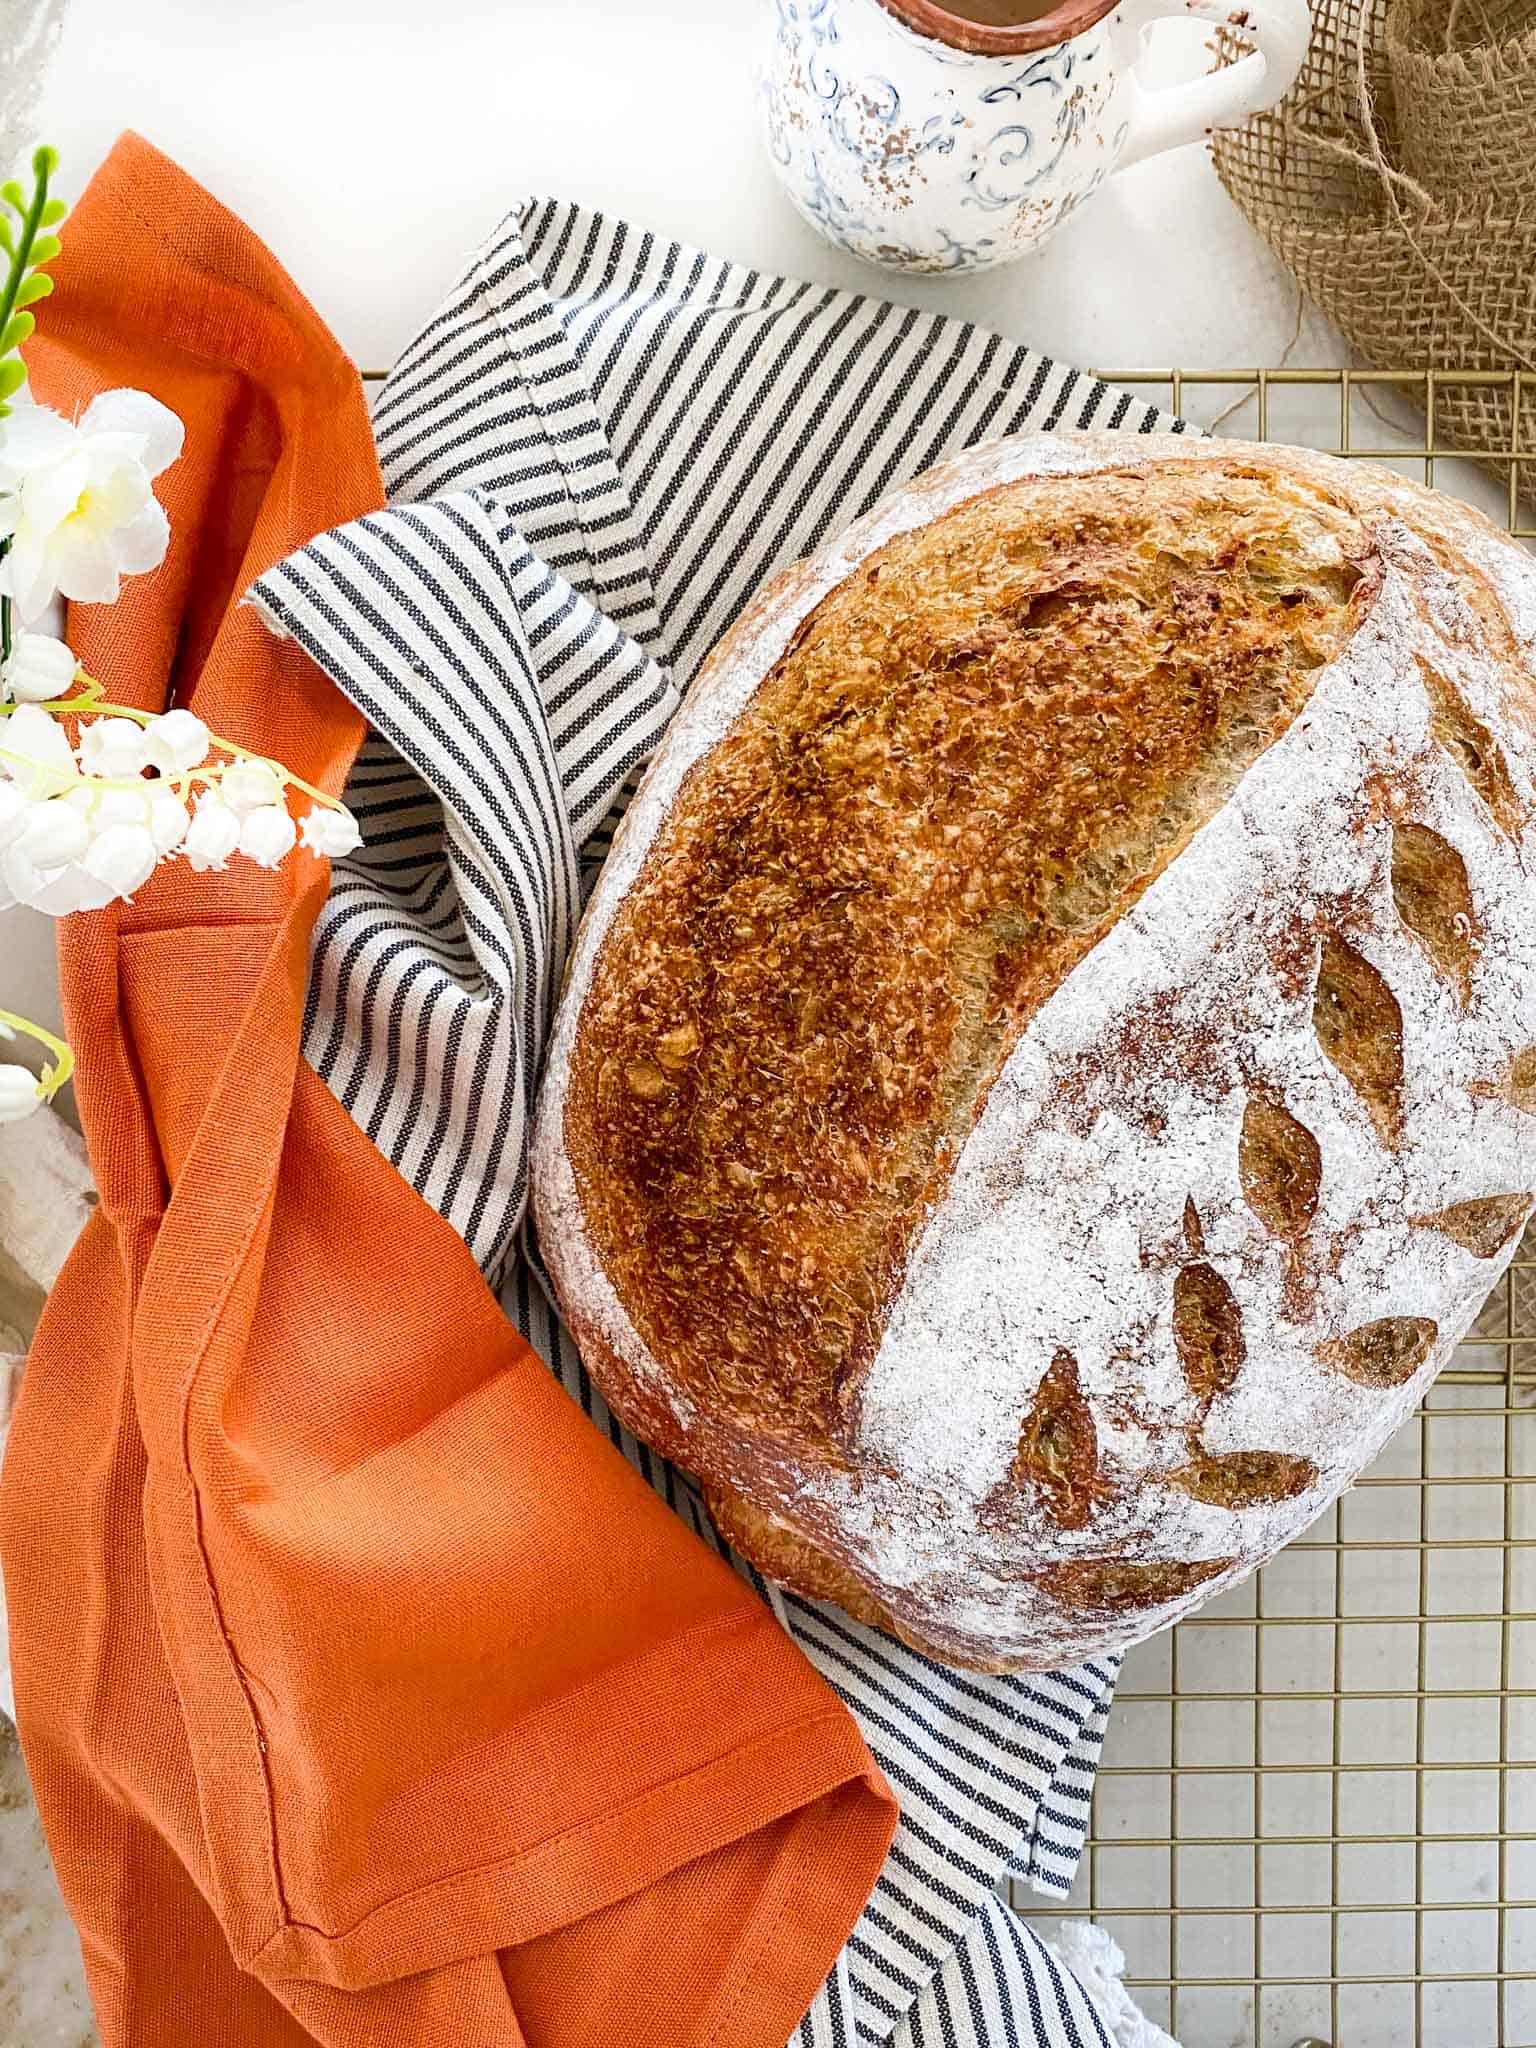
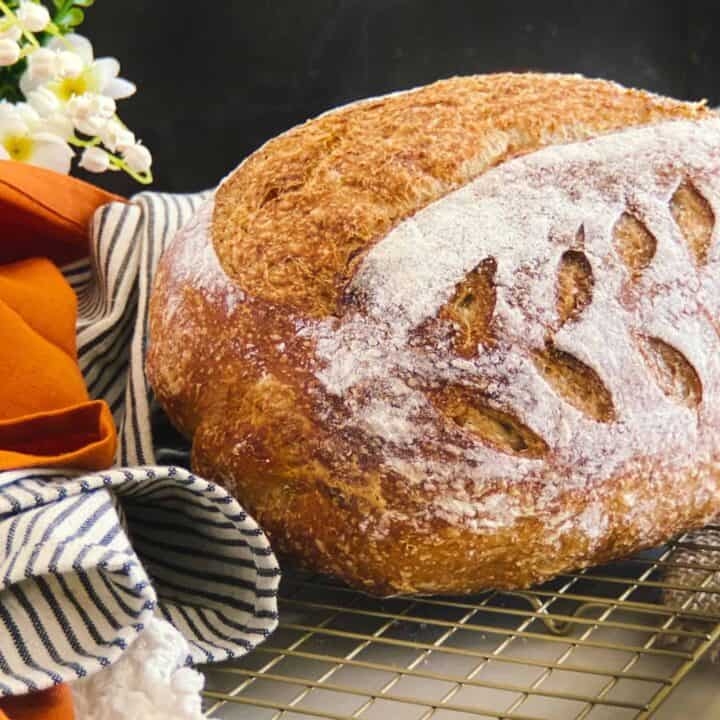
Whole Grain Sourdough Bread Recipe (Artisan + Sandwich Loaf)
This healthy whole grain sourdough bread recipe is moist, with open crumb and a crispy crackly crust that prolongs its shelf life– as if it will last long enough to test that out!
Whole grains make this bread hearty and filling, and the complex carbohydrates leave you feeling full and energized.
Make this great recipe for your family and friends and feel good knowing that they are getting the health benefits of whole grain bread with the lactic acid from the sourdough, hearty texture, and delicious flavour.
Key Ingredients
Sourdough Starter: Your starter should be strong and active. It needs to have doubled after the feed-ideally you should try to catch your starter before it begins to deflate (at this point the yeast are beginning to be less active). You can use a whole wheat starter or a white sourdough starter. Keep in mind, using a white starter will slightly lower the percentage of whole wheat included in the whole wheat sourdough bread recipe.
Whole Wheat Flour: Finding a good fresh whole grain flour is important for your sourdough. If your whole wheat flour is old, opt to get a new bag of fresh flour to make sure that the bran, germ, and any oils have not gone rancid and can give you optimal flavour and nutrients. This organic, sprouted whole wheat flour has given me great results!
White Bread Flour: If you are in Canada, you can get away with regular all purpose white flour or unbleached flour because of the higher protein content.
Salt: Use fine sea salt for this recipe. I love Himalayan Salt.
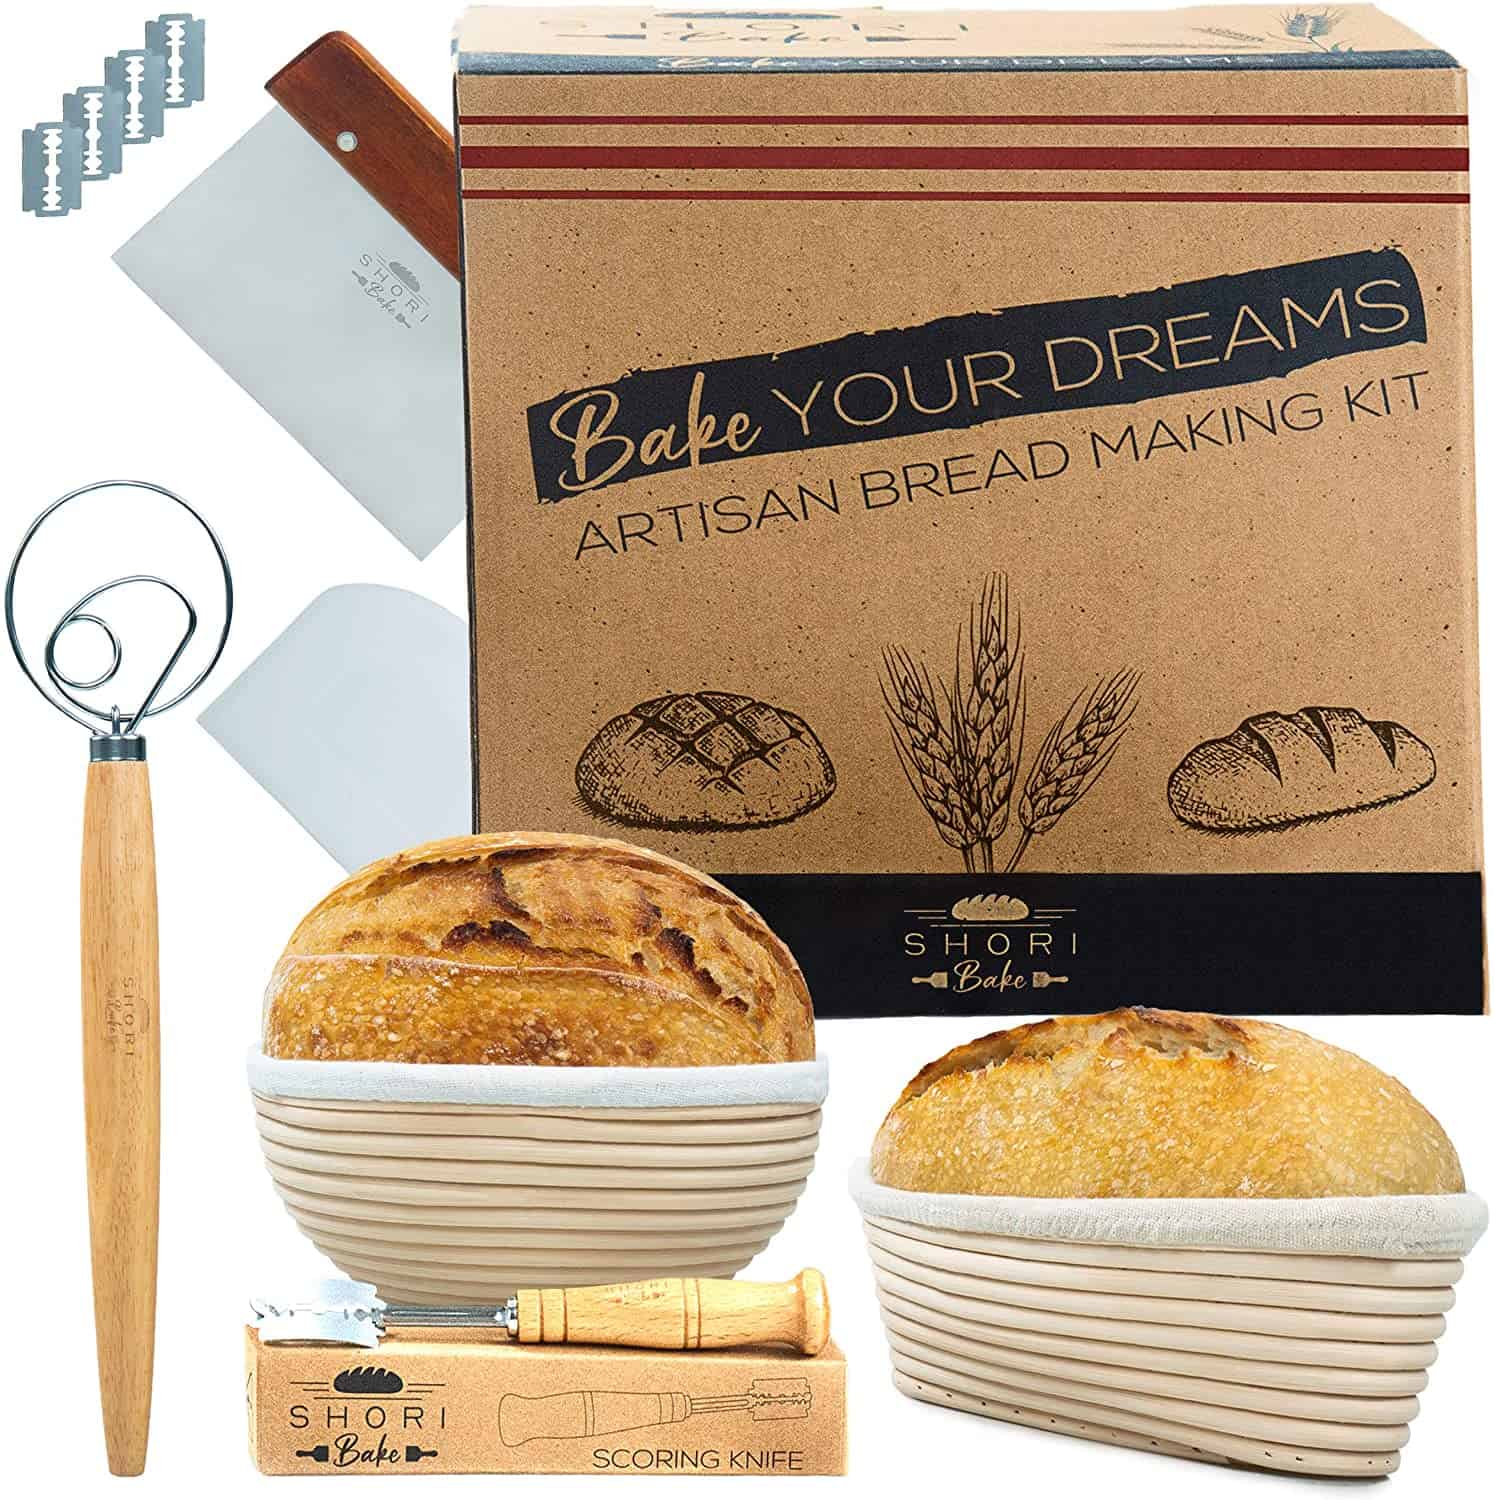
Equipment
Read below to find out which tools will elevate your “whole grain sourdough” game.
Food Scale: Sourdough recipes are more of an exact science than other recipes. You must use a food scale to get consistent sourdough results! Be sure that you can zero your scale out and that it can handle at least 5lb capacity to account for heavy bowls and large amounts of dough. This scale has awesome reviews.
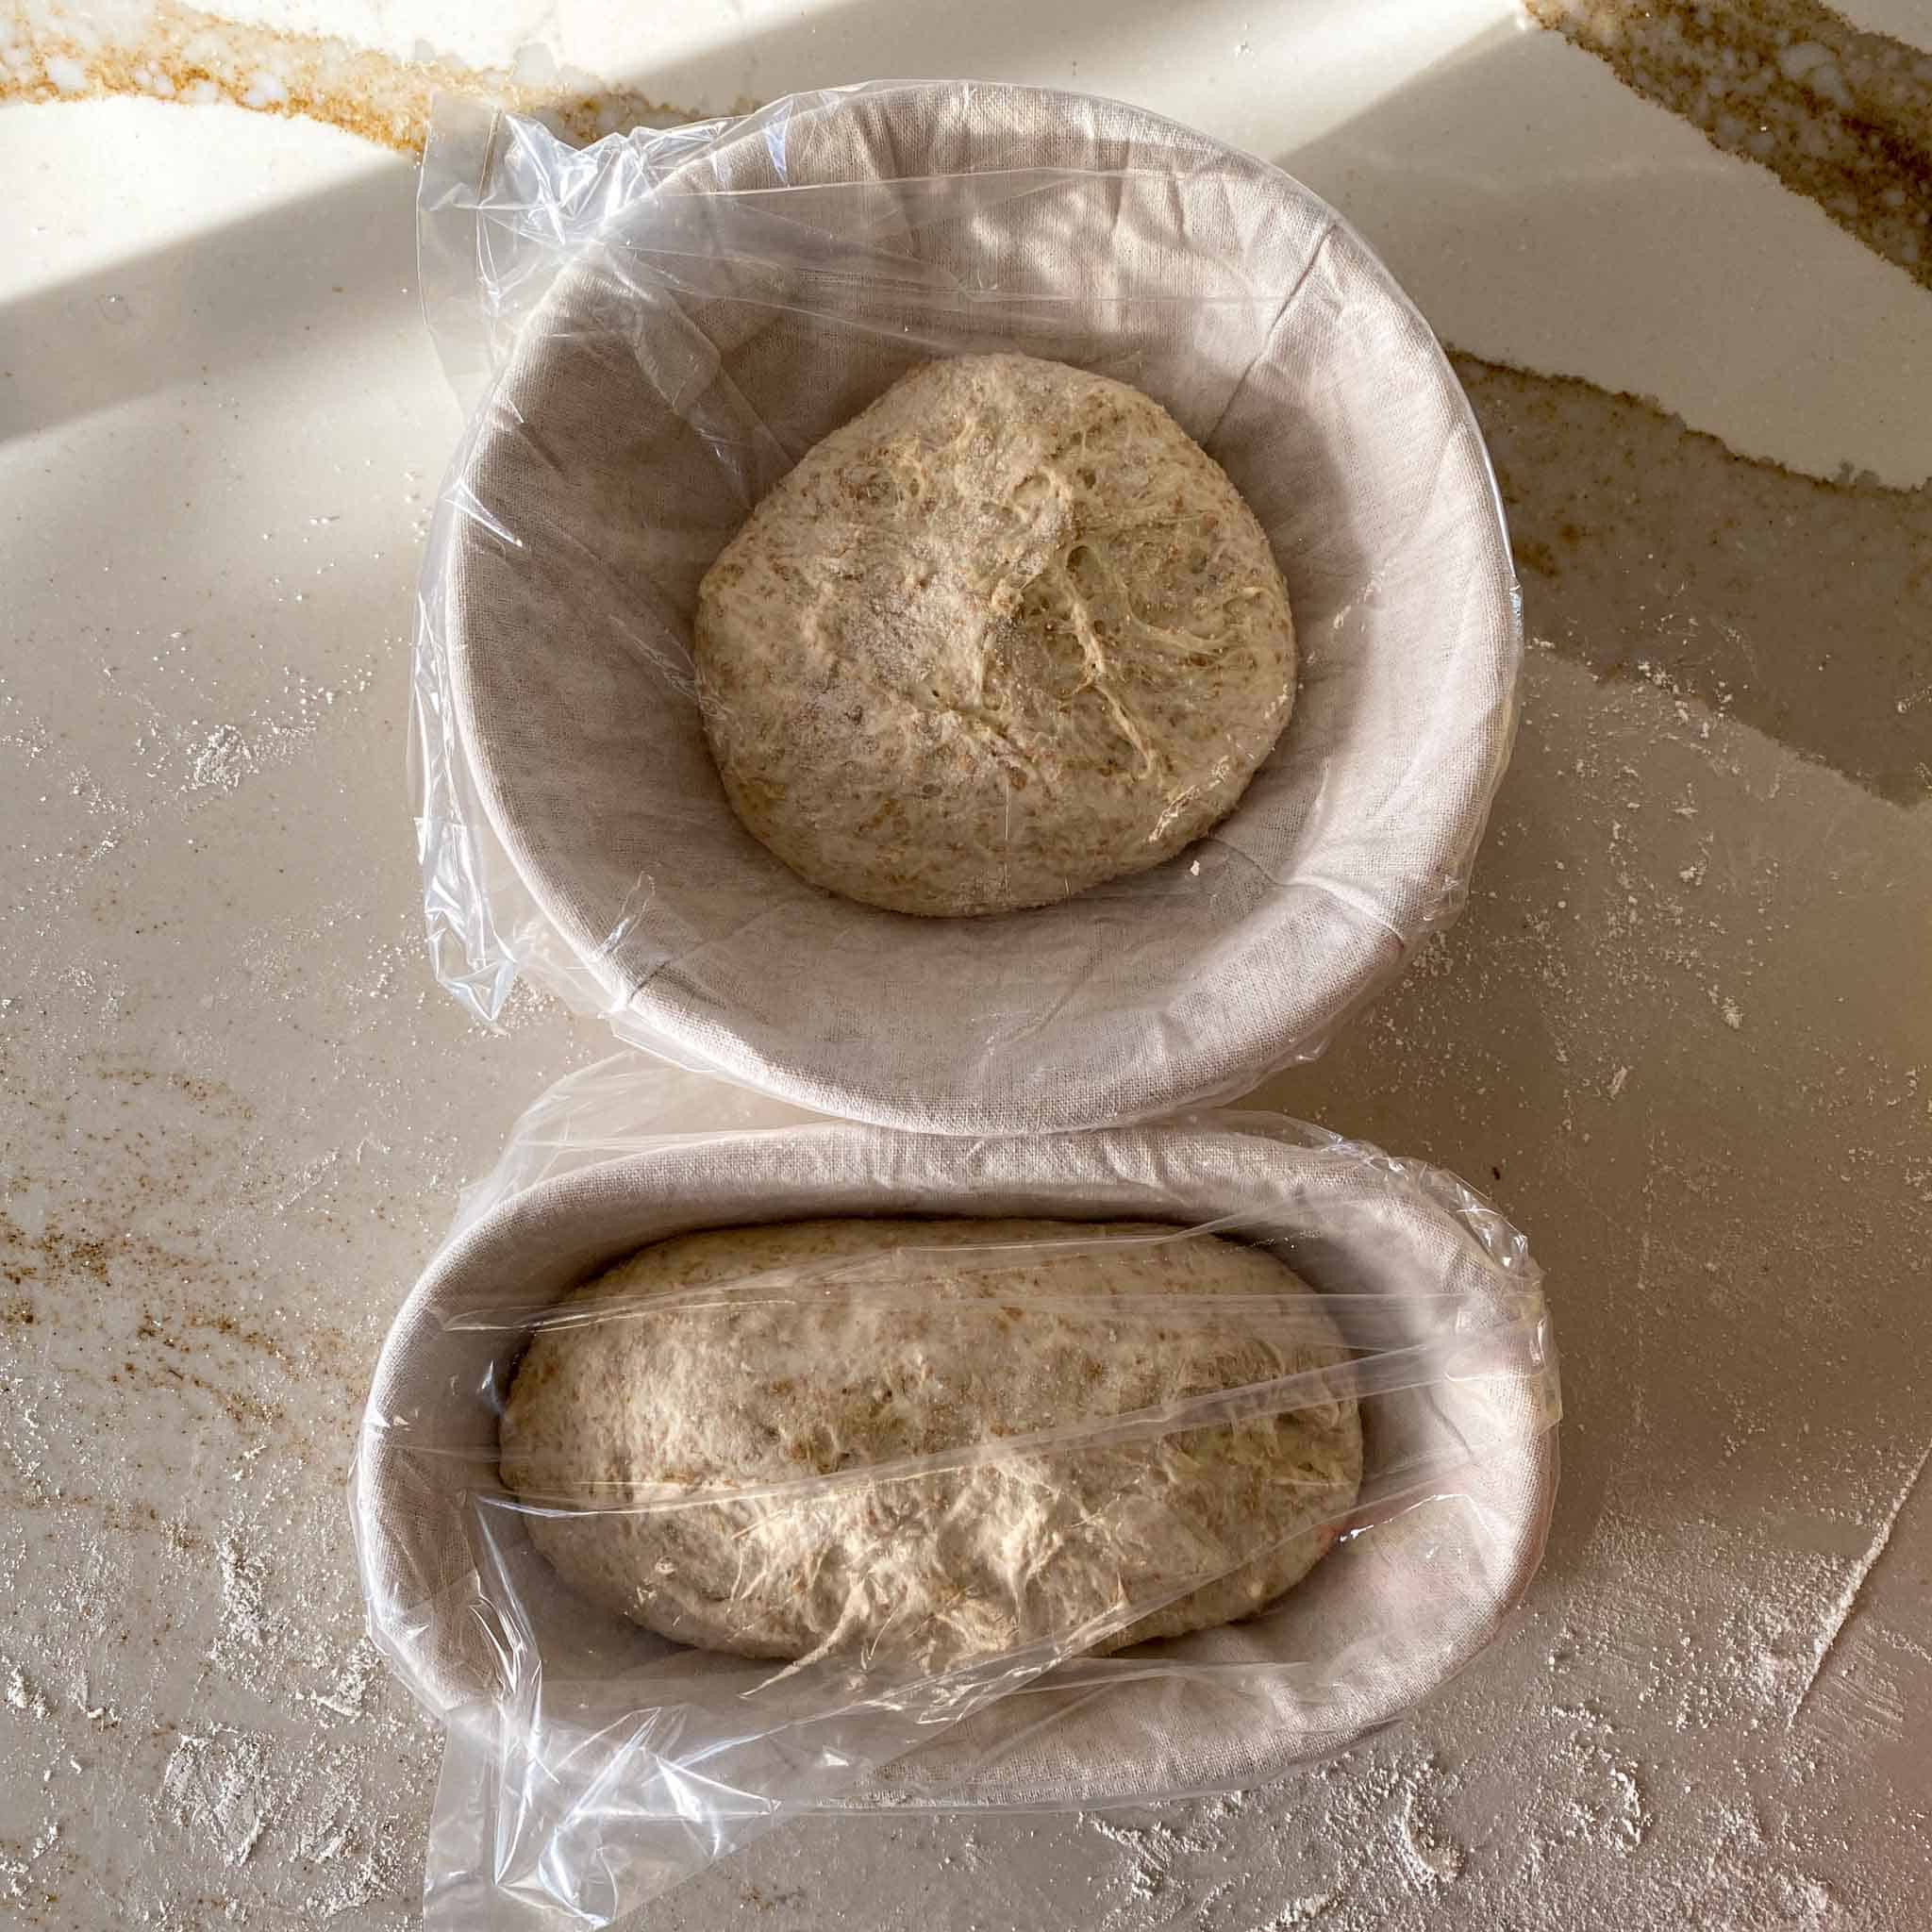
Proofing Basket: Also known as a banneton, a good bread proofing bowl will allow your wholegrain sourdough rise without loosing its shape. Bannetons also wick moisture away from the dough. As an added bonus, it leaves those beautiful rings that you often see on professional loaves of sourdough. If you don’t have a banneton you can use a bowl lined with cheese cloth!
Scoring Lame: A proper scoring lame will help you achieve the beautiful designs on the top of your loaf. It takes some practice to figure out which cutting pattern you like the best but when you figure it out, it is very rewarding. If you don’t have a scoring lame, a bare razor blade or a very sharp knife will help to cut a slit into your whole grain sourdough loaf so that it can expand properly during the baking process.
Bench Scraper: A good bench scraper helps to portion out the dough, tighten the dough for final shaping, and even helps to clean flour off of your countertop!
Bowl Scraper: The most tedious part of making sourdough bread washing the raw dough out of the bowl. A flexible bowl scraper will help to ensure your dough ball stays all together in one chunk, helping you scrape down the side of the bowl. It will also allow you to turn the dough out onto the counter after the final stretch and fold without deflating it.
Dutch Oven: This is one of the most important tools to have in your arsenal when cooking sourdough. A dutch oven holds a consistent temperature, helps you to get a nice crispy crust, and traps steam to help with baking which will give you the best results. There are ways to cook sourdough without a dutch oven but they are a lot more involved than simply placing your sourdough into the dutch oven, covering with the lid, and placing in the oven.
Exactly How to Make Whole Grain Sourdough
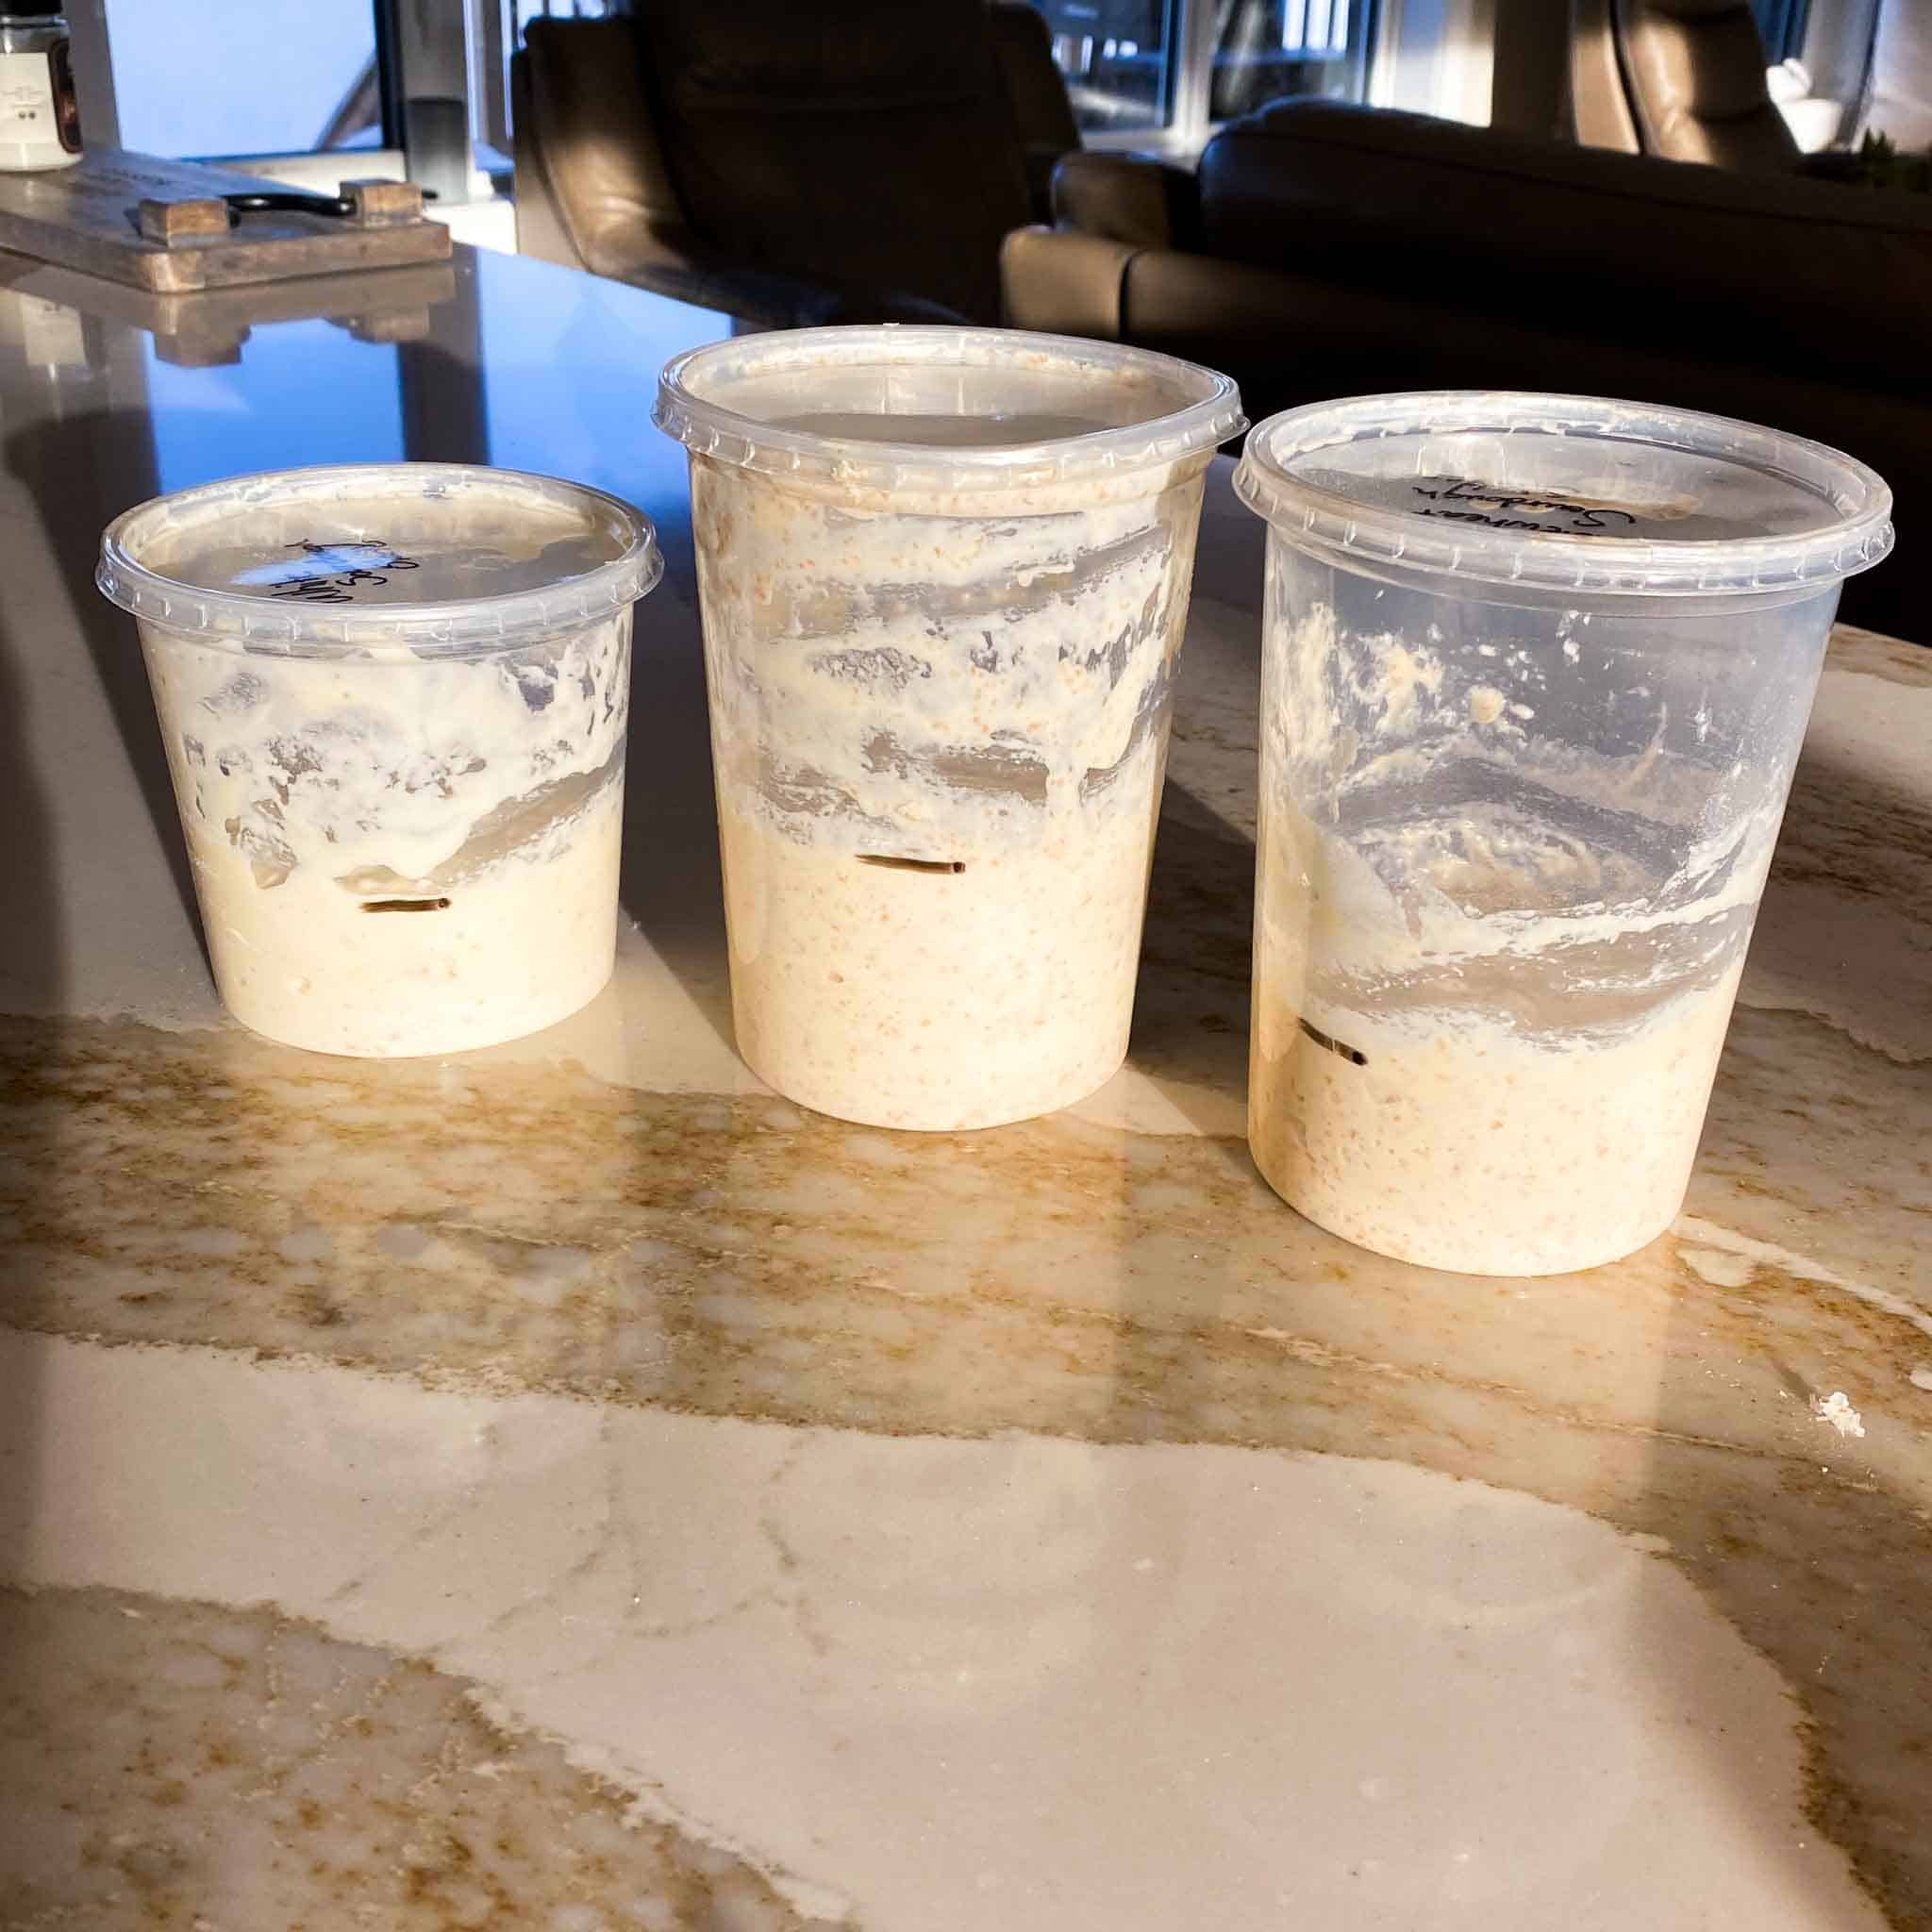
Step 1 Feed the starter late the night before (9pm) you want to bake or early in the morning. A fed starter can take between 4-8 hours to double in size–especially when it is fresh out of the fridge. Combine 60 grams of sourdough starter with 60 grams of filtered water and 60 grams of wholewheat flour. Mix until well combined, cover, and let it sit on the counter overnight or until it has doubled in size. At this point it will be an active starter.
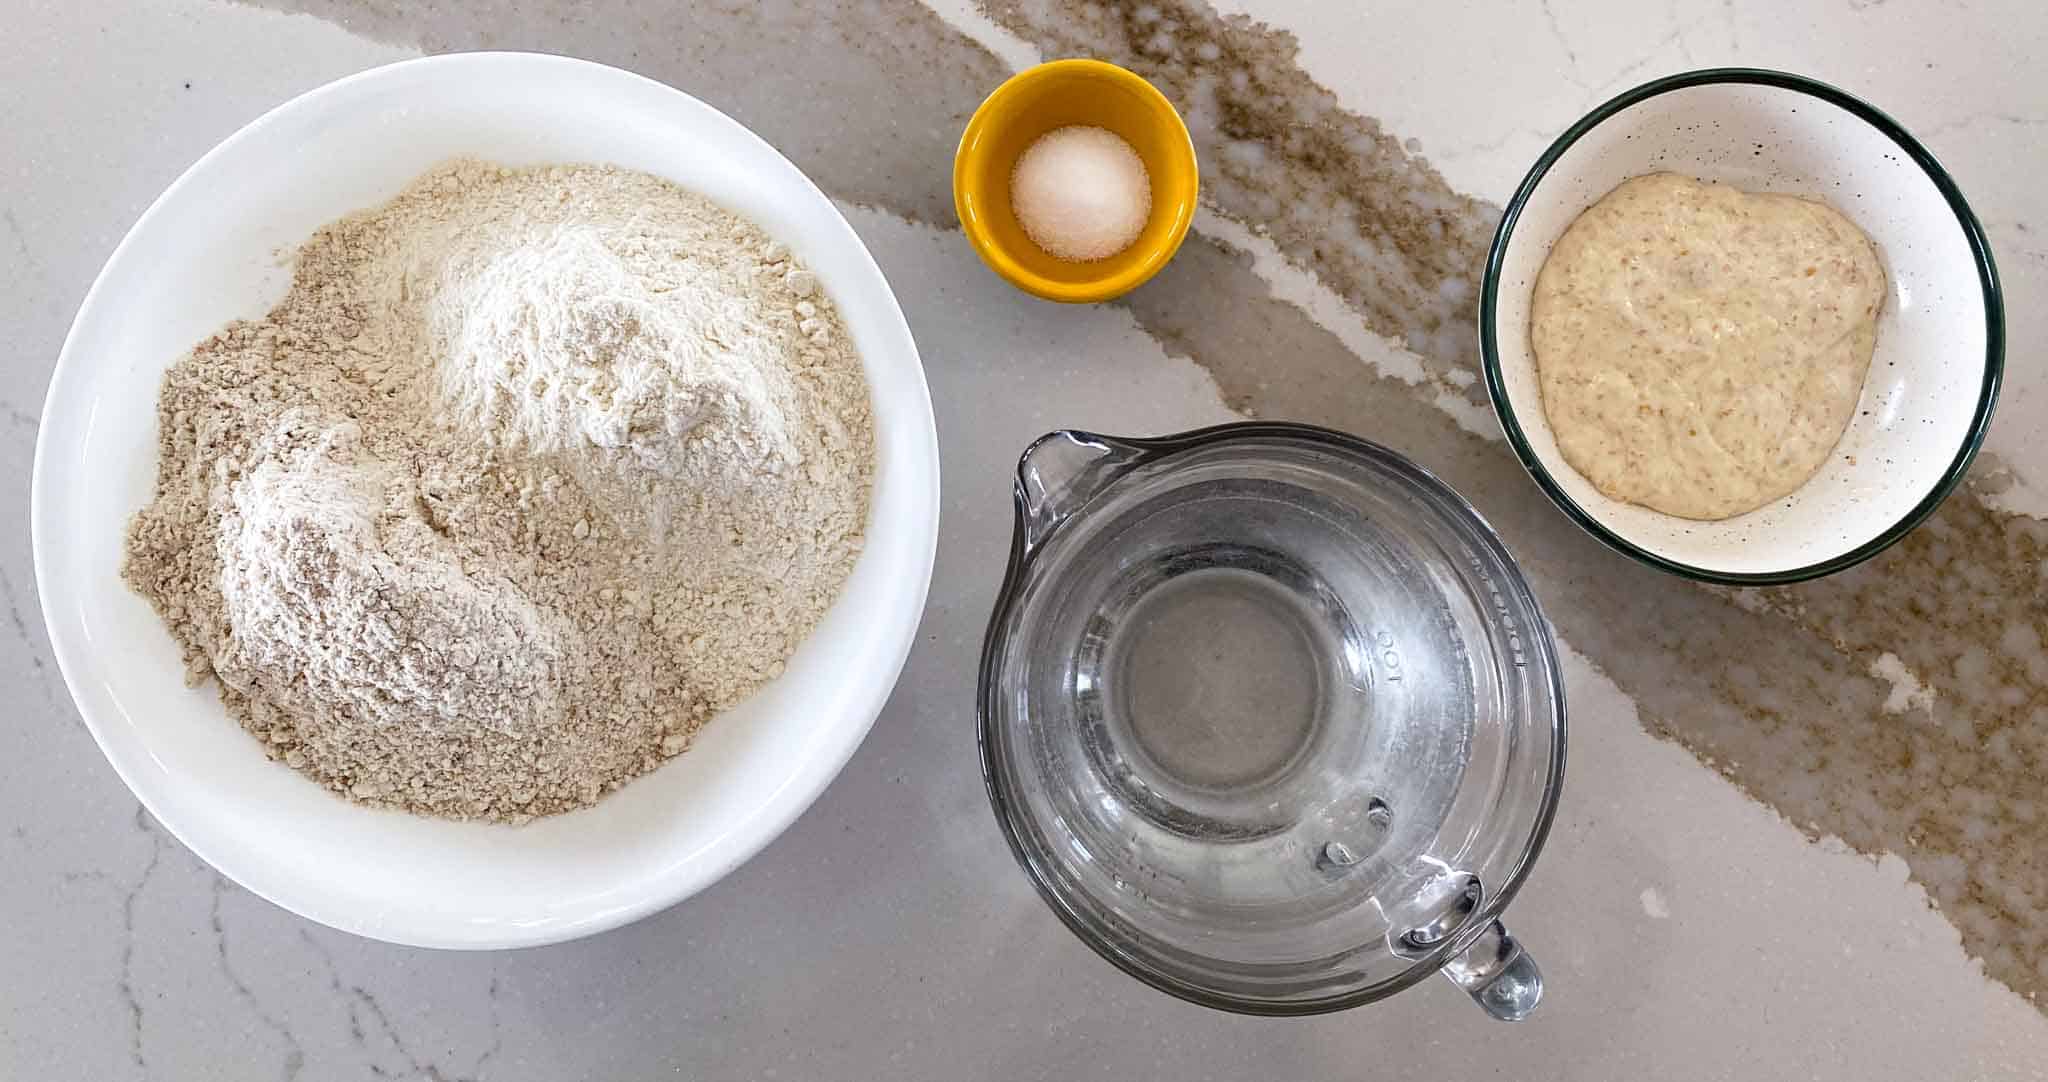
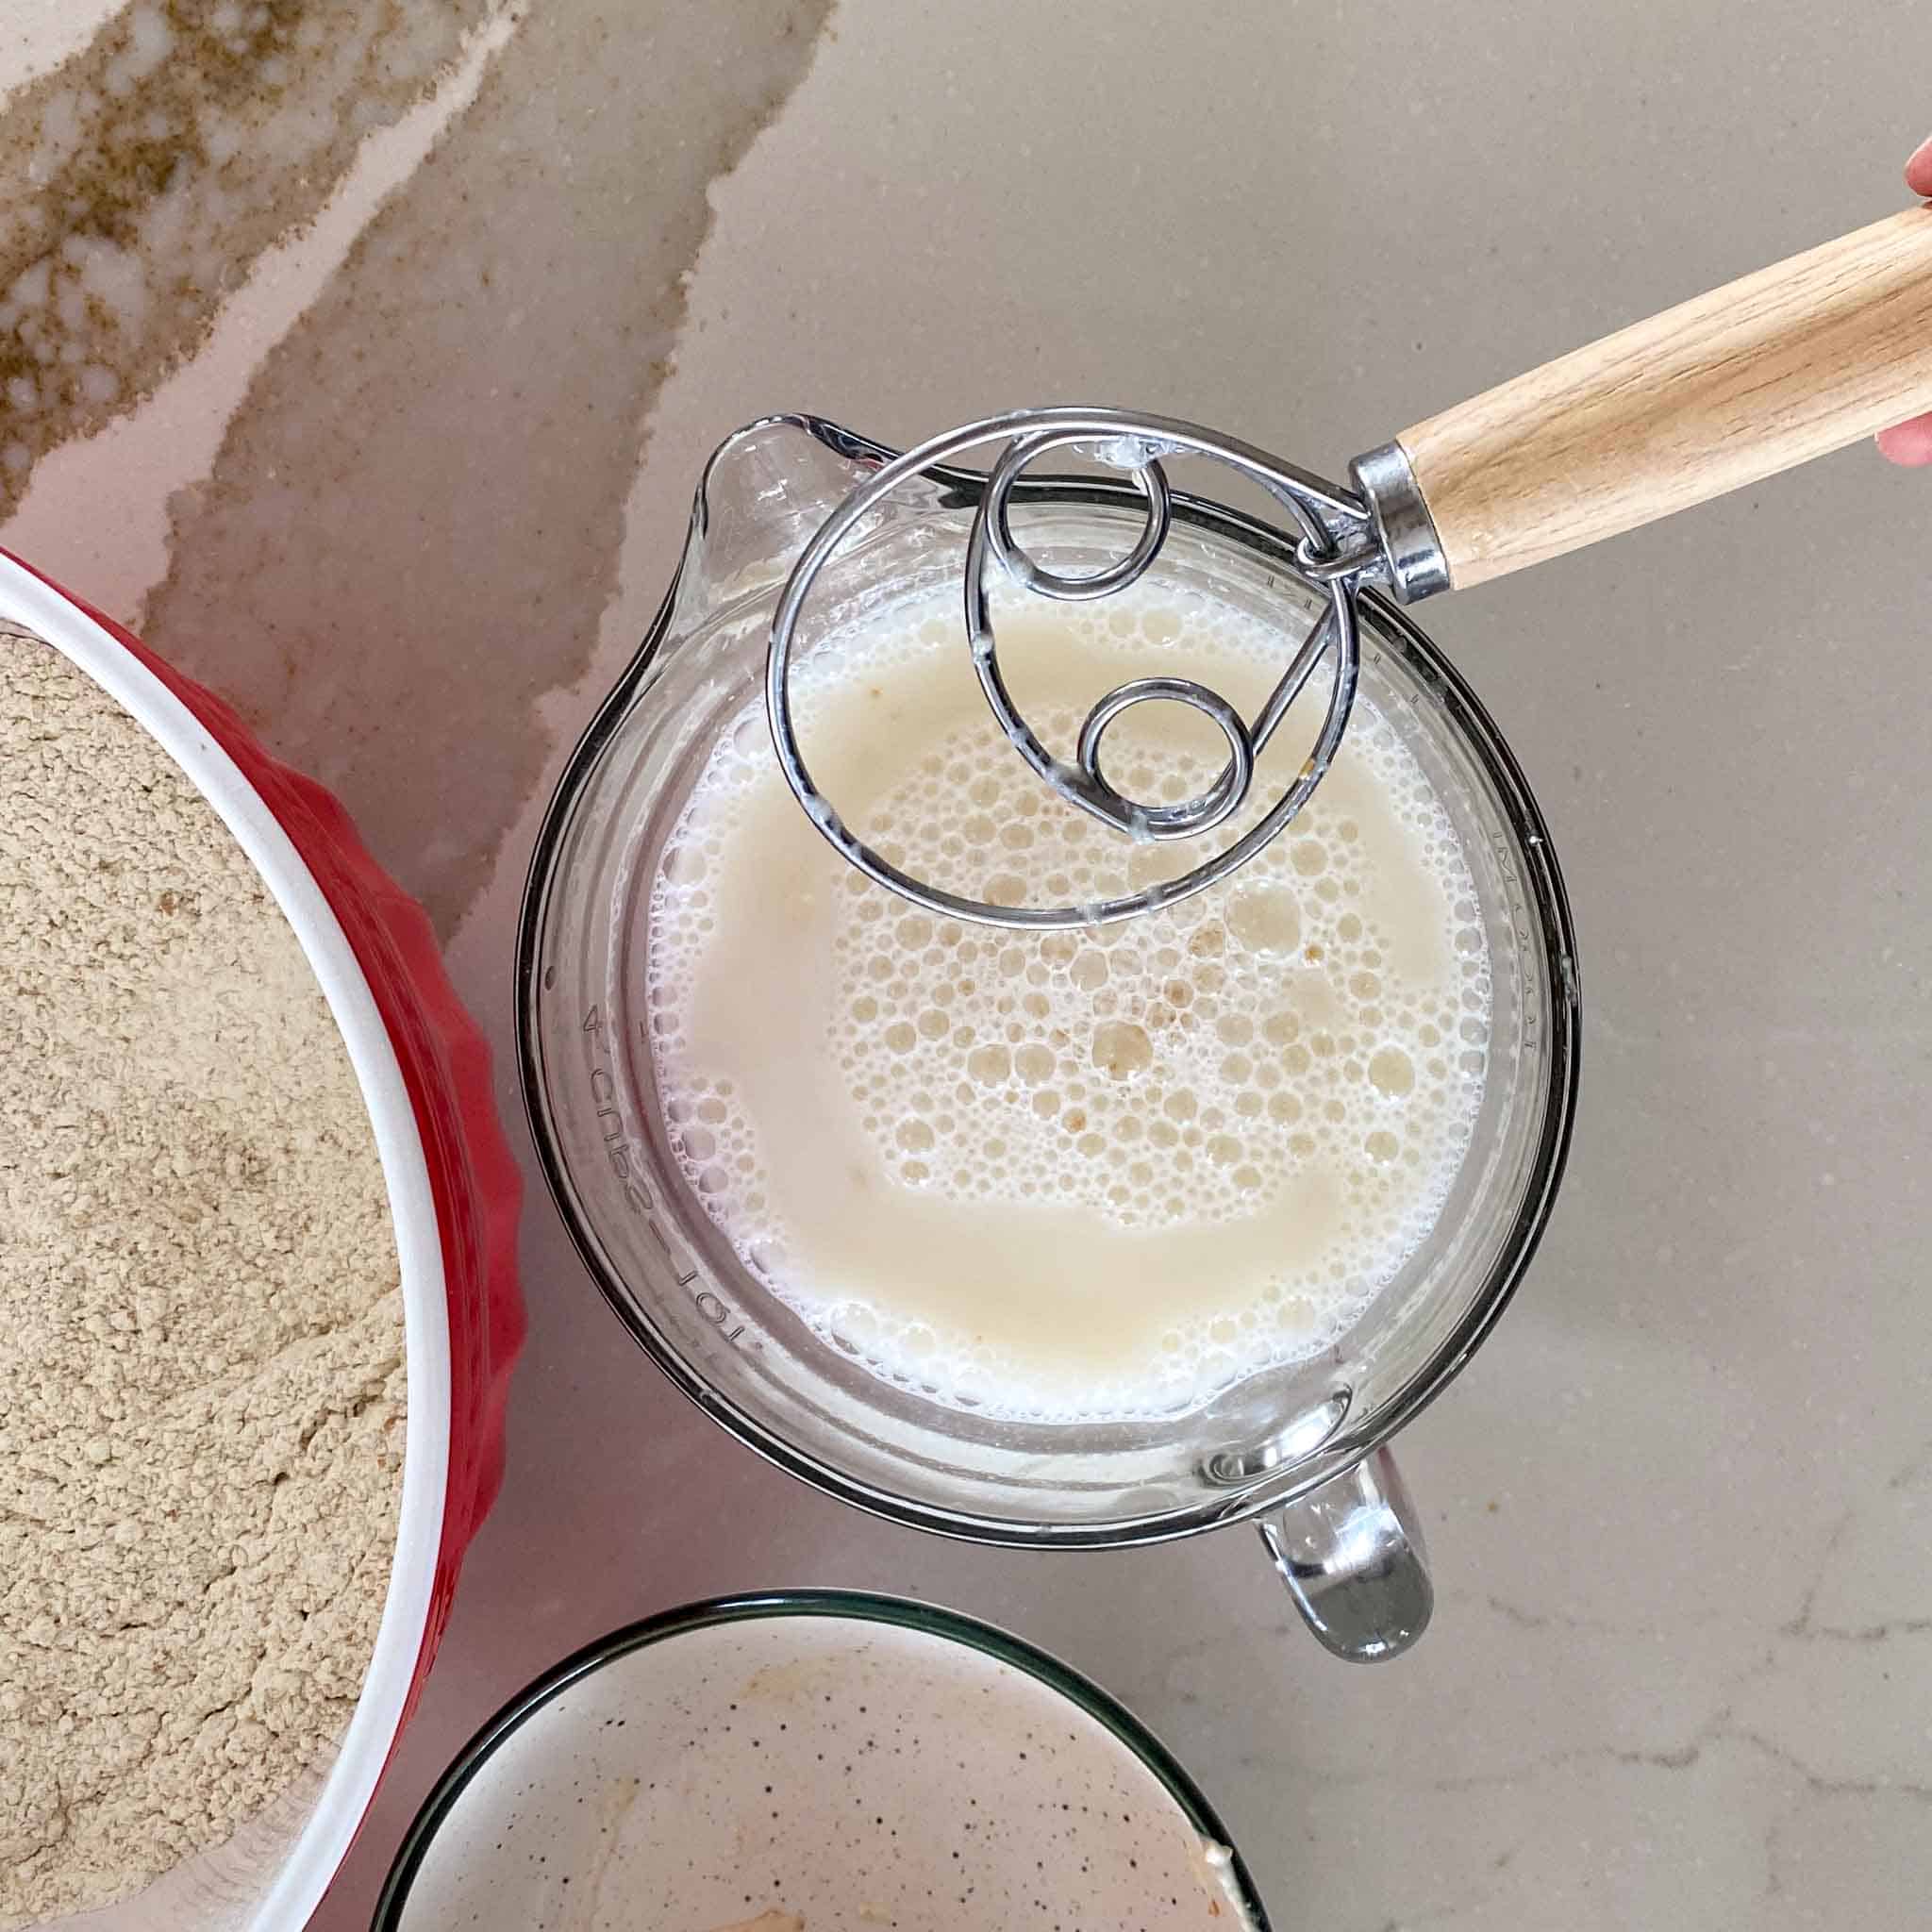
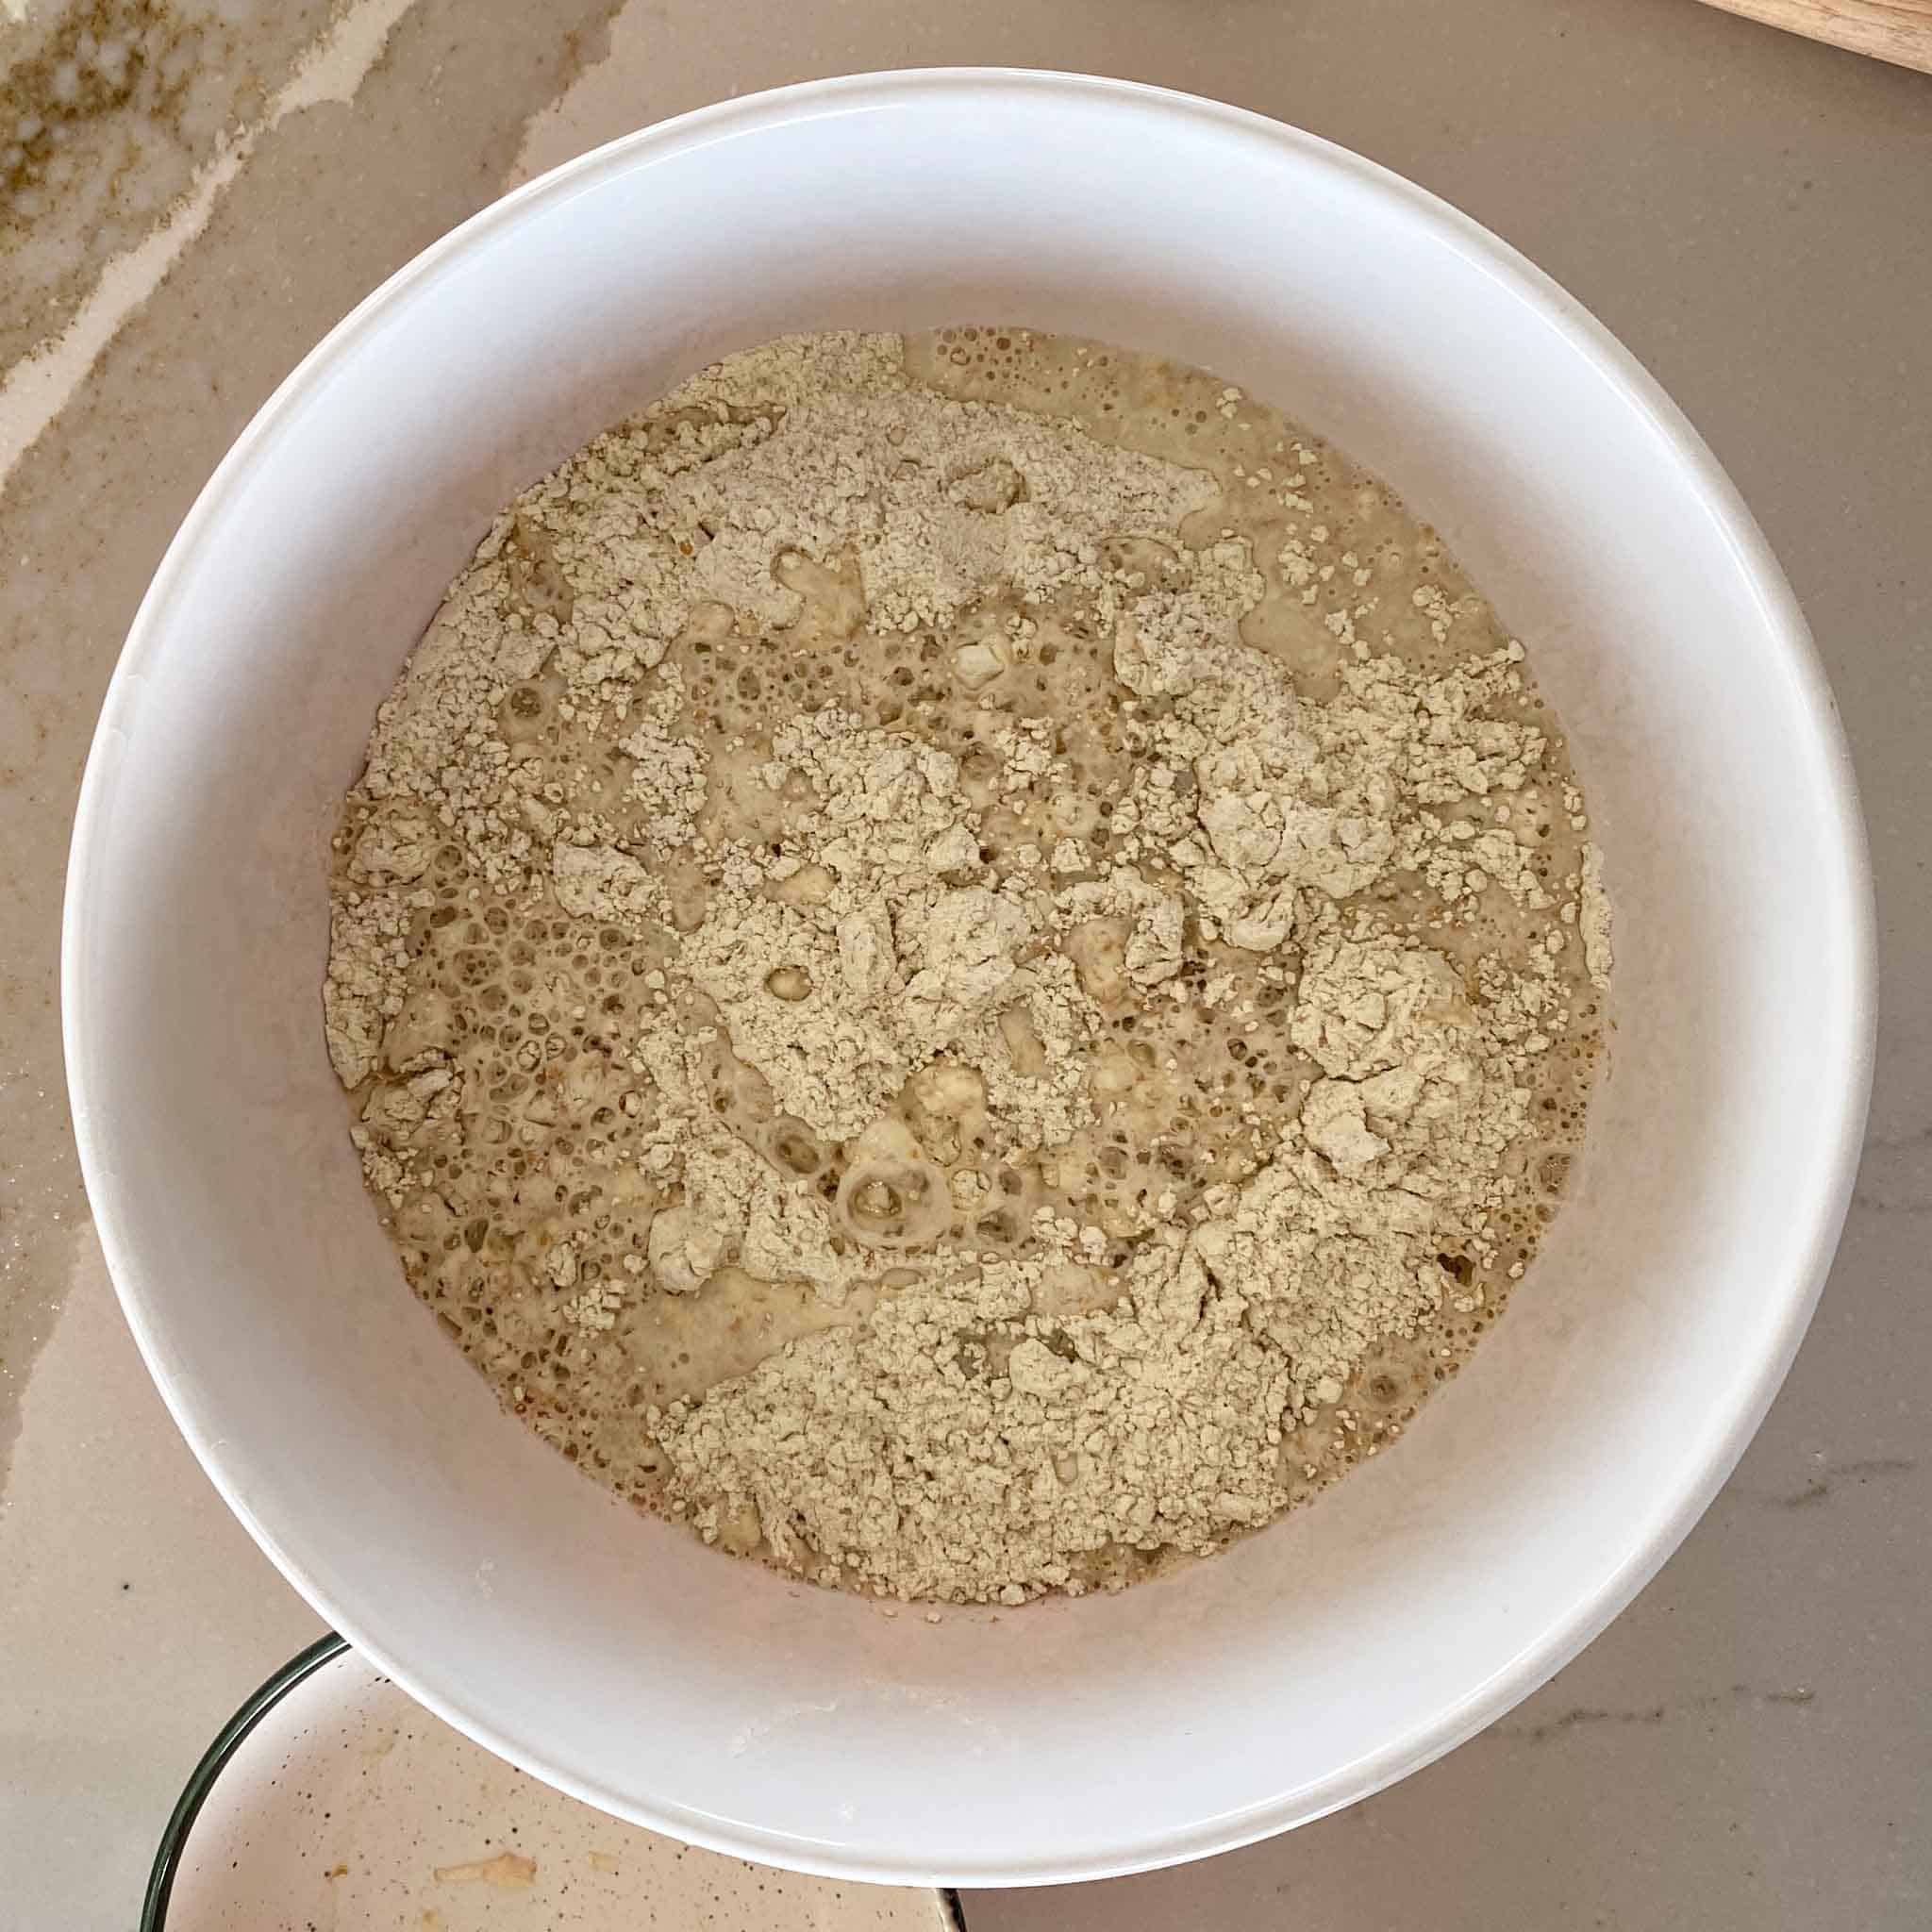
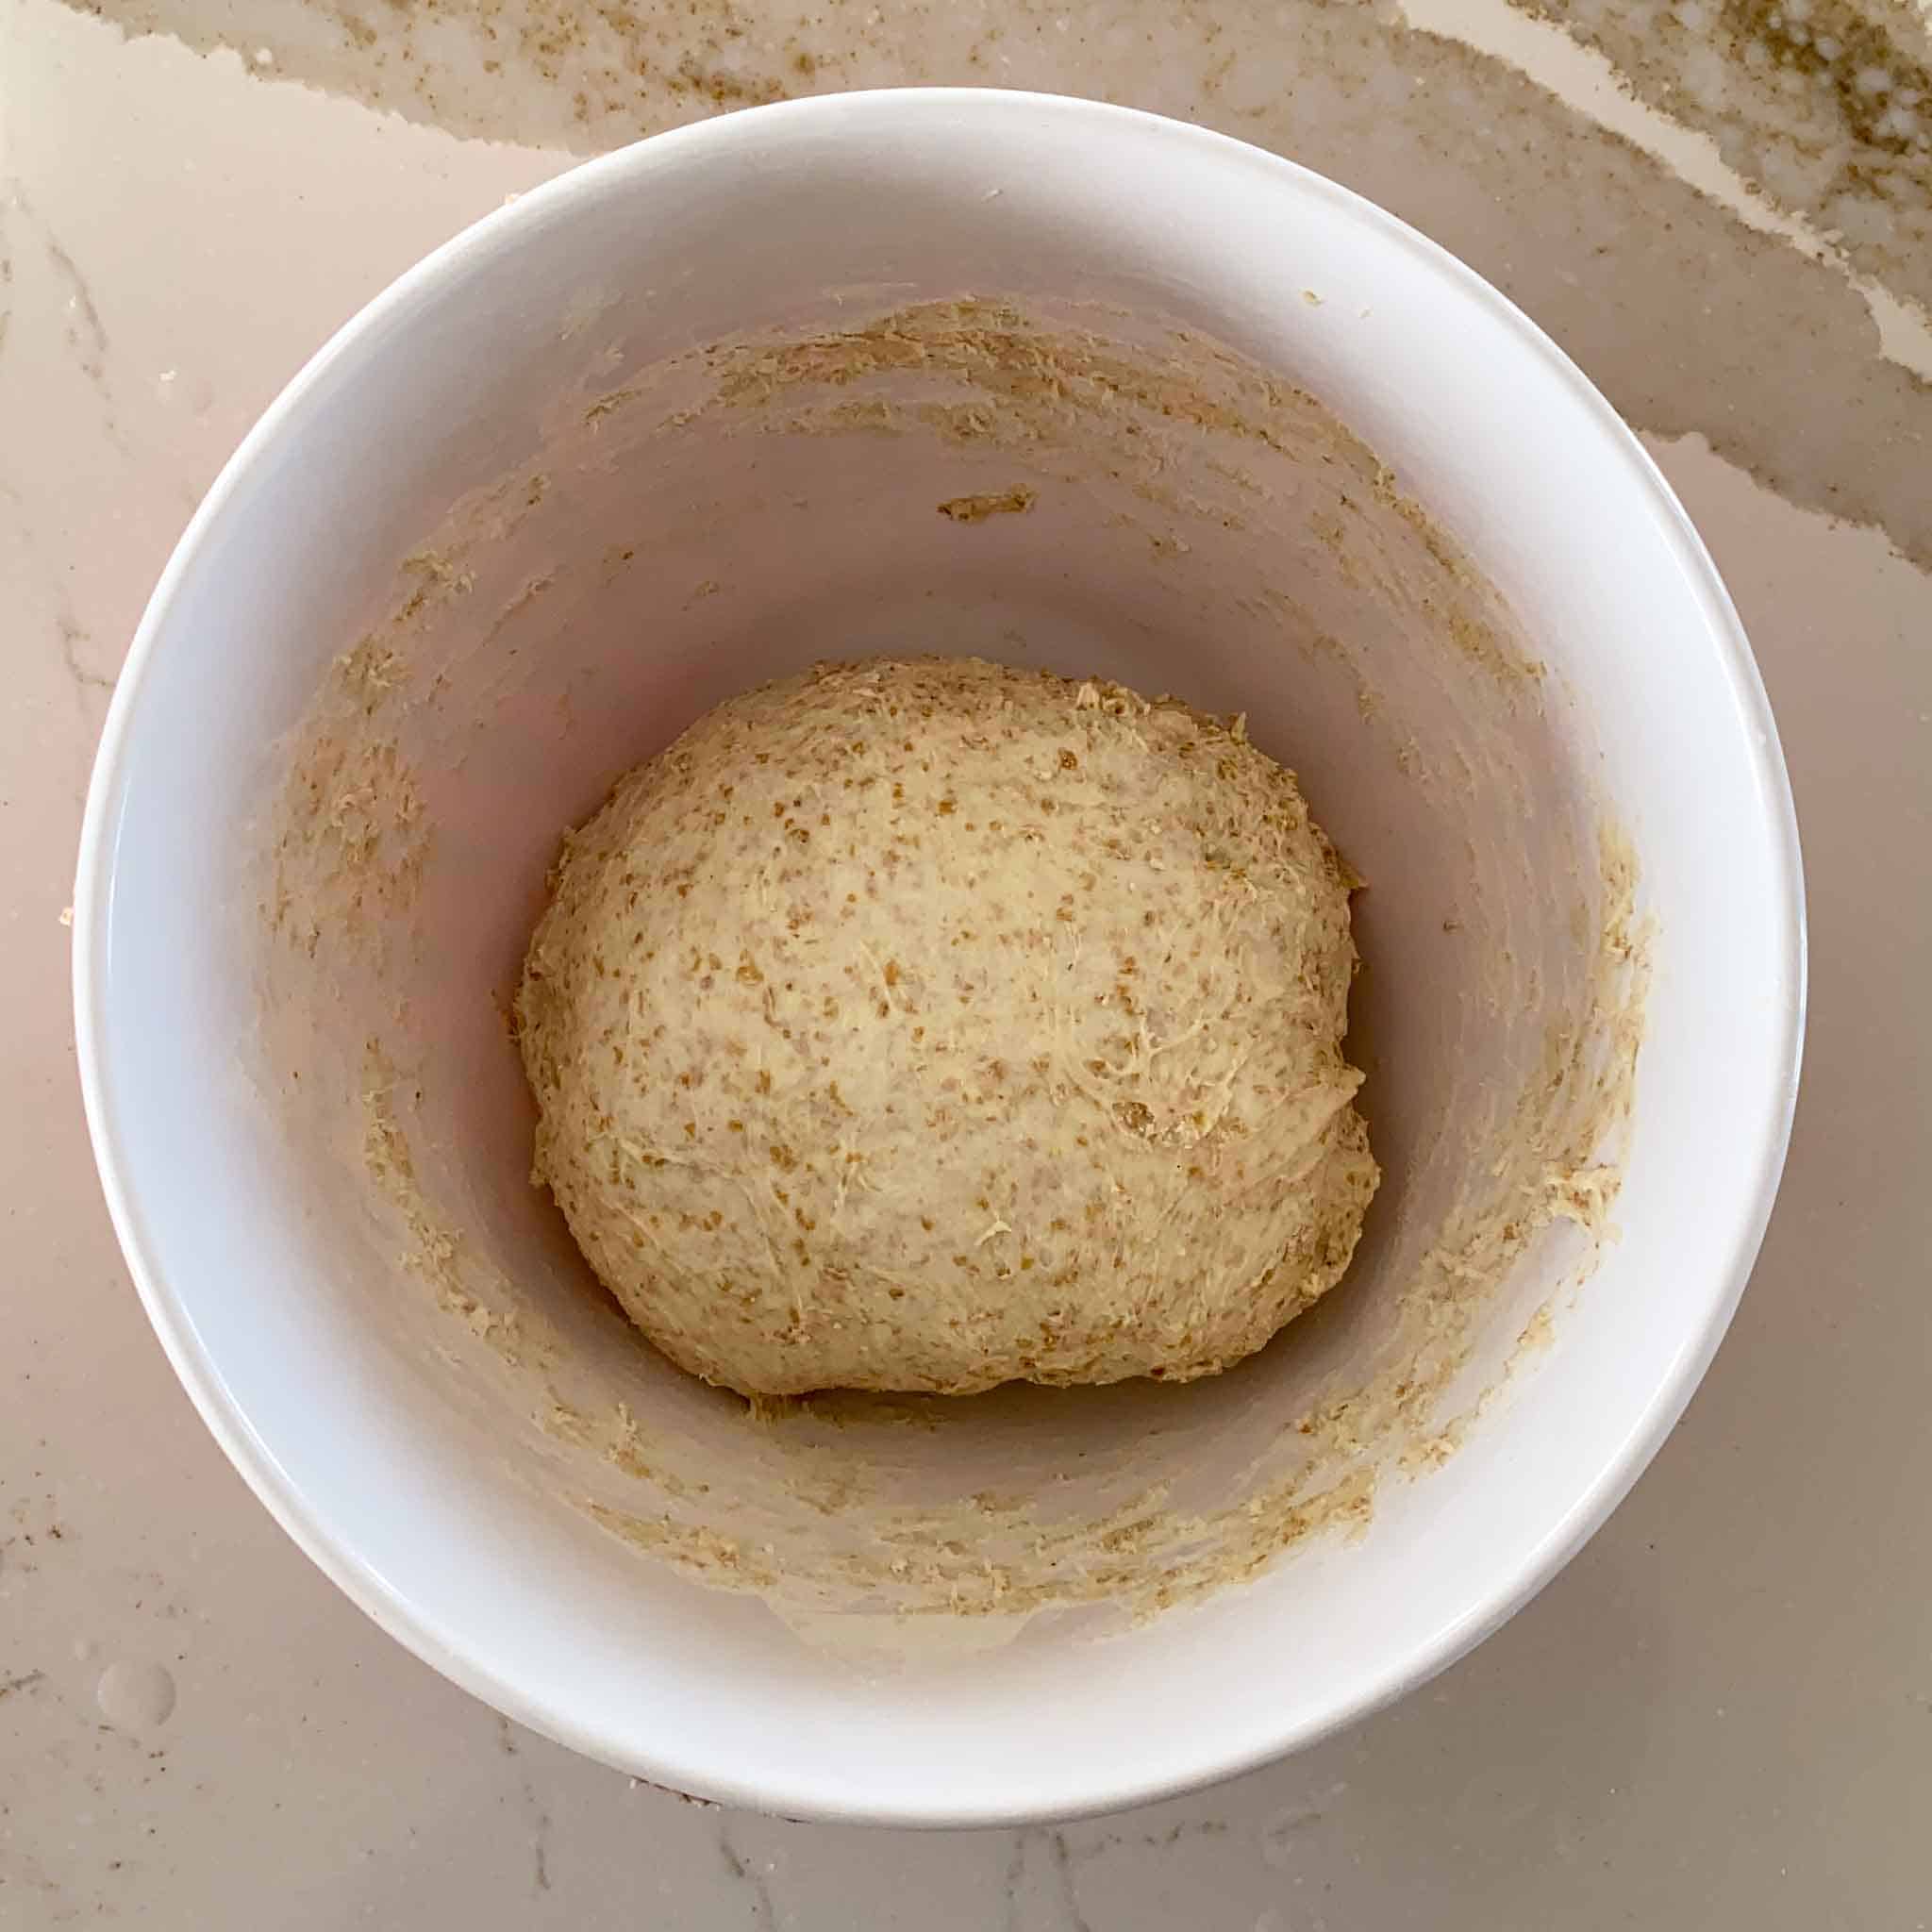
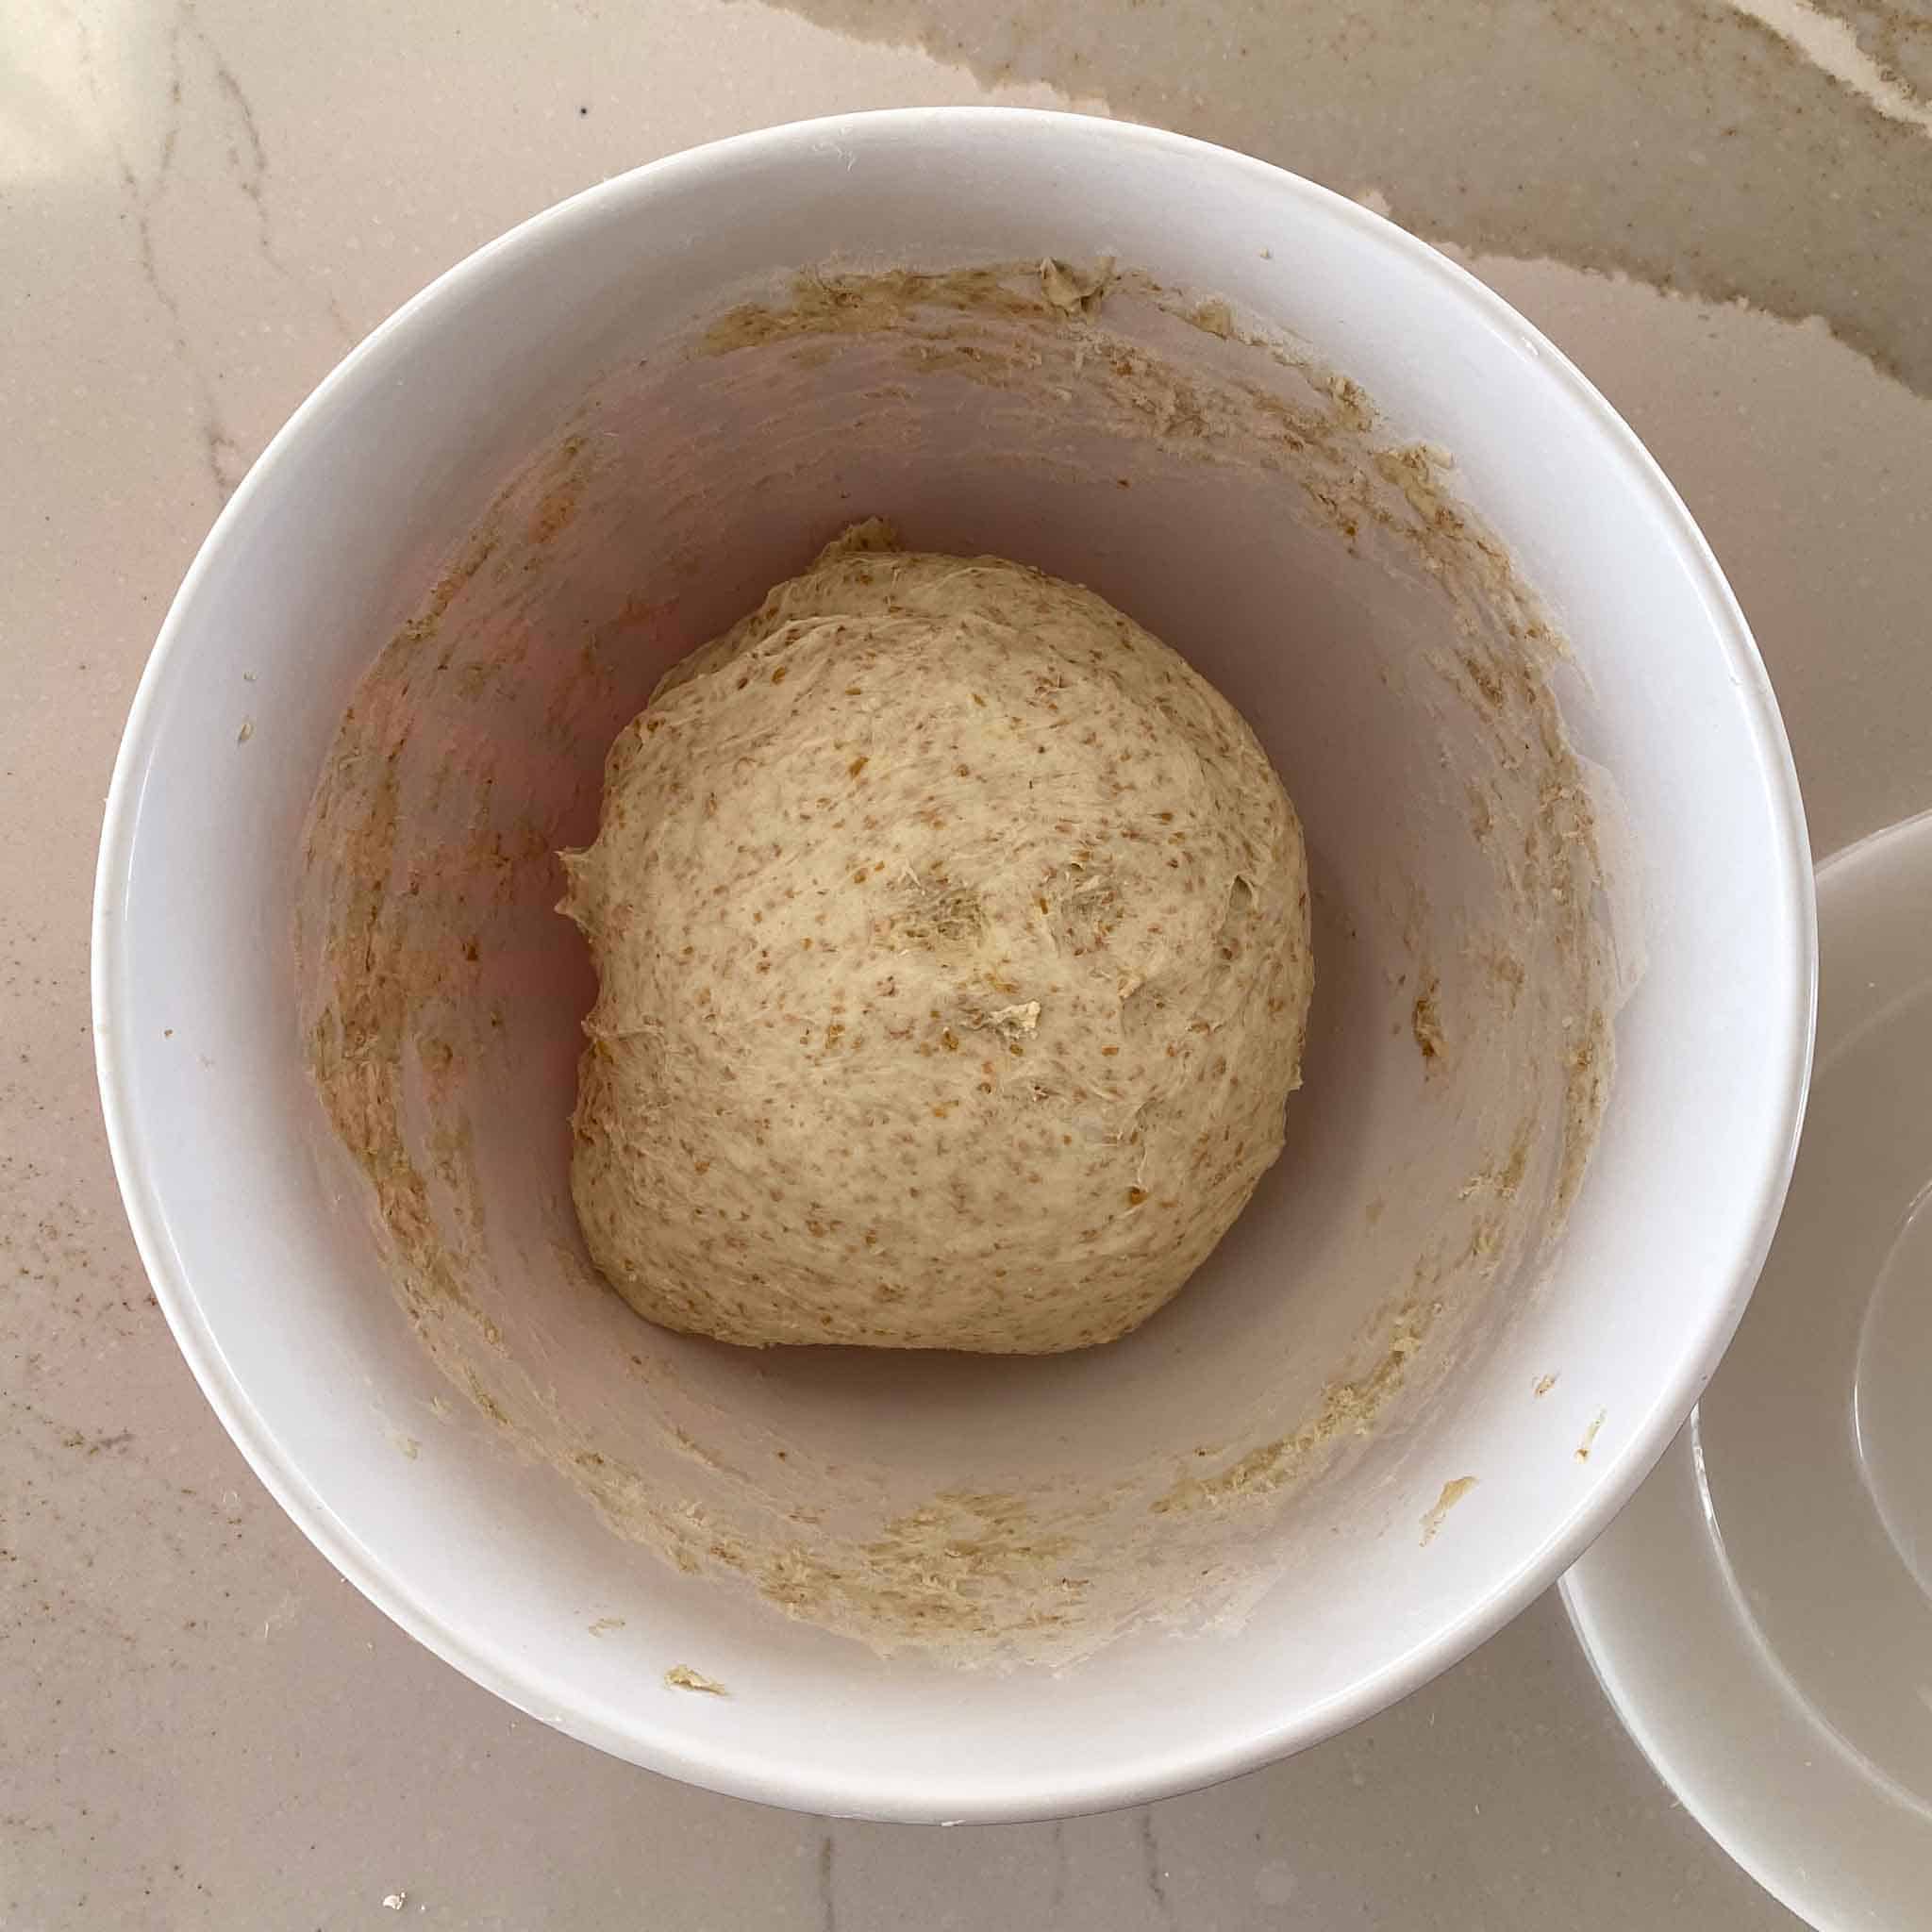
Step 2 The next morning: In a large bowl, mix 300 grams of warm filtered water with 65 grams of your active sourdough starter. Add 250 grams of whole wheat flour and 175 grams of all purpose bread flour. Continue to mix and manipulate until all of the flour is loosely mixed in and it forms a shaggy dough.
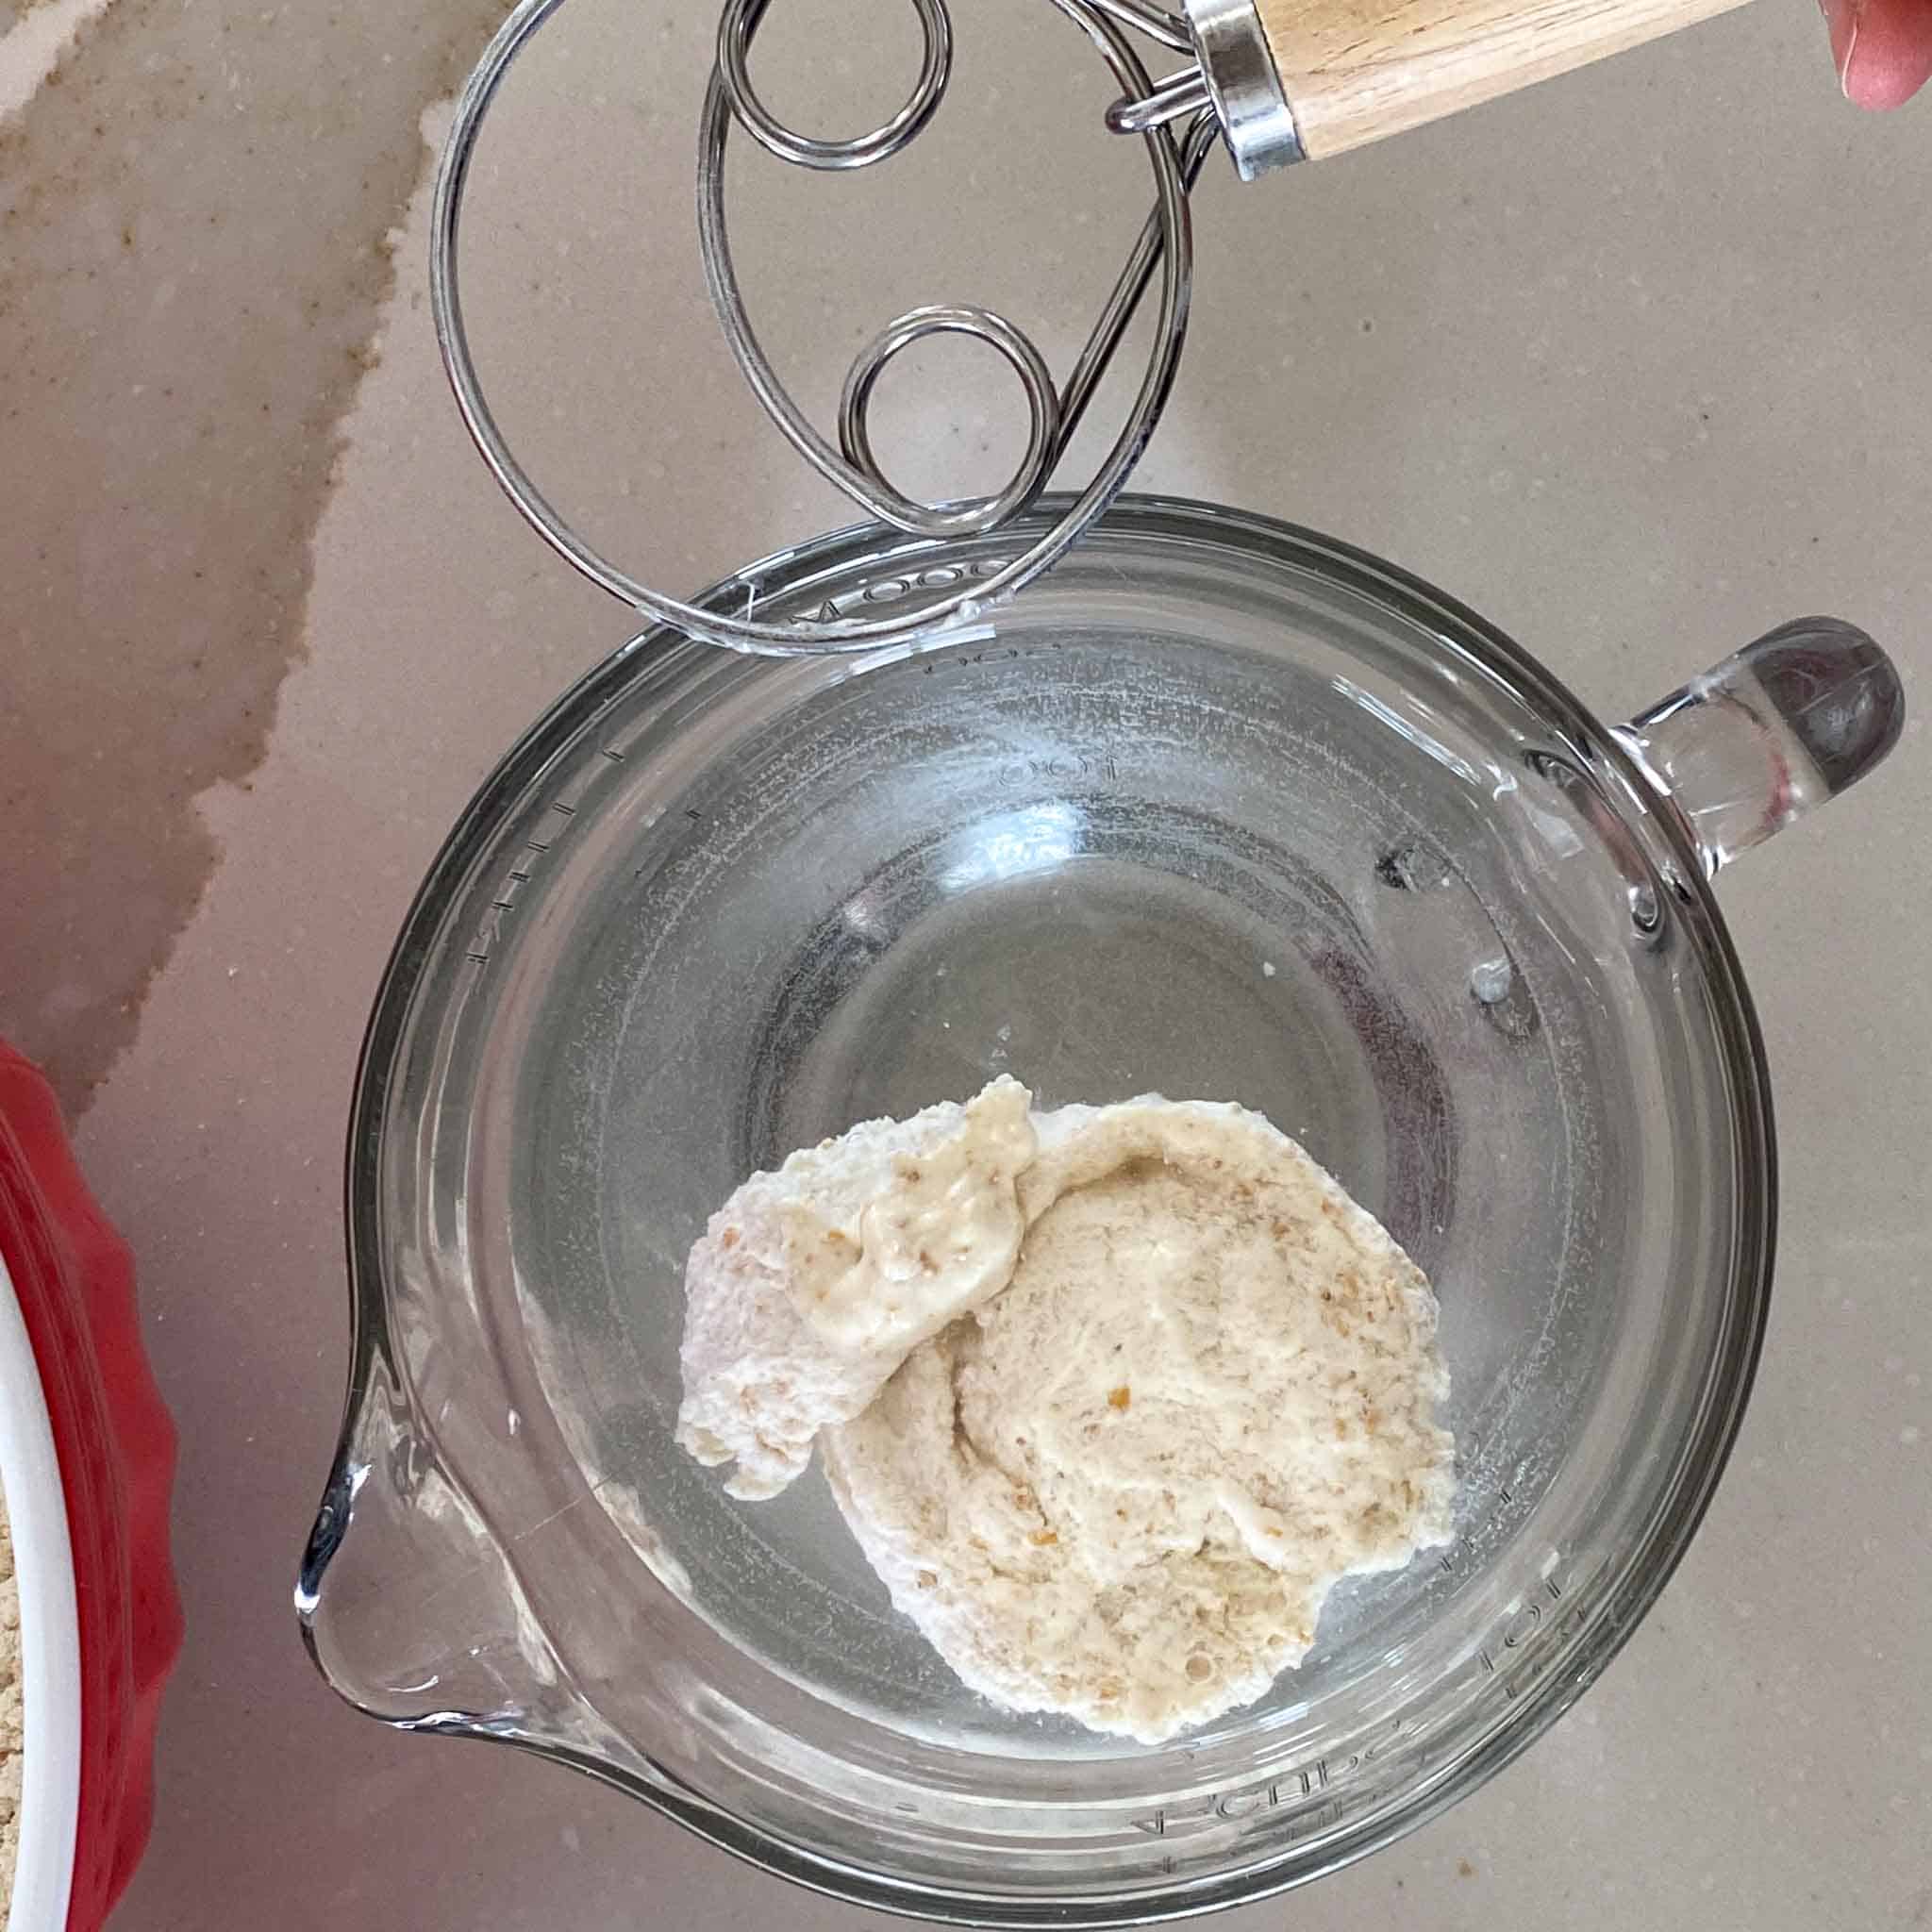
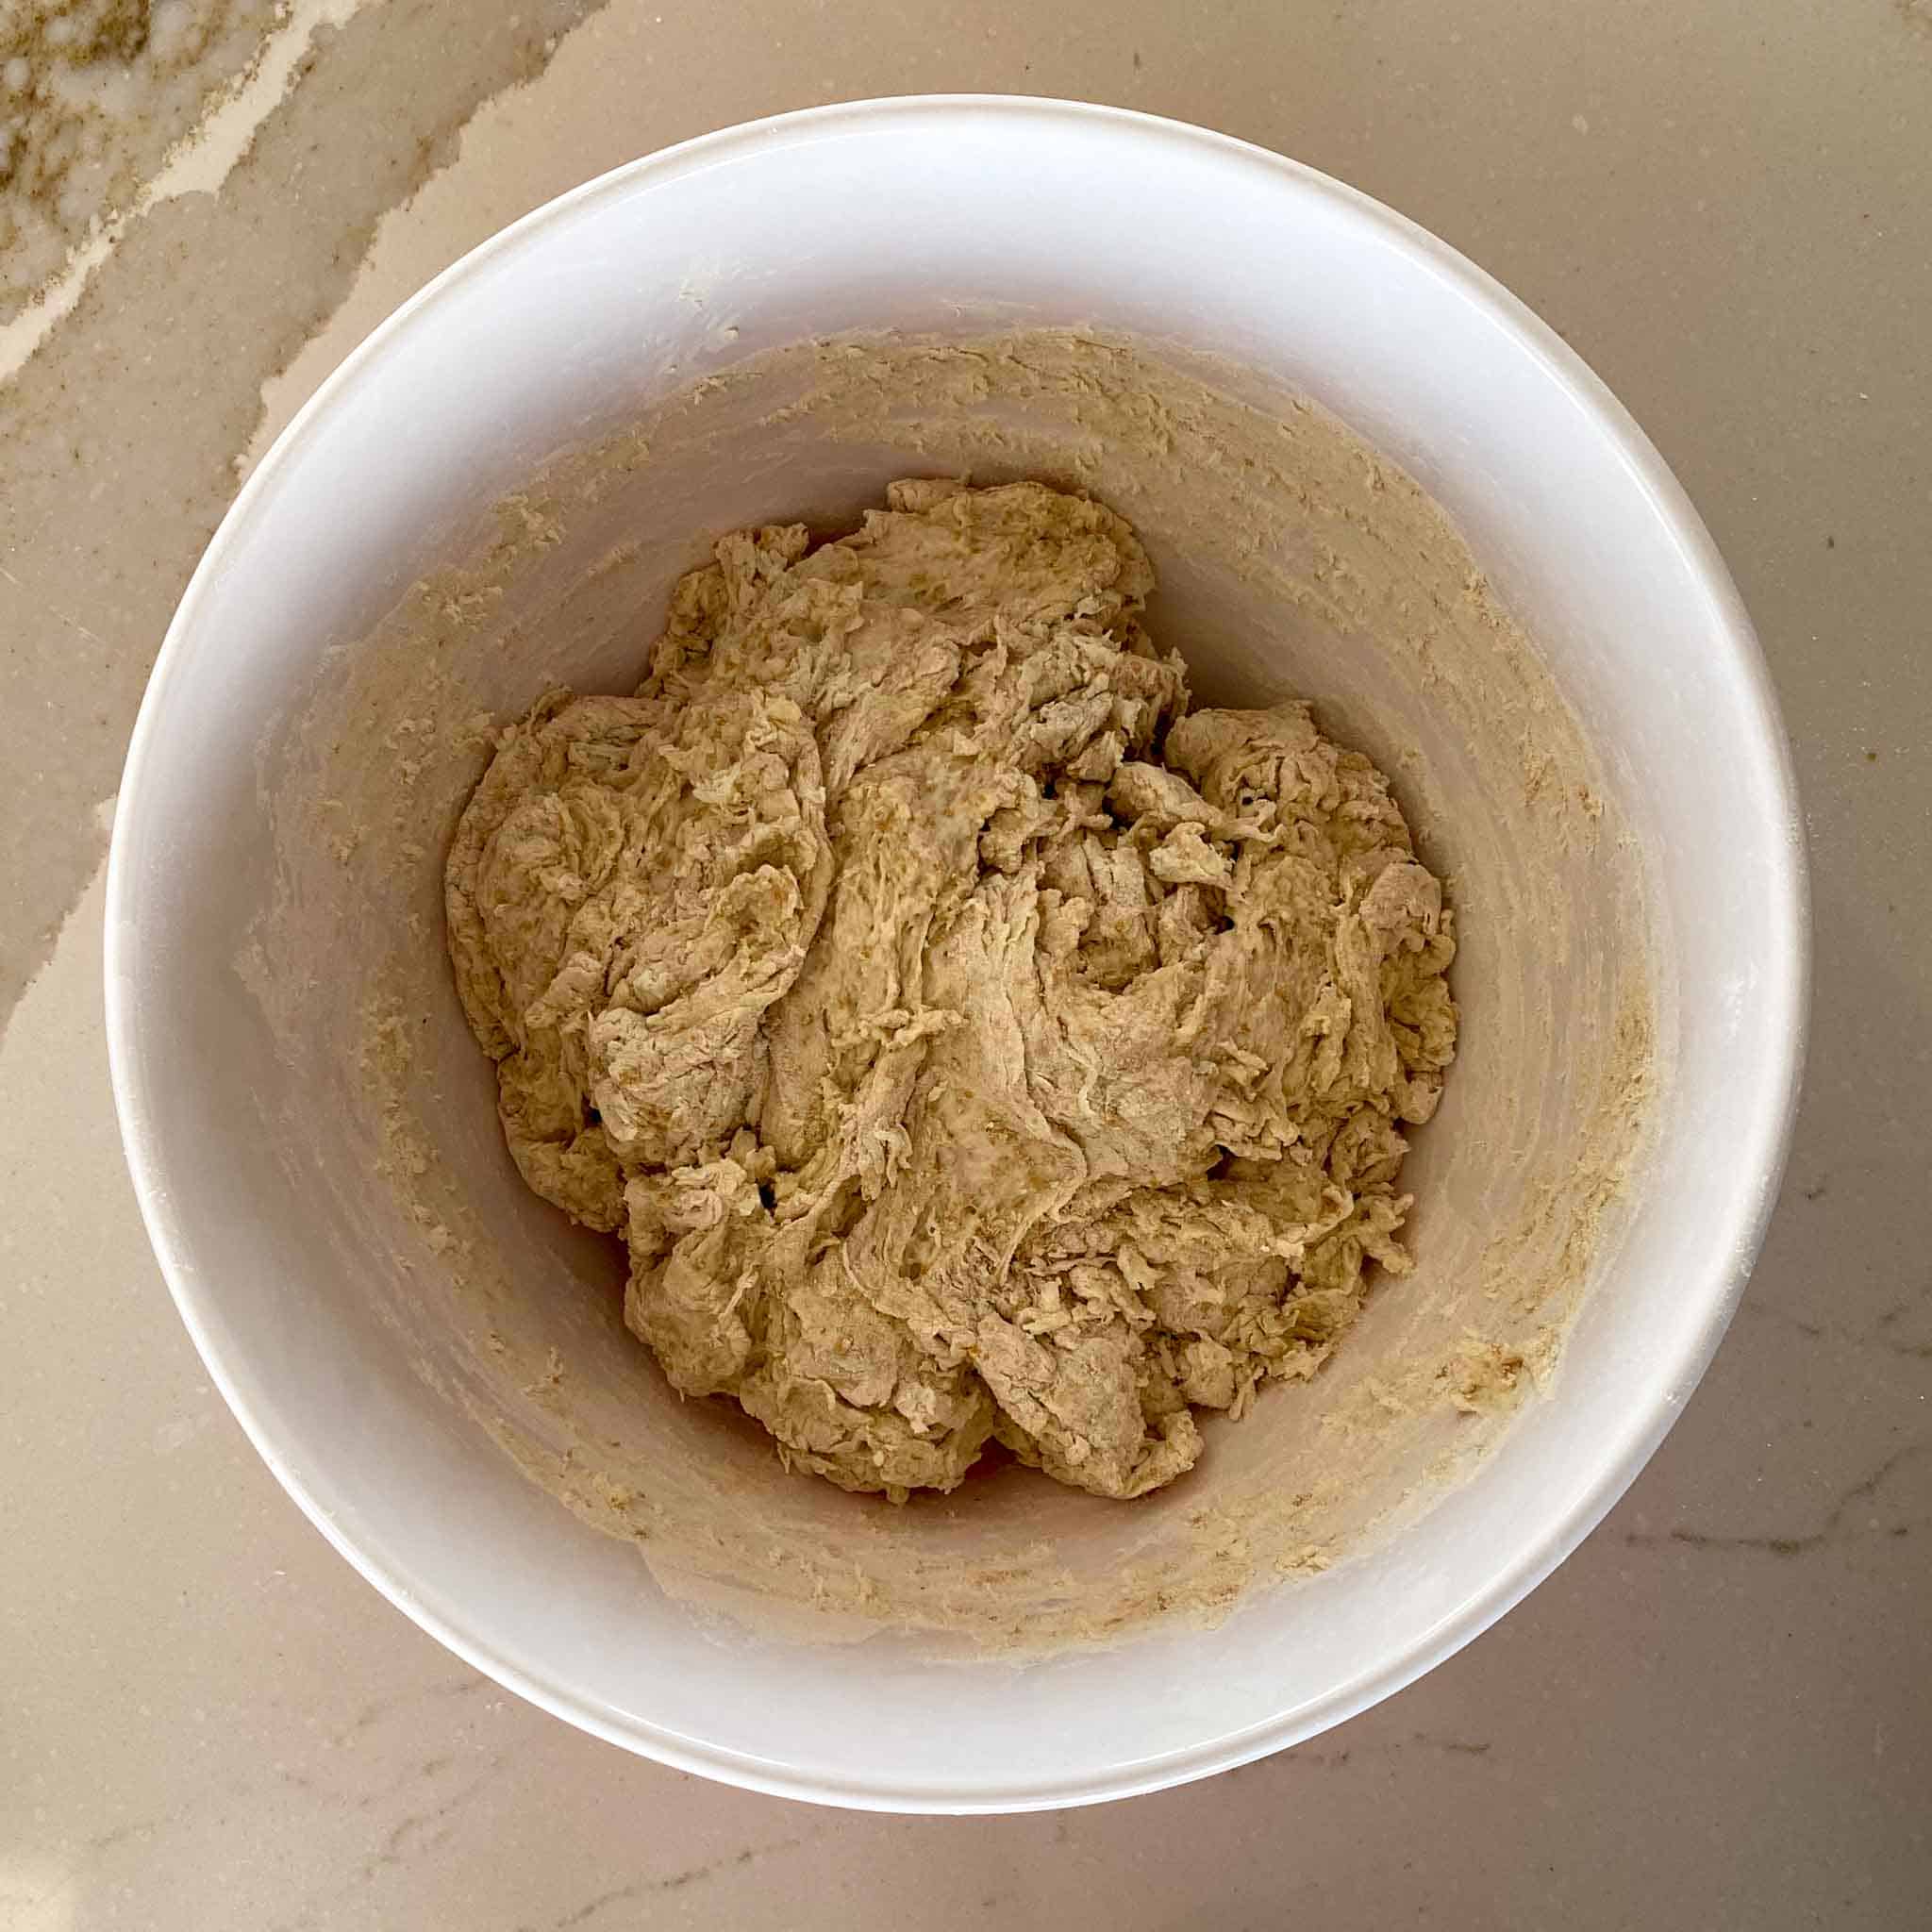
Step 3 Autolyse: Let the shaggy dough rest, covered with a tea towel or plastic wrap for 30 minutes.
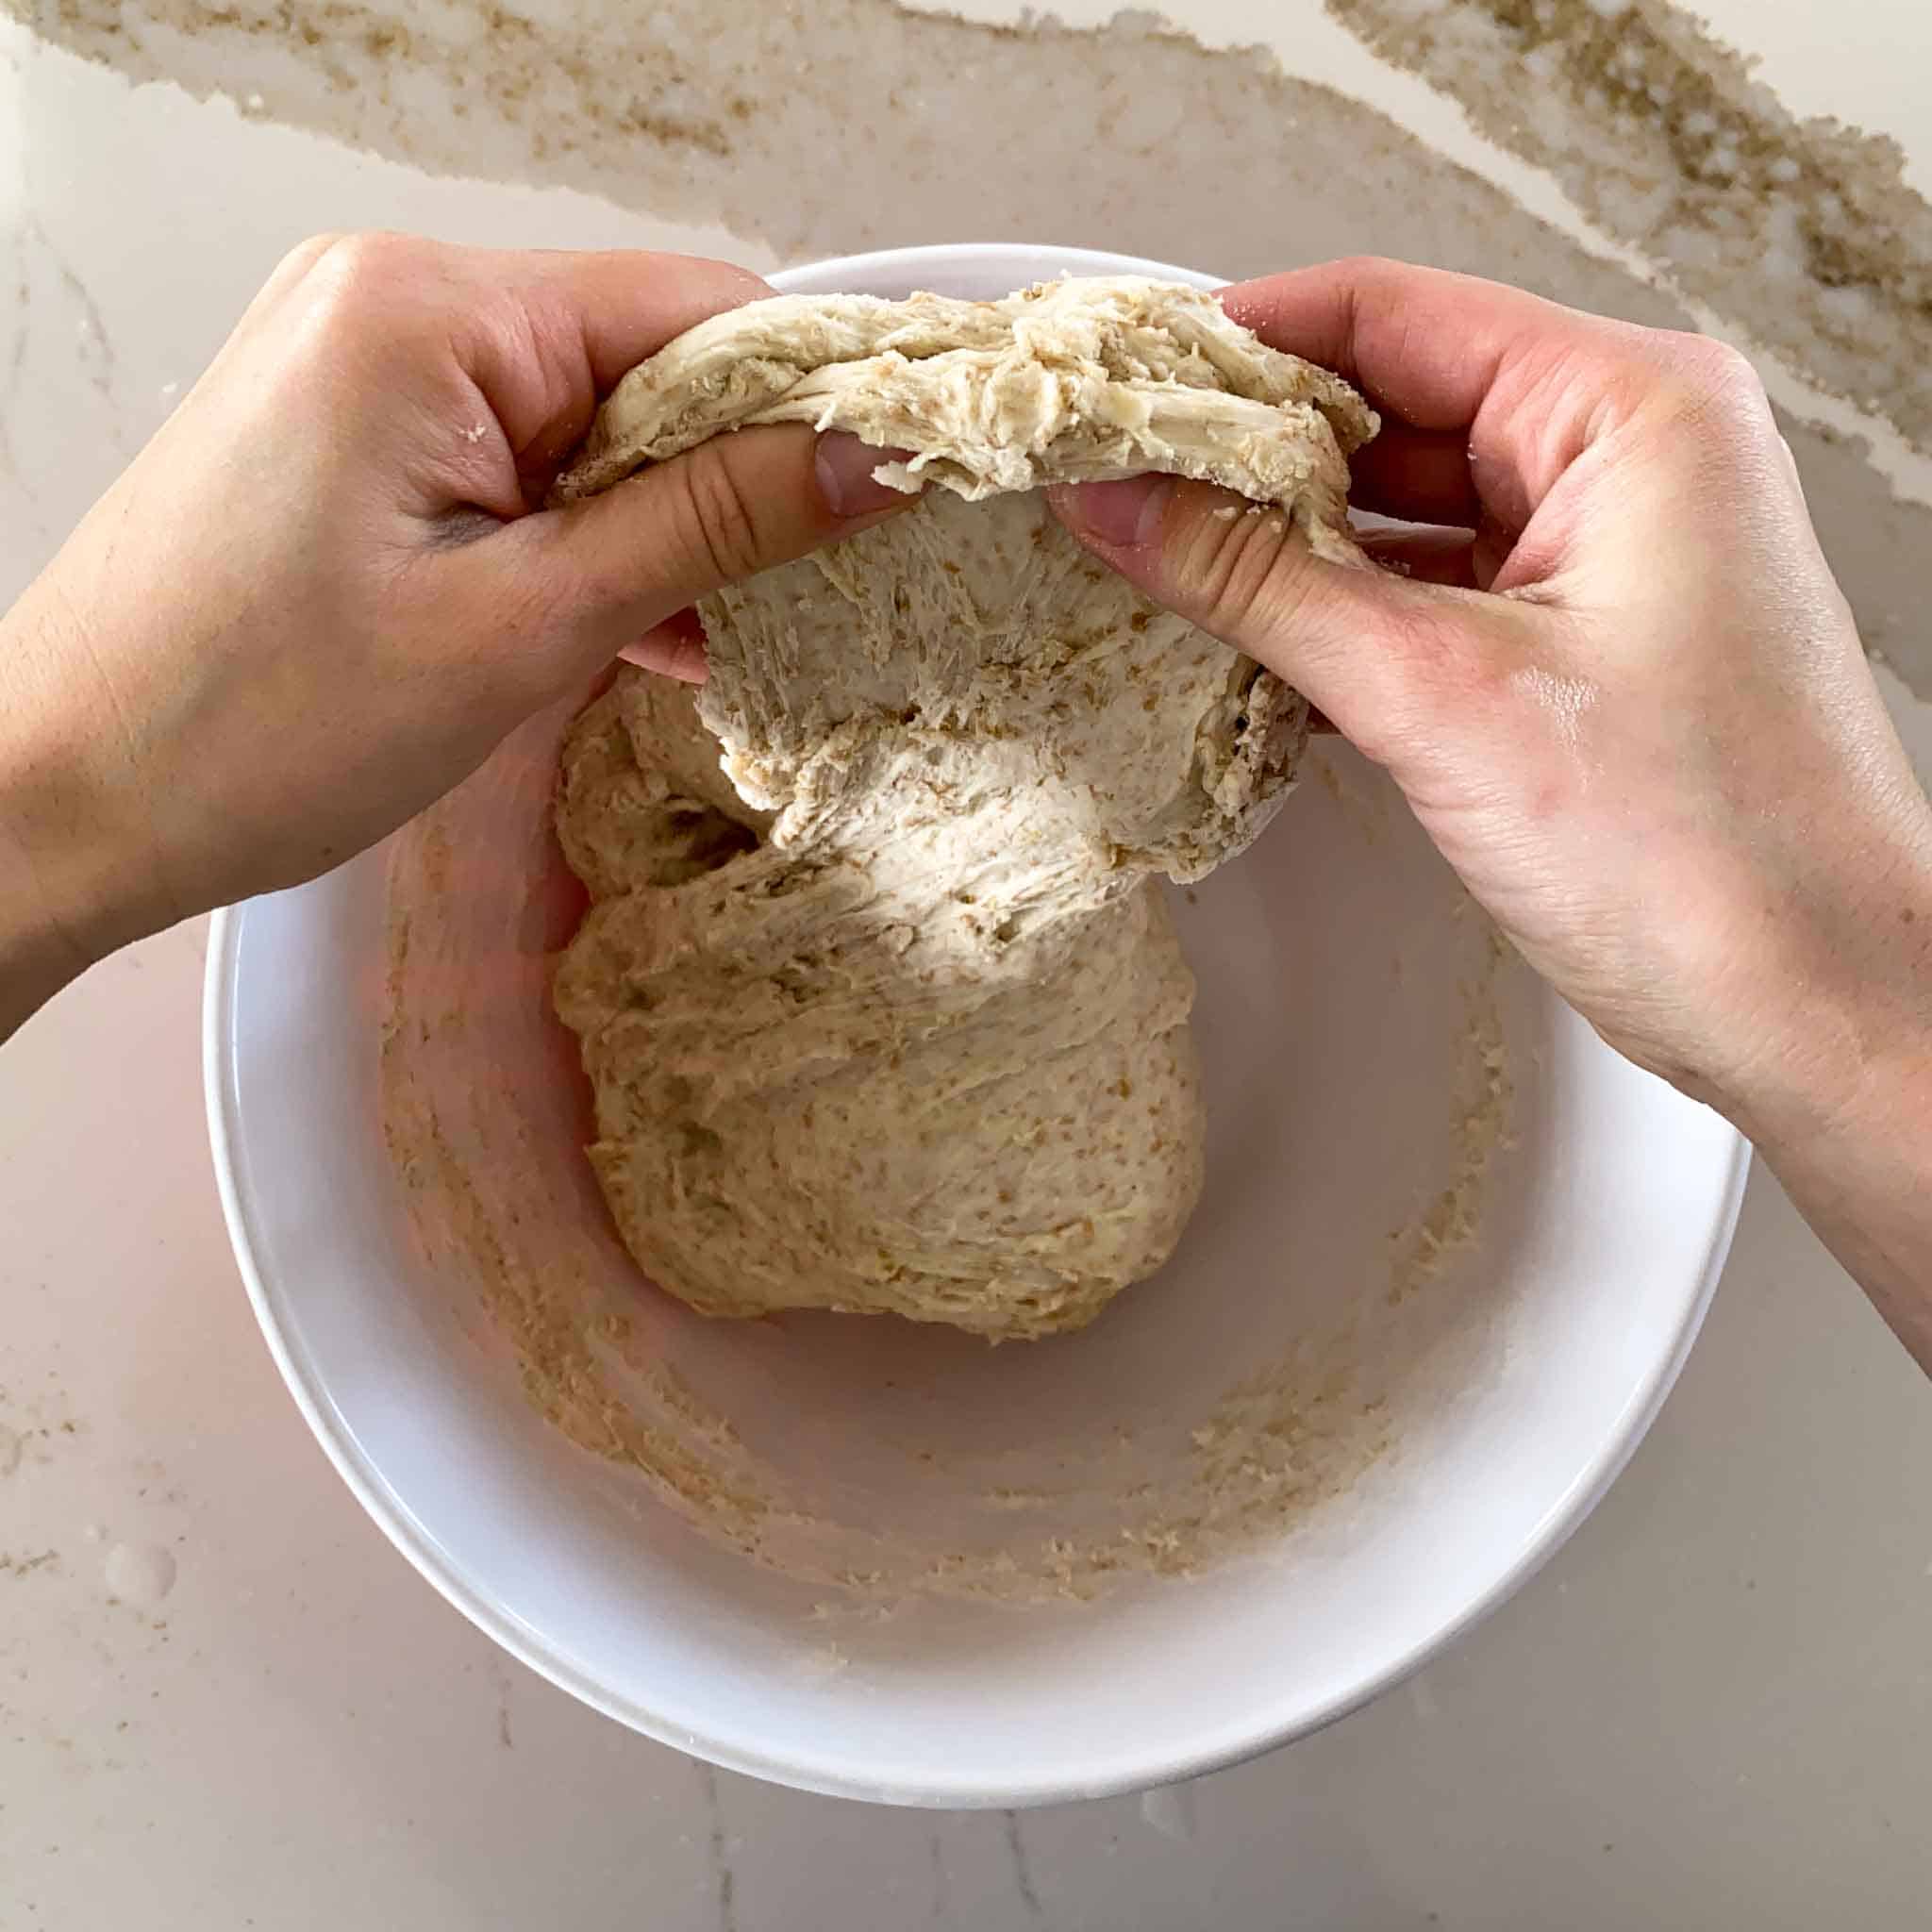
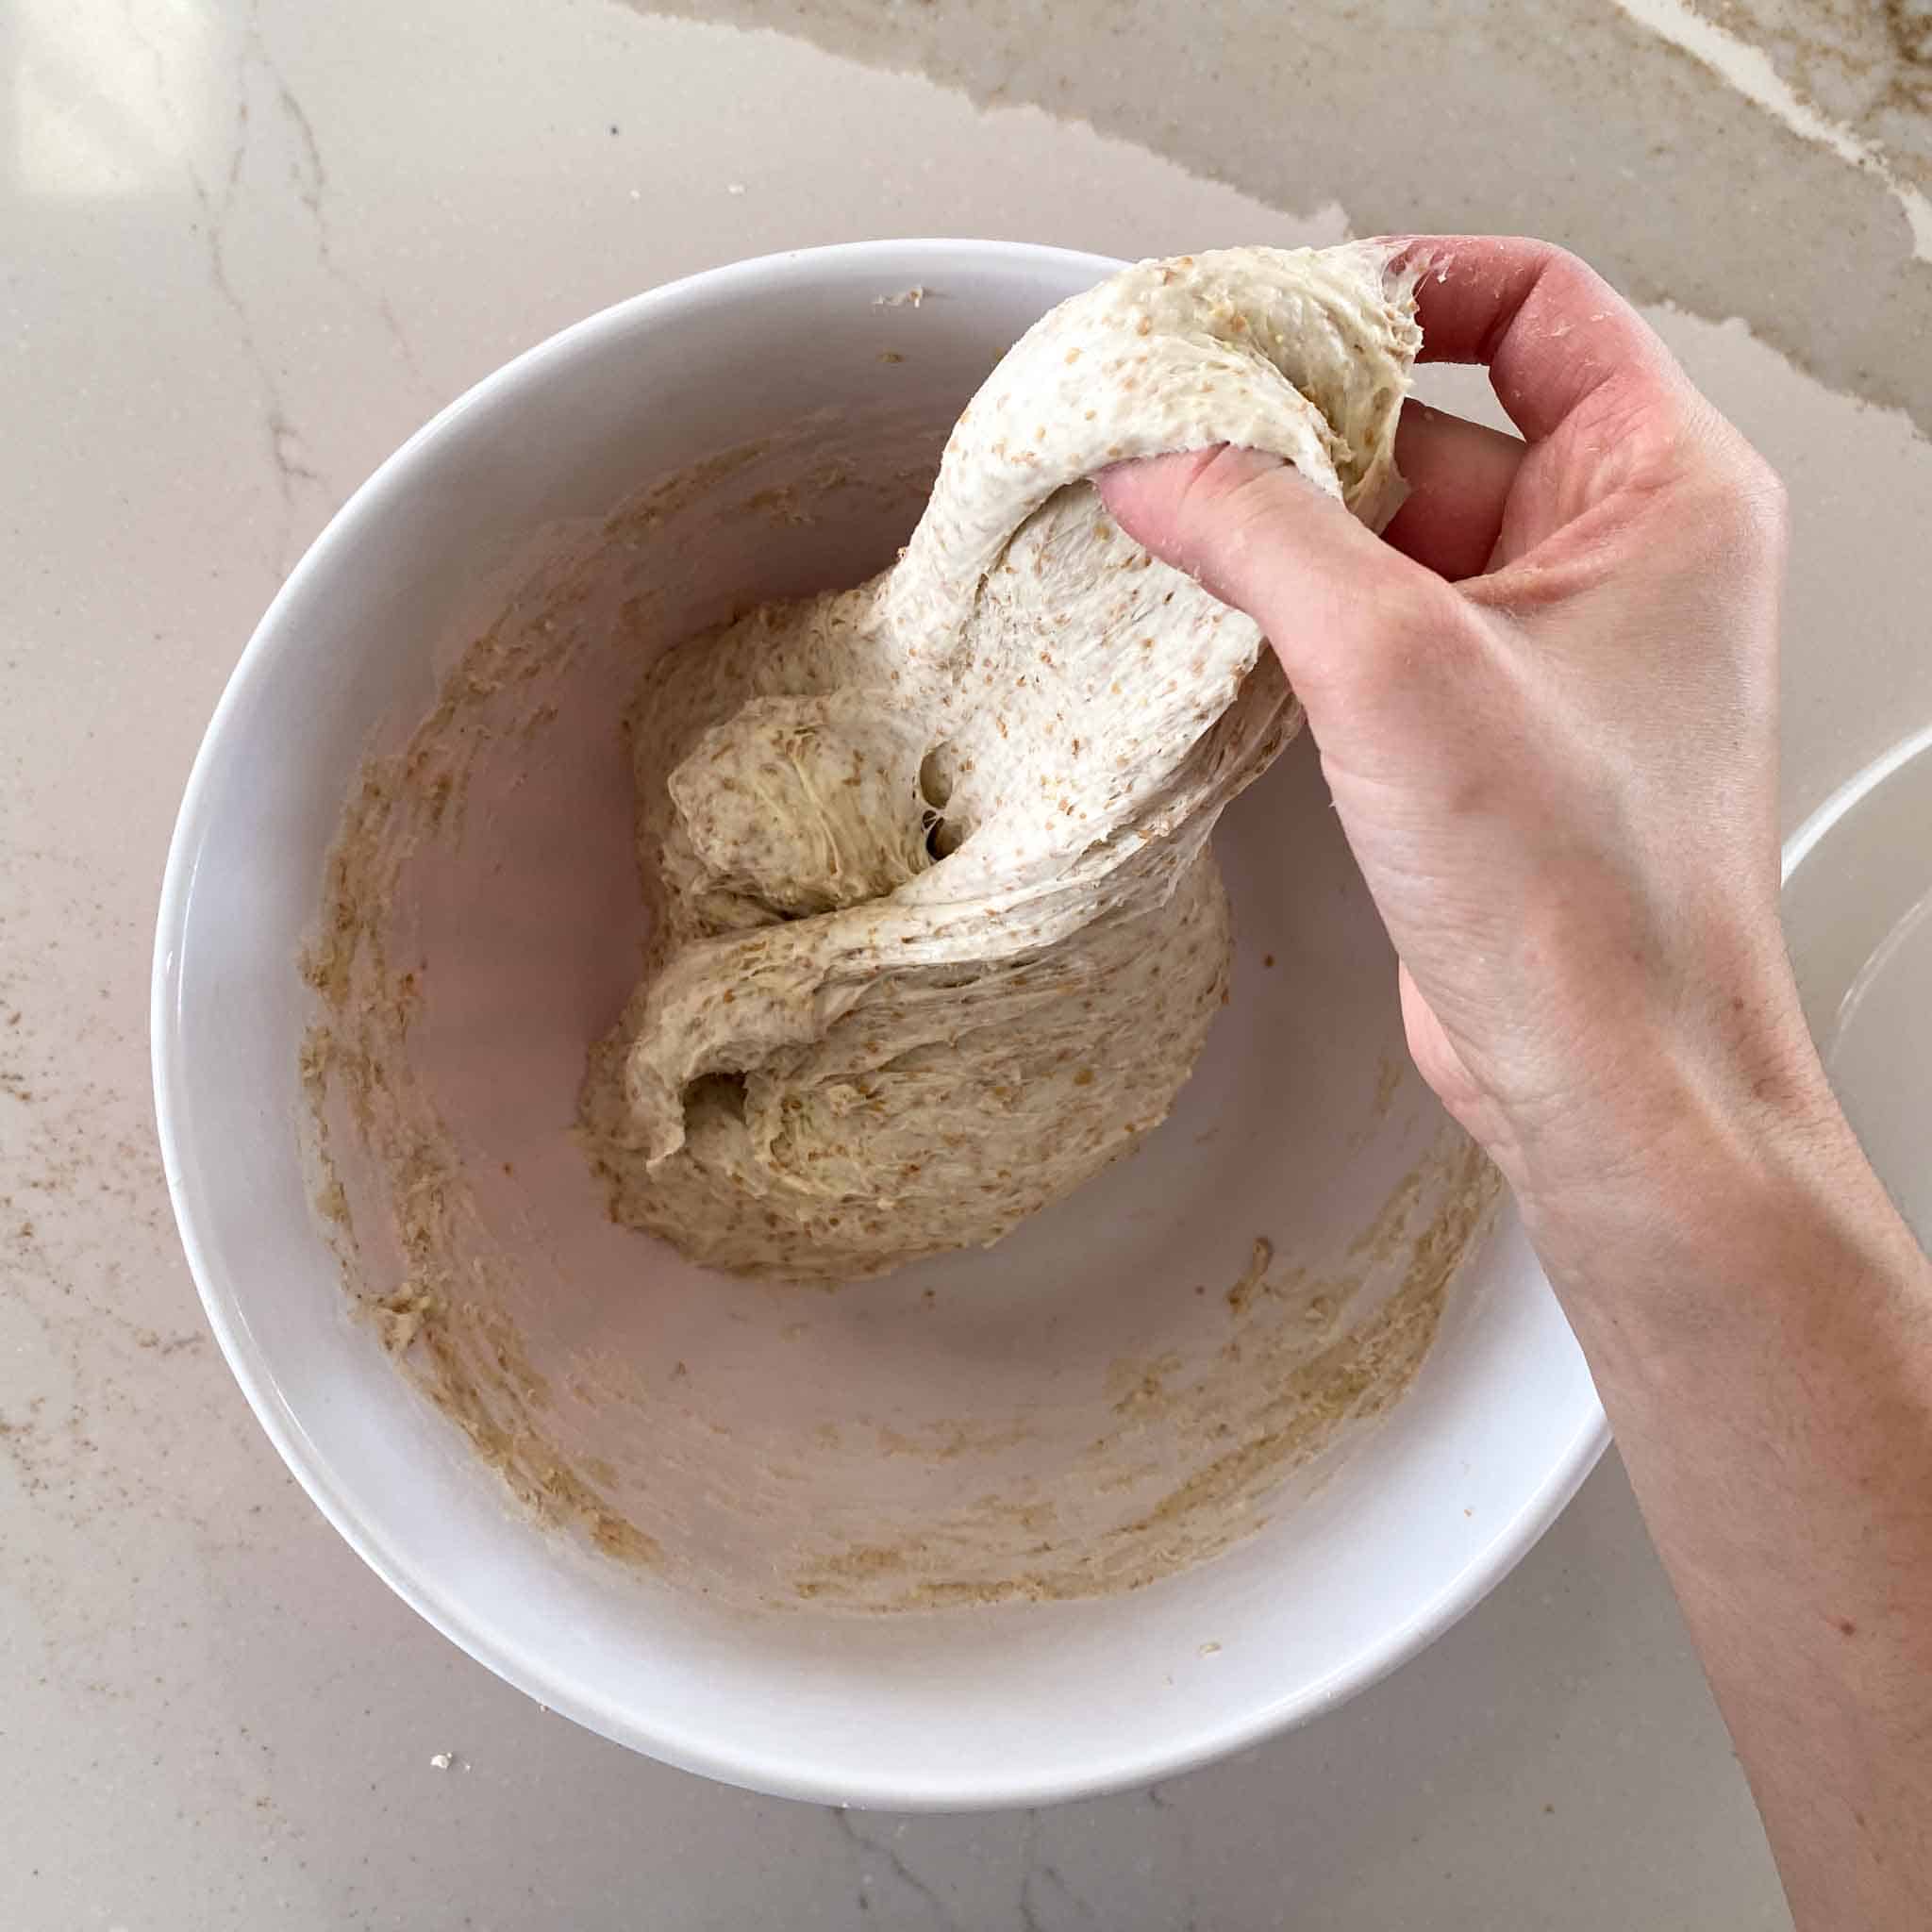
Step 4 Stir together 10 grams of salt and 15 grams of water in a small bowl and pour over your dough. With wet hands, stretch and fold 6-8 times, rotating the bowl each time until the salt solution has mixed in and your dough starts to come together more smoothly. Cover and let rest for 1 hour.
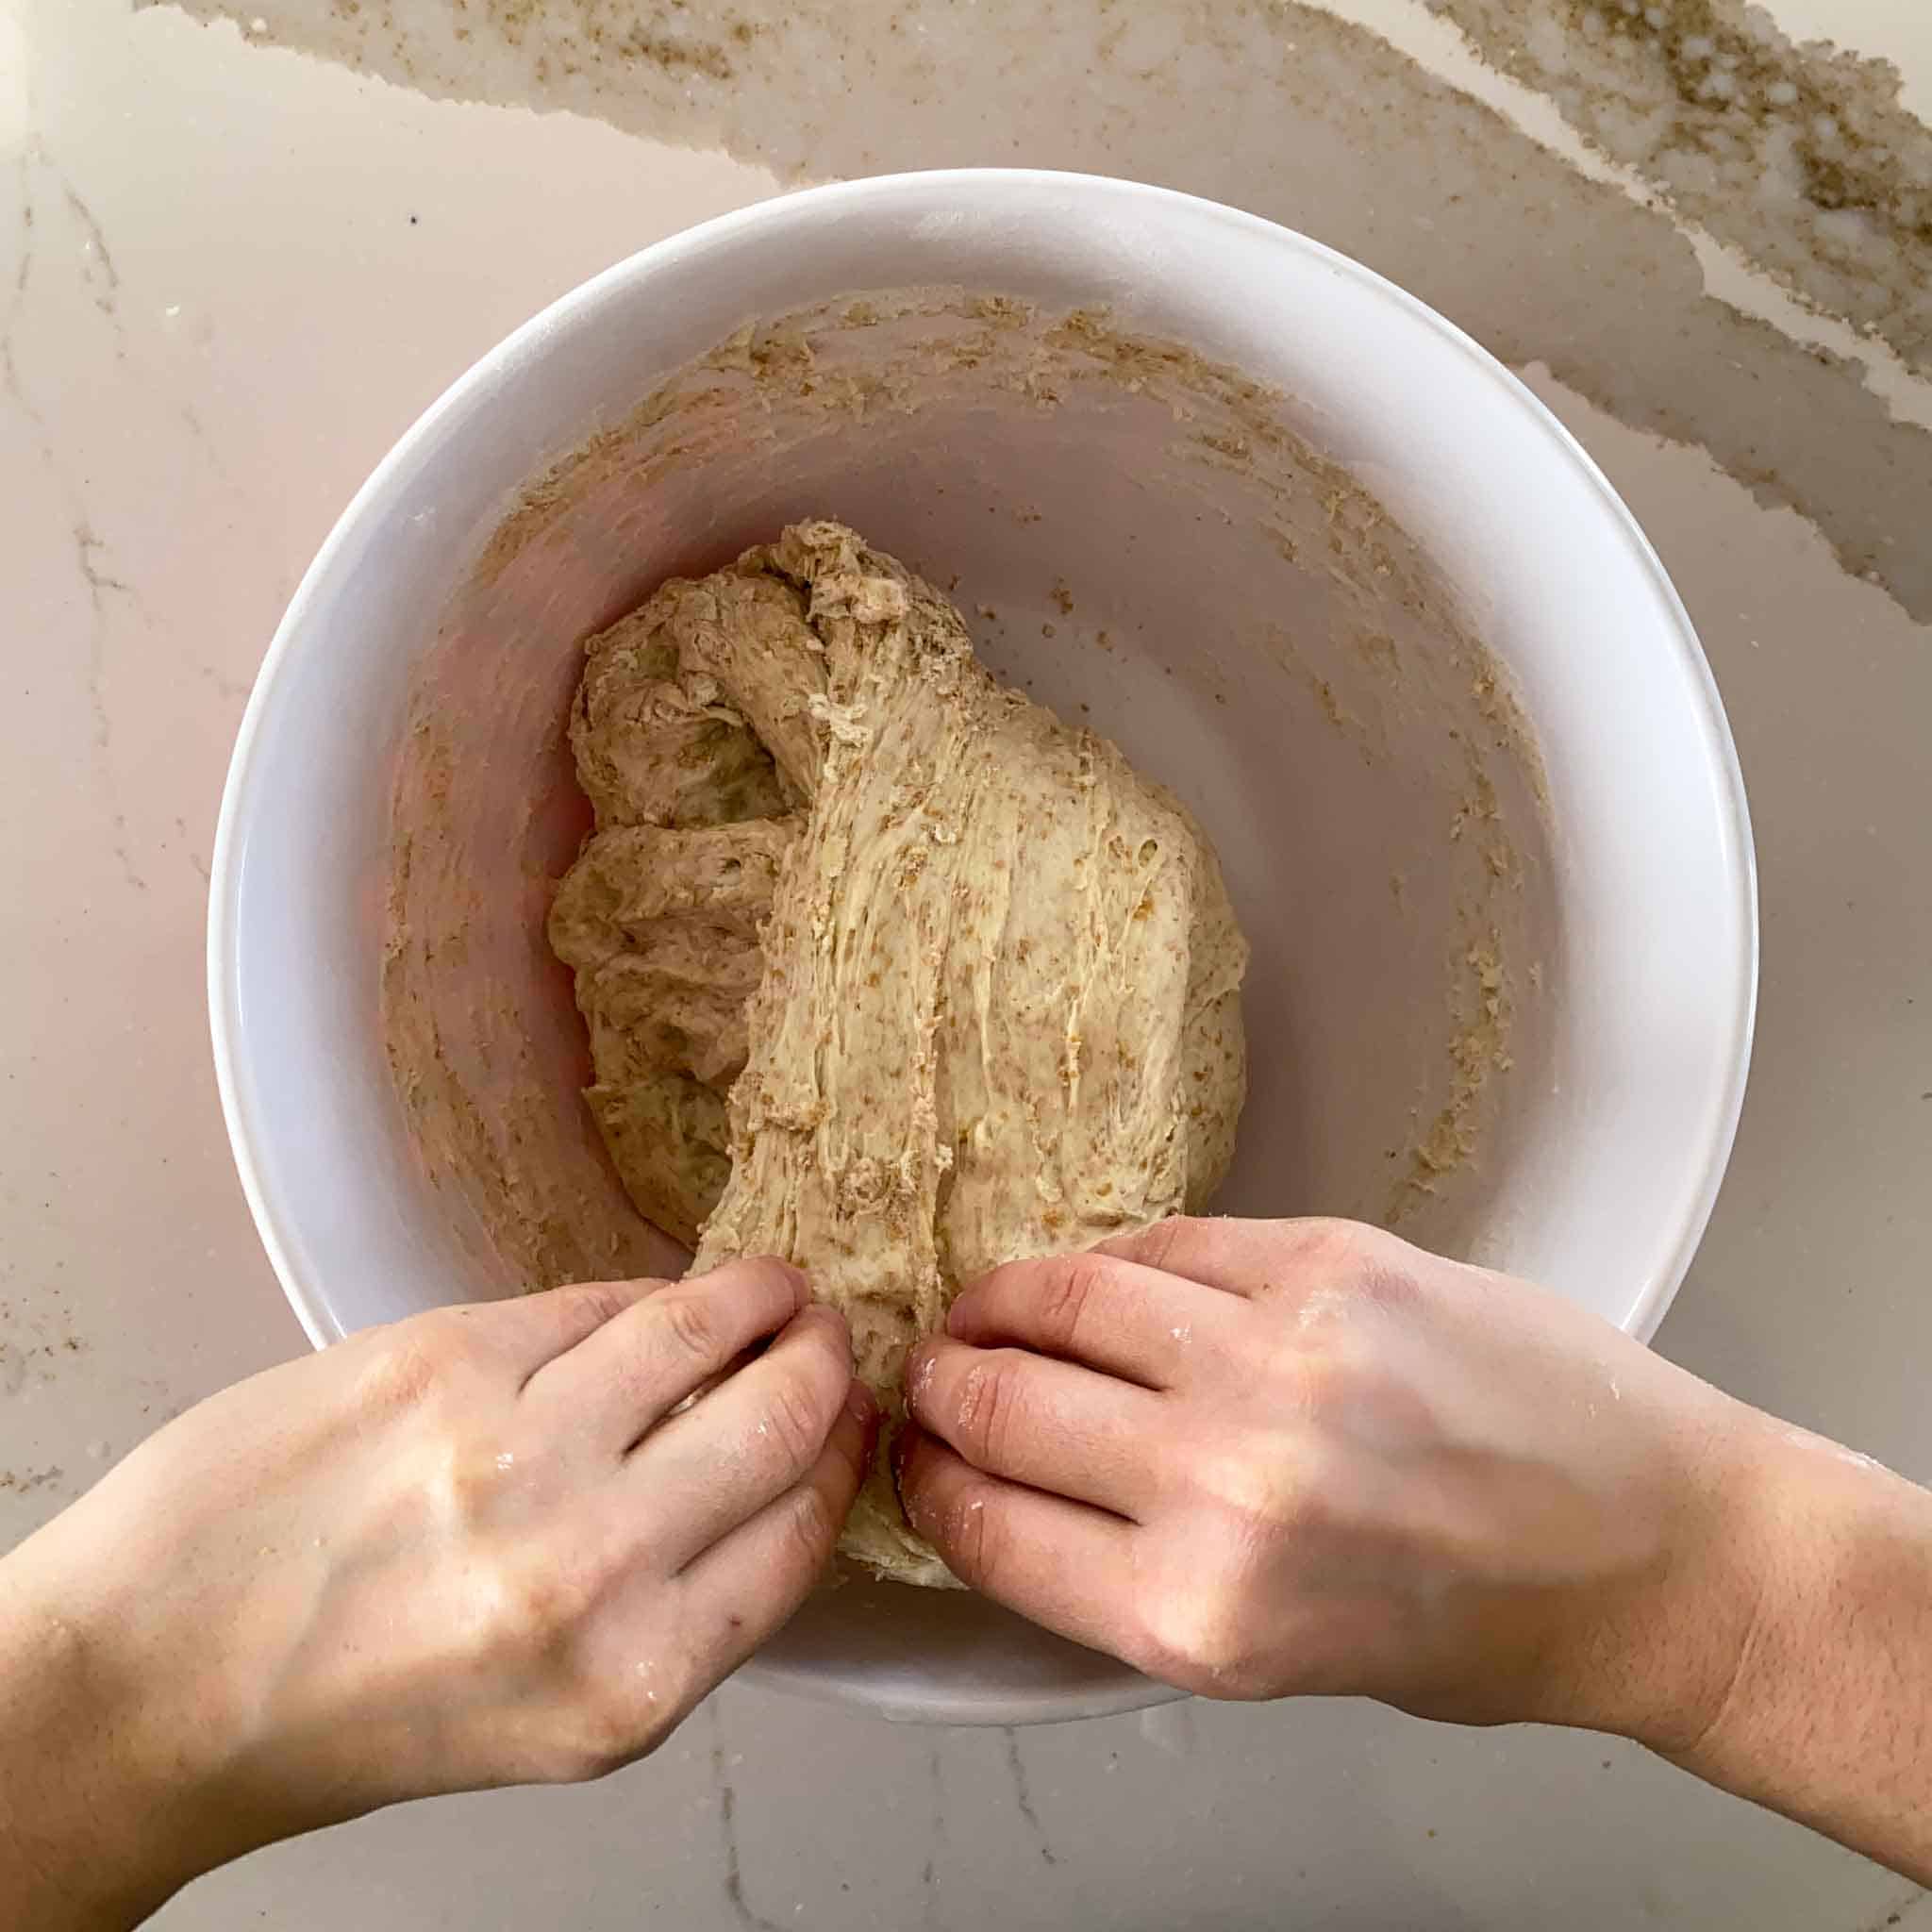
Step 5 Stretch and fold 3-4 times, rotating the bowl each time. Cover and let rest for 1 hour. Repeat one more time for a total for three stretch and fold cycles.
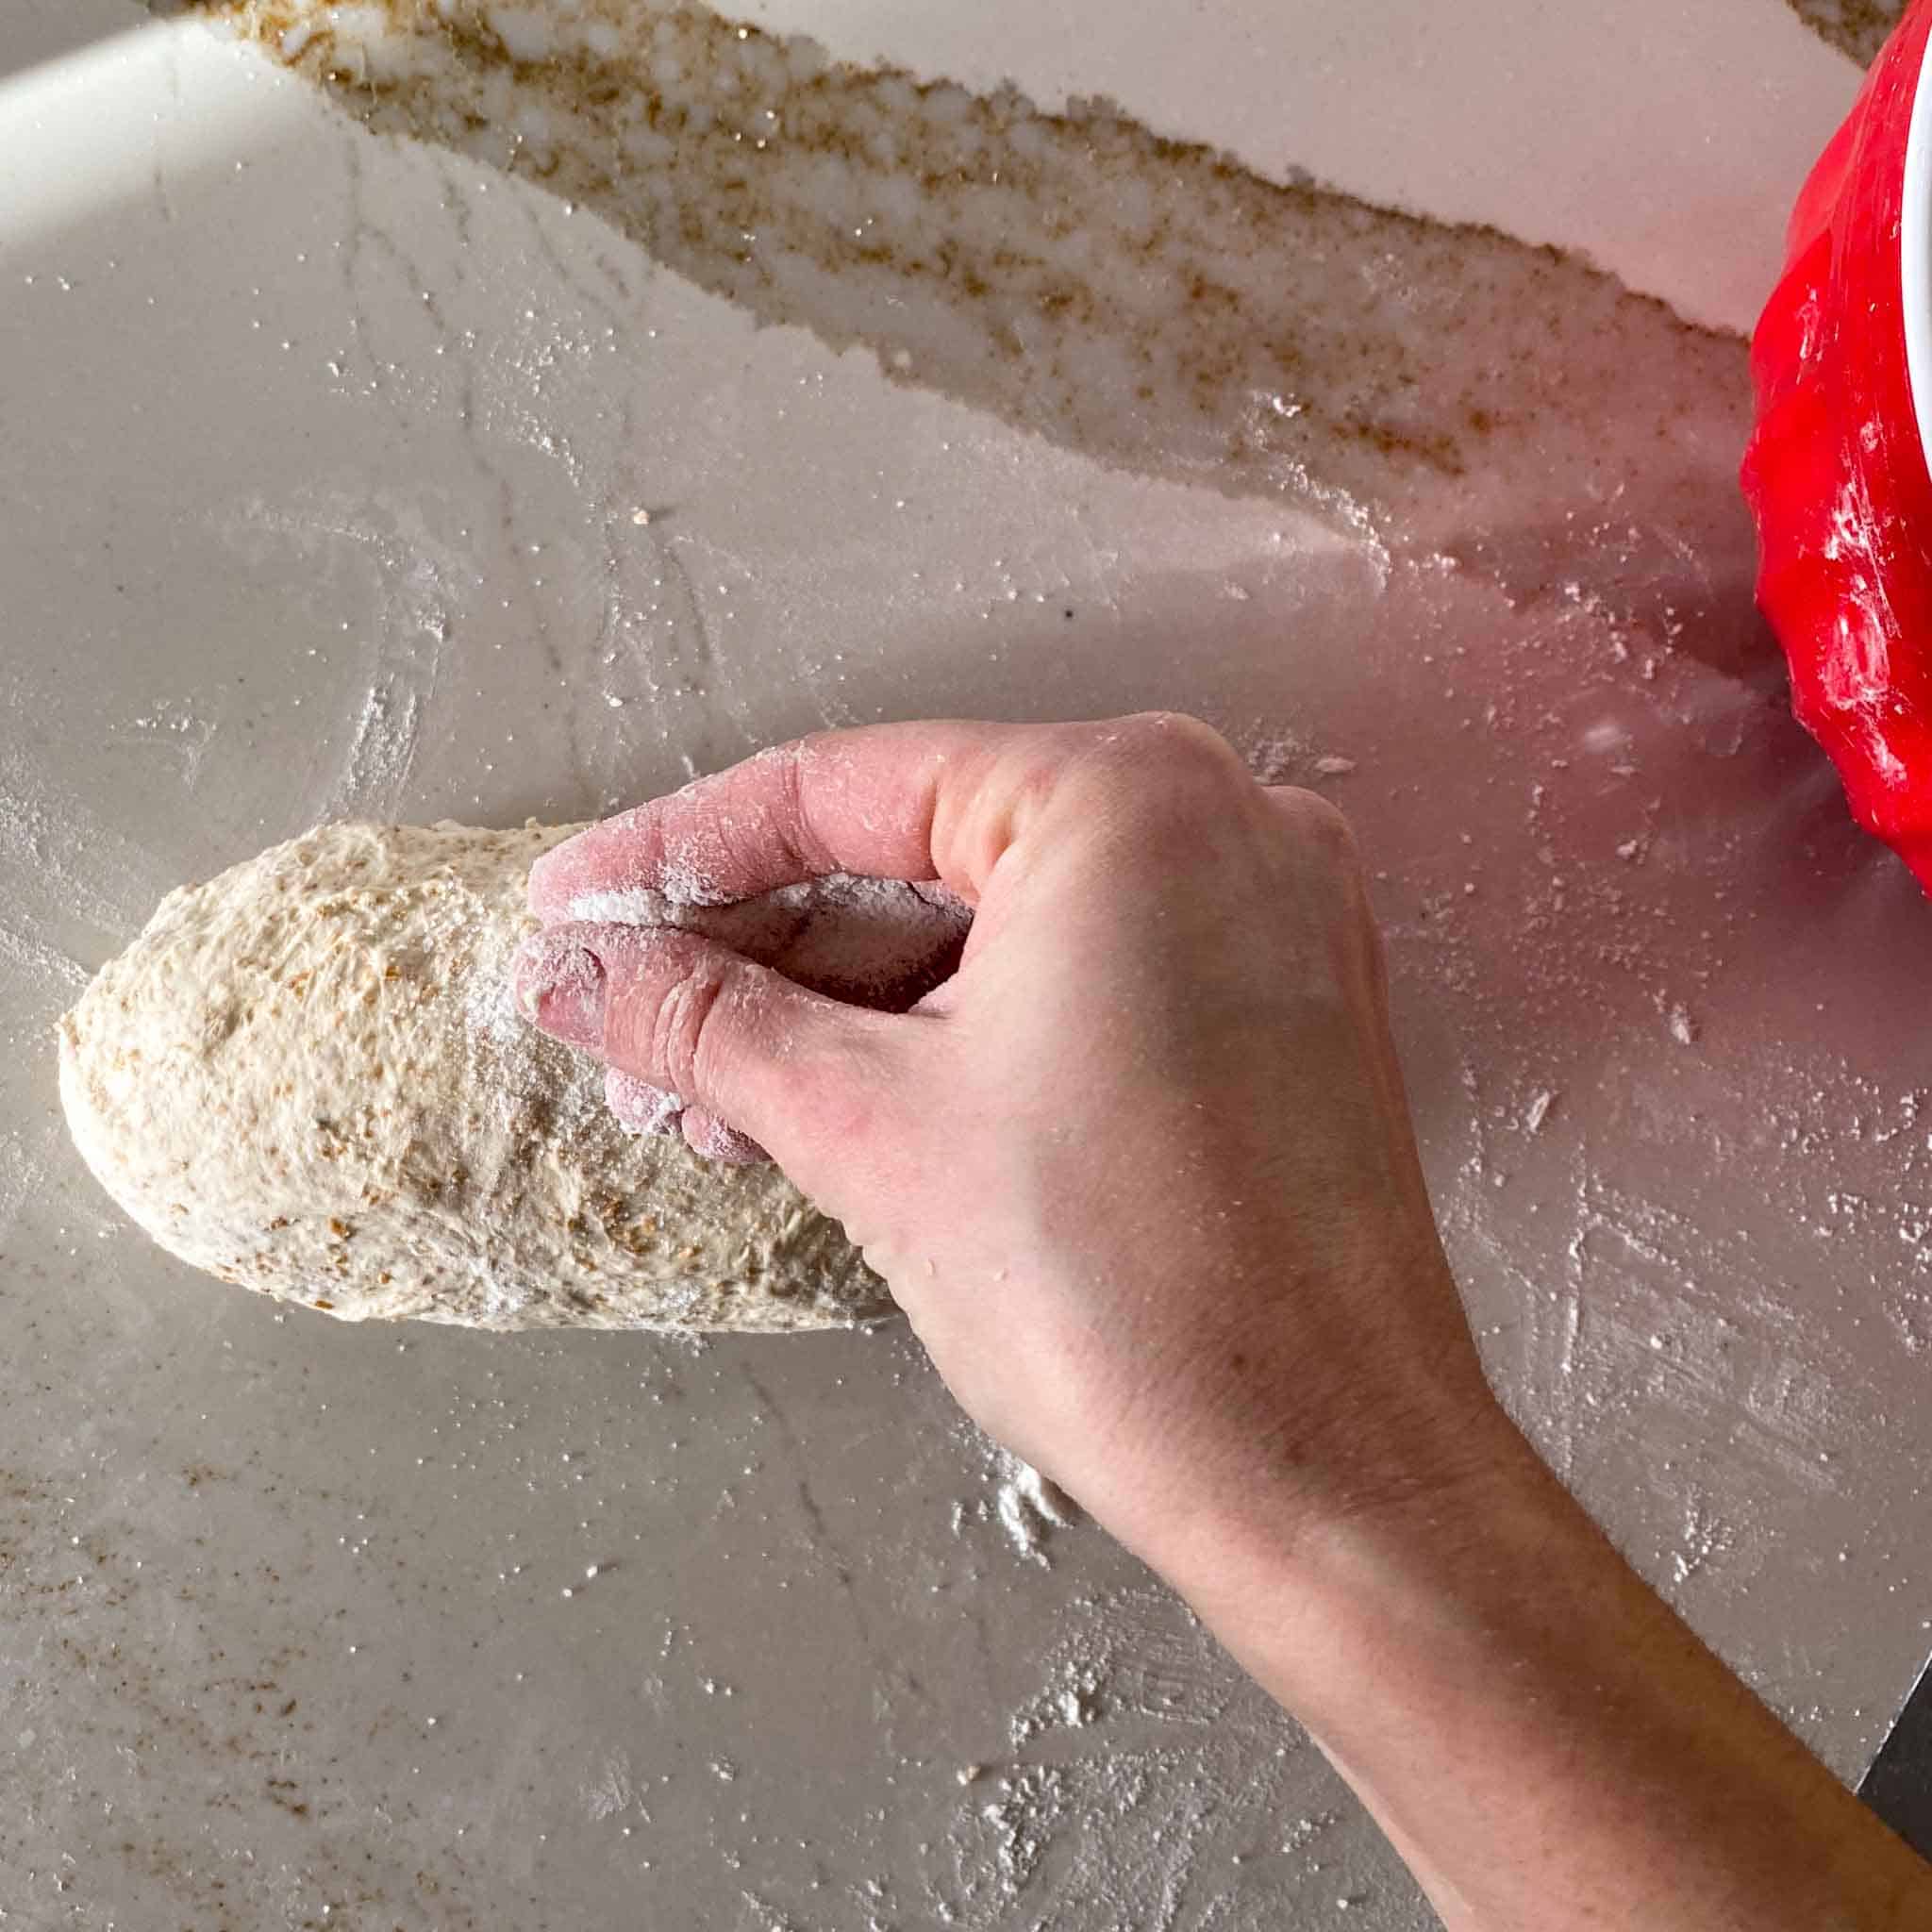
Step 6 On a lightly floured surface, shape your bread dough into a round loaf or sandwich loaf. See the “How to Shape Sourdough” section for more in depth instructions. Sprinkle the top with rice flour and place the smooth side down in your proofing basket or cheese cloth lined bowl. Cover with plastic wrap.


Step 7 Bulk Fermentation: Allow the shaped loaf to sit, covered in a relatively warm spot for four hours. In this time, your whole grain sourdough bread should’ve grown about 30% in size. When gently poked, it should slowly come back to shape.
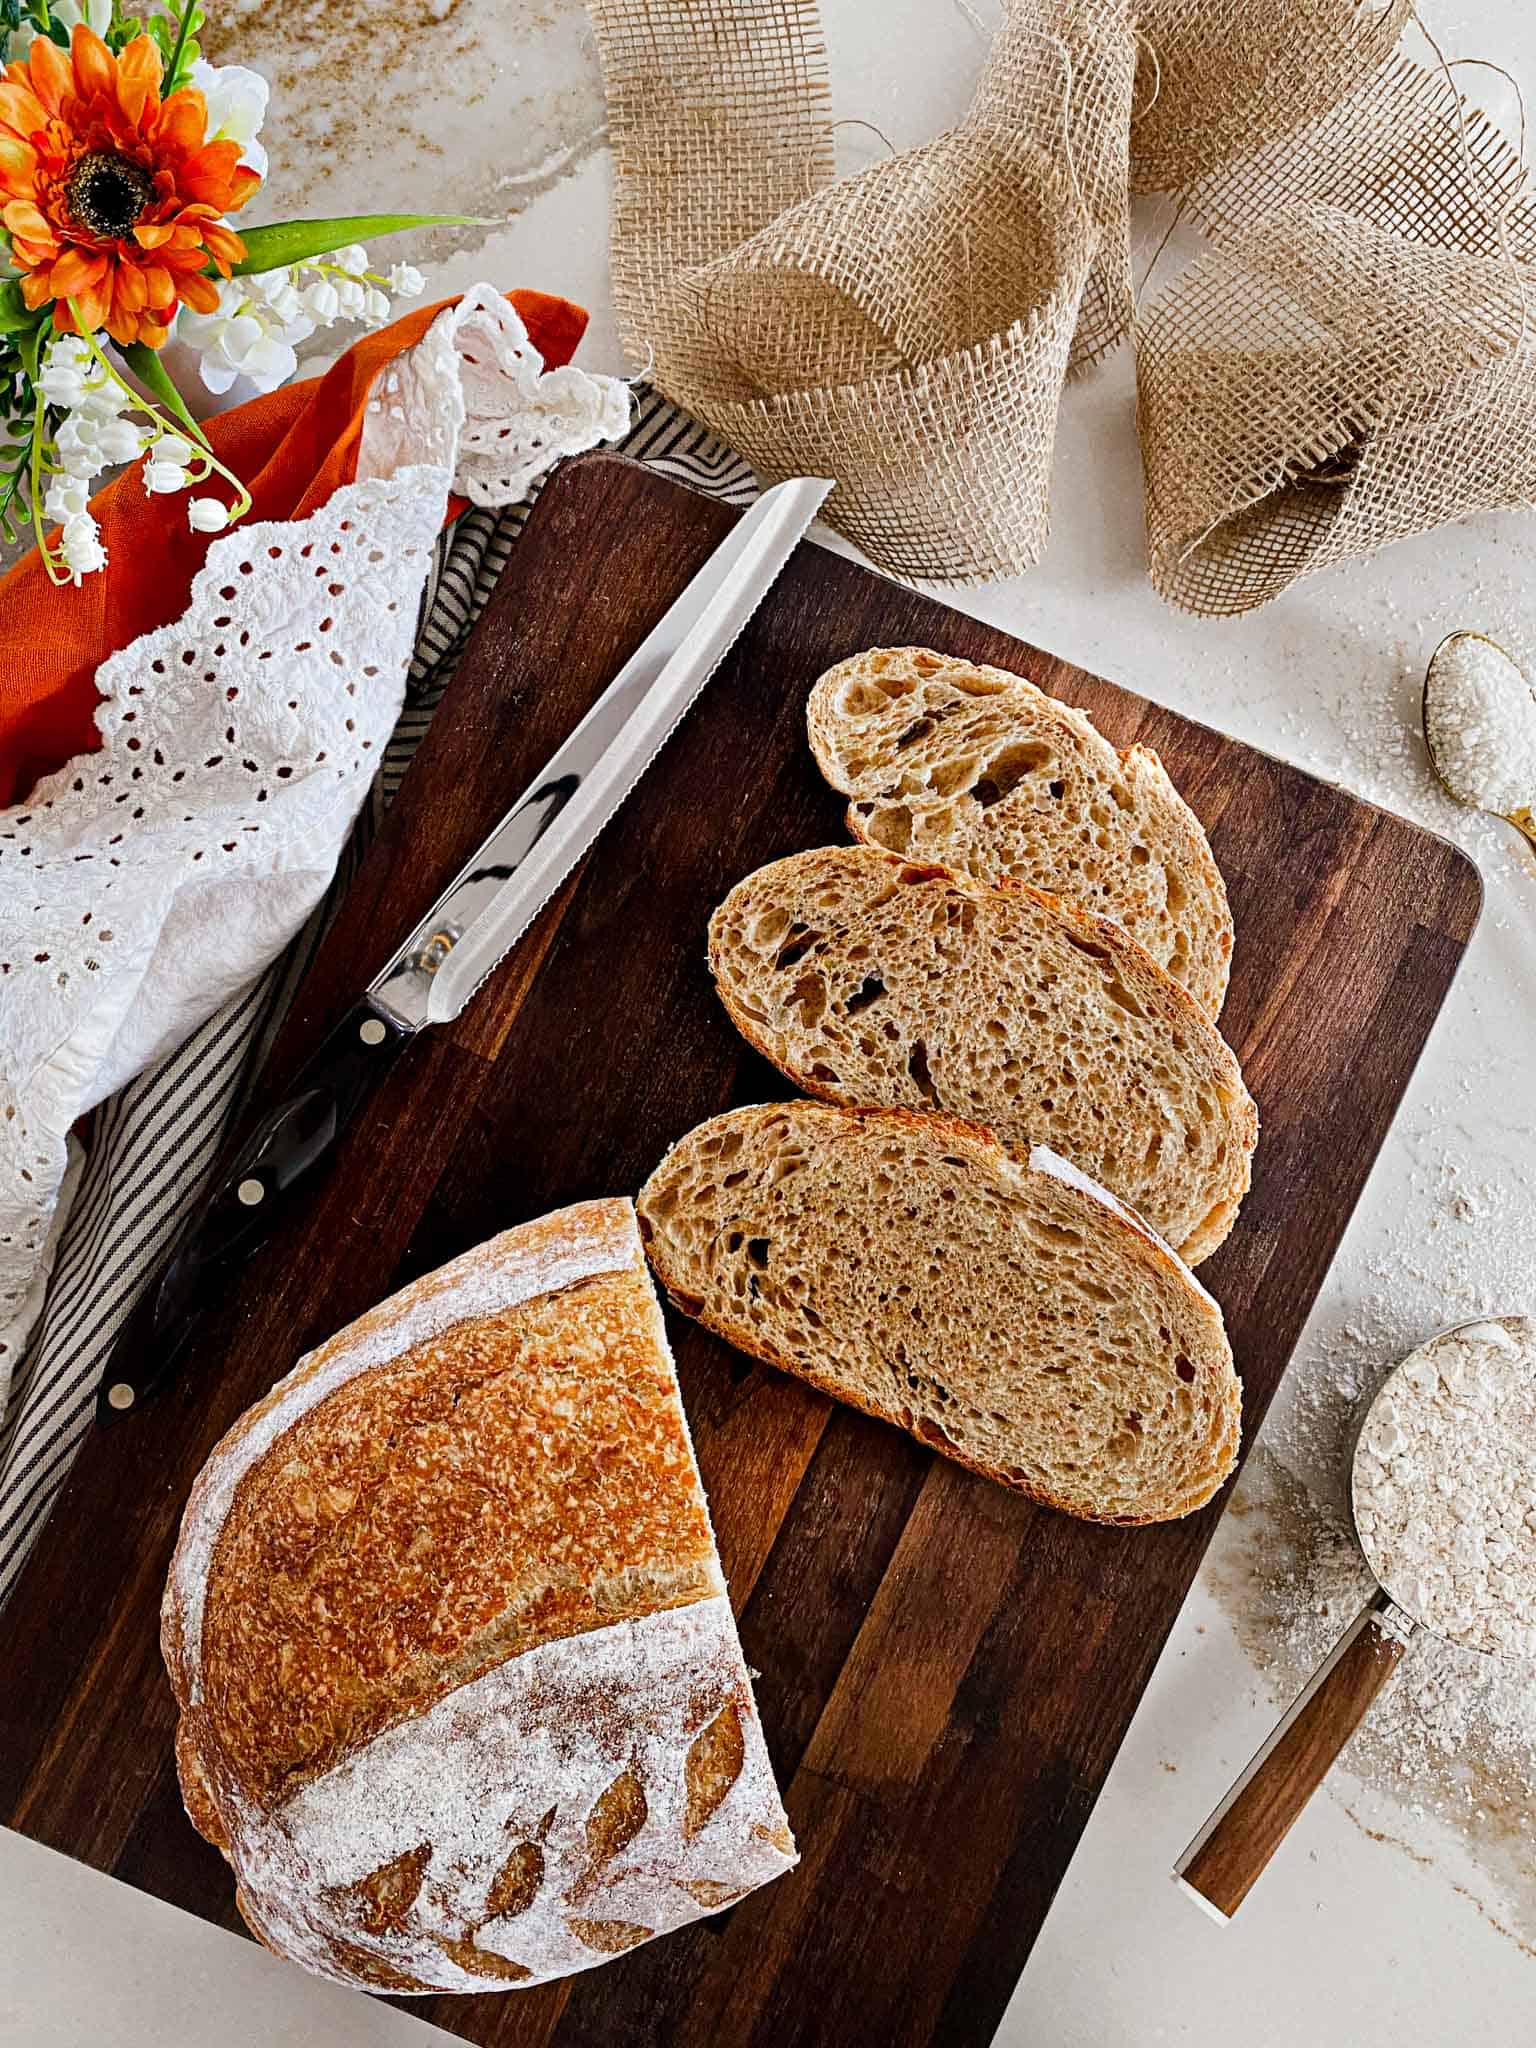
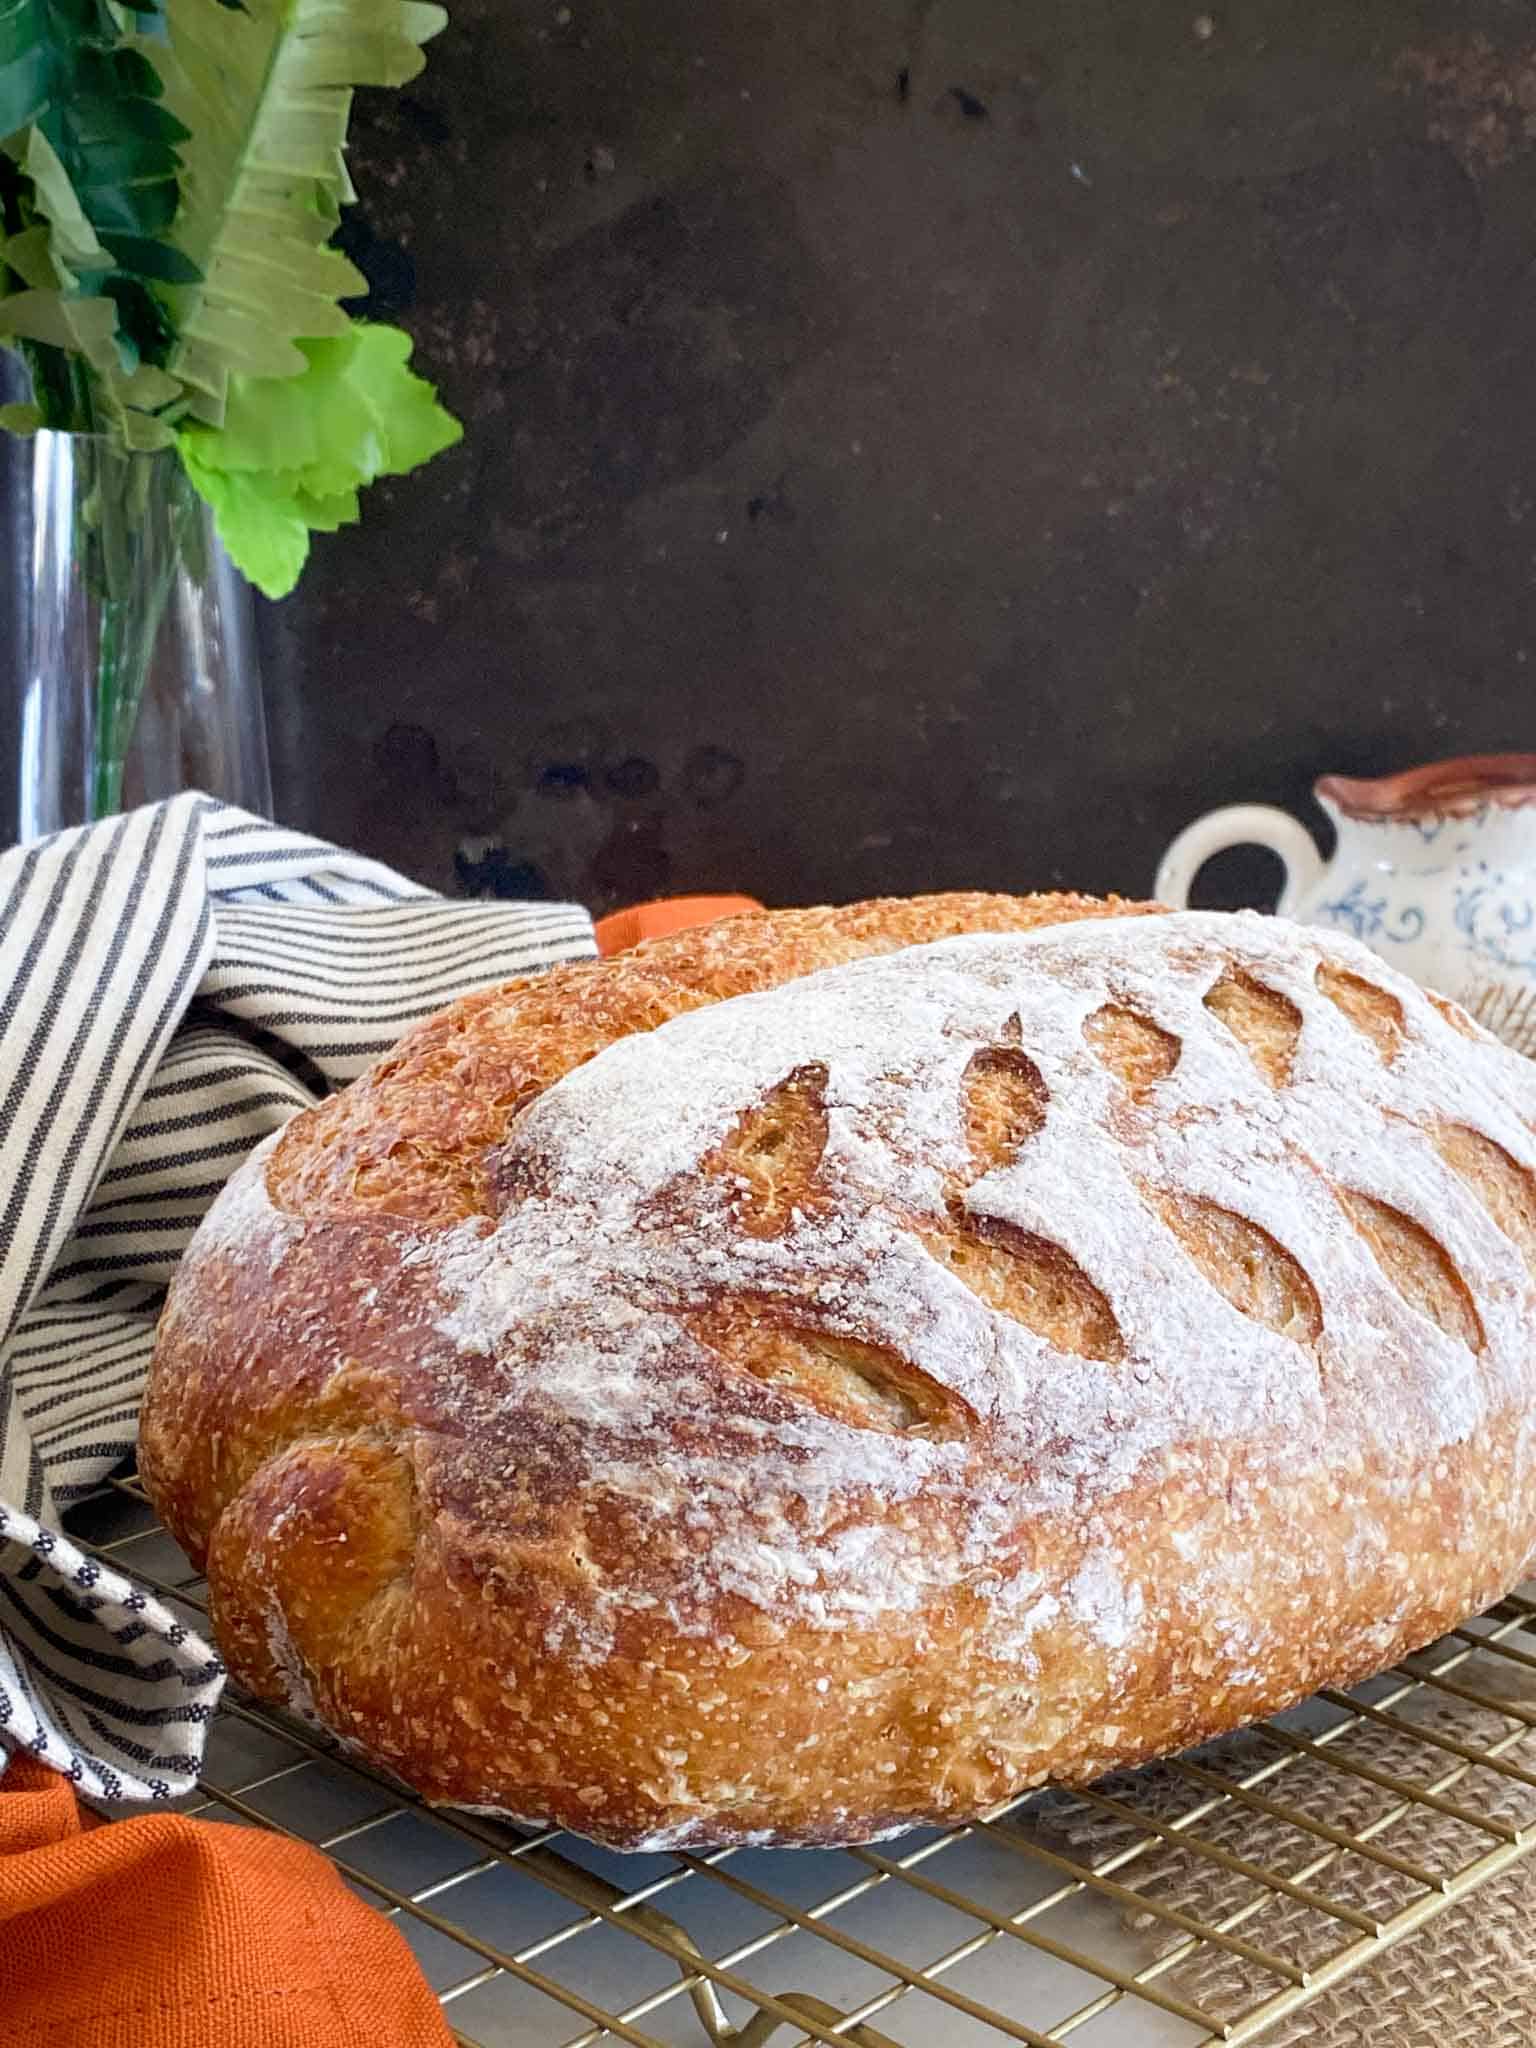
Step 8- Artisan Loaf: Place your 7 quart dutch oven into your oven and preheat to 450°F. Lay a parchment paper square over your banneton and hold your hand over the banneton while you slowly flip the sourdough to cradle the dough. Brush with fine rice or corn flour to give the uncut crust a more white appearance. Score the dough carefully, being mindful not to deflate it. Using the parchment square as a sling, lower the prepared loaf into your hot dutch oven, cover with the lid, and cook for 30 minutes. Remove the lid after 30 minutes and cook uncovered for 10-15 minutes or until your crust is golden brown.
Step 8- Sandwich Loaf: Place your 7 quart dutch oven into your oven and preheat to 350°F. Lay a parchment paper square over your banneton and hold your hand over the banneton while you slowly flip the sourdough to cradle the dough. Brush one egg white mixed with one tablespoon of cold water on top of the loaf. Sprinkle with up to 1 tablespoon of rolled oats for garnish. Score as desired. Using the parchment square as a sling, lower the prepared loaf into your hot dutch oven. Cook your whole grain sourdough sandwich loaf for 40-45 minutes with the lid on and an additional 5 minutes with the lid off to brown (If desired).
Step 9 Immediately remove the loaf from your cast iron pan and place it on a wire rack. Wait for the whole wheat sourdough to completely cool before slicing into it for optimal moisture retention and final texture. Enjoy!
Bakers Schedule:
Baker’s Schedule:
Day 1
- 9pm Feed the sourdough starter, cover, and leave overnight.
Day 2
- 7am Mix the ingredients for the dough autolyse.
- 7:30am Fold in the salt + water slurry for 6-8 stretch and fold quarter turn rotations.
- 8:30am Stretch and fold (3-4 quarter turn rotations).
- 9:30am Stretch and fold (3-4 quarter turn rotations).
- 10:30am Shape the dough into a round loaf or sandwich loaf, place in proofing basket. Cover and rise for 3-4 hours (bulk fermentation) or until the dough has grown about 30%.
- 2:30pm Preheat your oven with empty dutch oven to 450°F for an artisan loaf, 350°F for sandwich loaf. Artisan-Cook for 30 minutes covered, 15 minutes with the lid off. Sandwich Loaf 45 minutes with the lid on- you may remove the lid after this time and allow it to brown a bit if you want.
- 4:00pm Slice + Enjoy with your favourite afternoon Chai Latte or other beverage!
How to Shape a Sourdough Boule or Batard
Read on to find out exactly how to shape your whole grain sourdough as an oval or round loaf.
Pre-Shape
Preshaping is important because it adds strength to the dough, prepares it for the final shape, and creates more smooth surface tension. This whole grain sourdough recipe tends to be on the airier side which can make it difficult to shape. Pre-shaping is a must. There are many ways to pre-shape your dough- this is one method.
Round Loaf (boule): Transfer your sourdough onto a lightly floured surface smooth side down. Gently press your dough out into a 12″x12″ (ish) square with your finger tips. Fold in thirds (envelope fold). Next, take the corners and gently fold them into the center. You should have somewhat of a ball shape. Turn it over so that it is smooth side up and let it bench rest for 15 minutes.
Oval Loaf (batard): Transfer your sourdough onto a lightly floured surface smooth side down. Gently press your dough out into a 12″x12″ (ish) square with your finger tips. Fold in thirds (envelope fold). Next, gently roll along the length of your folded loaf to make it a bit longer. Turn it over so that it is smooth side up and let it bench rest for 15 minutes
Final Shape
There are many different ways to do the final shape for your sourdough. The goal of the final shaping is to create a smooth, uniform, shape with good surface tension.
Boule: Follow this tutorial to find out exactly how to shape your boule (round loaf).
Batard: Follow this tutorial to find out exactly how to shape your batard (oval loaf).
Tips + Tricks
Keep your wholewheat flour fresh. It is important to keep your whole grain or whole wheat flour fresh! The bran and germ included in whole wheat flour have more oils that can cause your beloved flour to go rancid. A few things that you can do to combat this include storing it in a cool space or freezing it, keeping it in an airtight container, buying smaller amounts, or milling your own flour with a grain mill and wheat berries.
Tightly shape your boule (dough ball) before the final 3-4 hour rise cycle. The wild yeast in this sourdough is more active than traditional all-white recipes because it has more to feed on. Be sure to tightly shape the boule to make sure that it doesn’t spread too much during baking.
Don’t Over Ferment. Some sourdough baking recipes do well with an overnight bulk fermentation in the fridge. This can be done with this whole wheat bread recipe but I caution you not to let the dough rise for more than 12 hours or it can become over-fermented and will result in a flatter more dense loaf of bread.
Save the deep scoring for last. If you are doing a fancy sourdough scoring design, make the smaller, more shallow cuts first and then make the large cut right before you lower it into your dutch oven to stop it from deflating too much before cooking.
Batch + Storage
Bursting with natural flavour, this whole wheat sourdough recipe can easily be doubled and frozen for later- or you can gift this wholesome loaf to a friend.
Sourdough bread lasts way longer than conventional yeast breads because of the fermentation that occurs when you are baking it. The lactobacillus bacteria and higher acid content ward off mould growth and keep your loaf fresh for longer.
Store your cooled sourdough in an airtight bread bag at room temperature. I stow mine away in a bread tin but it can be kept on the counter as well! It can be kept for up to a week and a half.
If you want to freeze it, wrap the whole grain sourdough tightly with saran wrap and place it in a ziplock bag with all of the air squeezed out of the bag. In the freezer, the sourdough will last up to 6 months.
How to Enjoy Whole Grain Sourdough Bread
The sandwich bread loaf is more kid friendly with a soft crust whereas the artisan style of loaf is great for older kids and adults and can be used in a variety of settings.
Fresh: Slather with butter or your favourite topping and enjoy this loaf fresh.
Toasted: This whole grain sourdough tastes amazing the next day toasted with peanut butter and honey or your favourite toppings.
Grilled: We love to sandwich some cheese between two slices of this sourdough and make an out of this world grilled cheese sandwich- it tastes amazing paired with Homemade Canned Tomato Soup or Dill Pickle Soup with Shredded Chicken.
Bread Bowl: Carve out the middle of your sourdough boule and fill it with a warm spinach or cheese dip.
Sliced Small for Dipping: Cube your bread and arrange it on a tray to dip in brie or other savoury dips.
Baked As Croutons: Cube the sourdough loaf and toss with olive oil and seasoning salt for delicious homemade sourdough croutons.
Printable Recipe Card
Whole Grain Sourdough Bread Recipe (Artisan + Sandwich Loaf)
This healthy whole grain sourdough bread recipe is moist, with open crumb and a crispy crackly crust that prolongs its shelf life-- as if it will last long enough to test that out!
Ingredients
- 65 grams Active Sourdough Starter
- 250 grams Whole Wheat Flour
- 175 grams all purpose bread flour
- 300 grams warm filtered water
- 10 grams fine kosher sea salt
- 15 grams filtered water
Optional Oat Topping
- 1 tablespoon cold water
- 1 egg white
- 1 tablespoon rolled oats
Sourdough Feed
- 60 grams sourdough starter
- 60 grams filtered water
- 60 grams whole wheat flour
Instructions
- Feed the starter late the night before (9pm) you want to bake or early in the morning. A fed starter can take between 4-8 hours to double in size--especially when it is fresh out of the fridge. Combine 60 grams of sourdough starter with 60 grams of filtered water and 60 grams of whole wheat flour. Mix until well combined, cover, and let it sit on the counter overnight or until it has doubled in size.
- In a large bowl, mix 300 grams of warm filtered water with 65 grams of your active sourdough starter. Add 250 grams of whole wheat flour and 175 grams of all purpose bread flour. Continue to mix and manipulate until all of the flour is loosely mixed in and it forms a shaggy dough.
- Autolyse: Let the shaggy dough sit, covered with a tea towel or plastic wrap for 30 minutes.
- Stir together 10 grams of salt and 15 grams of water in a small bowl and pour over your dough. With wet hands, stretch and fold 6-8 times, rotating the bowl each time until the salt solution has mixed in and your dough starts to come together more smoothly. Cover and let rest for 1 hour.
- Stretch and fold 3-4 times, rotating the bowl each time. Cover and let rest for 1 hour. Repeat one more time for a total for three stretch and fold cycles.
- Shape your dough into a round loaf or sandwich loaf. Sprinkle the top with rice flour and place the smooth side down in your proofing basket or cheese cloth lined bowl. Cover with plastic wrap.
- Bulk Fermentation: Allow the shaped loaf to sit, covered in a relatively warm spot for four hours. In this time, your whole grain sourdough bread should've grown about 30% in size. When gently poked, it should slowly come back to shape.
Artisan Loaf:
Place your 7 quart dutch oven into your oven and preheat to 450°F. Lay a parchment paper square over your banneton and hold your hand over the banneton while you slowly flip the sourdough to cradle the dough. Brush with fine rice or corn flour to give the uncut crust a more white appearance.
Score the dough carefully, being mindful not to deflate it. Using the parchment square as a sling, lower the prepared loaf into your hot dutch oven, cover with the lid, and cook for 30 minutes. Remove the lid after 30 minutes and cook uncovered for 10-15 minutes or until your crust is golden brown.
Immediately remove the loaf from your cast iron pan and place it on a cooling rack. Wait for the loaf to completely cool before slicing into it for optimal moisture retention and final texture.
Sandwich Loaf:
Place your 7 quart dutch oven into your oven and preheat to 450°F. Lay a parchment paper square over your banneton and hold your hand over the banneton while you slowly flip the sourdough to cradle the dough.
Brush one egg white mixed with one tablespoon of cold water on top of the loaf. Sprinkle with up to 1 tablespoon of rolled oats for garnish. Score as desired. Using the parchment square as a sling, lower the prepared loaf into your hot dutch oven.
Cook your whole grain sourdough sandwich loaf at 350°F for 40-45 minutes with the lid on and an additional 5 minutes with the lid off to brown (If desired).
Immediately remove the loaf from your cast iron pan and place it on a cooling rack. Wait for the loaf to completely cool before slicing into it for optimal moisture retention and final texture.
Notes
Don’t Over Ferment. Some sourdough baking recipes do well with an overnight bulk fermentation in the fridge. This can be done with this whole wheat bread recipe but I caution you not to let the dough rise for more than 12 hours or it can become over-fermented and will result in a flatter more dense loaf of bread.
Recommended Products
As an Amazon Associate and member of other affiliate programs, I earn from qualifying purchases.

Nutrition Information:
Yield: 12 Serving Size: 1Amount Per Serving: Calories: 162Total Fat: 1gSaturated Fat: 0gTrans Fat: 0gUnsaturated Fat: 1gCholesterol: 0mgSodium: 395mgCarbohydrates: 33gFiber: 3gSugar: 0gProtein: 6g
Pin It!

Web Stories


The step-by -step instructions become confusing after Step 6 through Step 9. What is the job of the parchment? Do I lower the dough into the Dutch oven WITH the parchment? No pictures showing this step.
Hey Mike, I am sorry that you had issues with my instructions. The parchment helps with transferring the dough into the dutch oven without deflating it or having you get burned. It acts as a sling, transferring from the proofing basket to the dutch oven. I tried to reword section 8 to make it more clear. I hope this helps!! Good luck with your sourdough 🙂