Dehydrated Garlic | Dehydrator, Oven, Air Fryer
Follow this simple guide to learn how to dehydrate garlic (minced or sliced) in a dehydrator, oven, and air fryer. Easily convert your dehydrated garlic into garlic powder or garlic salt by following the instructions below.
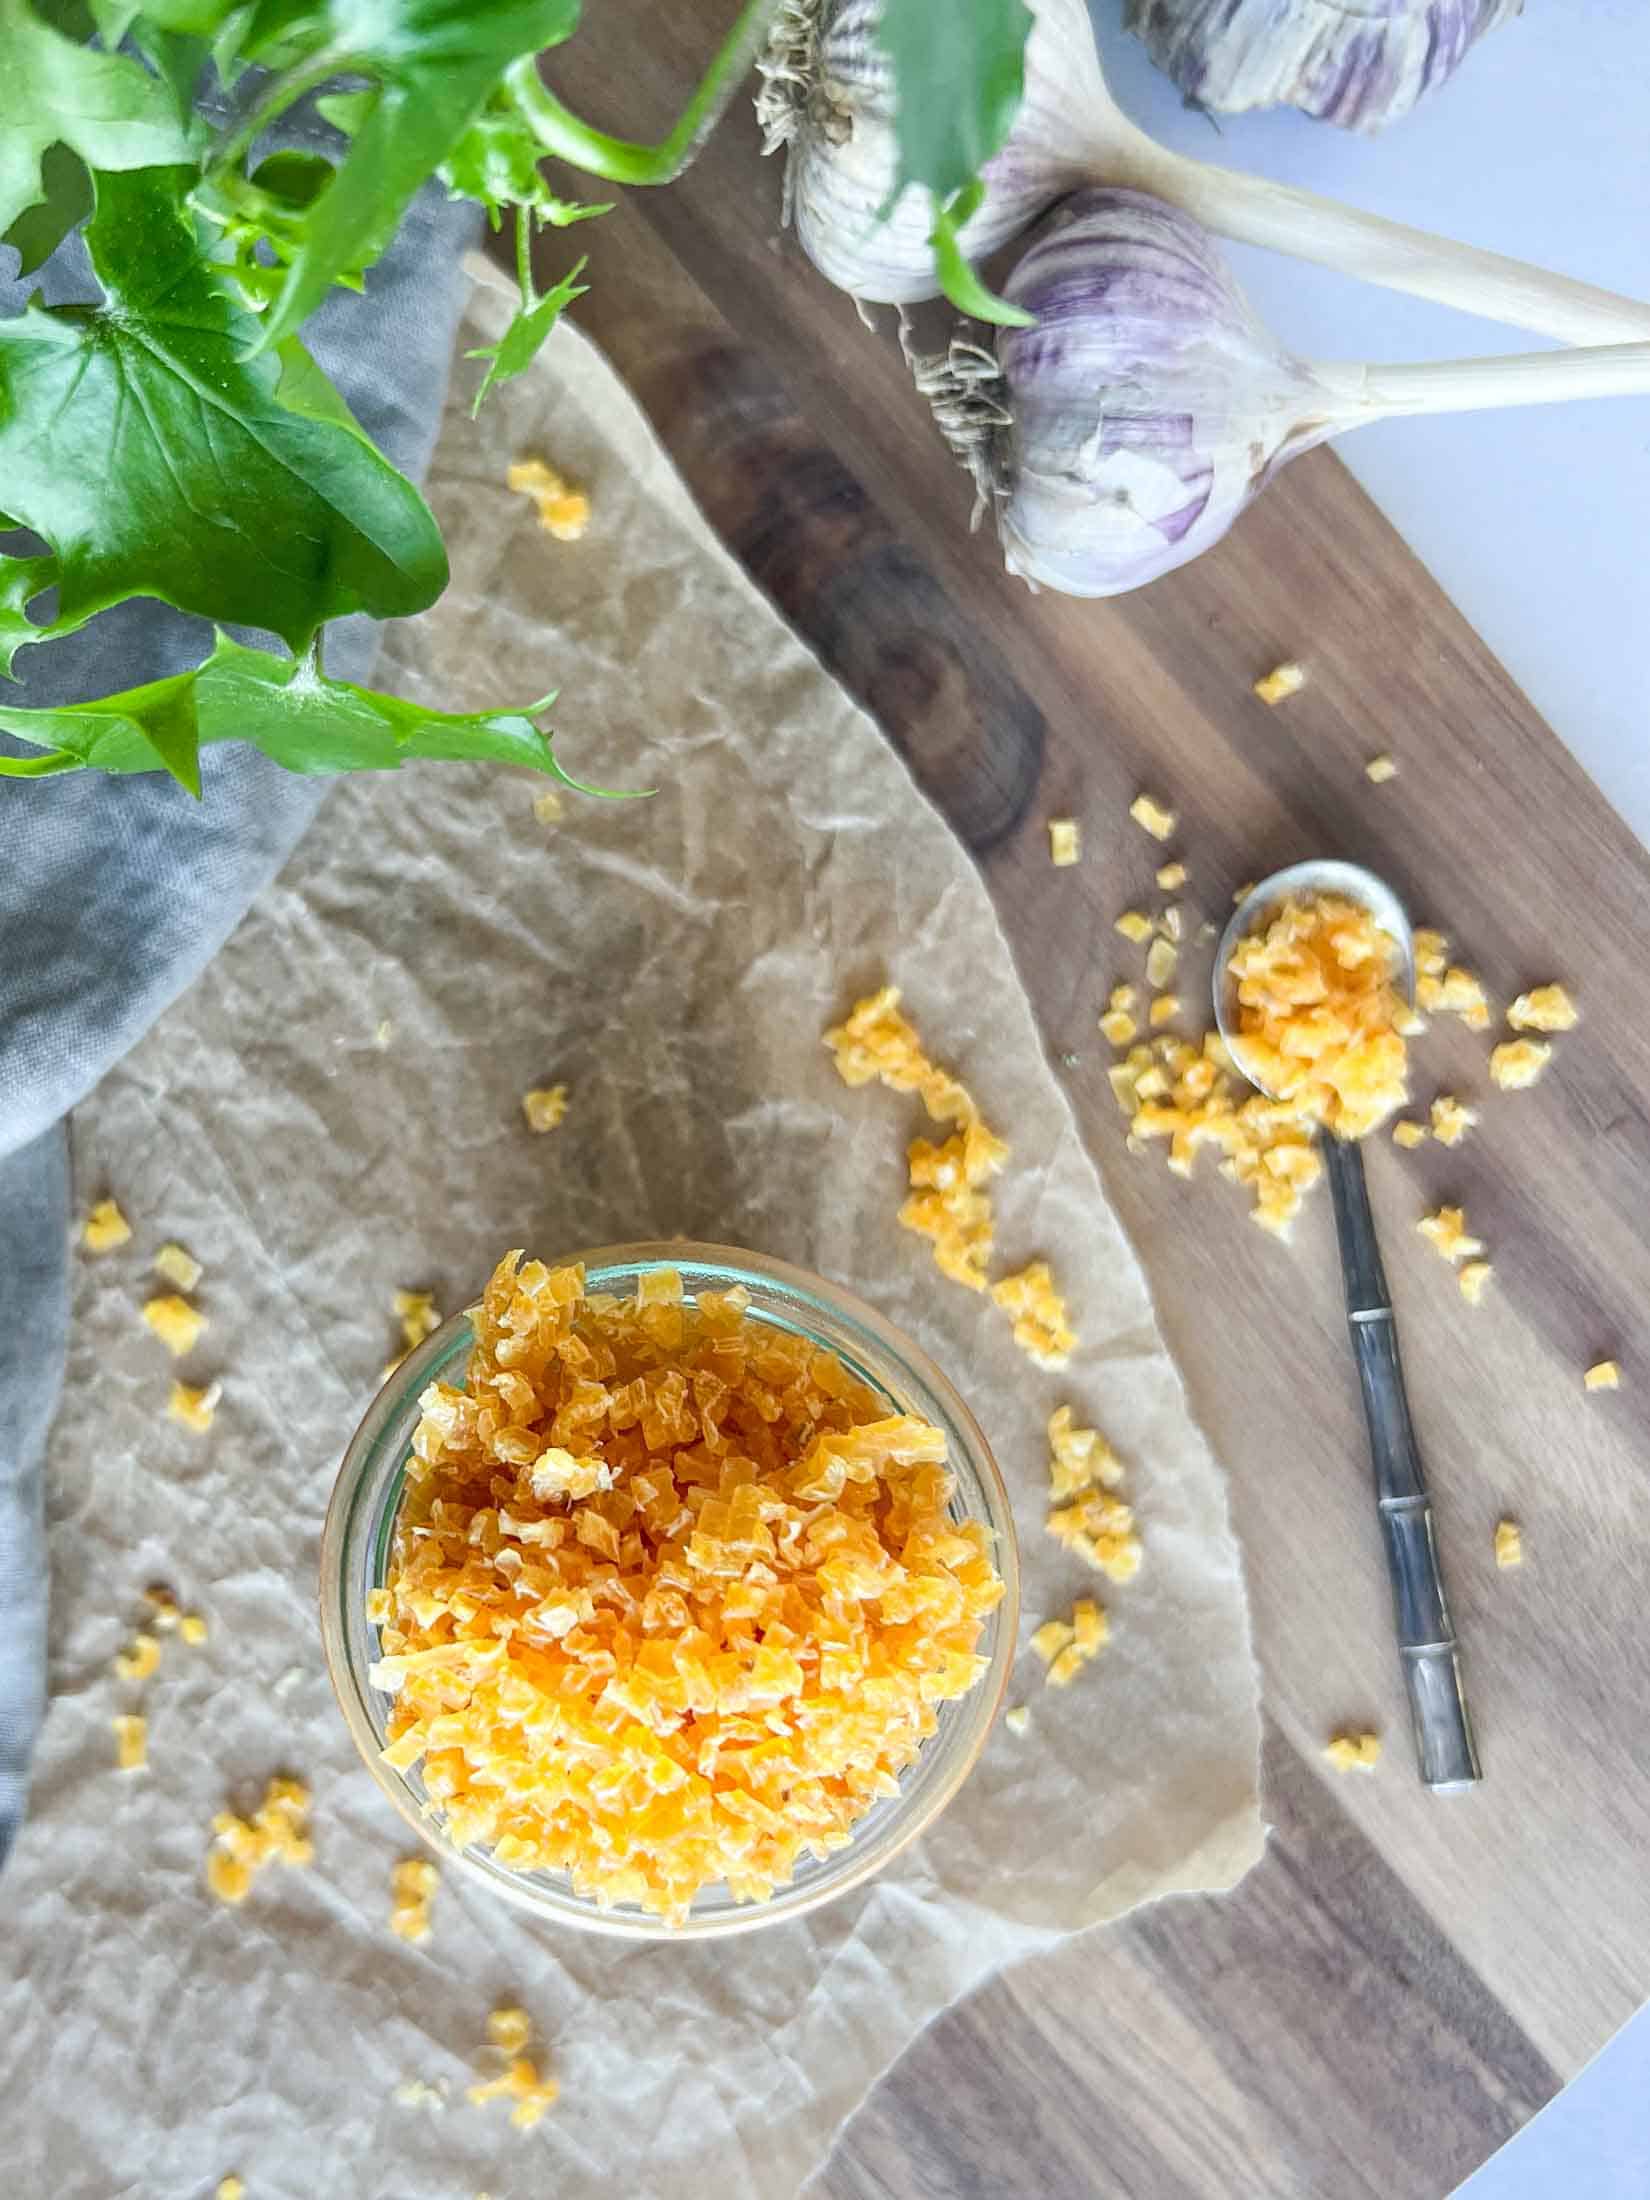
Dehydrated garlic is one of my favorite kitchen staples in addition to dehydrated onions and dehydrated peppers. Grab a handful of dried garlic and add it to your favorite soups, stews, sauces, and dressings. Dehydrating garlic is the process of removing all moisture, resulting in a concentrated burst of garlicky flavor. Drying garlic helps to save freezer and storage space for a long term preservation solution that is simple to grab and use any time of the year.
This year I grew several kinds of hardneck garlic including purple russian. It turned out SO good- I have been using it in Old Fashioned Fermented Dill Pickles and mincing it up to use in different marinades and sauces. If you haven’t taken a crack at growing your own garlic, I highly recommend it! Preserve your garlic harvest to use throughout the year with this easy tutorial.
Why Dehydrated Garlic ROCKS!


Key Ingredients
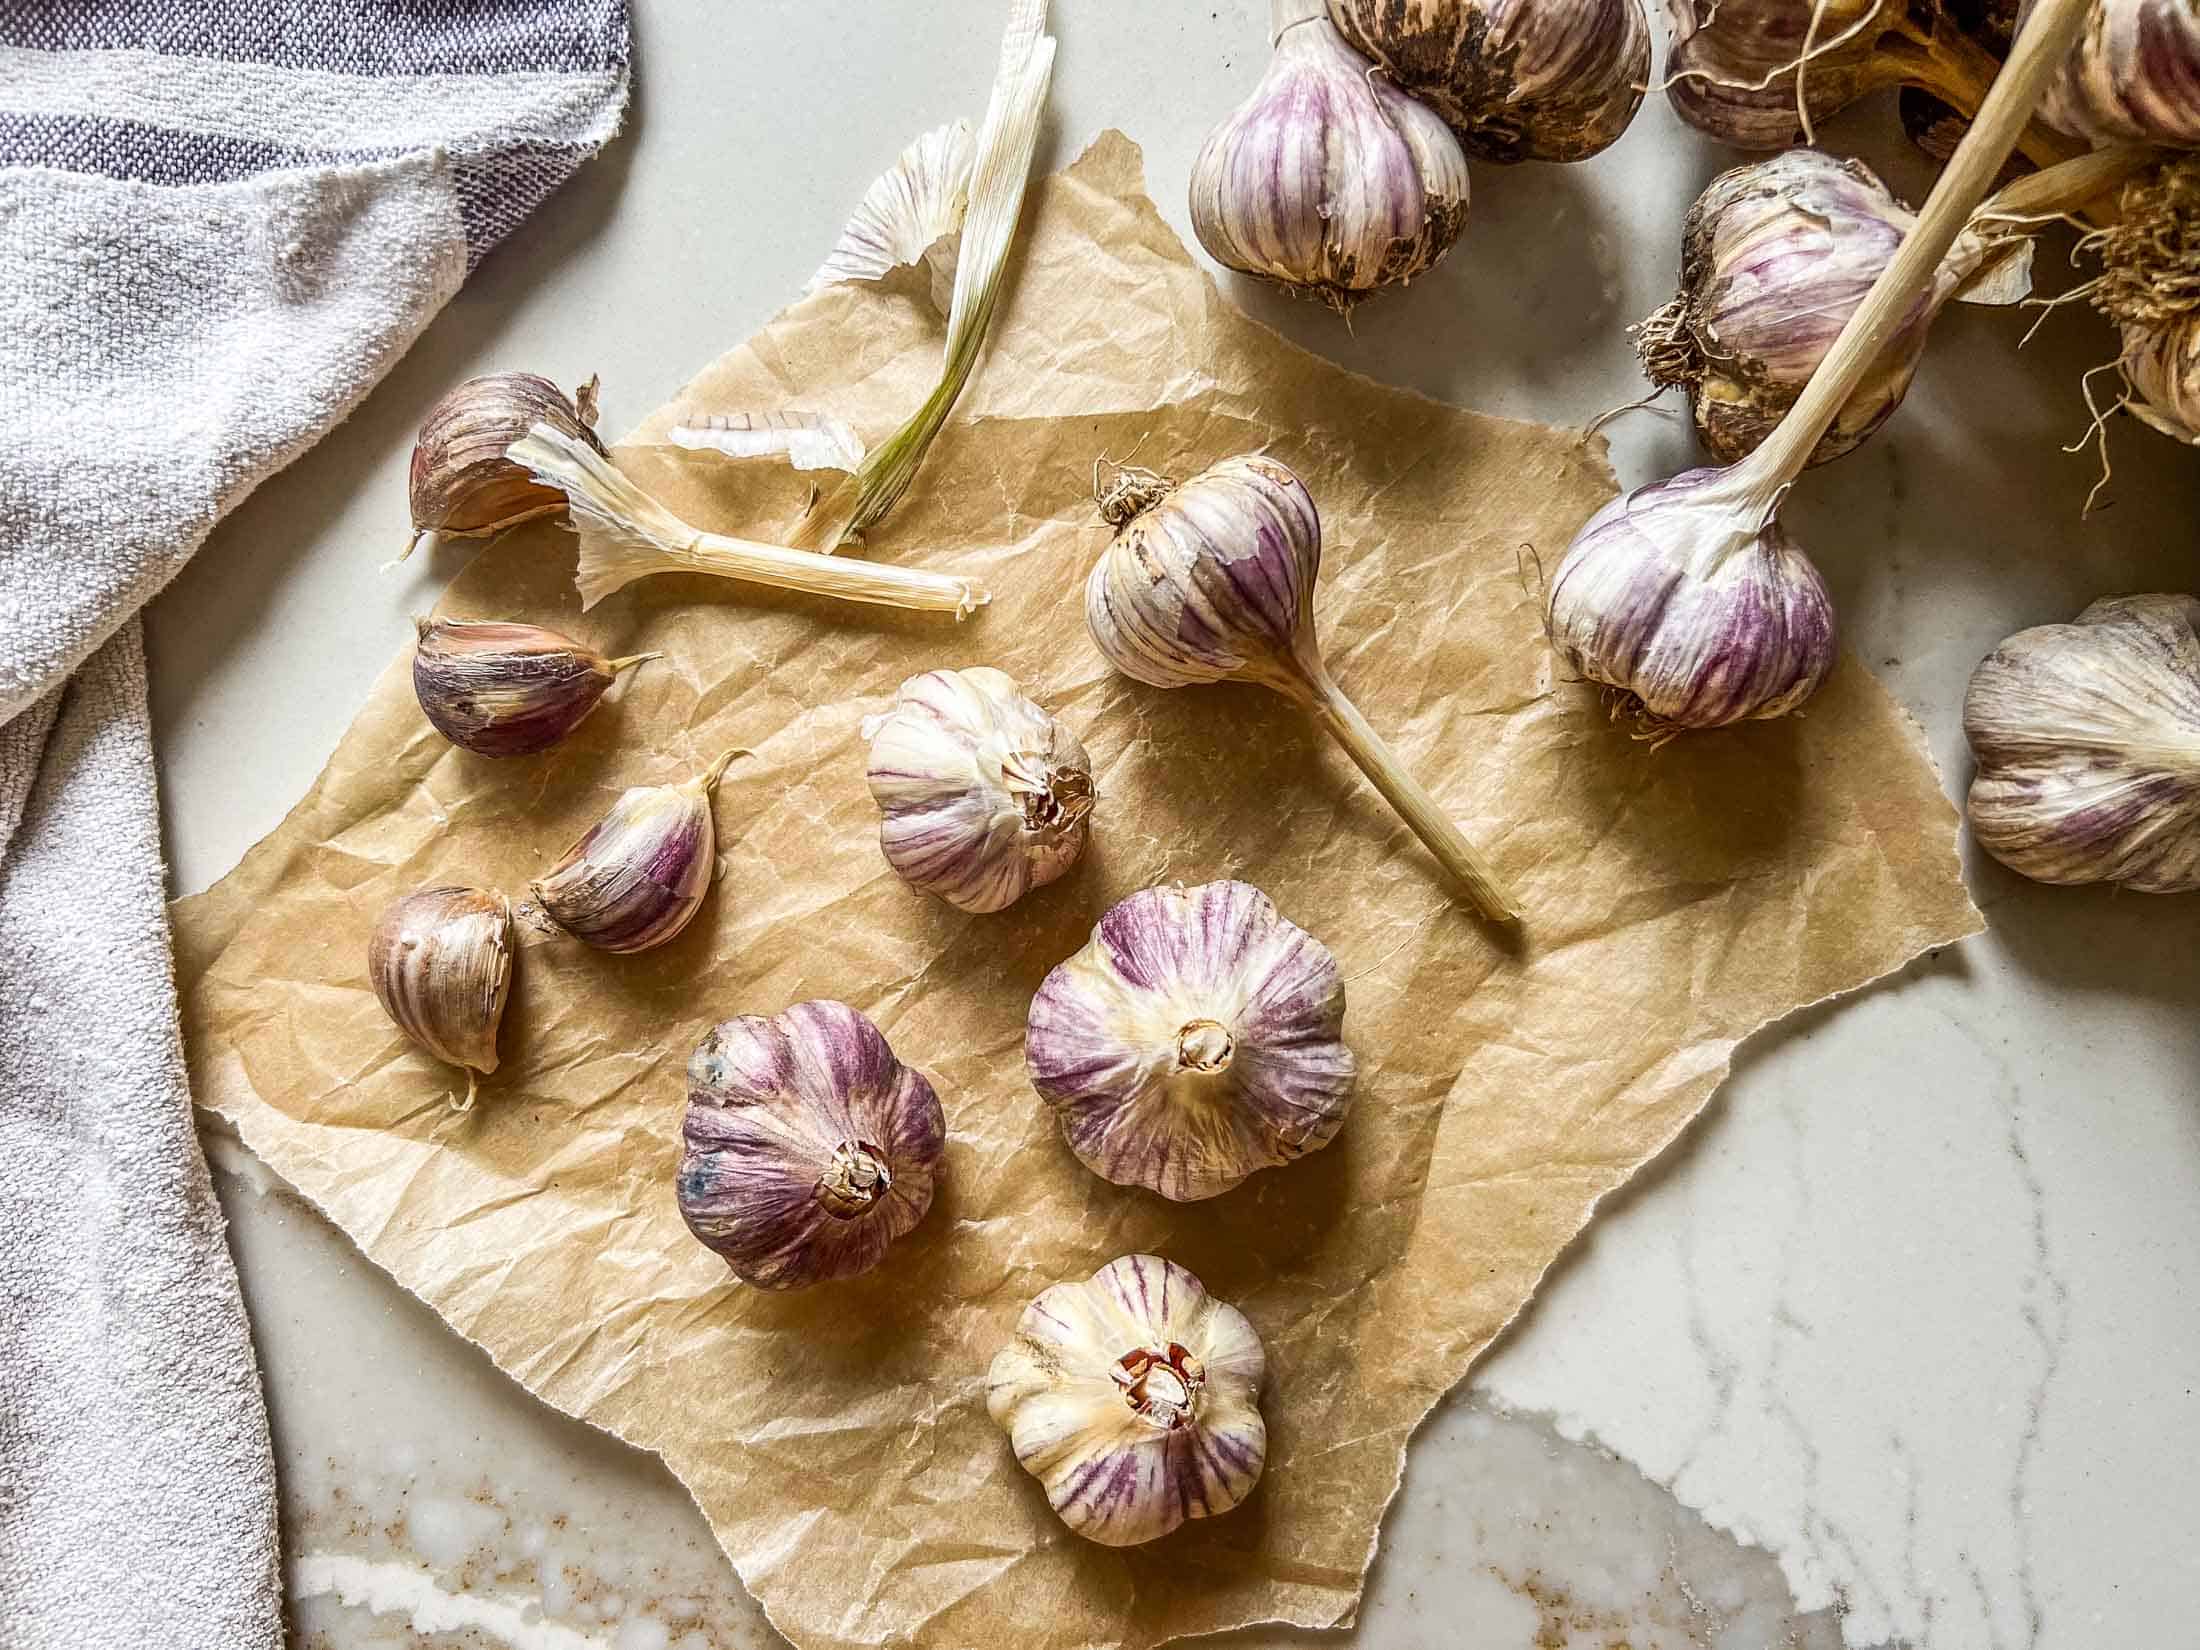
Garlic: I recommend hardneck varieties of garlic because they tend to have stronger flavor than softneck varieties. Source out some good, fresh, local garlic from a nearby farmer’s market, CSA, or neighbor when possible. According to DryingAllFoods.Com, some of the best types of garlic to store and dehydrate include Wight, Silverskin, Ivory, Elephant, Cristo, and Creole varieties.
How To Dehydrate Garlic
STEP 1: Prepare Garlic For Dehydrating
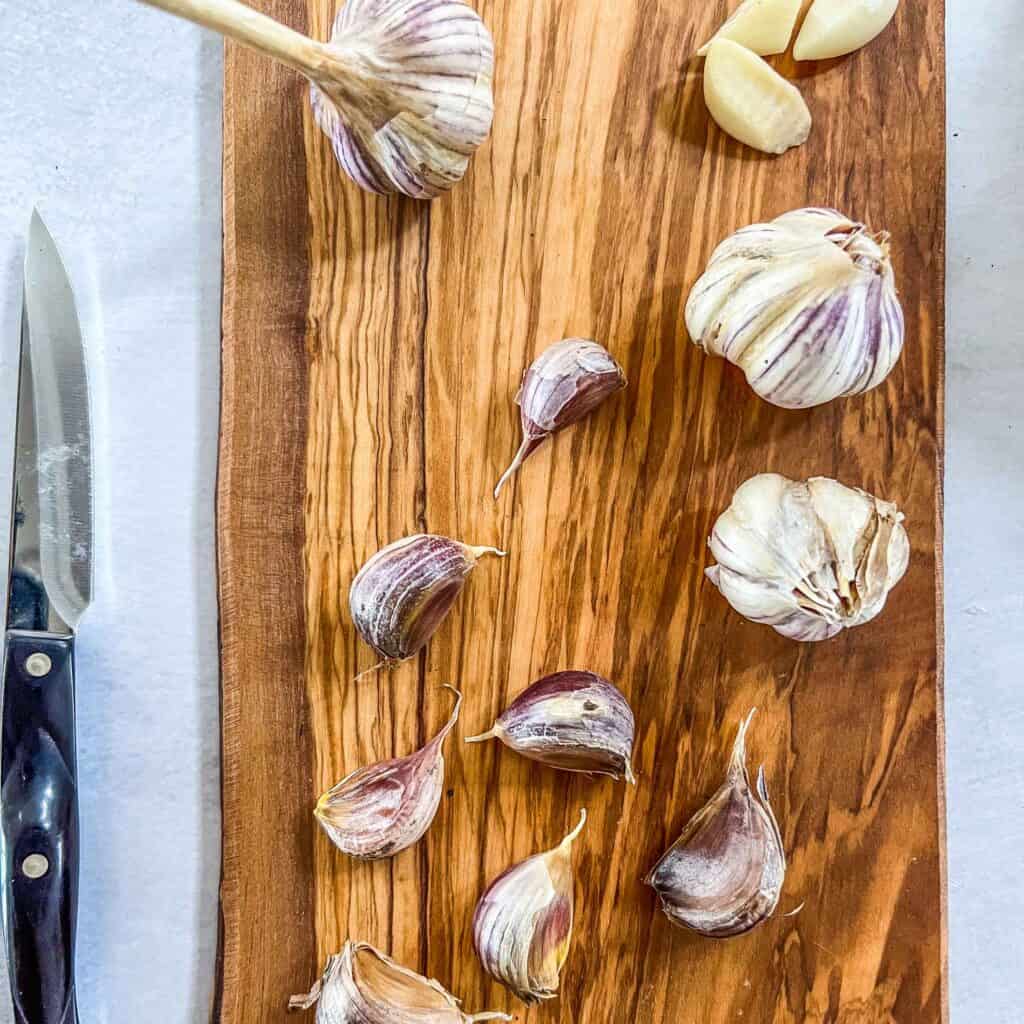
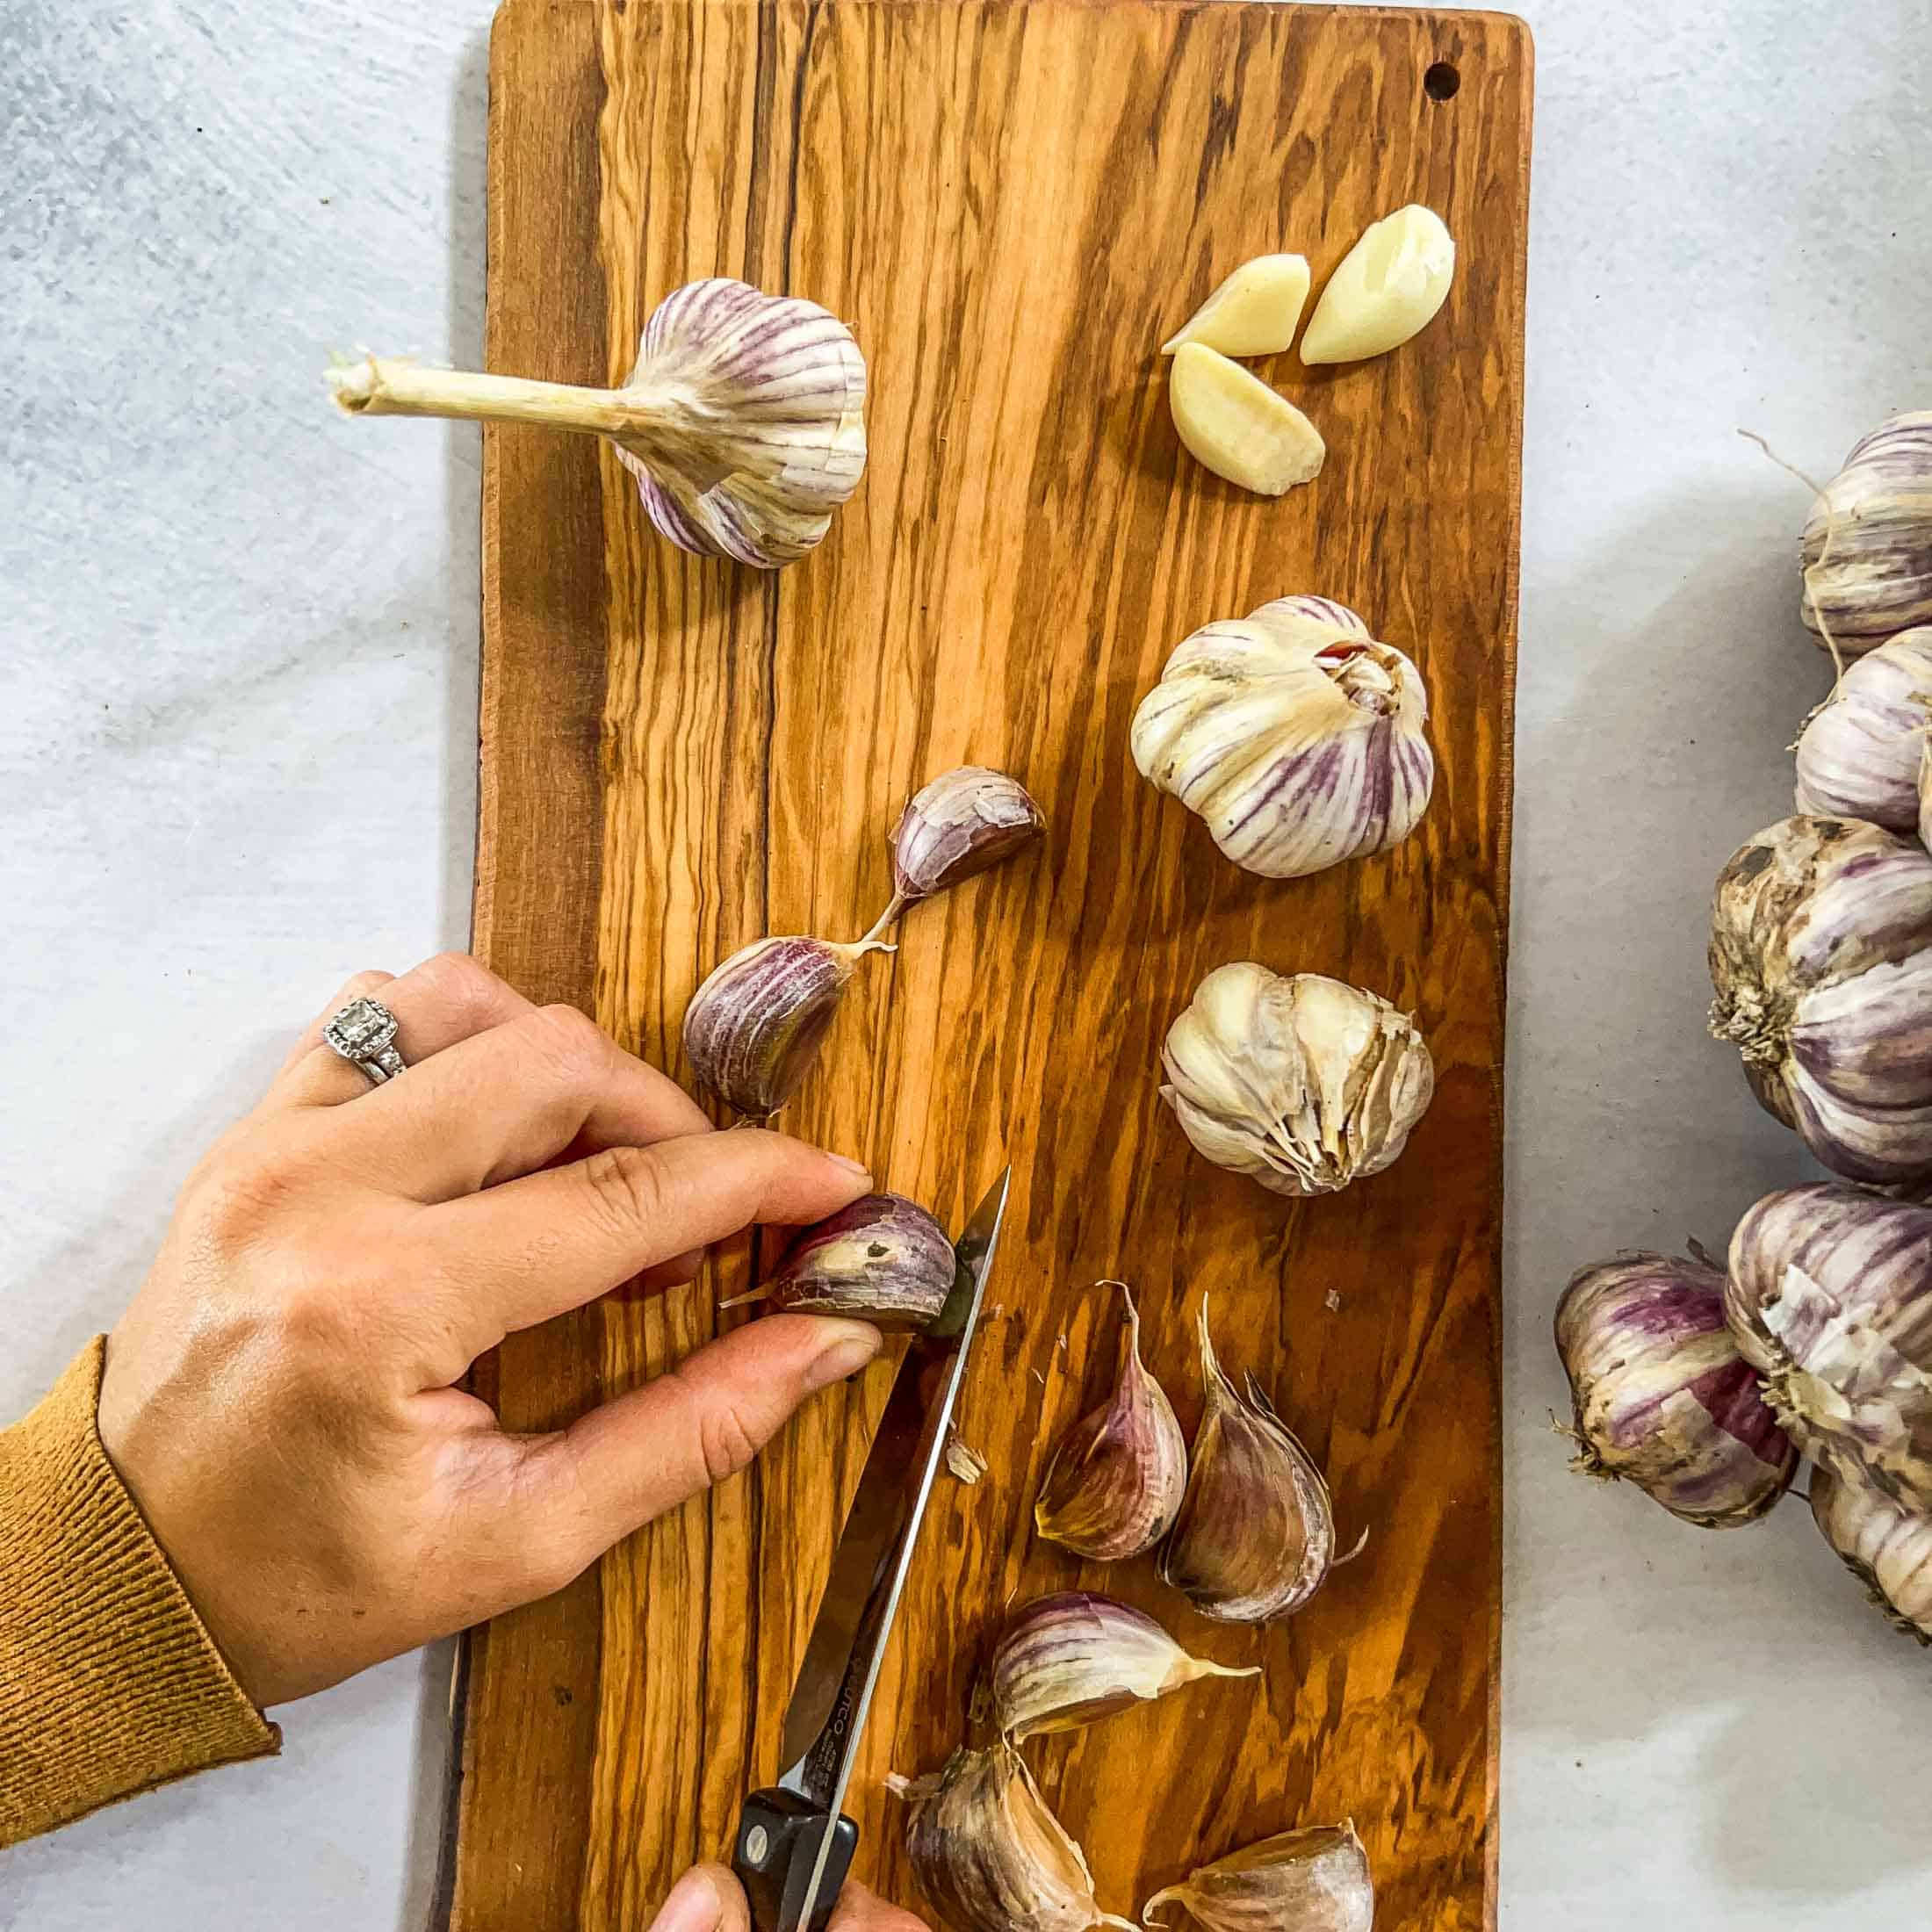
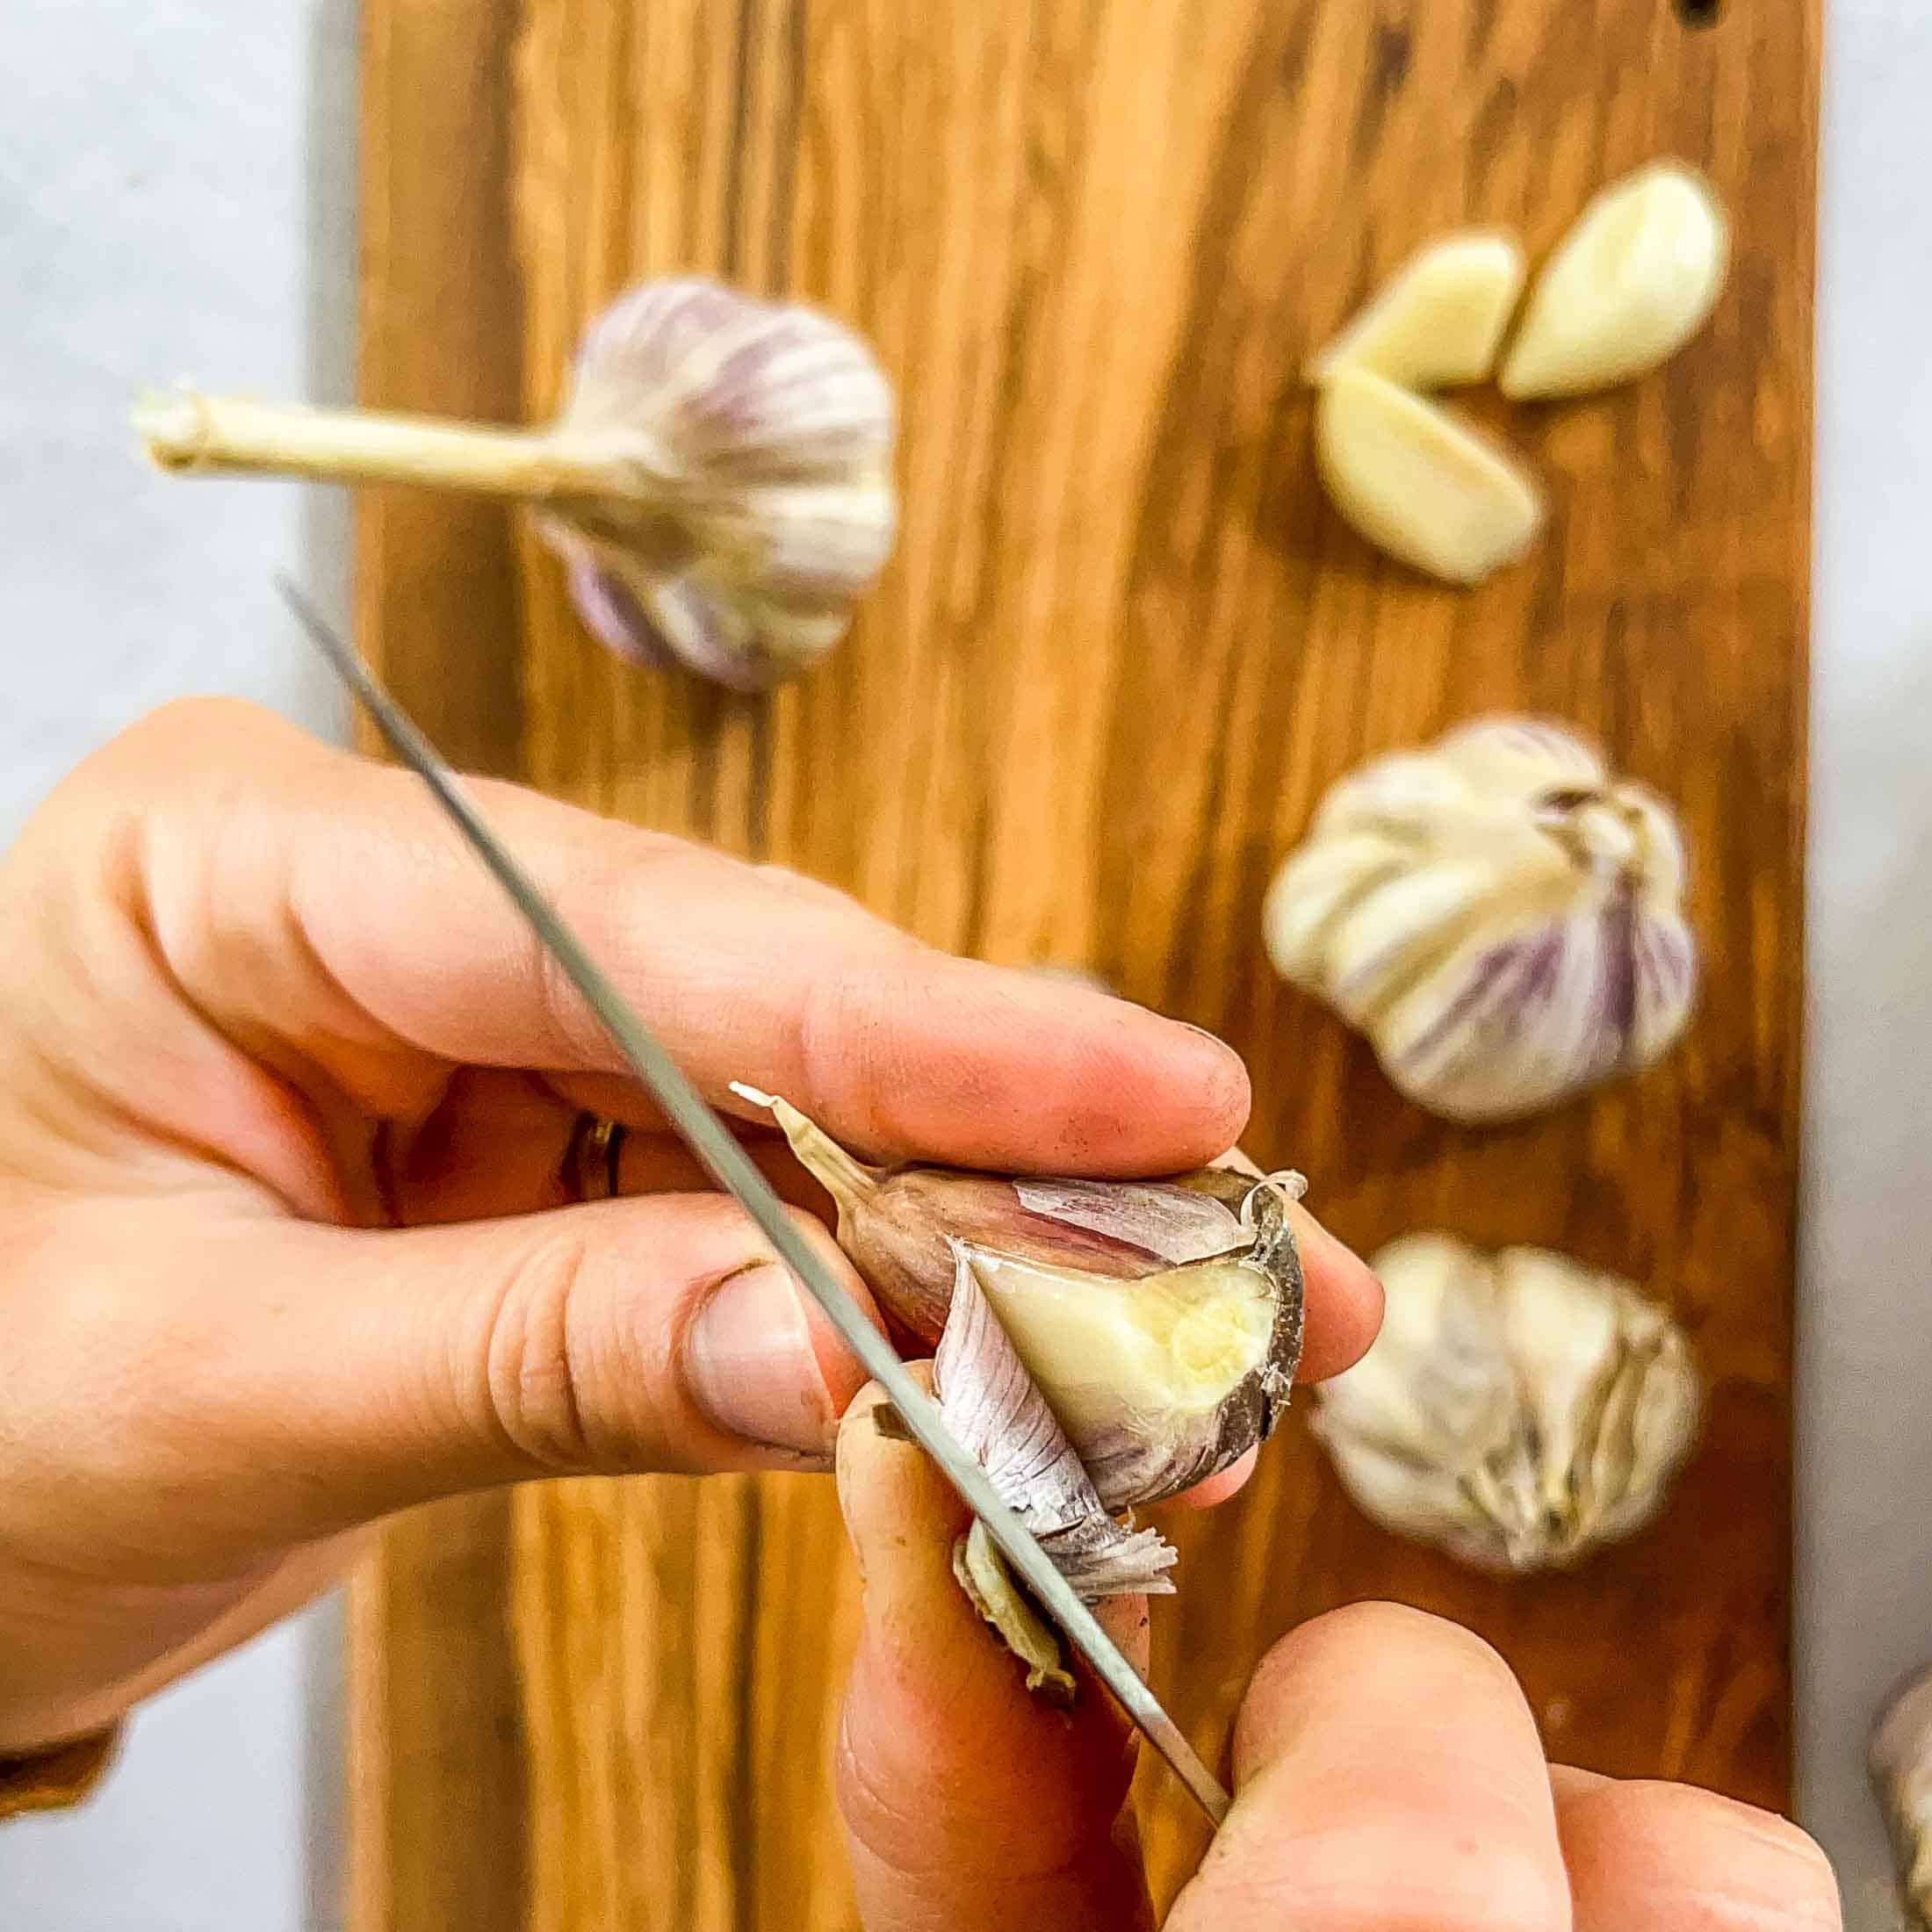
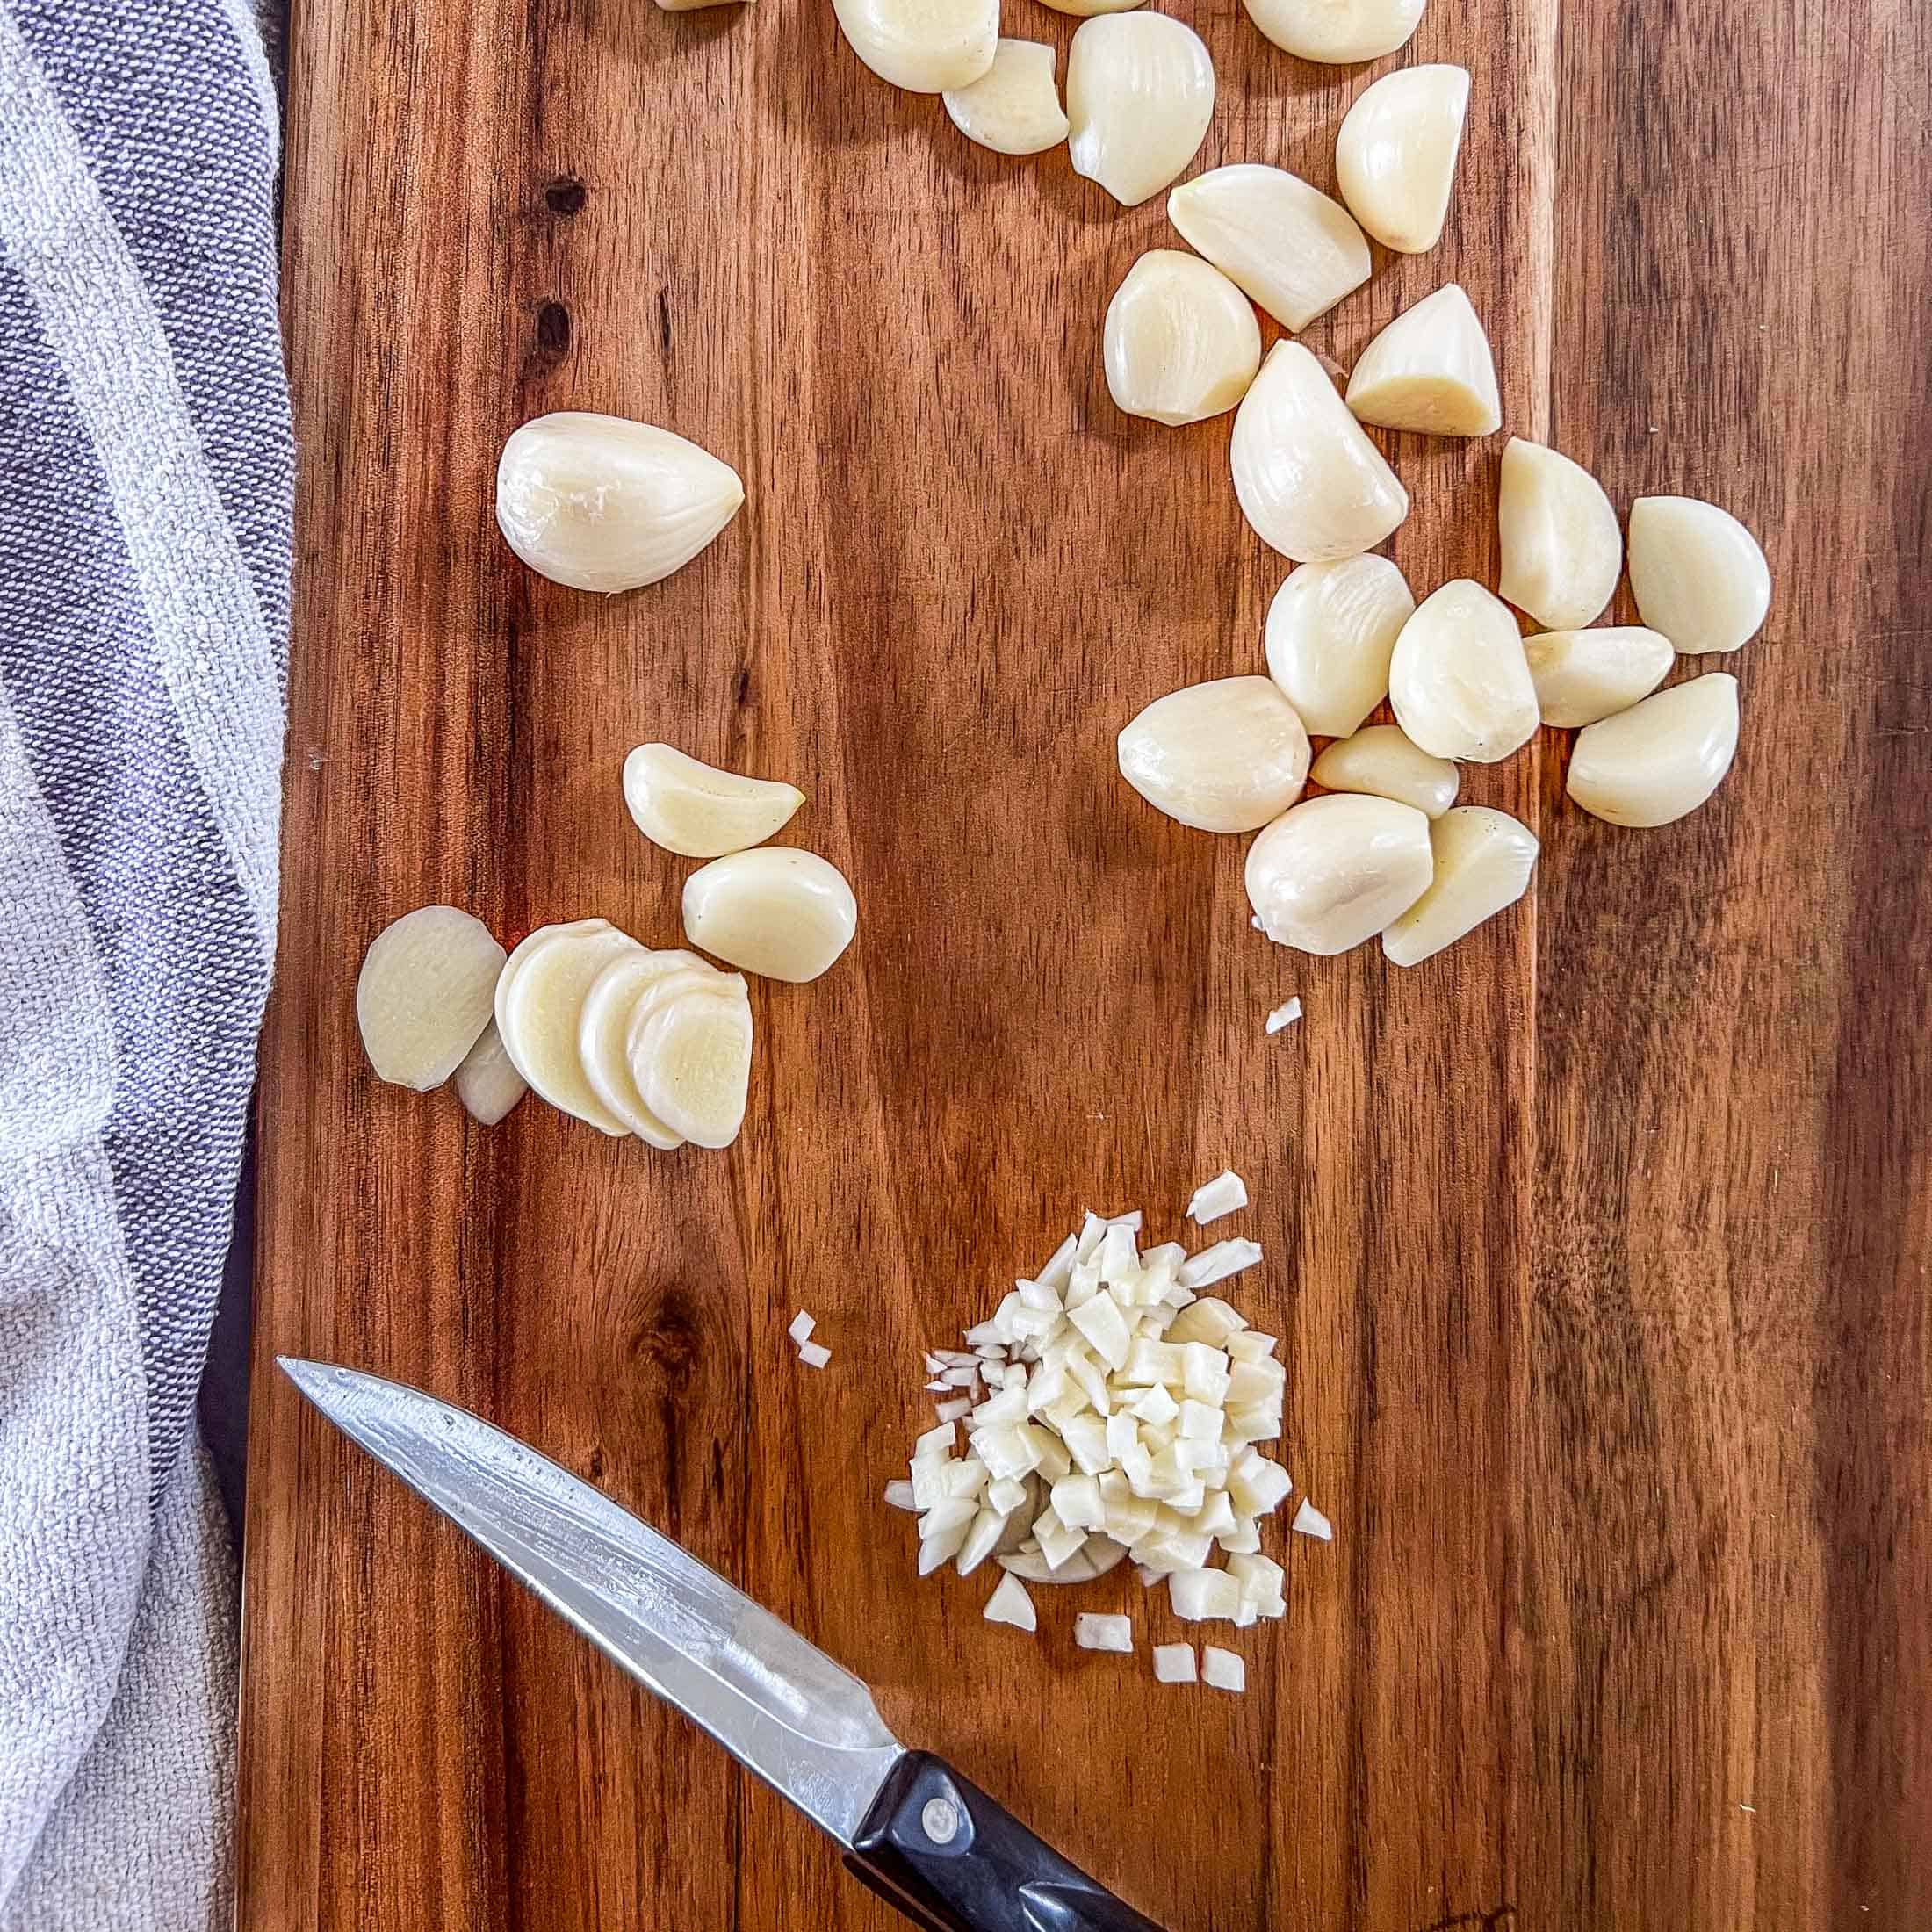
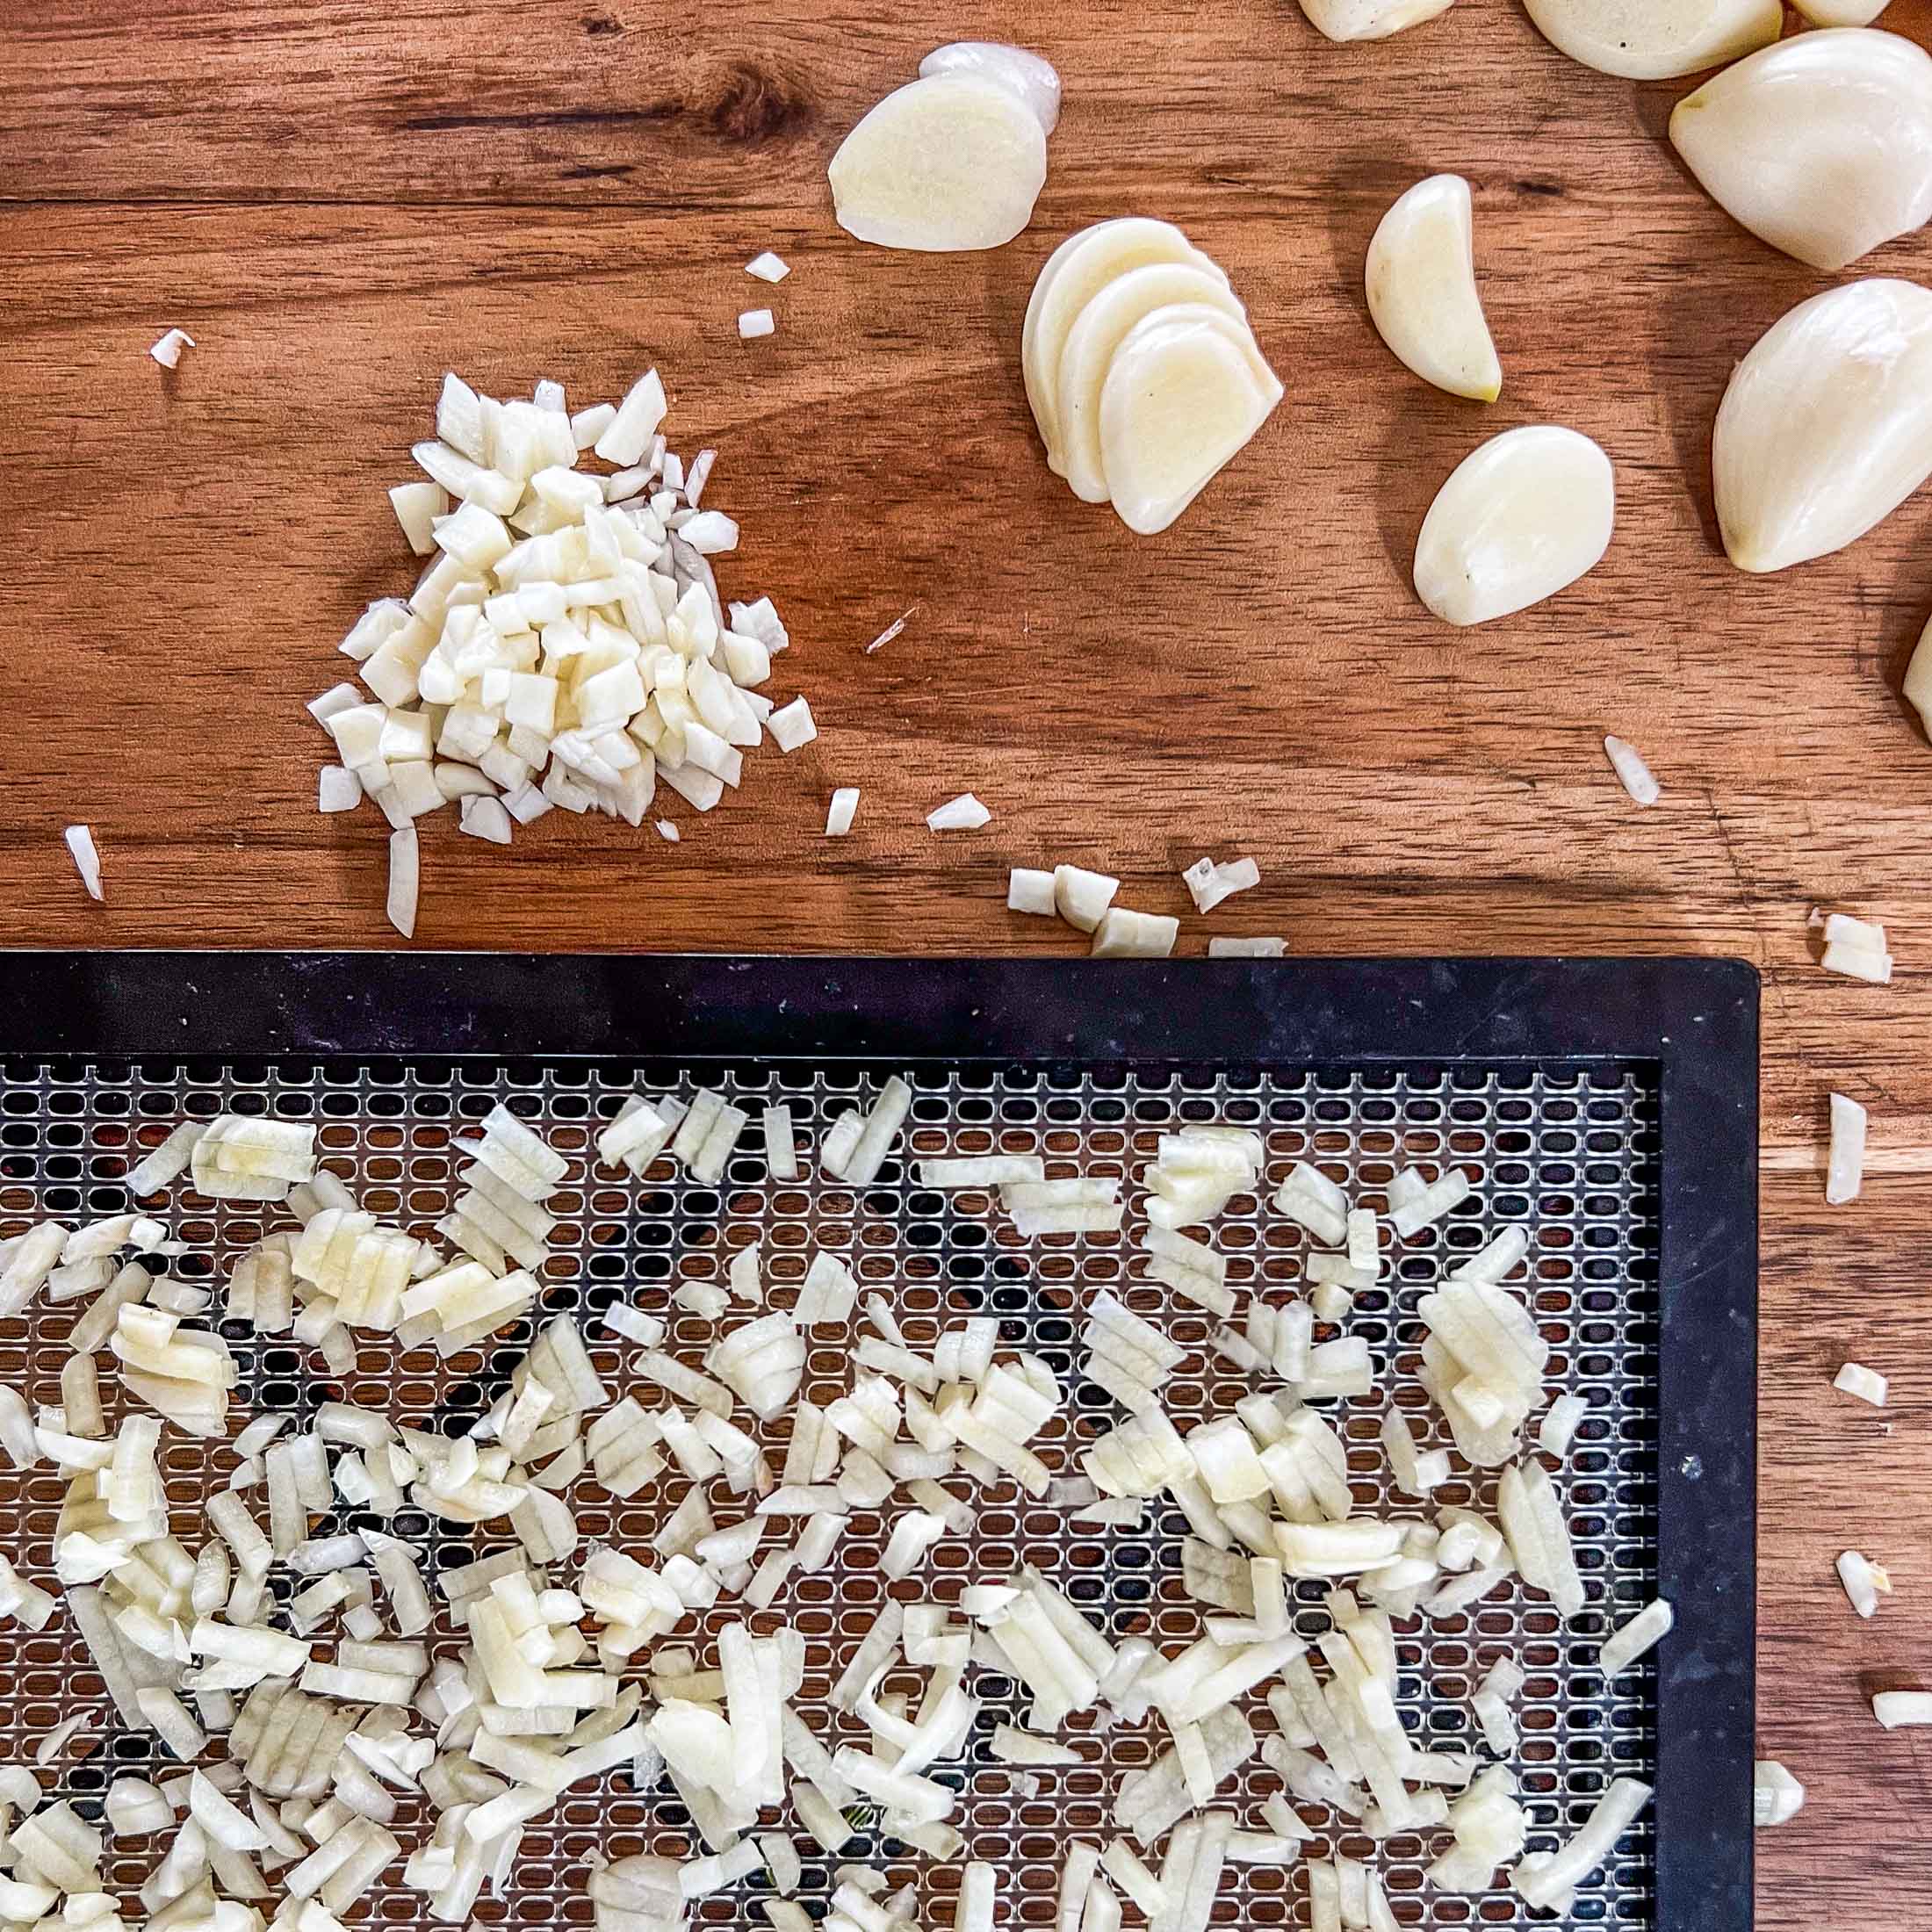
To prepare garlic for dehydrating, start by gently removing any excess papery outsides and debris. Avoid getting the garlic wet at this point. Break apart the head of garlic so that all of the cloves are separate and discard the middle stem.
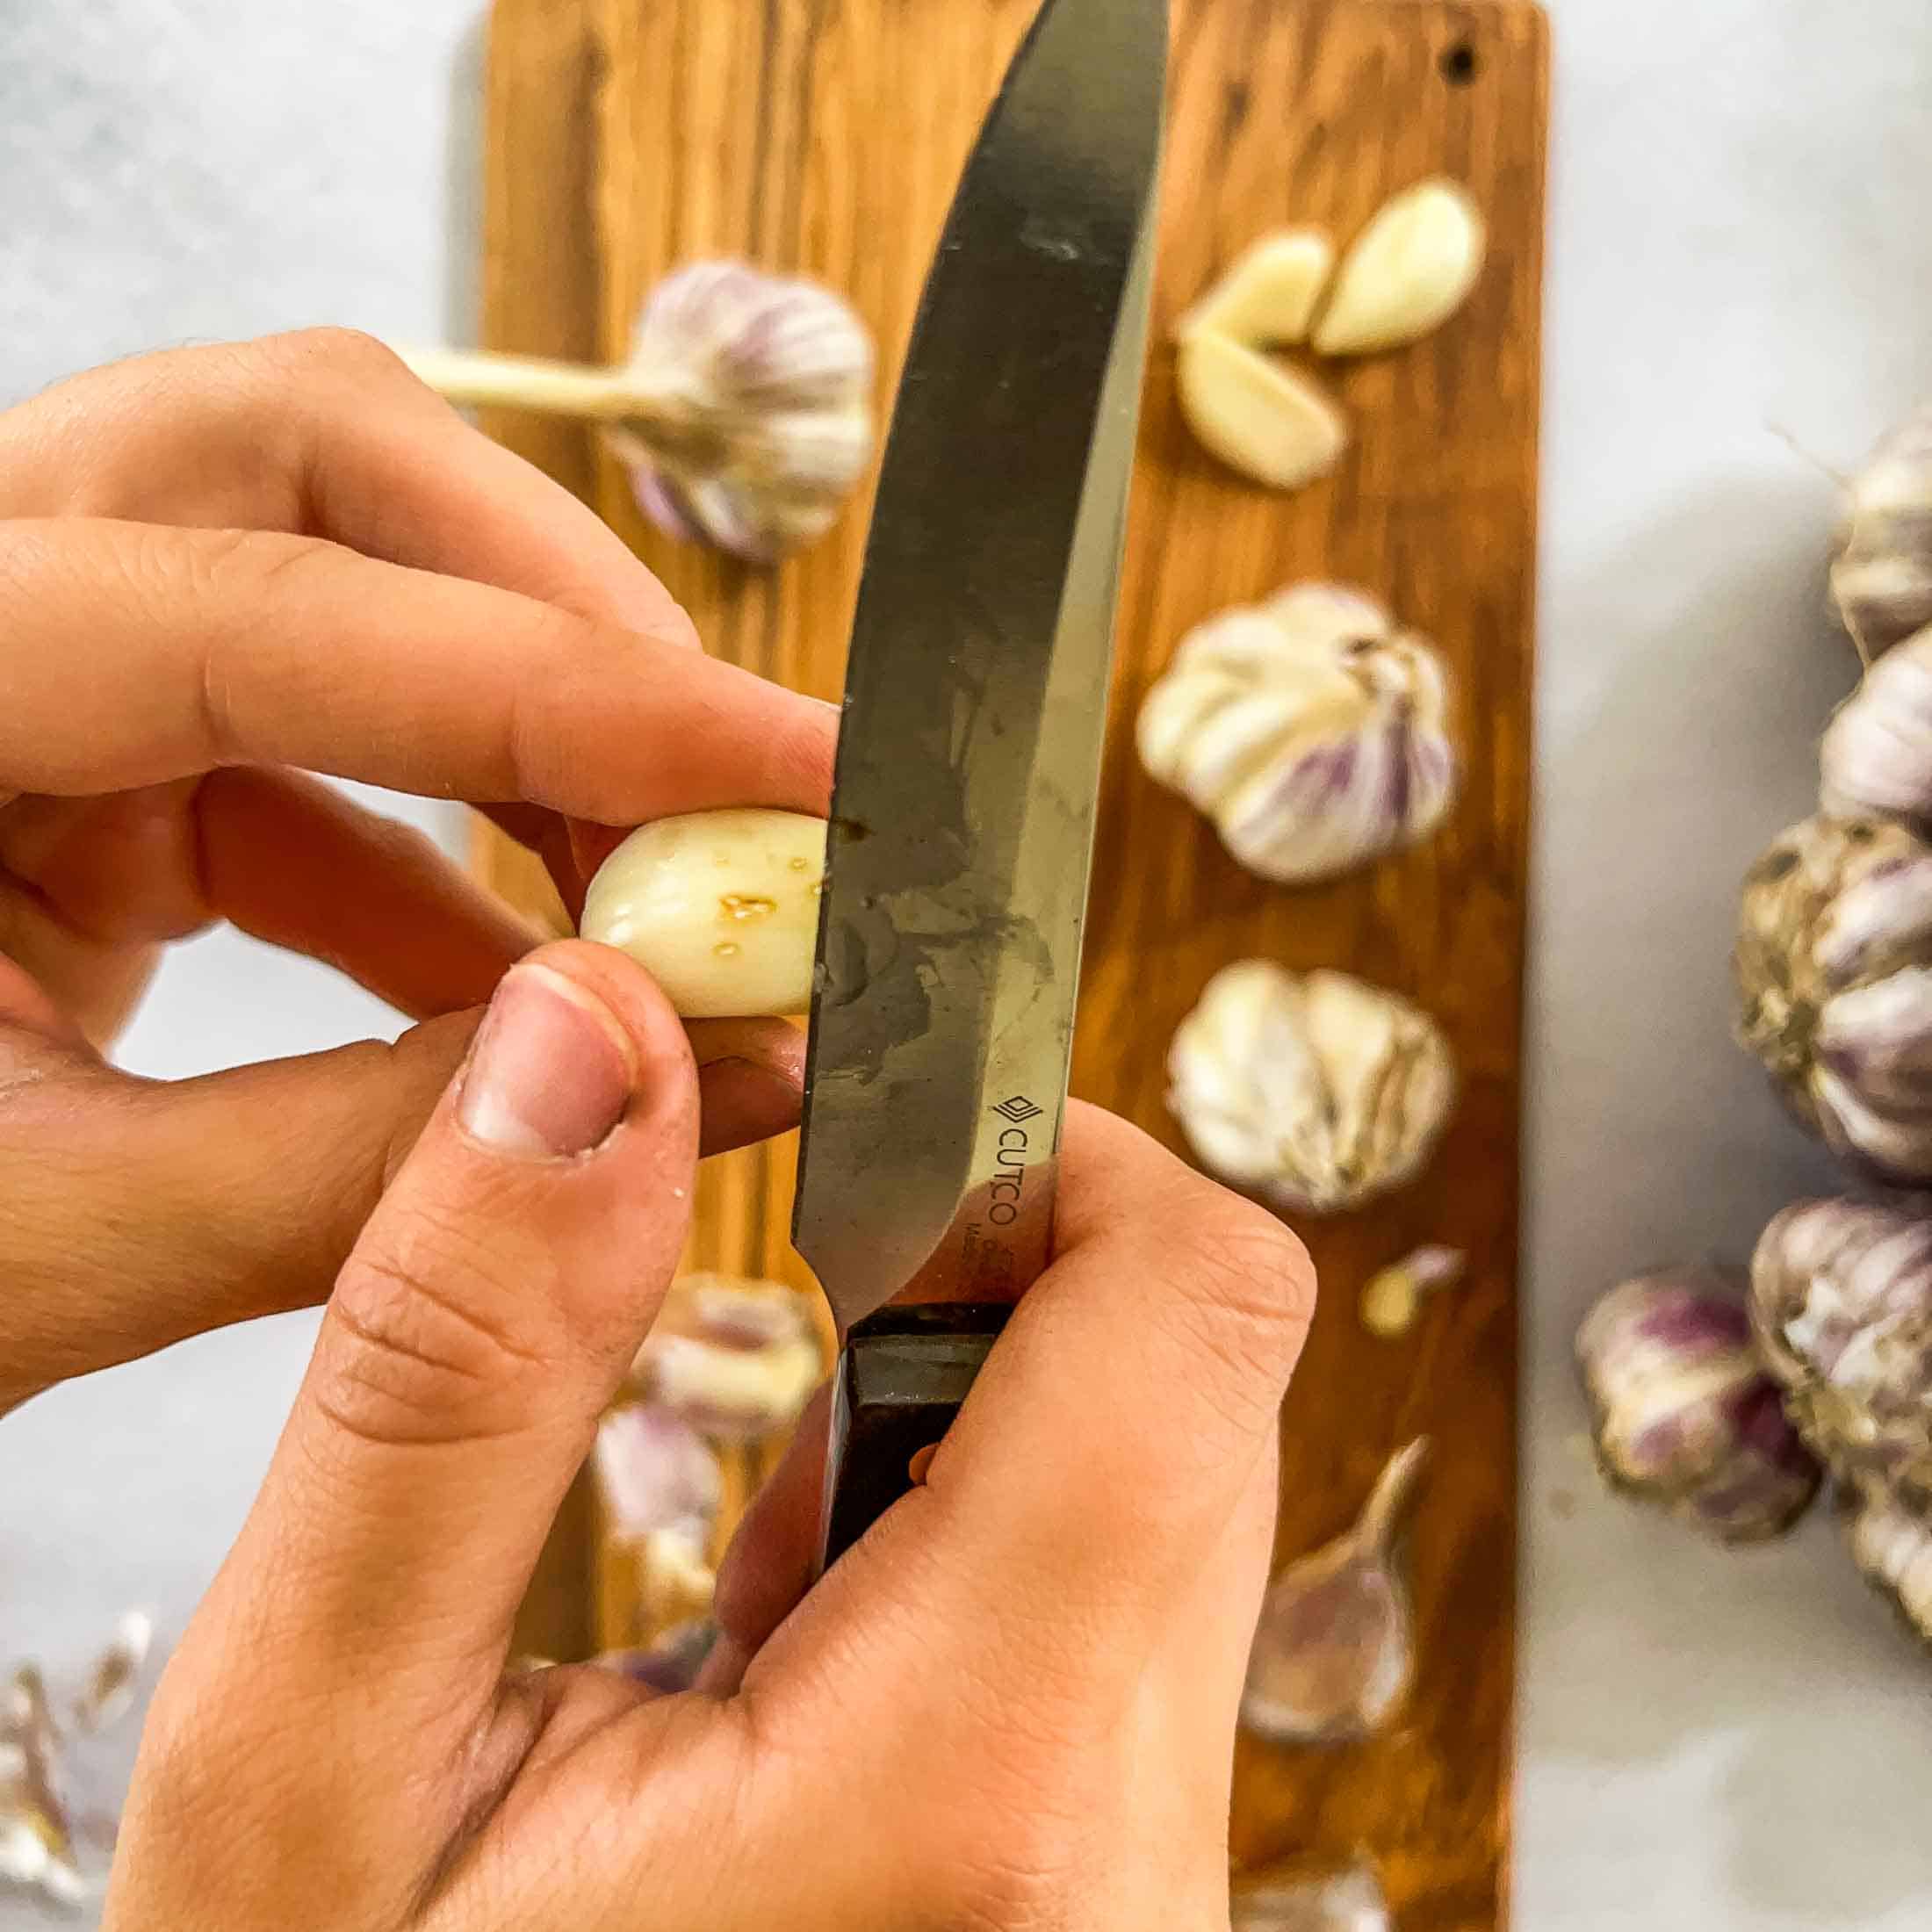
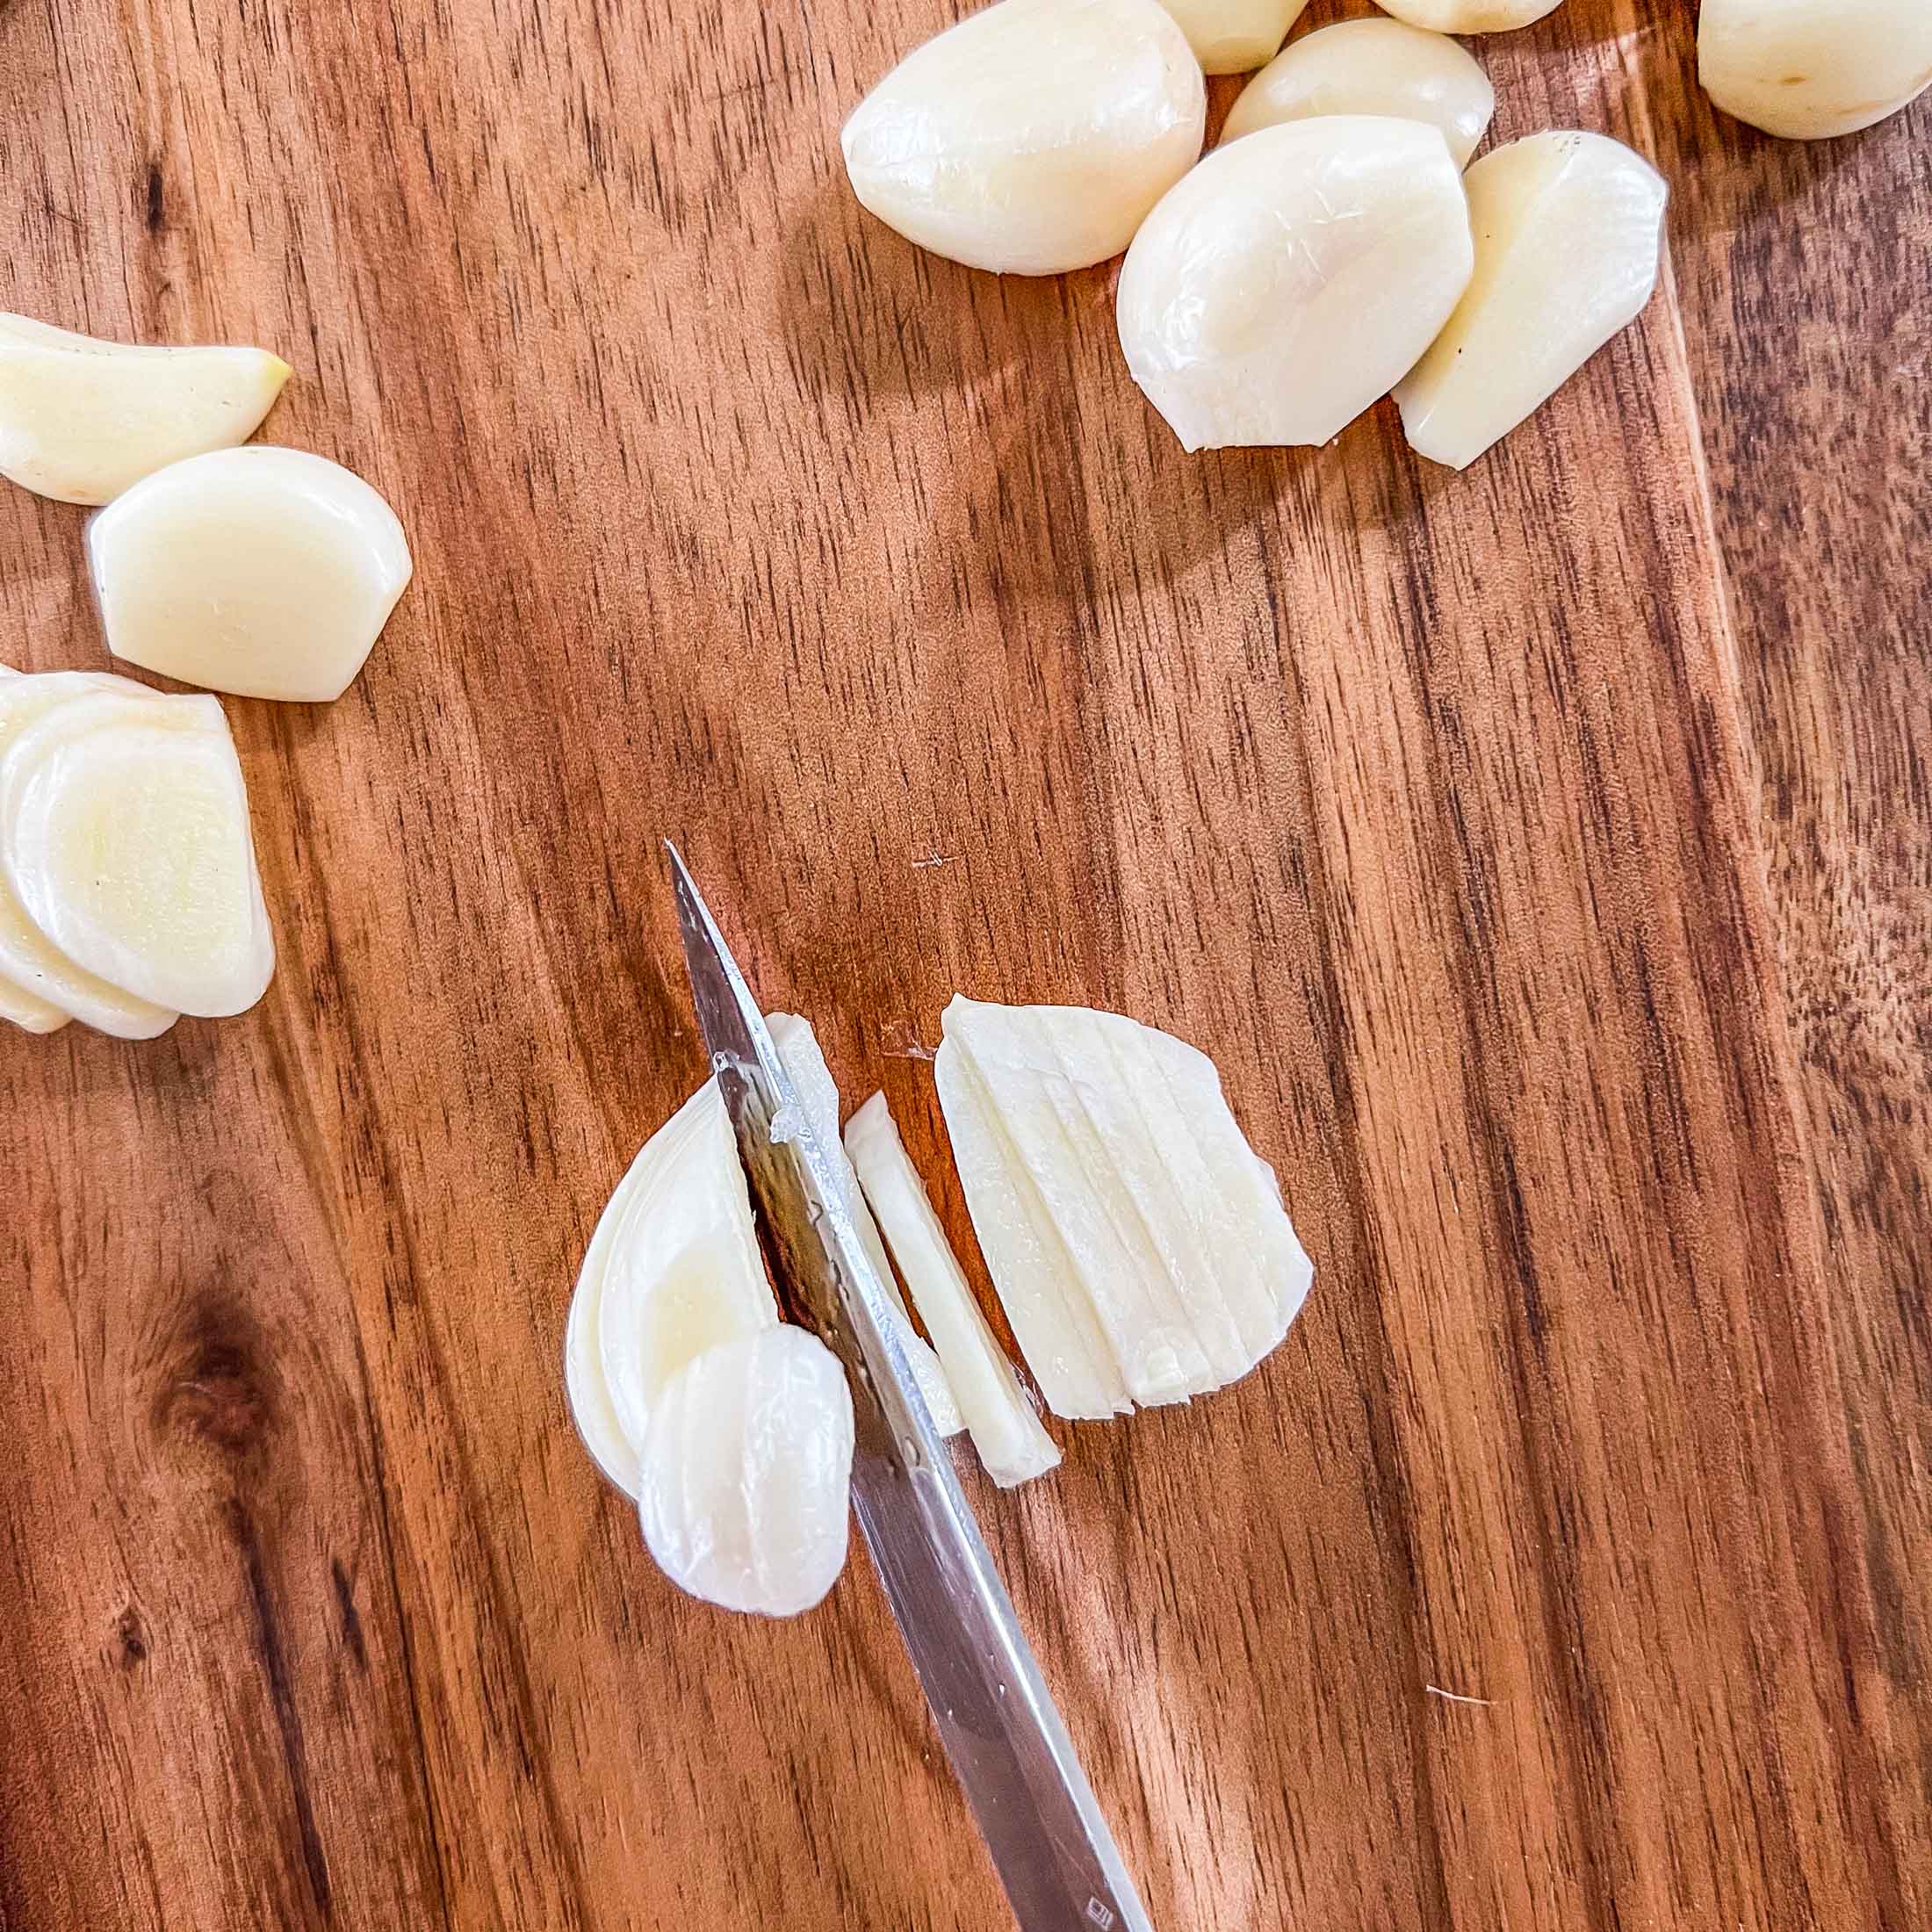
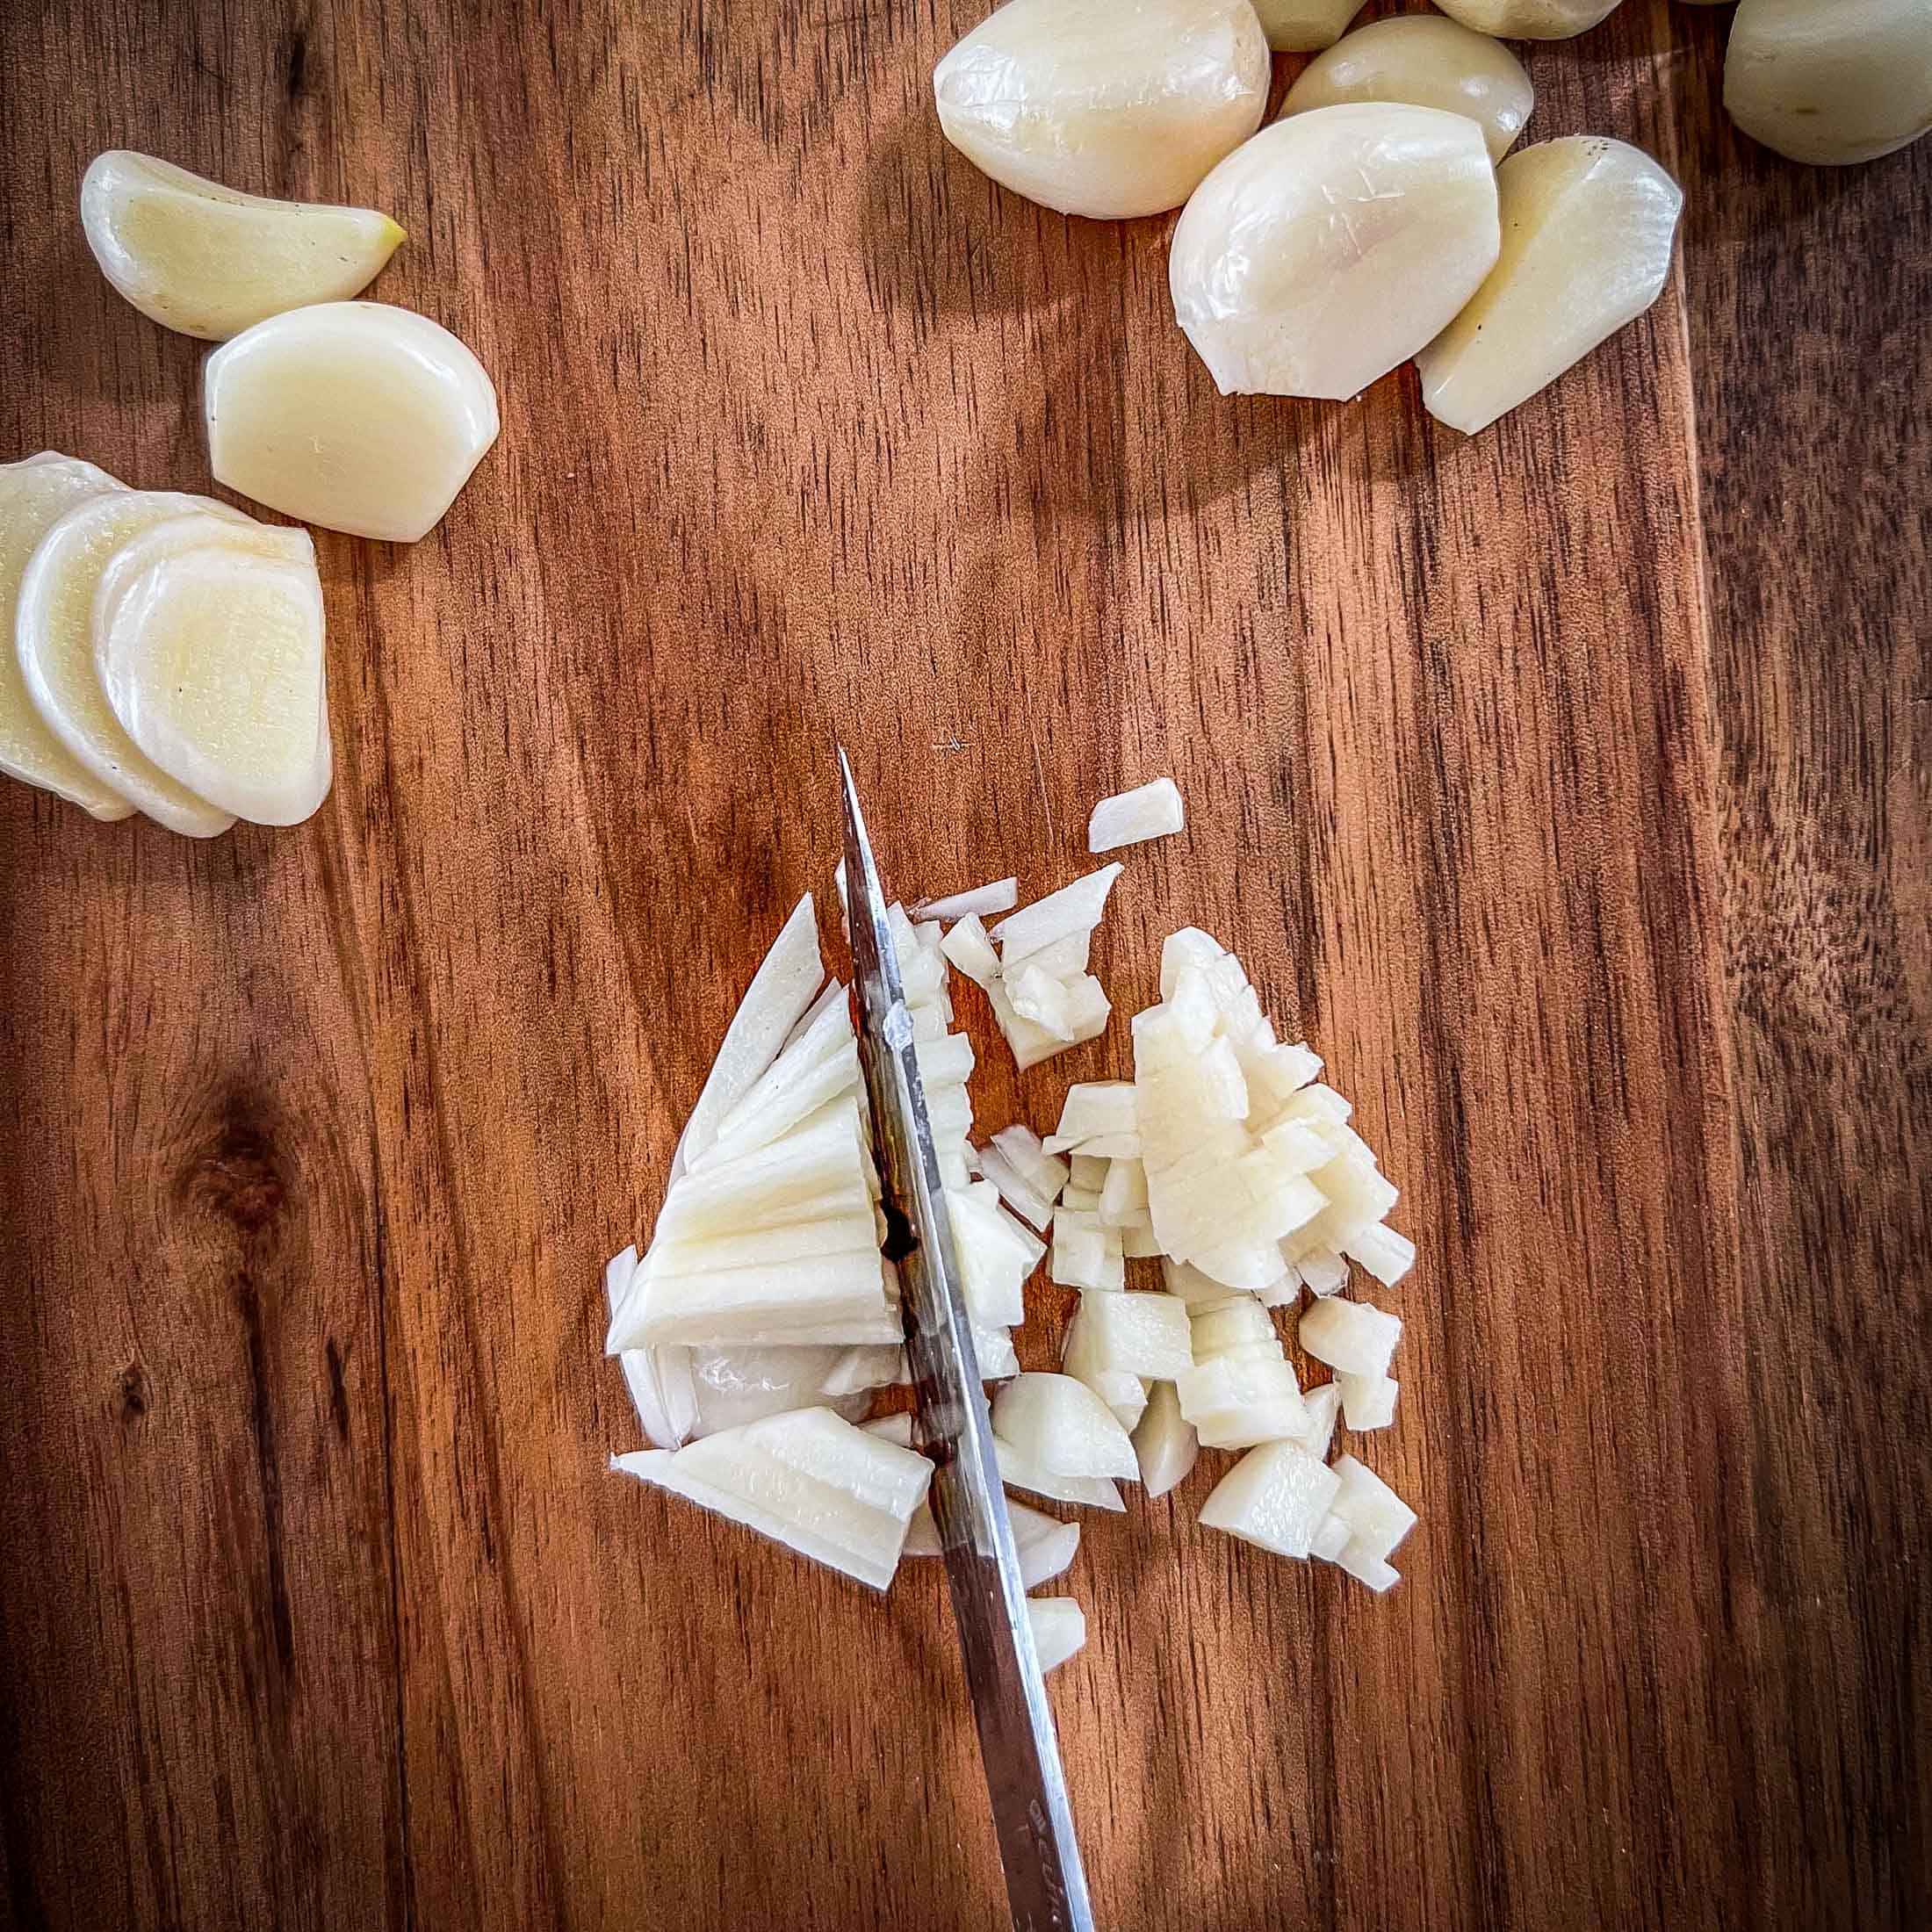
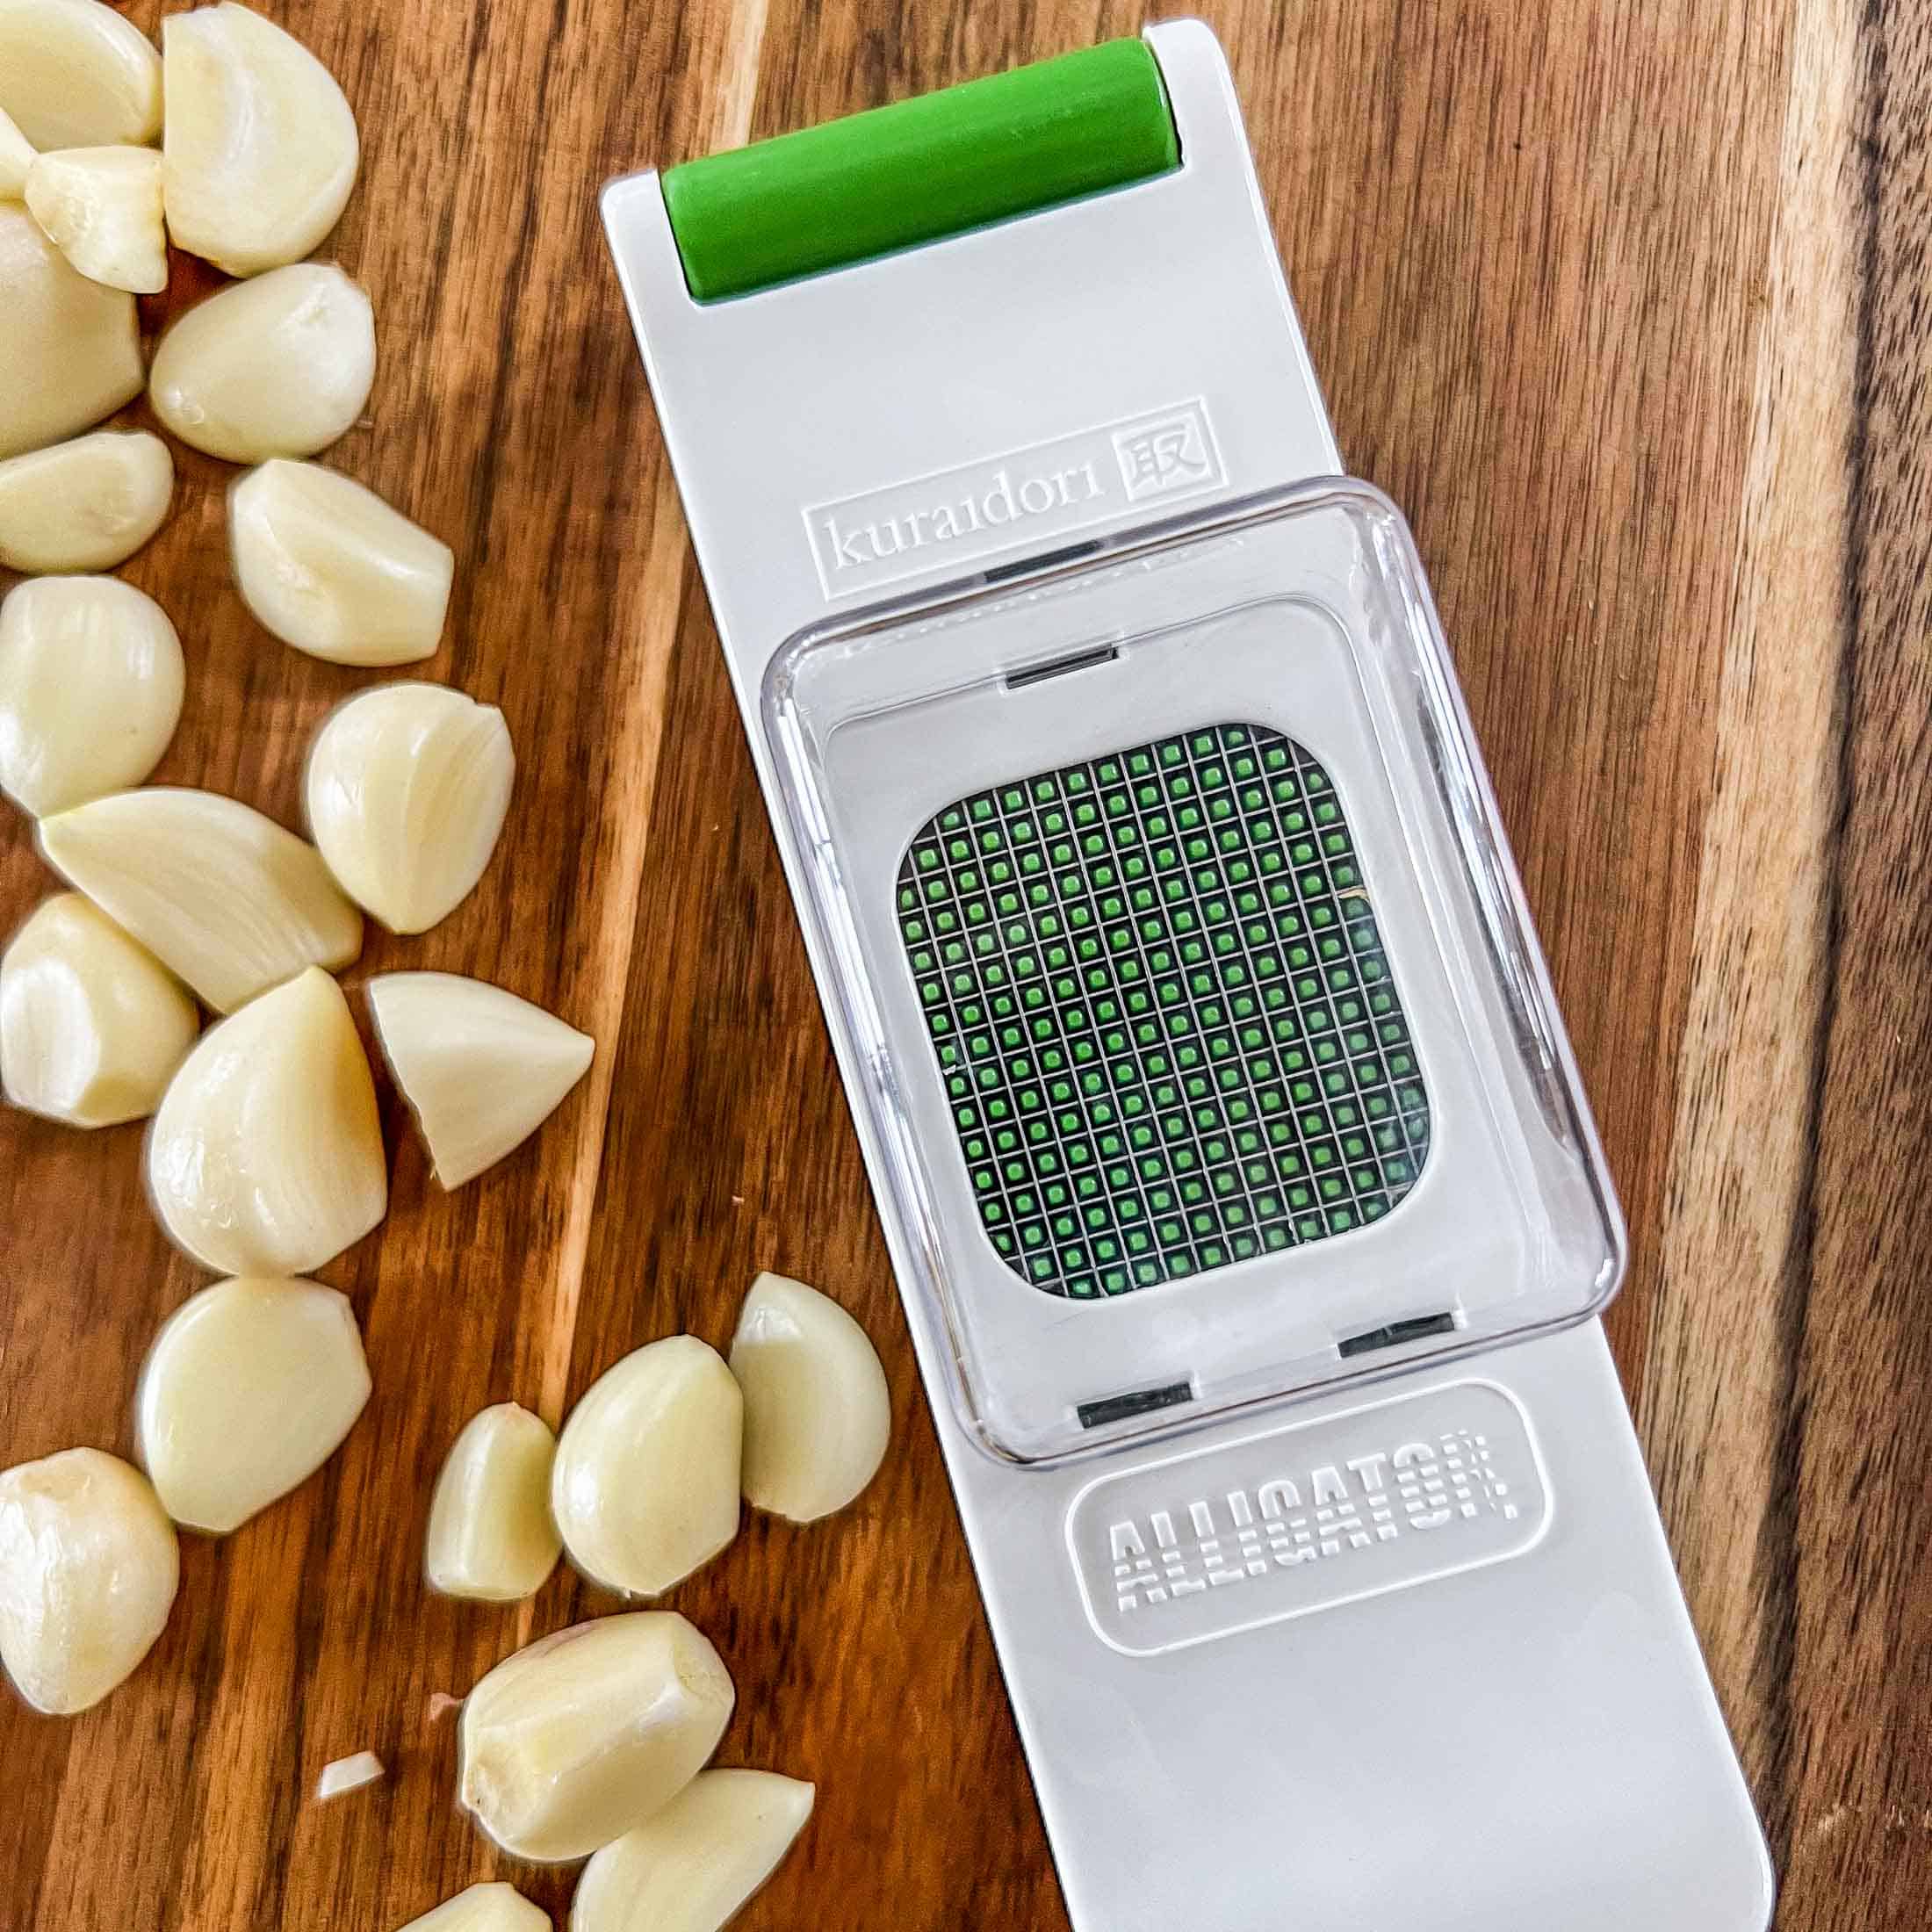
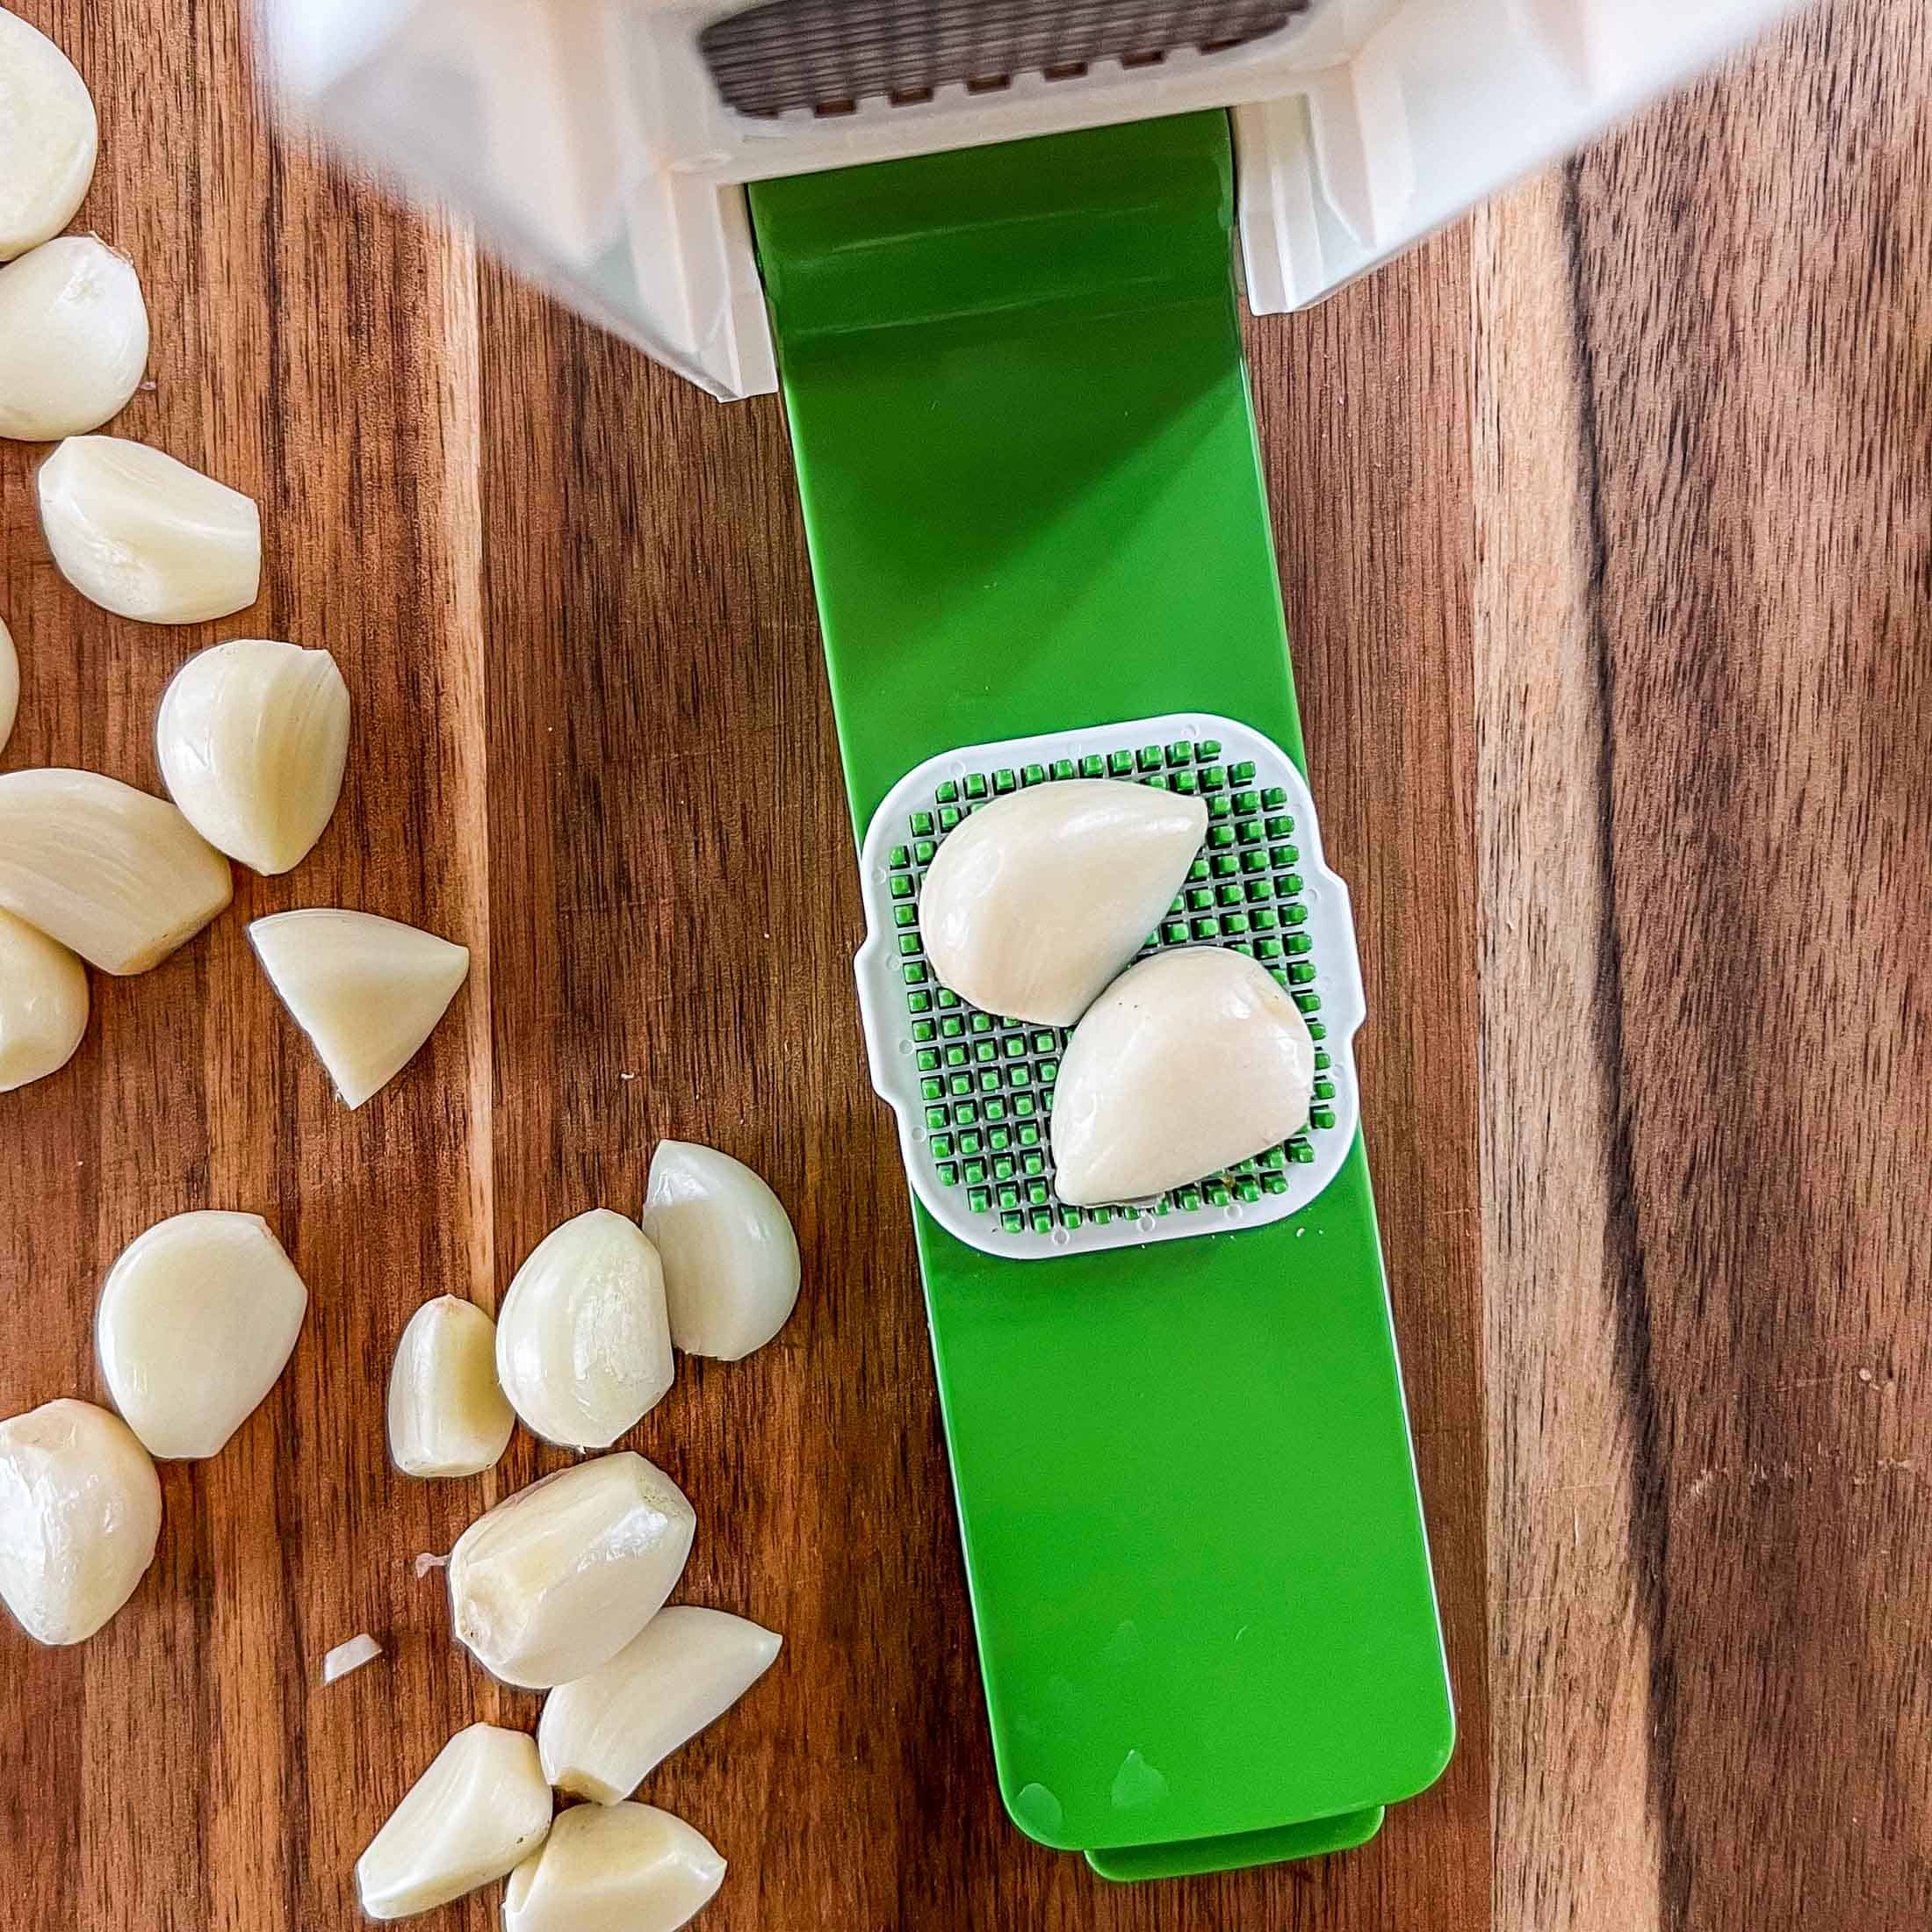
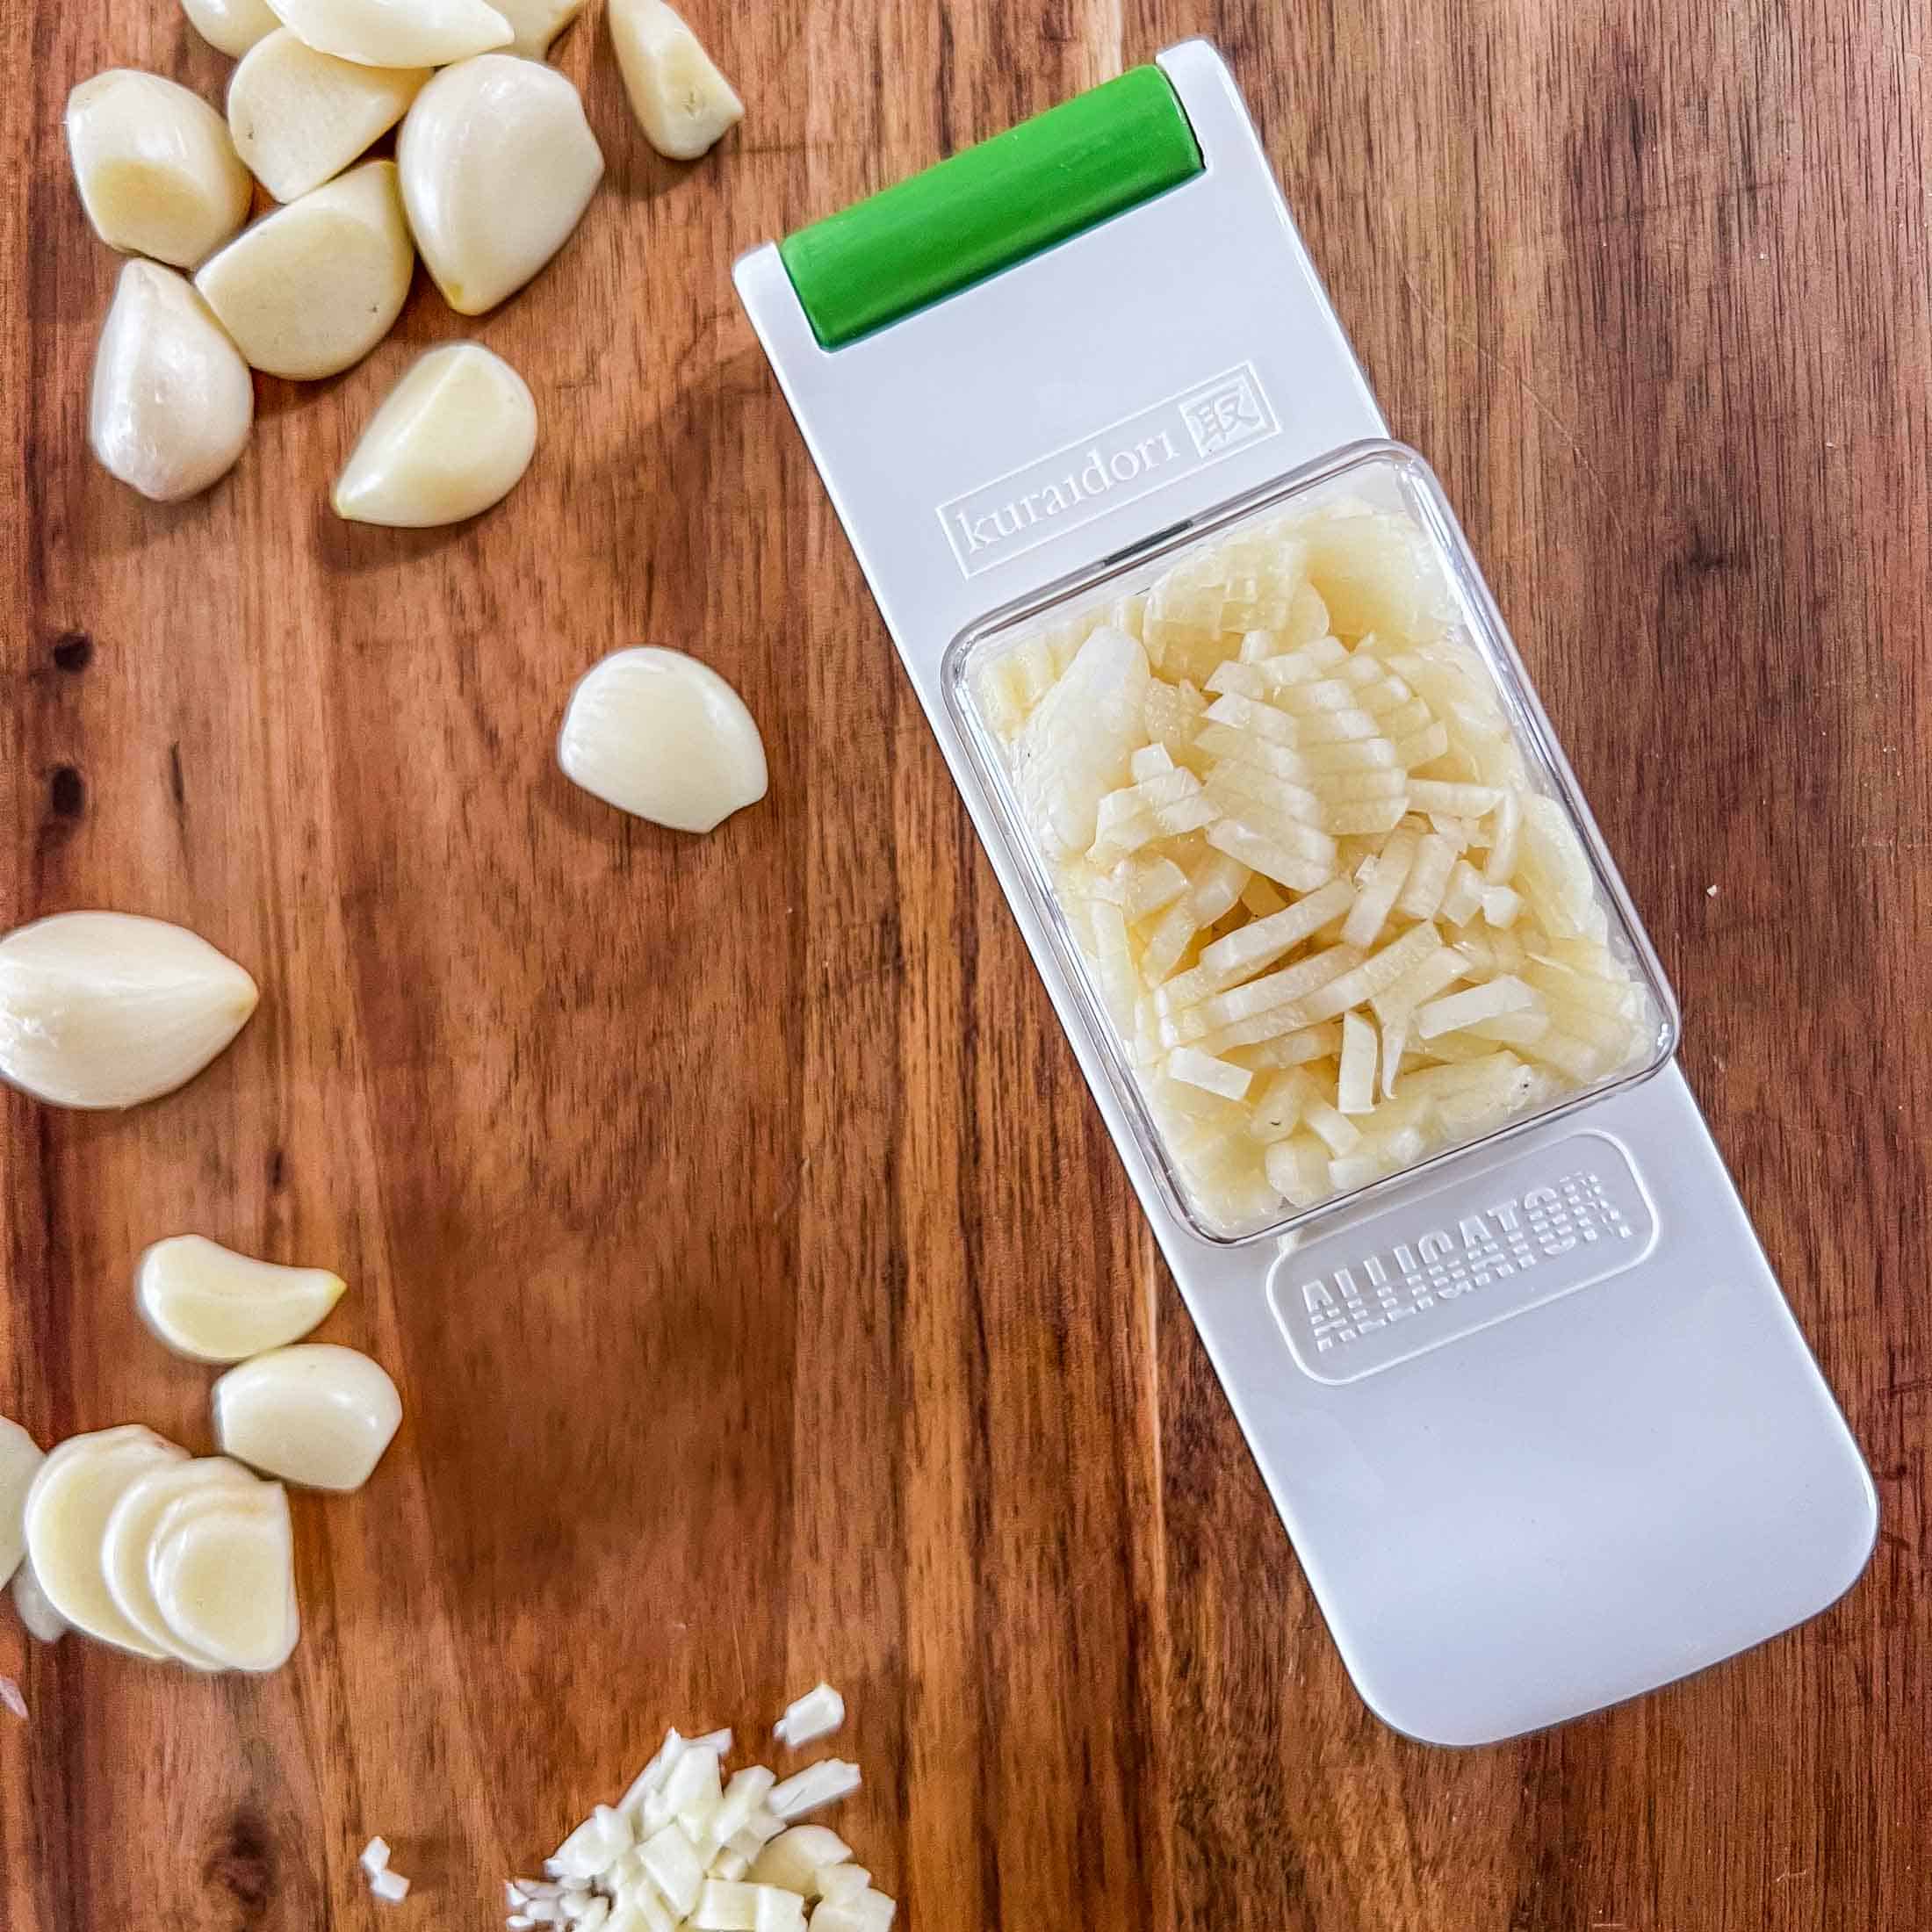
Slice the root end of each clove and peel all of the outer coatings off until you are left with a clean, creamy coloured clove. Remove any blemished/browned bits on the cloves before setting aside. Finely mince your garlic using a sharp kitchen knife or a chopper. I like to use this small Alligator Chopper to save time.
Choose your method for dehydrating raw garlic below and follow instructions.
Step 2. Dehydrate:
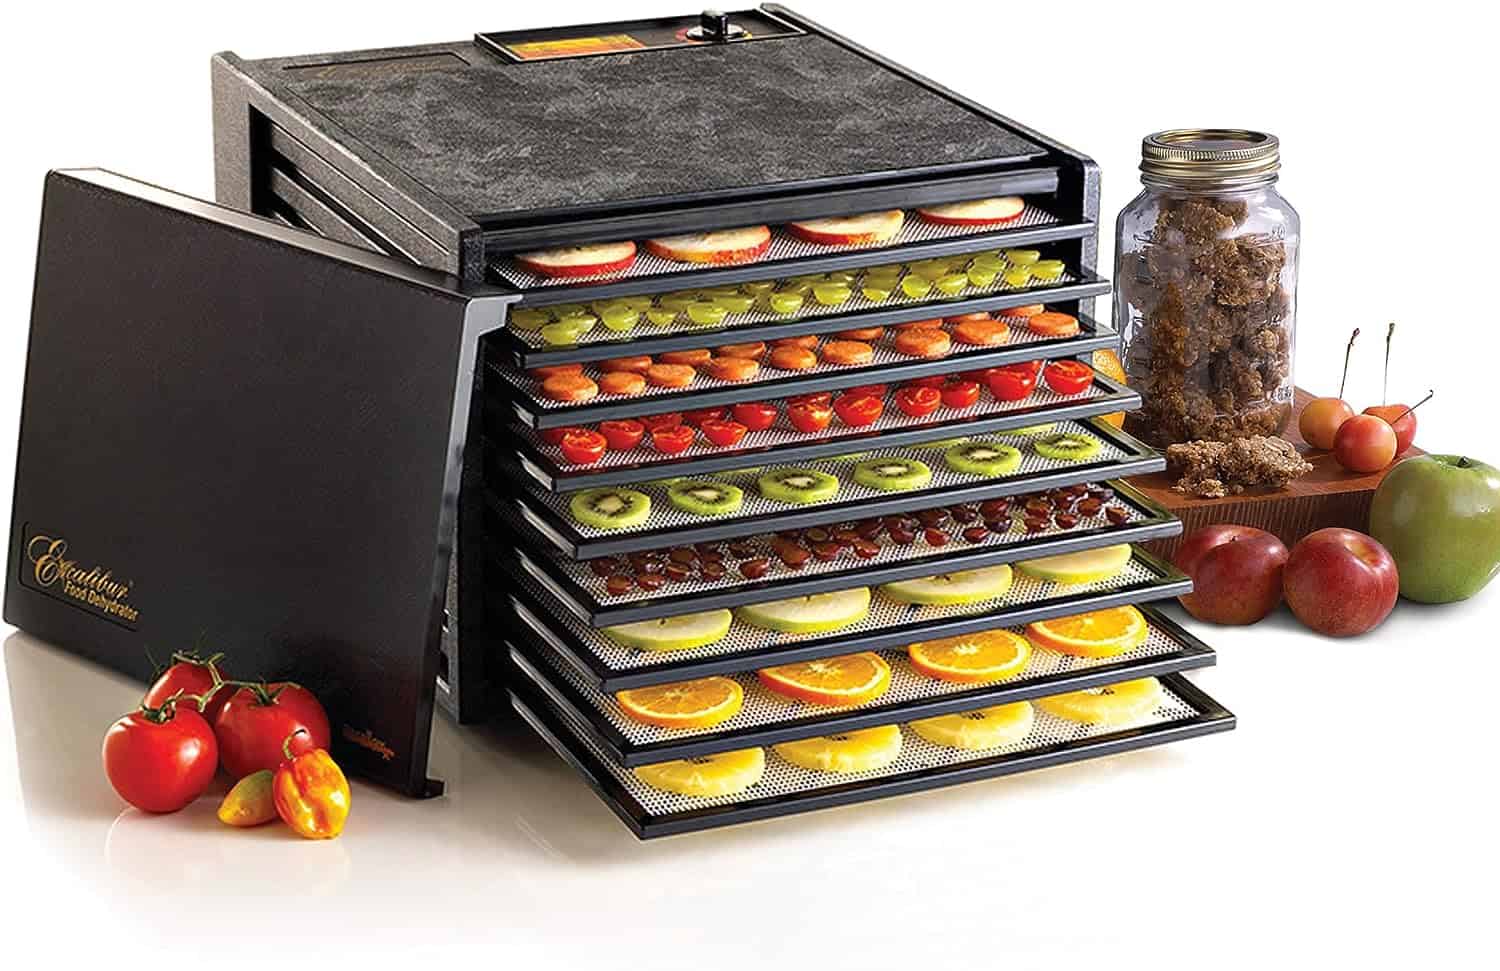
Kate’s Two Cents: Using a dehydrator to dry garlic is my favorite method of the three because it is simple, energy efficient, you can dry a lot of garlic at once, it is easy to control moisture and temperature, AND I can keep the smell outside.
In A Dehydrator
Step 1. Prepare. Prepare garlic as outlined above.
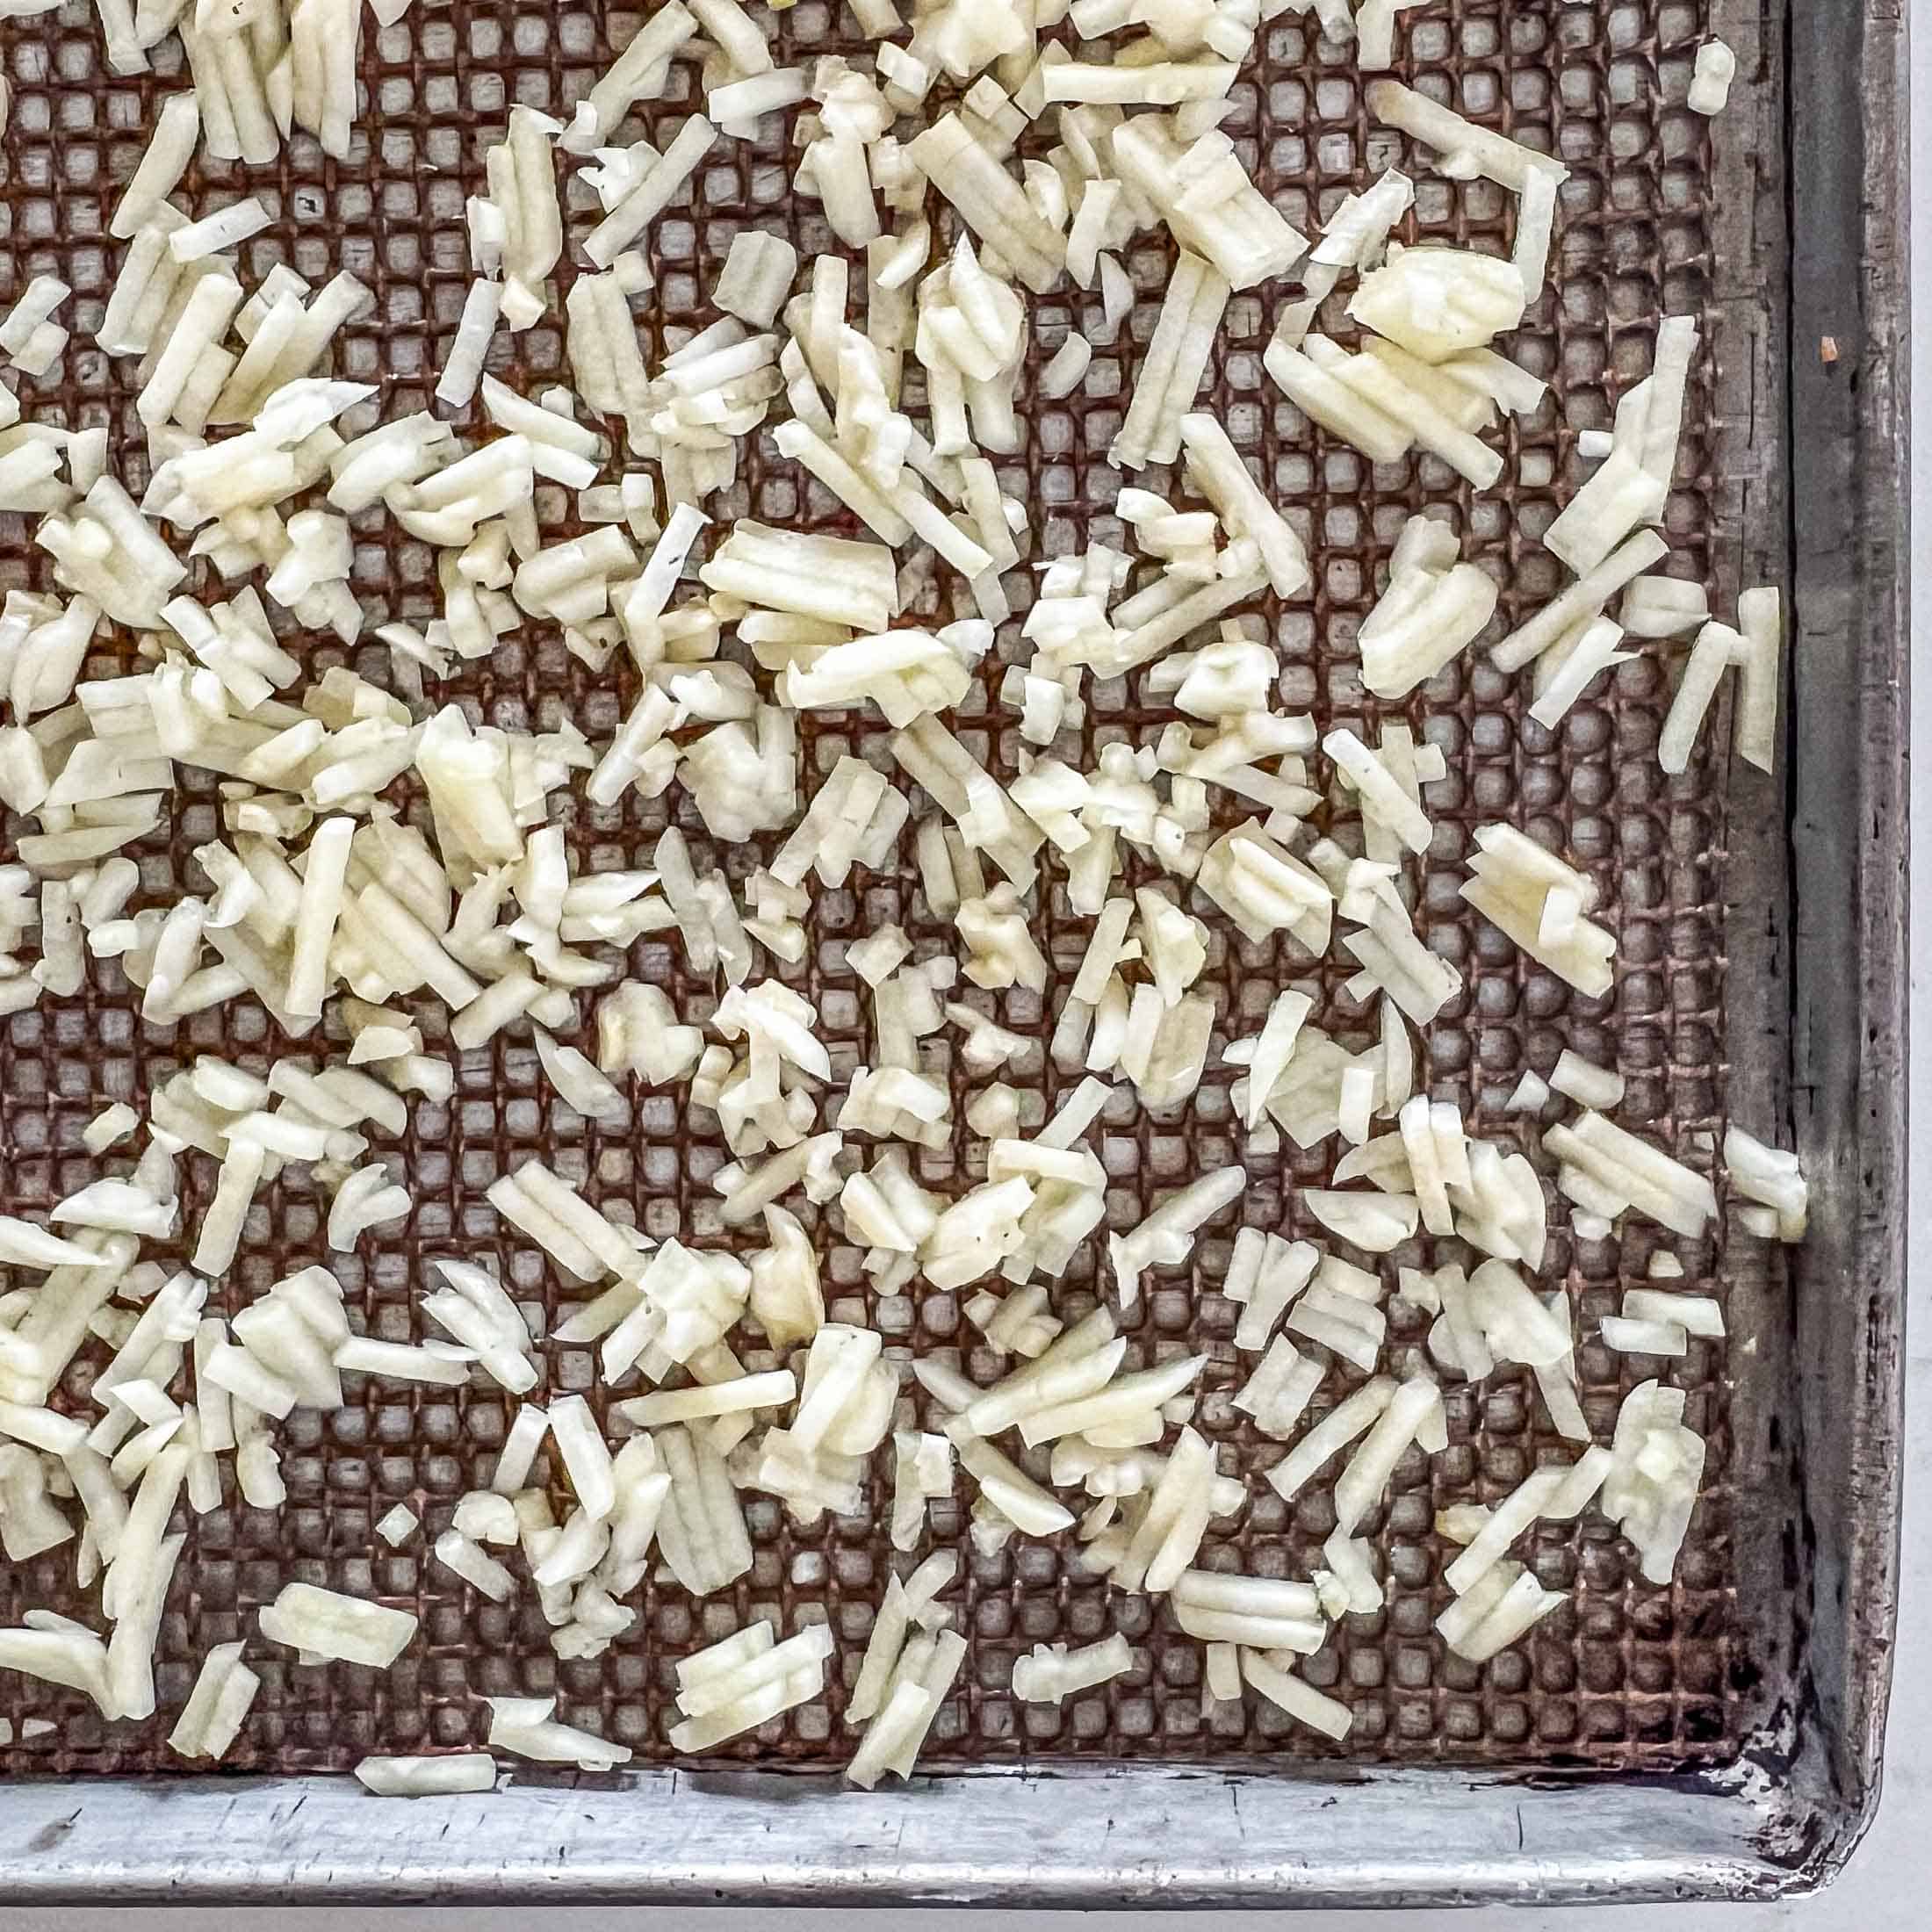
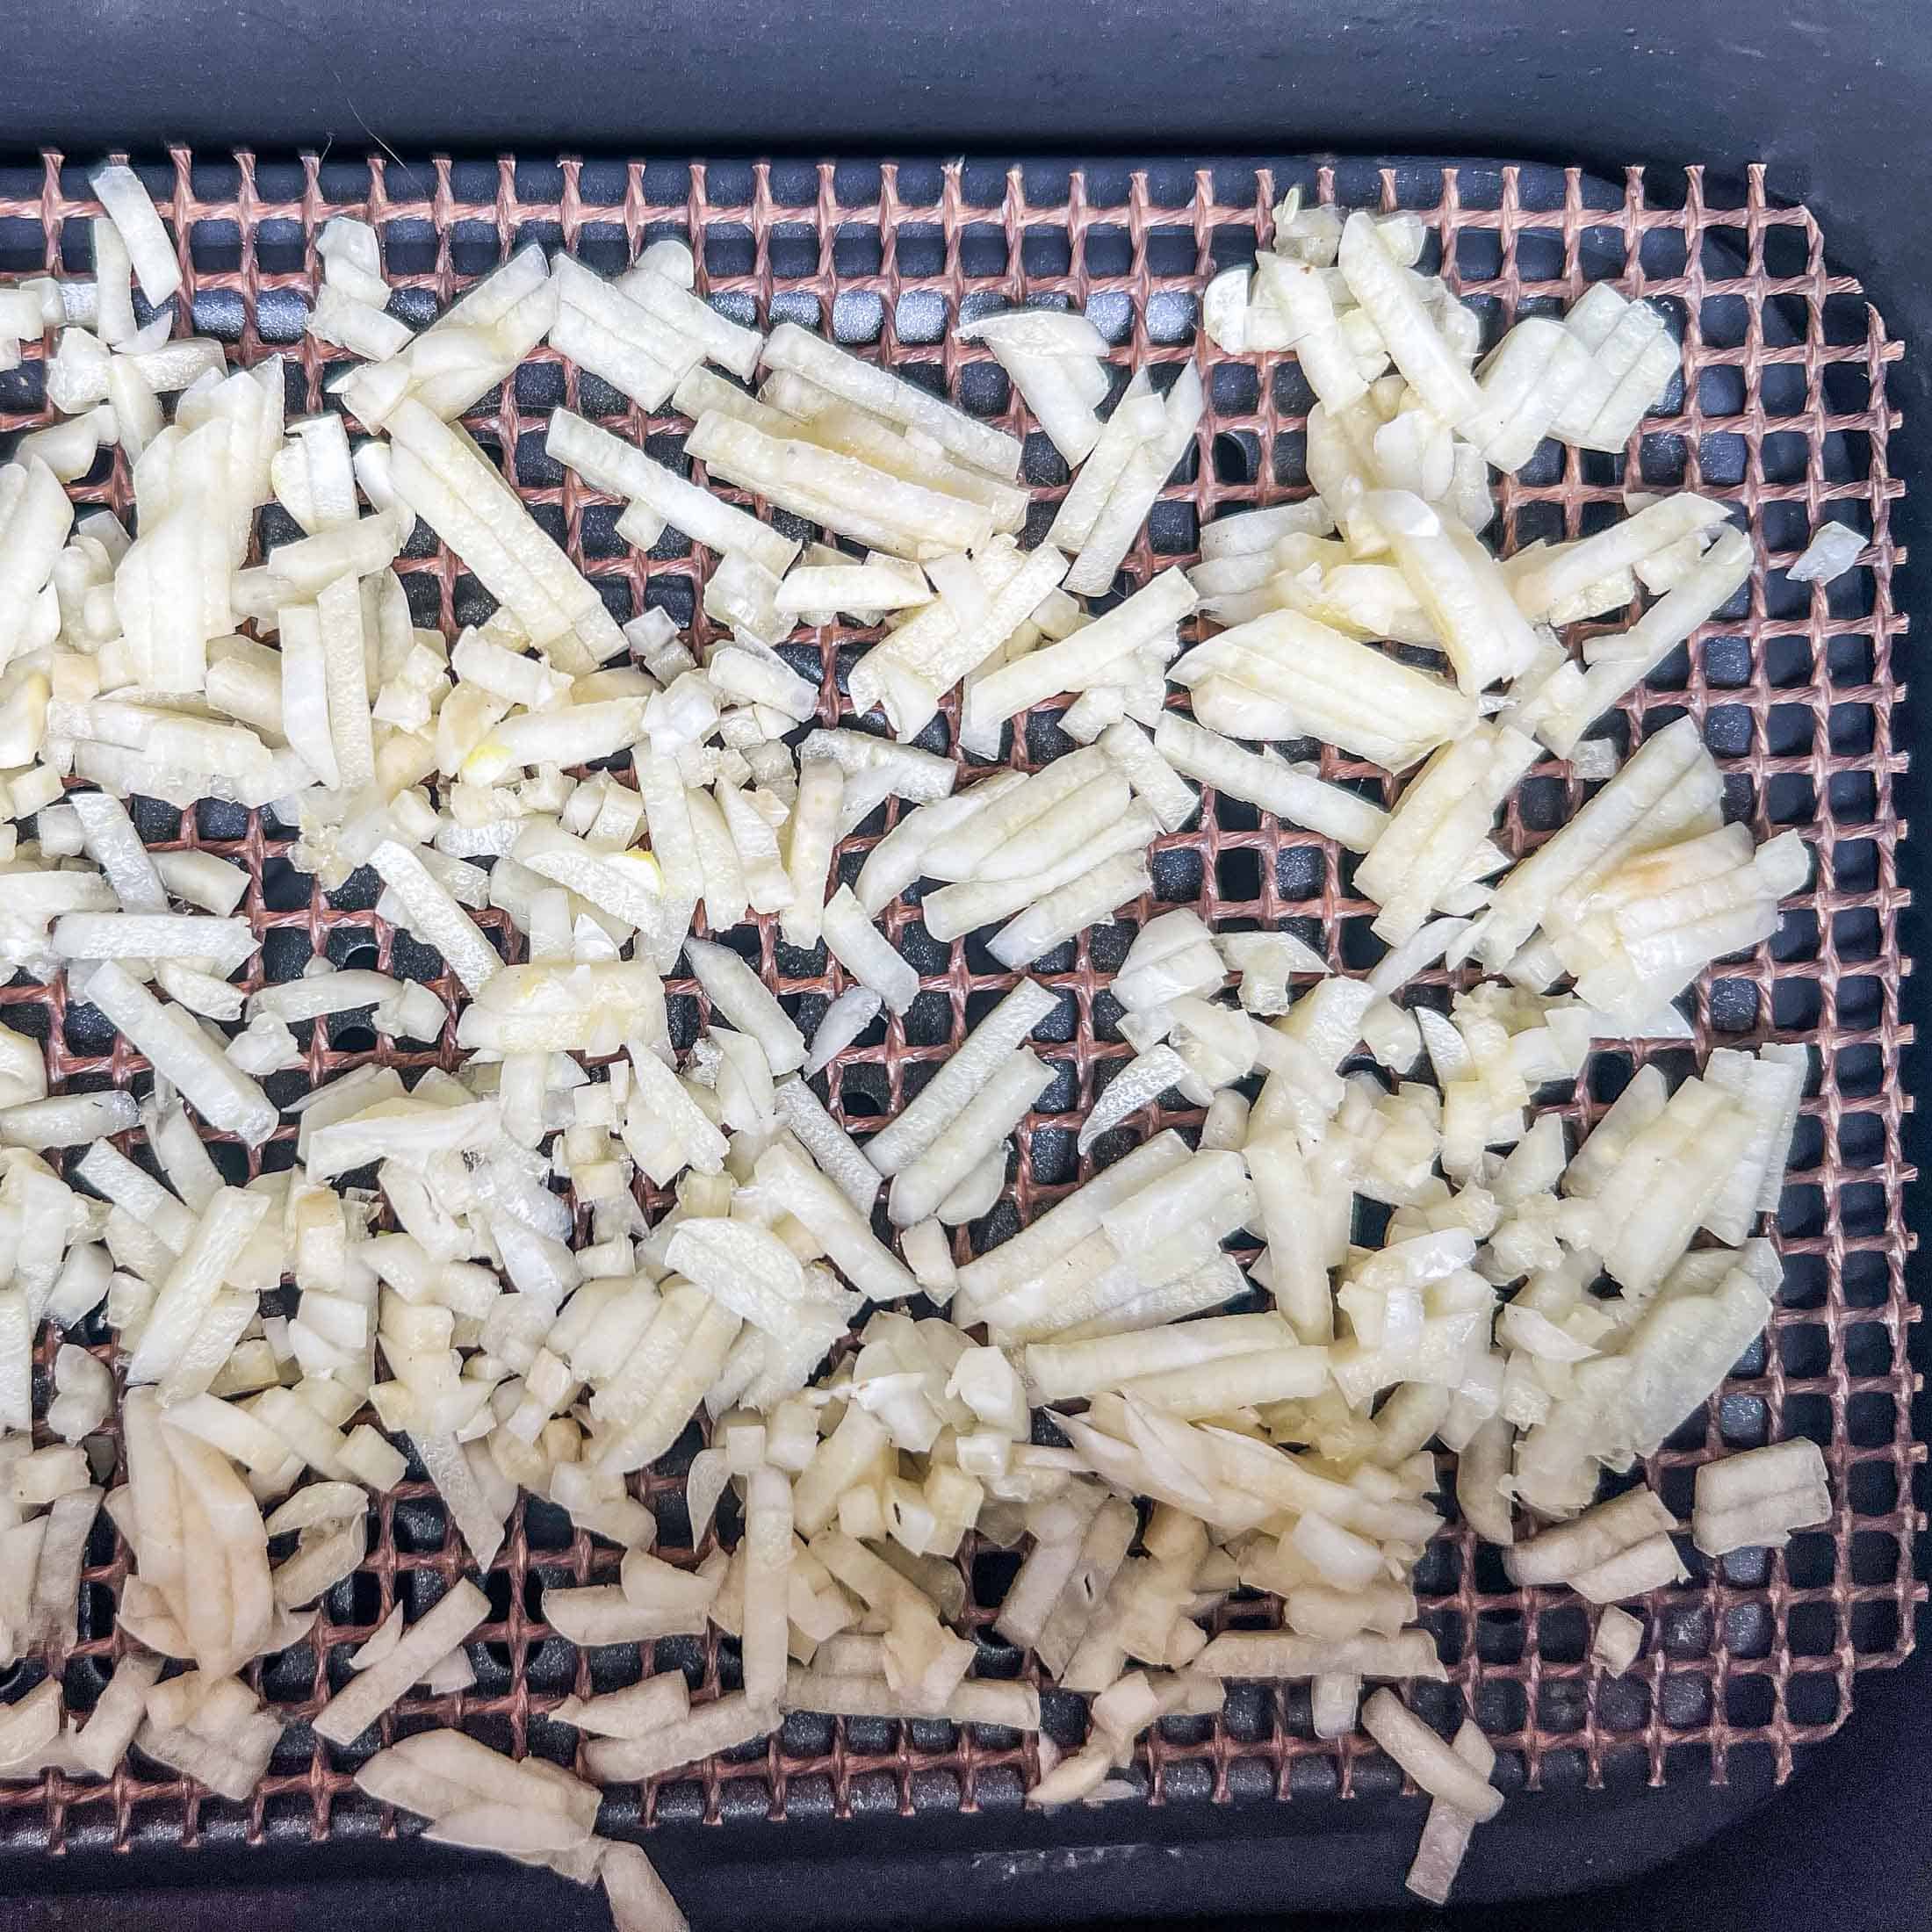
Step 2. Arrange. Arrange the garlic in a single layer on your dehydrator sheet.
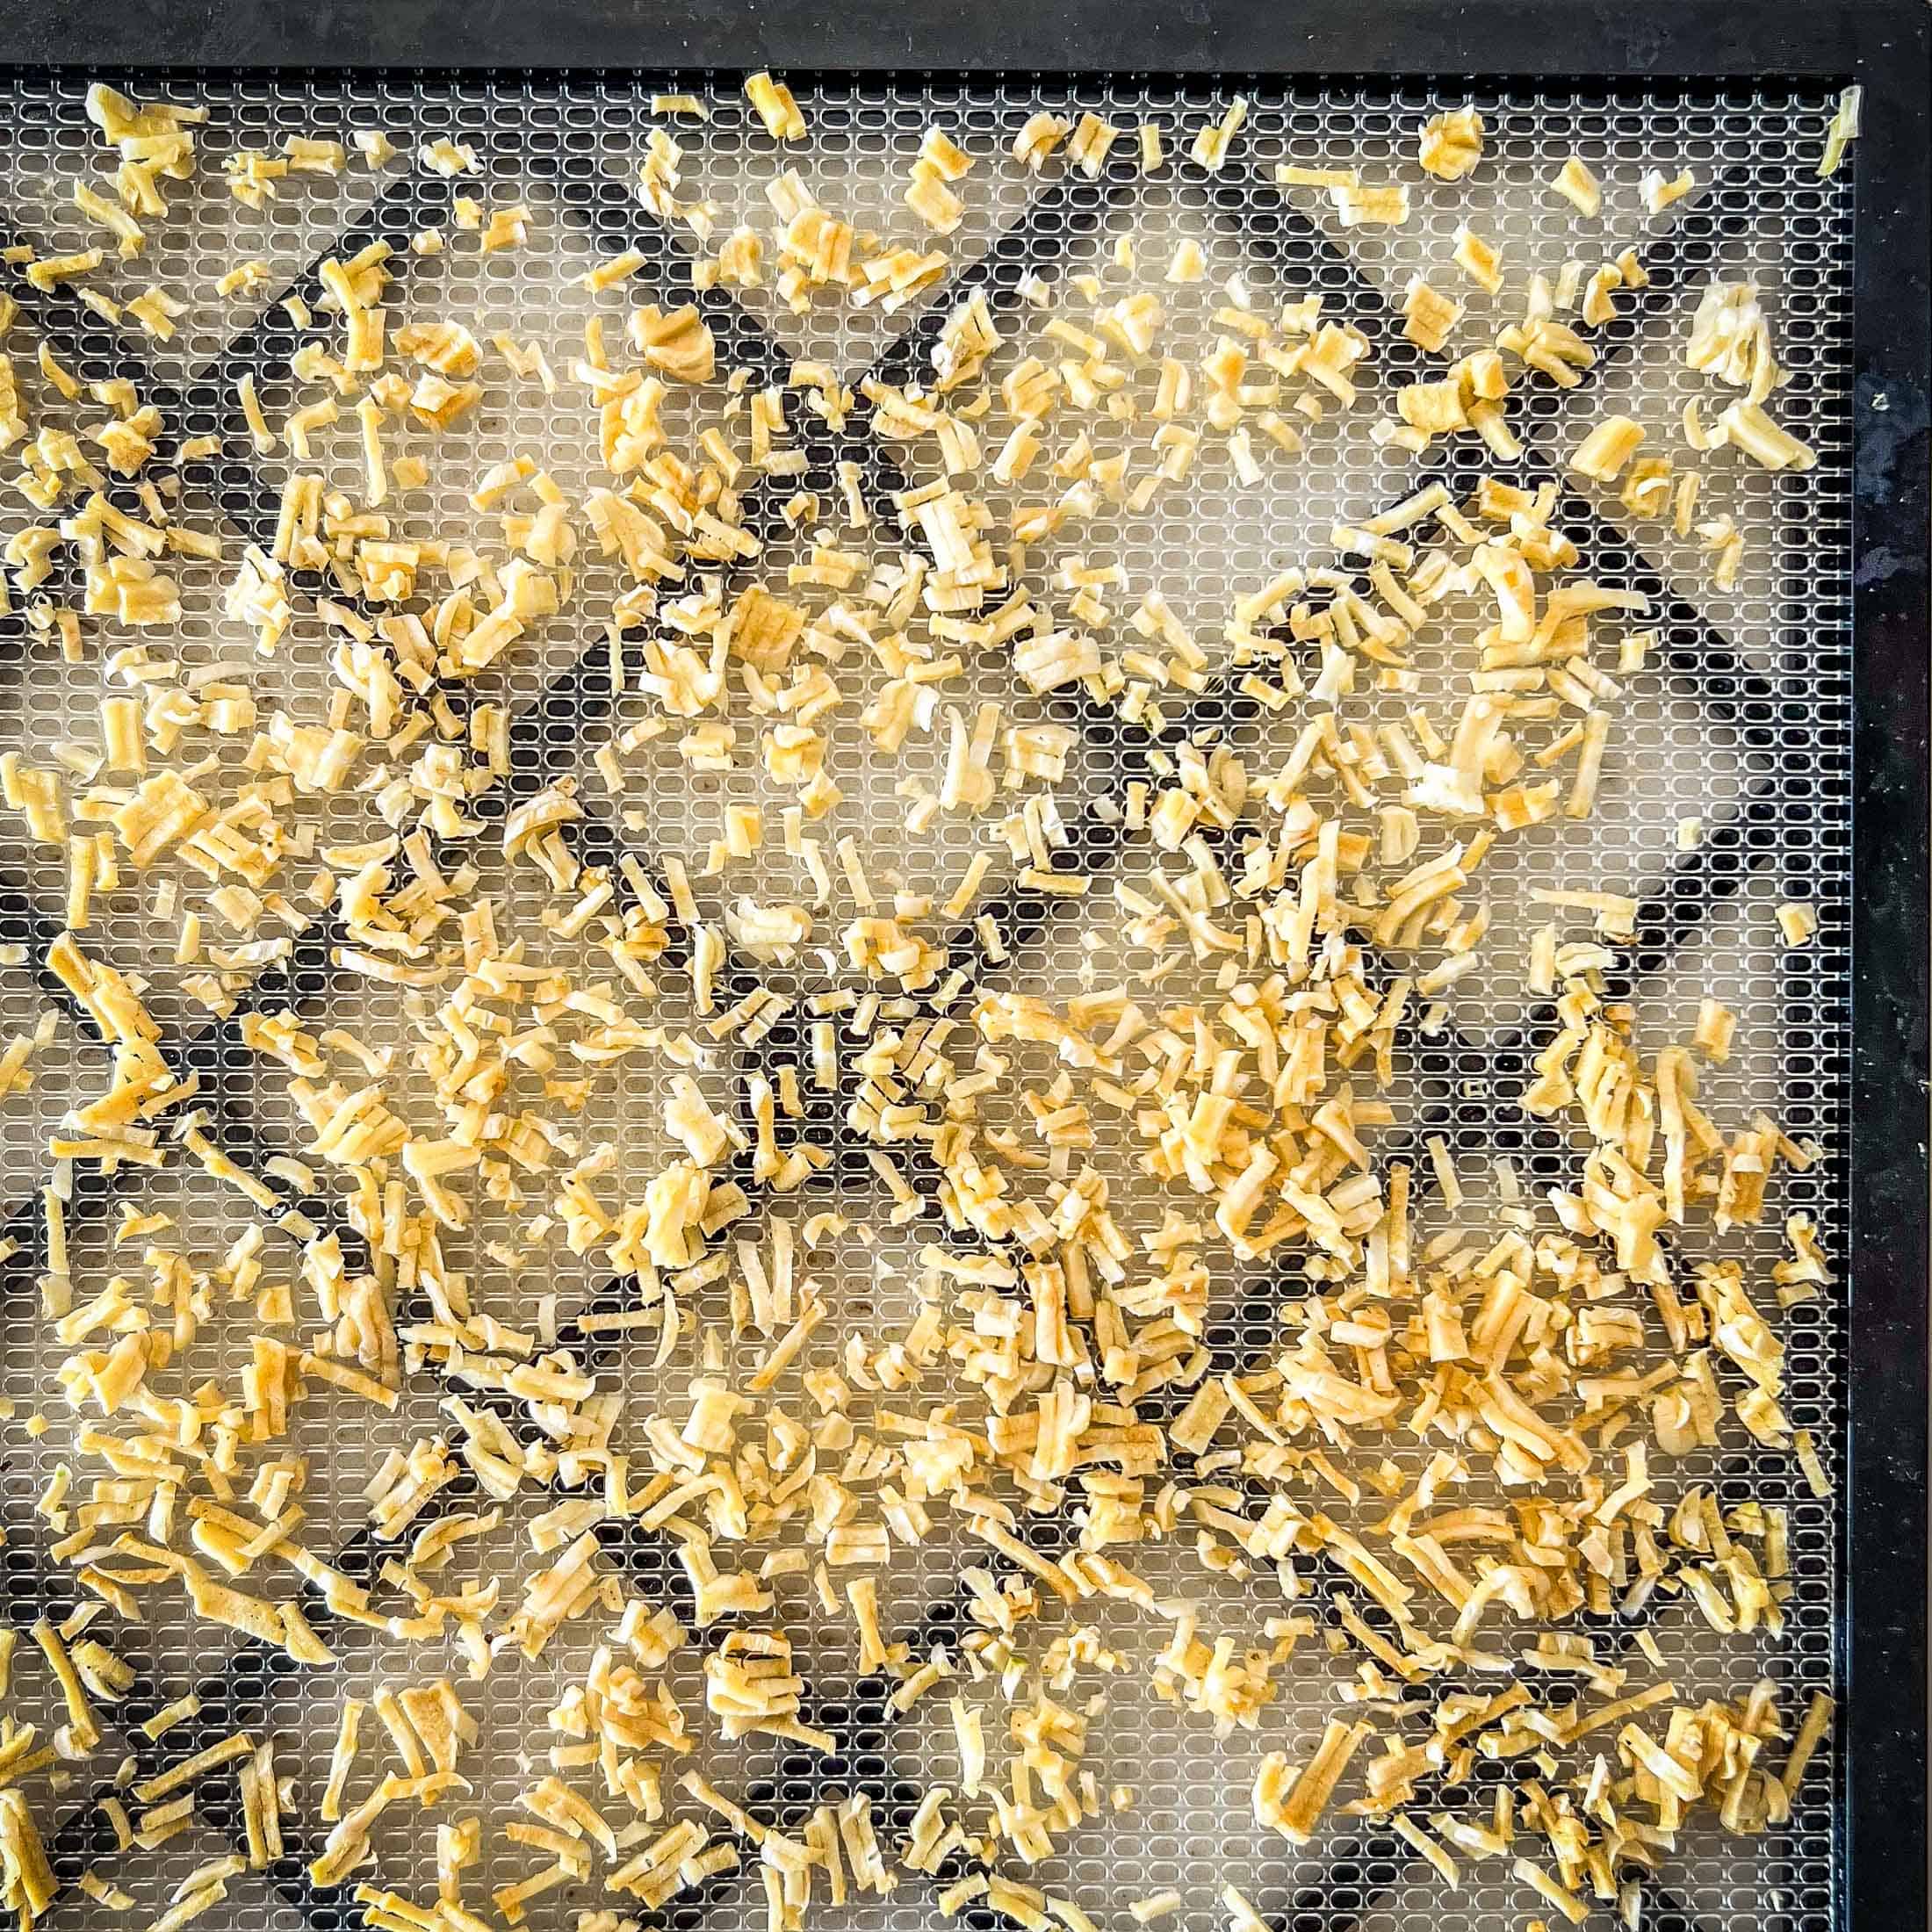
Step 3. Dehydrate. Set the dehydrator to the “vegetable” setting or 130°F and dry for 6-10 hours. Drying time depends on the size of your garlic pieces, uniformity, and general humidity. Check the garlic at the 6 hour mark and add drying time as necessary.
Step 4. Check for doneness. For this recipe, garlic should be hard/brittle, slices will break in half and there will be no signs of moisture. Once dried, allow the garlic to cool at room temperature for at least 30 minutes before moving on to conditioning (see section below).
In An Oven
Step 1. Prepare. Prepare garlic as outlined above.
Step 2. Arrange. Arrange the minced/sliced garlic in a single layer on a parchment lined baking sheet or line your cookie sheet with a jerky mat to elevate it and allow for a bit more airflow.
Step 3. Dry. Set your oven to the lowest temperature (closest to 130°F) as possible. Some ovens have dehydrate settings- use that! Dry the garlic for 6-10 hours (adjusting time as needed – garlic thickness, moisture content, oven temperature and humidity levels can change drying time). Be sure to leave your oven door open slightly to allow moisture to escape. I use a linen dish towel to prop my oven open, you can also use a heat-safe utensil.
Step 4. Check for doneness. For this recipe, garlic should be hard/brittle, slices will break in half and there will be no signs of moisture. Fully cool the garlic for 30 minutes at room temperature by removing it from your baking sheet and transferring to a cool plate or counter top. Condition as outlined below.
In An Air Fryer
Step 1. Prepare. Prepare garlic as outlined above.
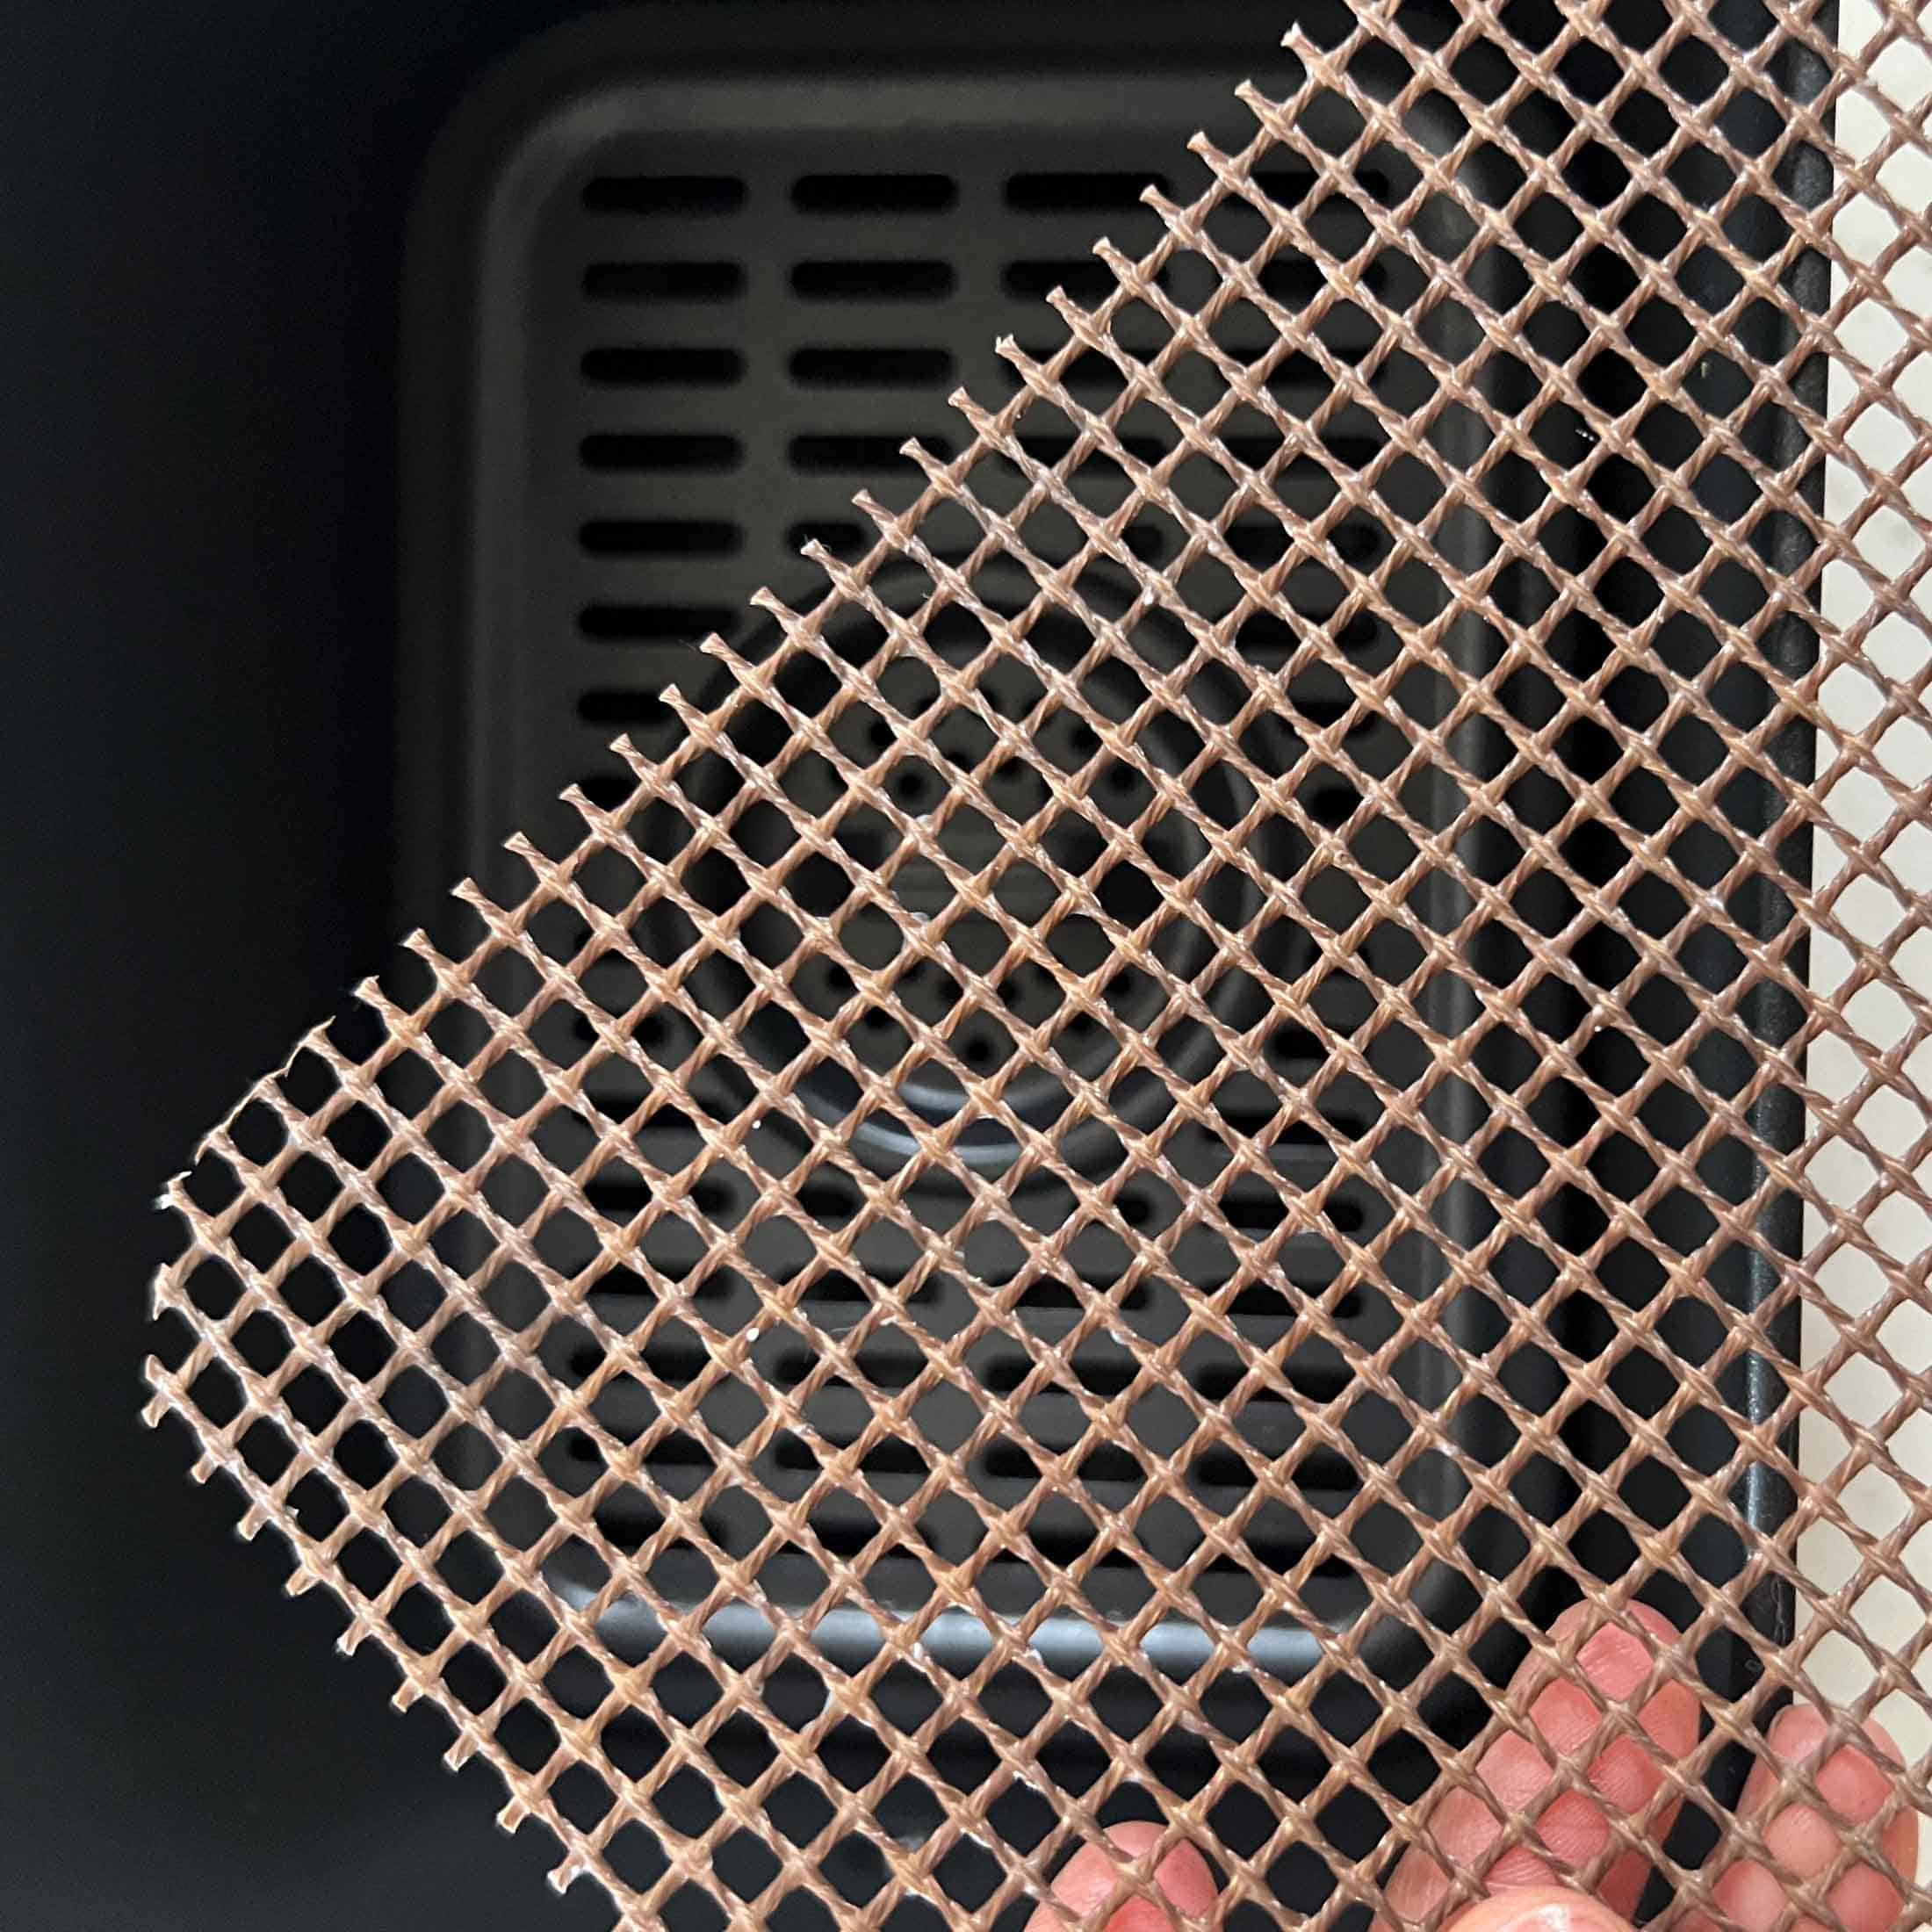
Step 2. Arrange. Arrange the garlic in a single layer in your air fryer basket. I use these jerky mats for SO many things in the kitchen including anytime I am dehydrating small pieces of produce in my air fryer. I simply cut one of my mats to fit the bottom of each basket in my Ninja Foodi Air Fryer, allowing me to efficiently arrange produce (garlic, strawberries, peaches, other herbs) without losing them down the grates.
Step 3. Dry. Set your air fryer to the dehydrate setting OR as close to 135°F as possible. Air fry the garlic for 2-4 hours, checking for doneness after 2 hours. Adjust time as needed – garlic thickness, moisture content, higher air fryer temperature and humidity levels can change drying time.
Step 4. Check for Doneness + Condition. Garlic is done in the air fryer when the pieces have a hard, crisp texture after being cooled for 10 minutes. Dry garlic slices will break when folded, and there will be no signs of moisture when twisted or torn.

Conditioning + Storing Dehydrated Garlic
At this point you should condition the dehydrated garlic (test for dryness) over 5 days. Place a handful of dried garlic in an airtight container. Turn the jar or container once a day for 5 days. After 5 days if you notice moisture, or mold, discard the dried garlic. Check out this full guide to conditioning dehydrated fruits and vegetables for more information.
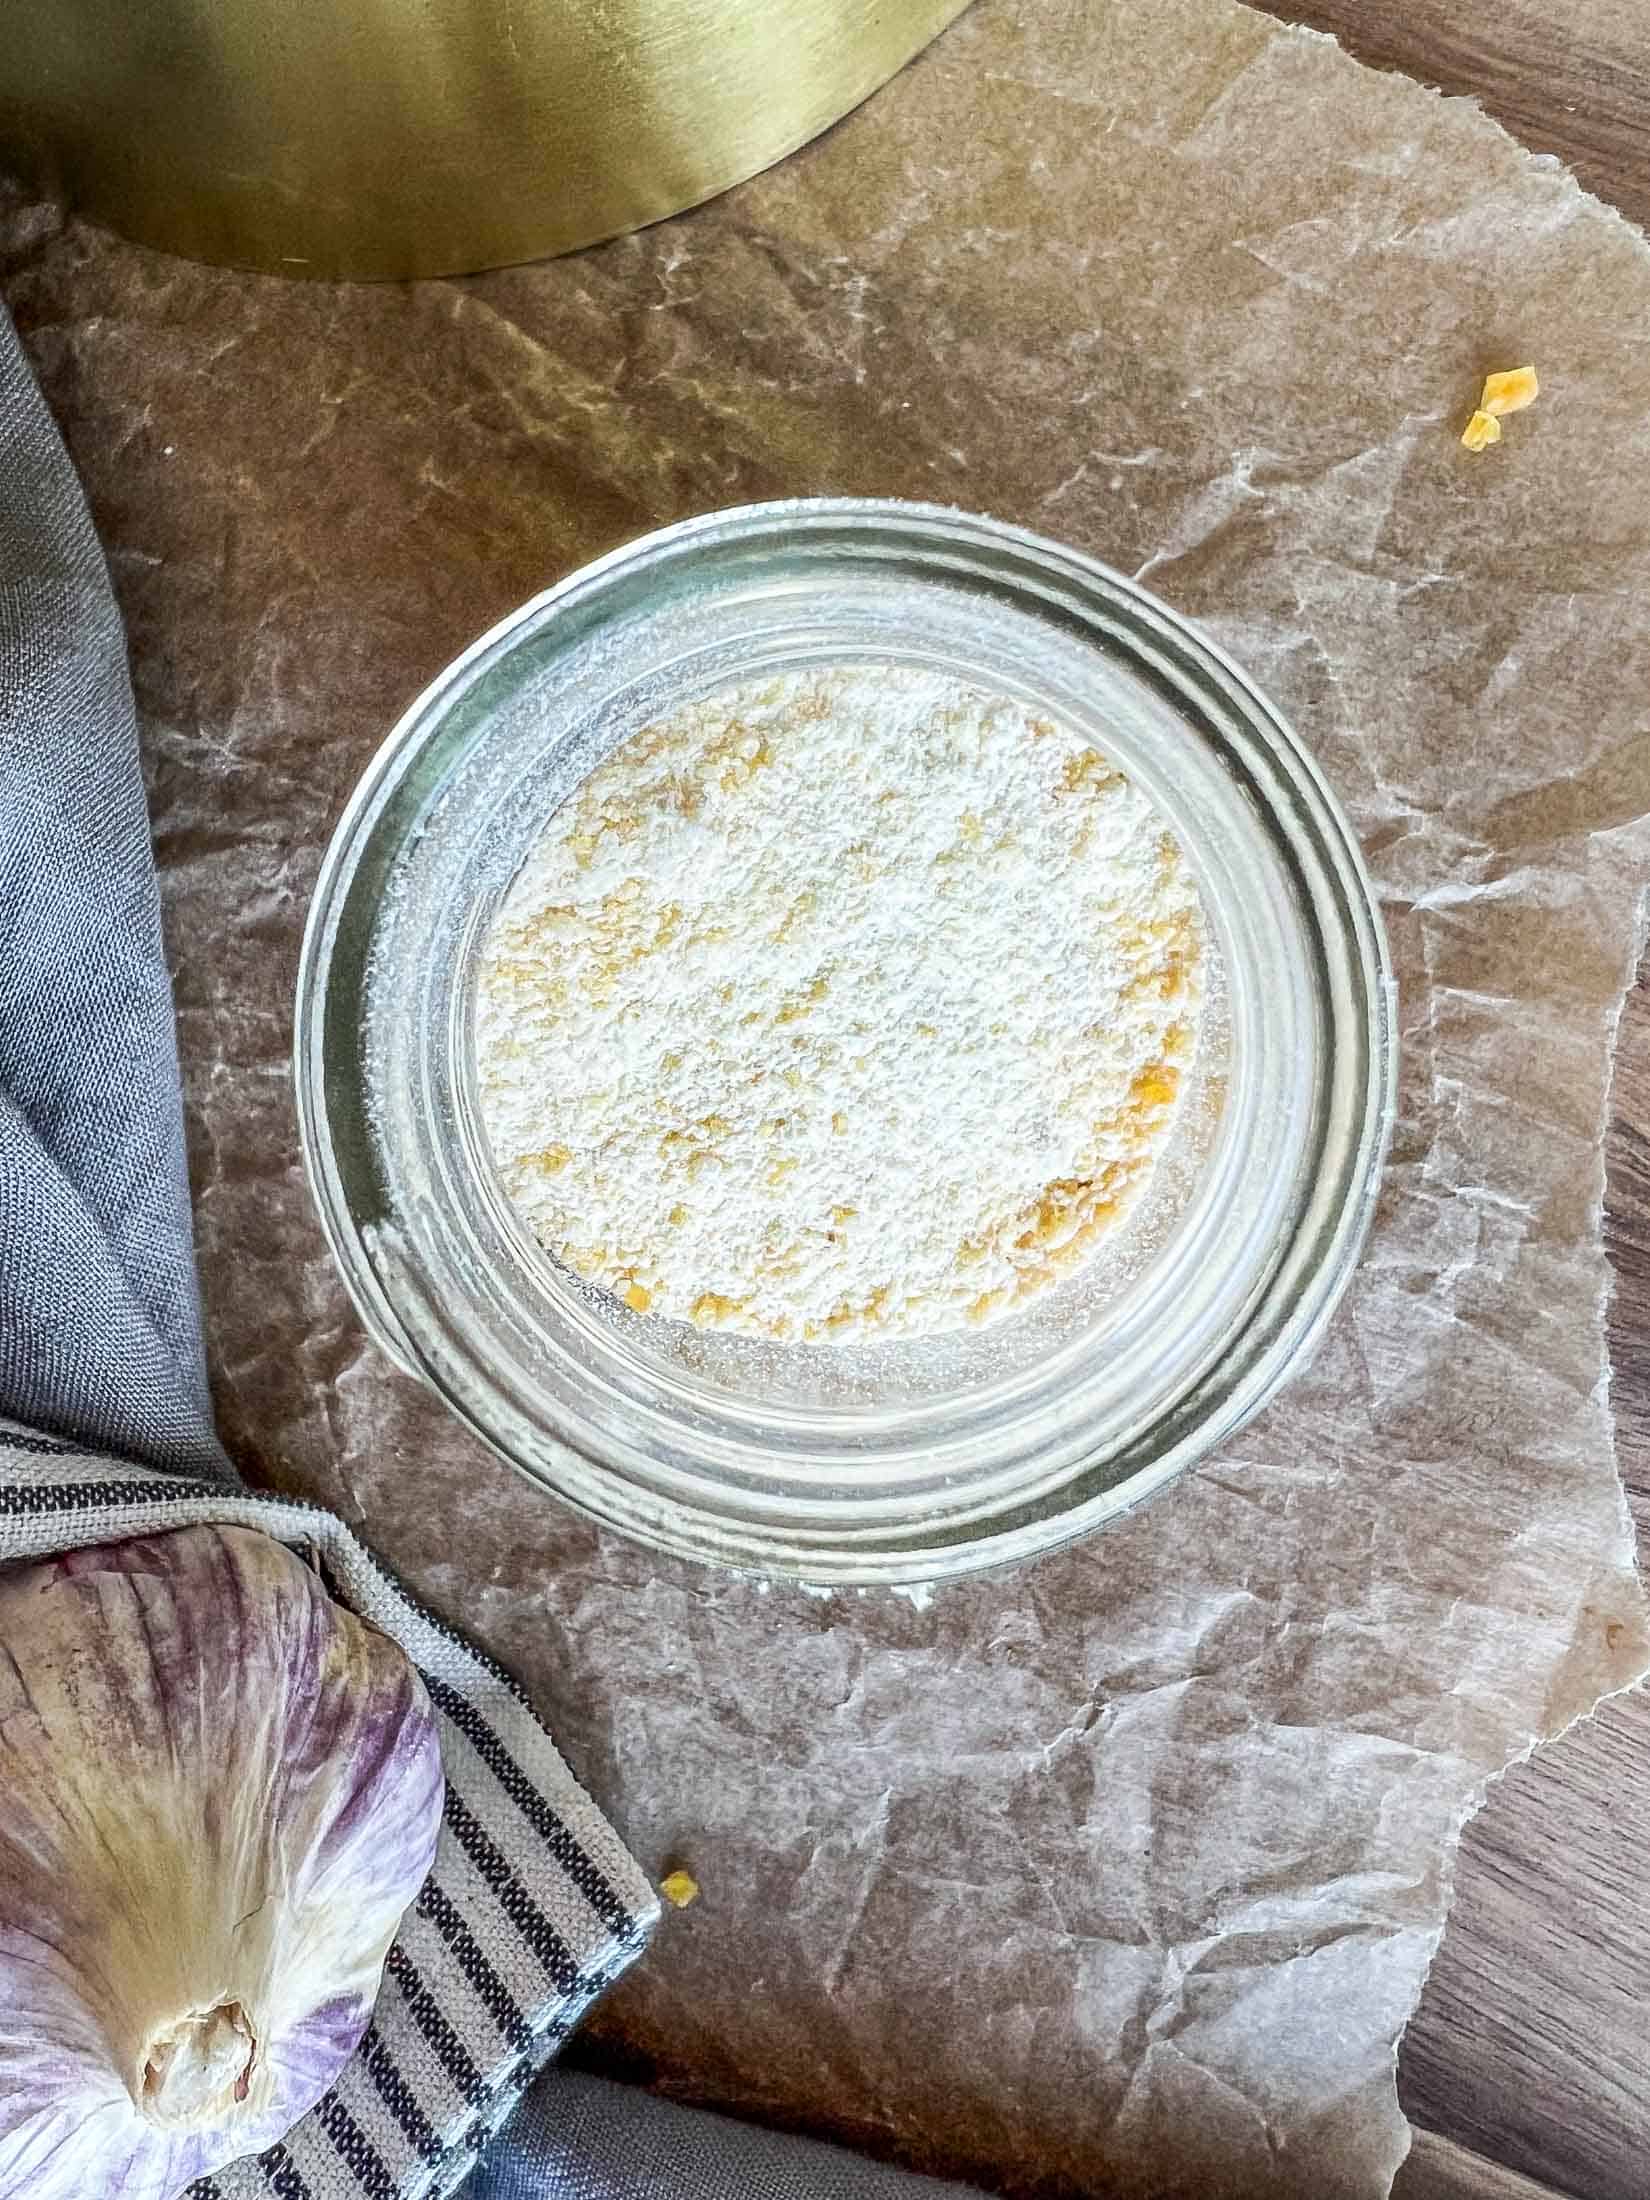
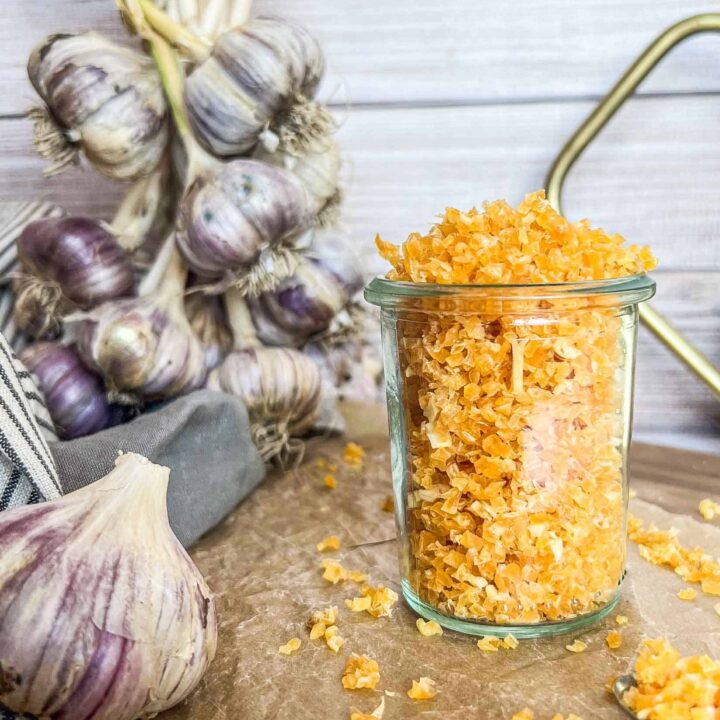
Store dehydrated garlic in an airtight container (I love mason jars for this) in a dry, dark place. Dehydrated garlic will store for up to six months before the flavor and texture starts to degrade. I have dried, minced garlic that is 12+ months old and still delicious!

Tips + Tricks for Dehydrating Garlic
- Choose locally grown garlic when possible- it is always nice to know exactly where your garlic was grown and what kind of conditions it was grown in (herbicide and pesticide free). Check out local farmer’s markets, CSA programs, or the organic section of your local grocery store.
- Chop both the top and bottom off of each clove with a sharp knife for faster peeling.
- Store in a cool, dark, dry place such as your pantry or storage space.
- Chop and freeze if you are not ready to dehydrate yet! (This is why my garlic has more of a yellow hue- still equally as tasty)
- Dehydrate garlic outside of your house- it is SUPER aromatic and your house will smell like a garlic factory for days.
- Keep the size of your sliced/diced garlic the same. Uniform pieces will dry at a more even rate.
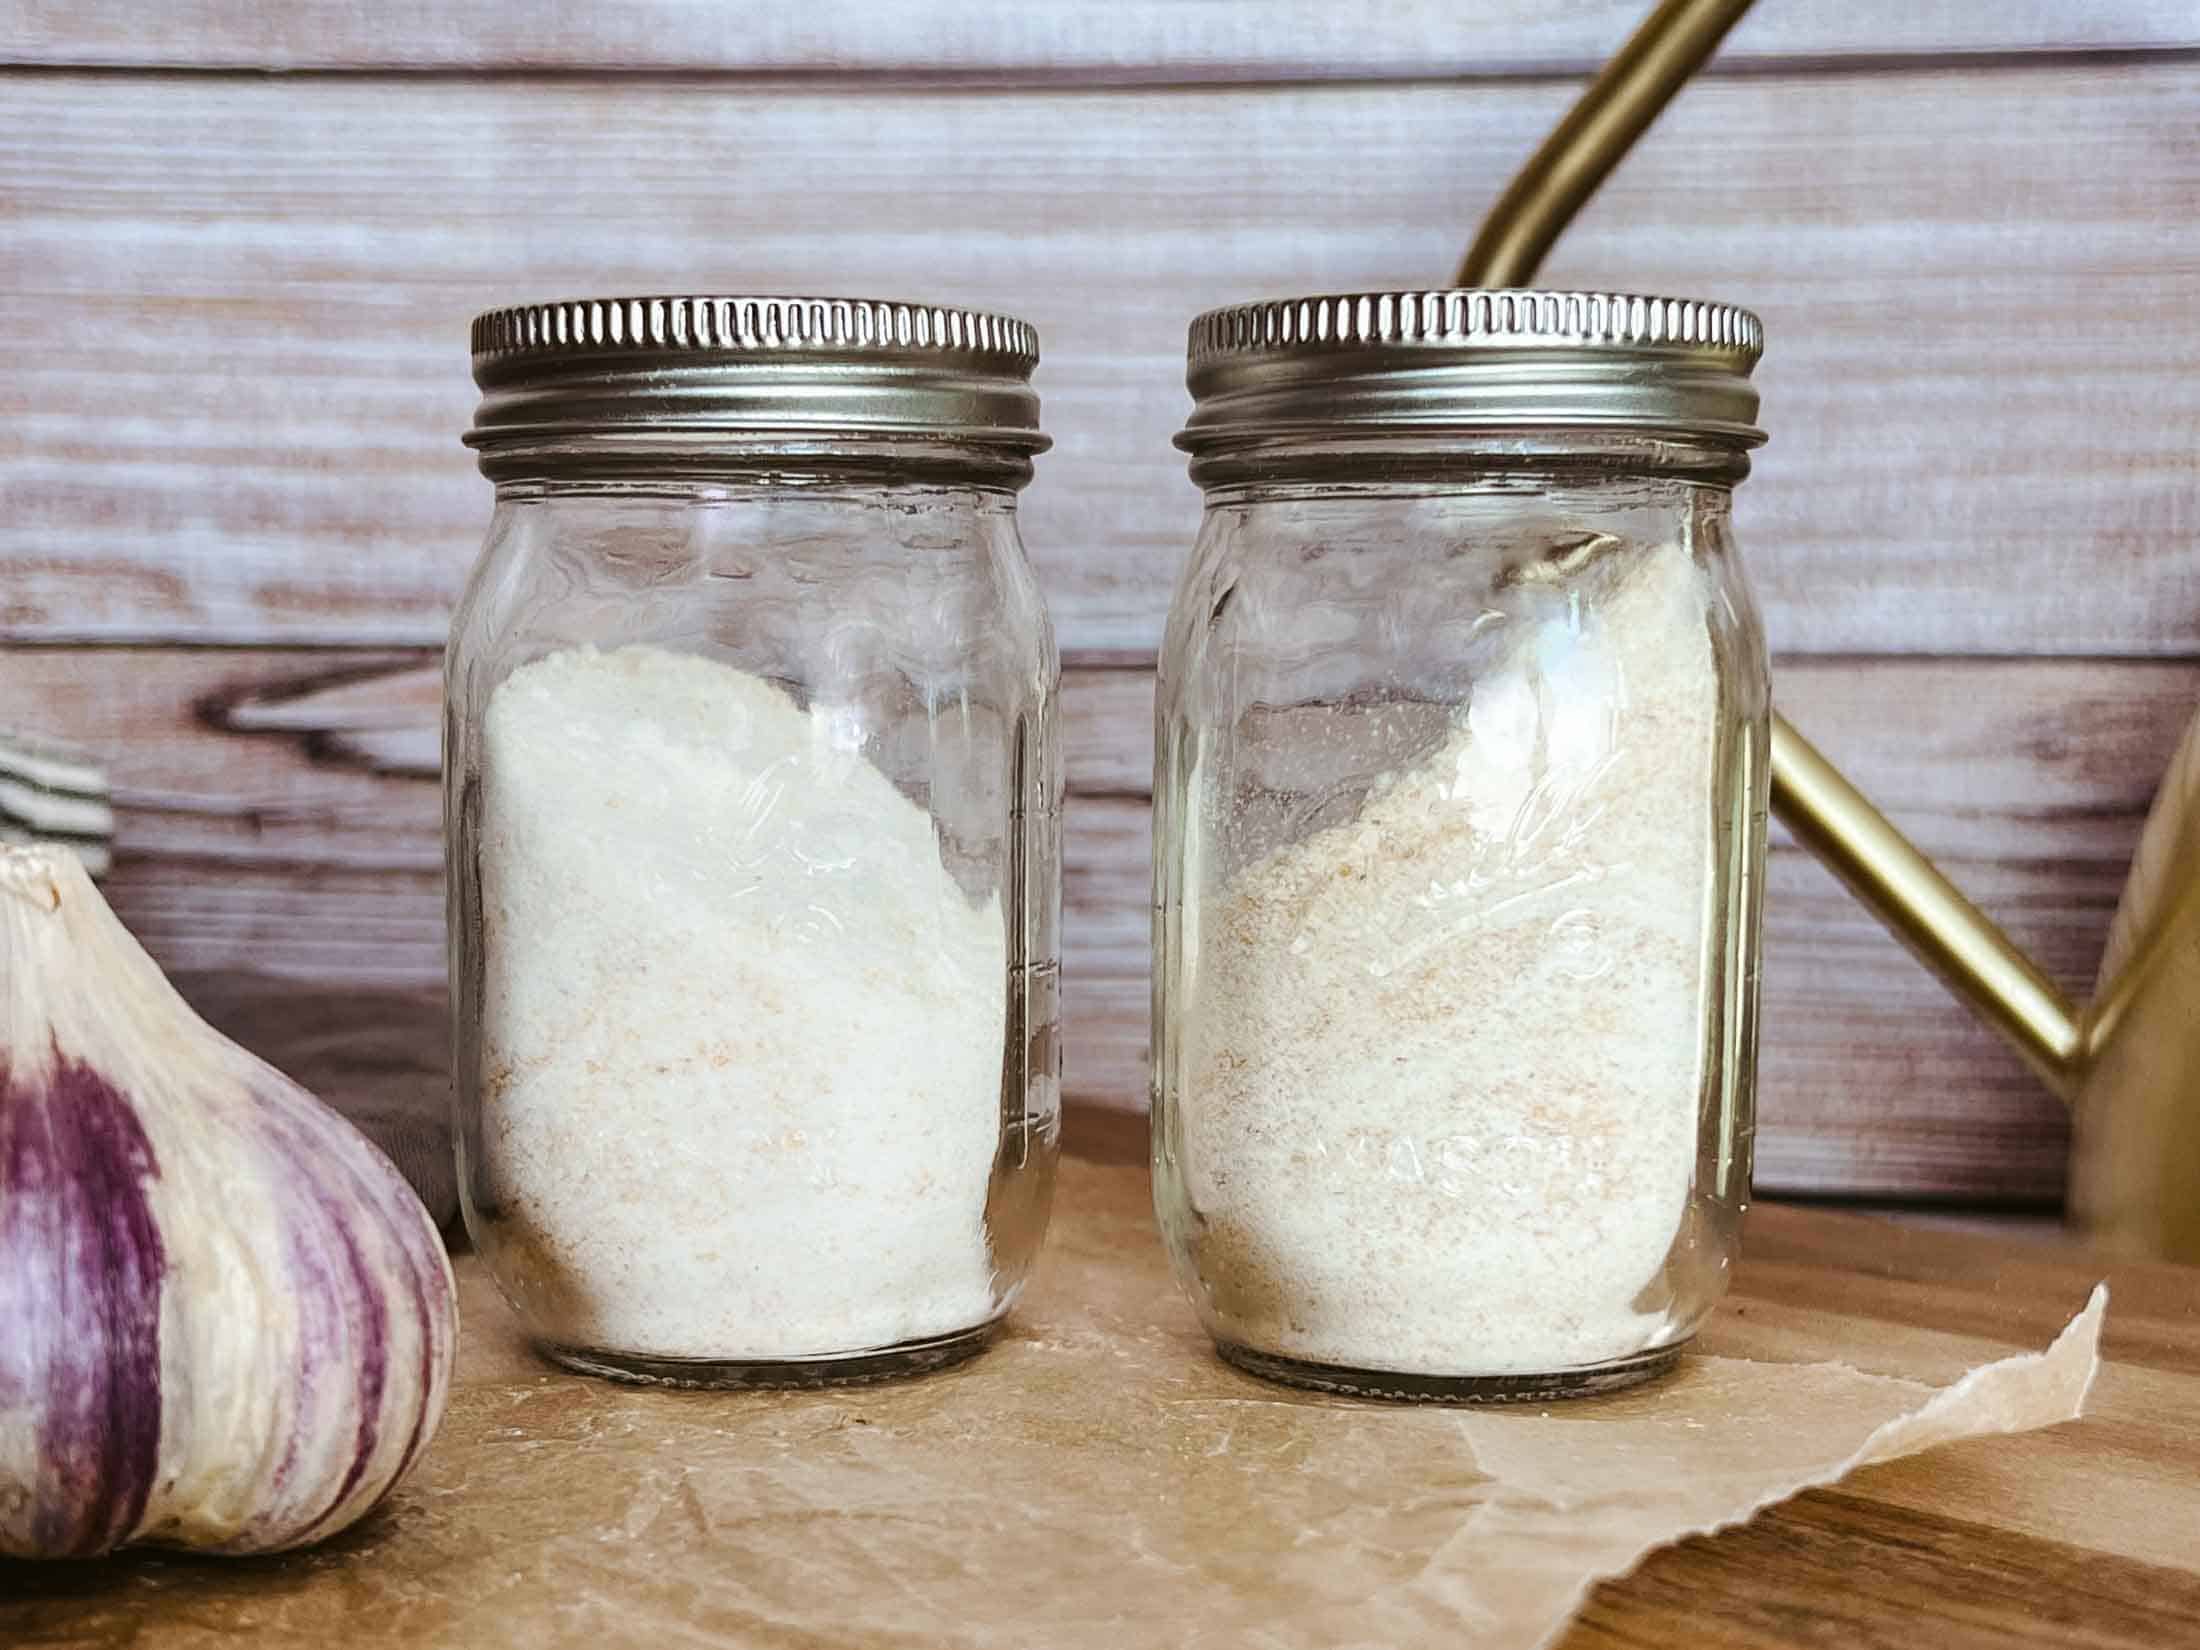
How To Make Garlic Powder + Garlic Salt
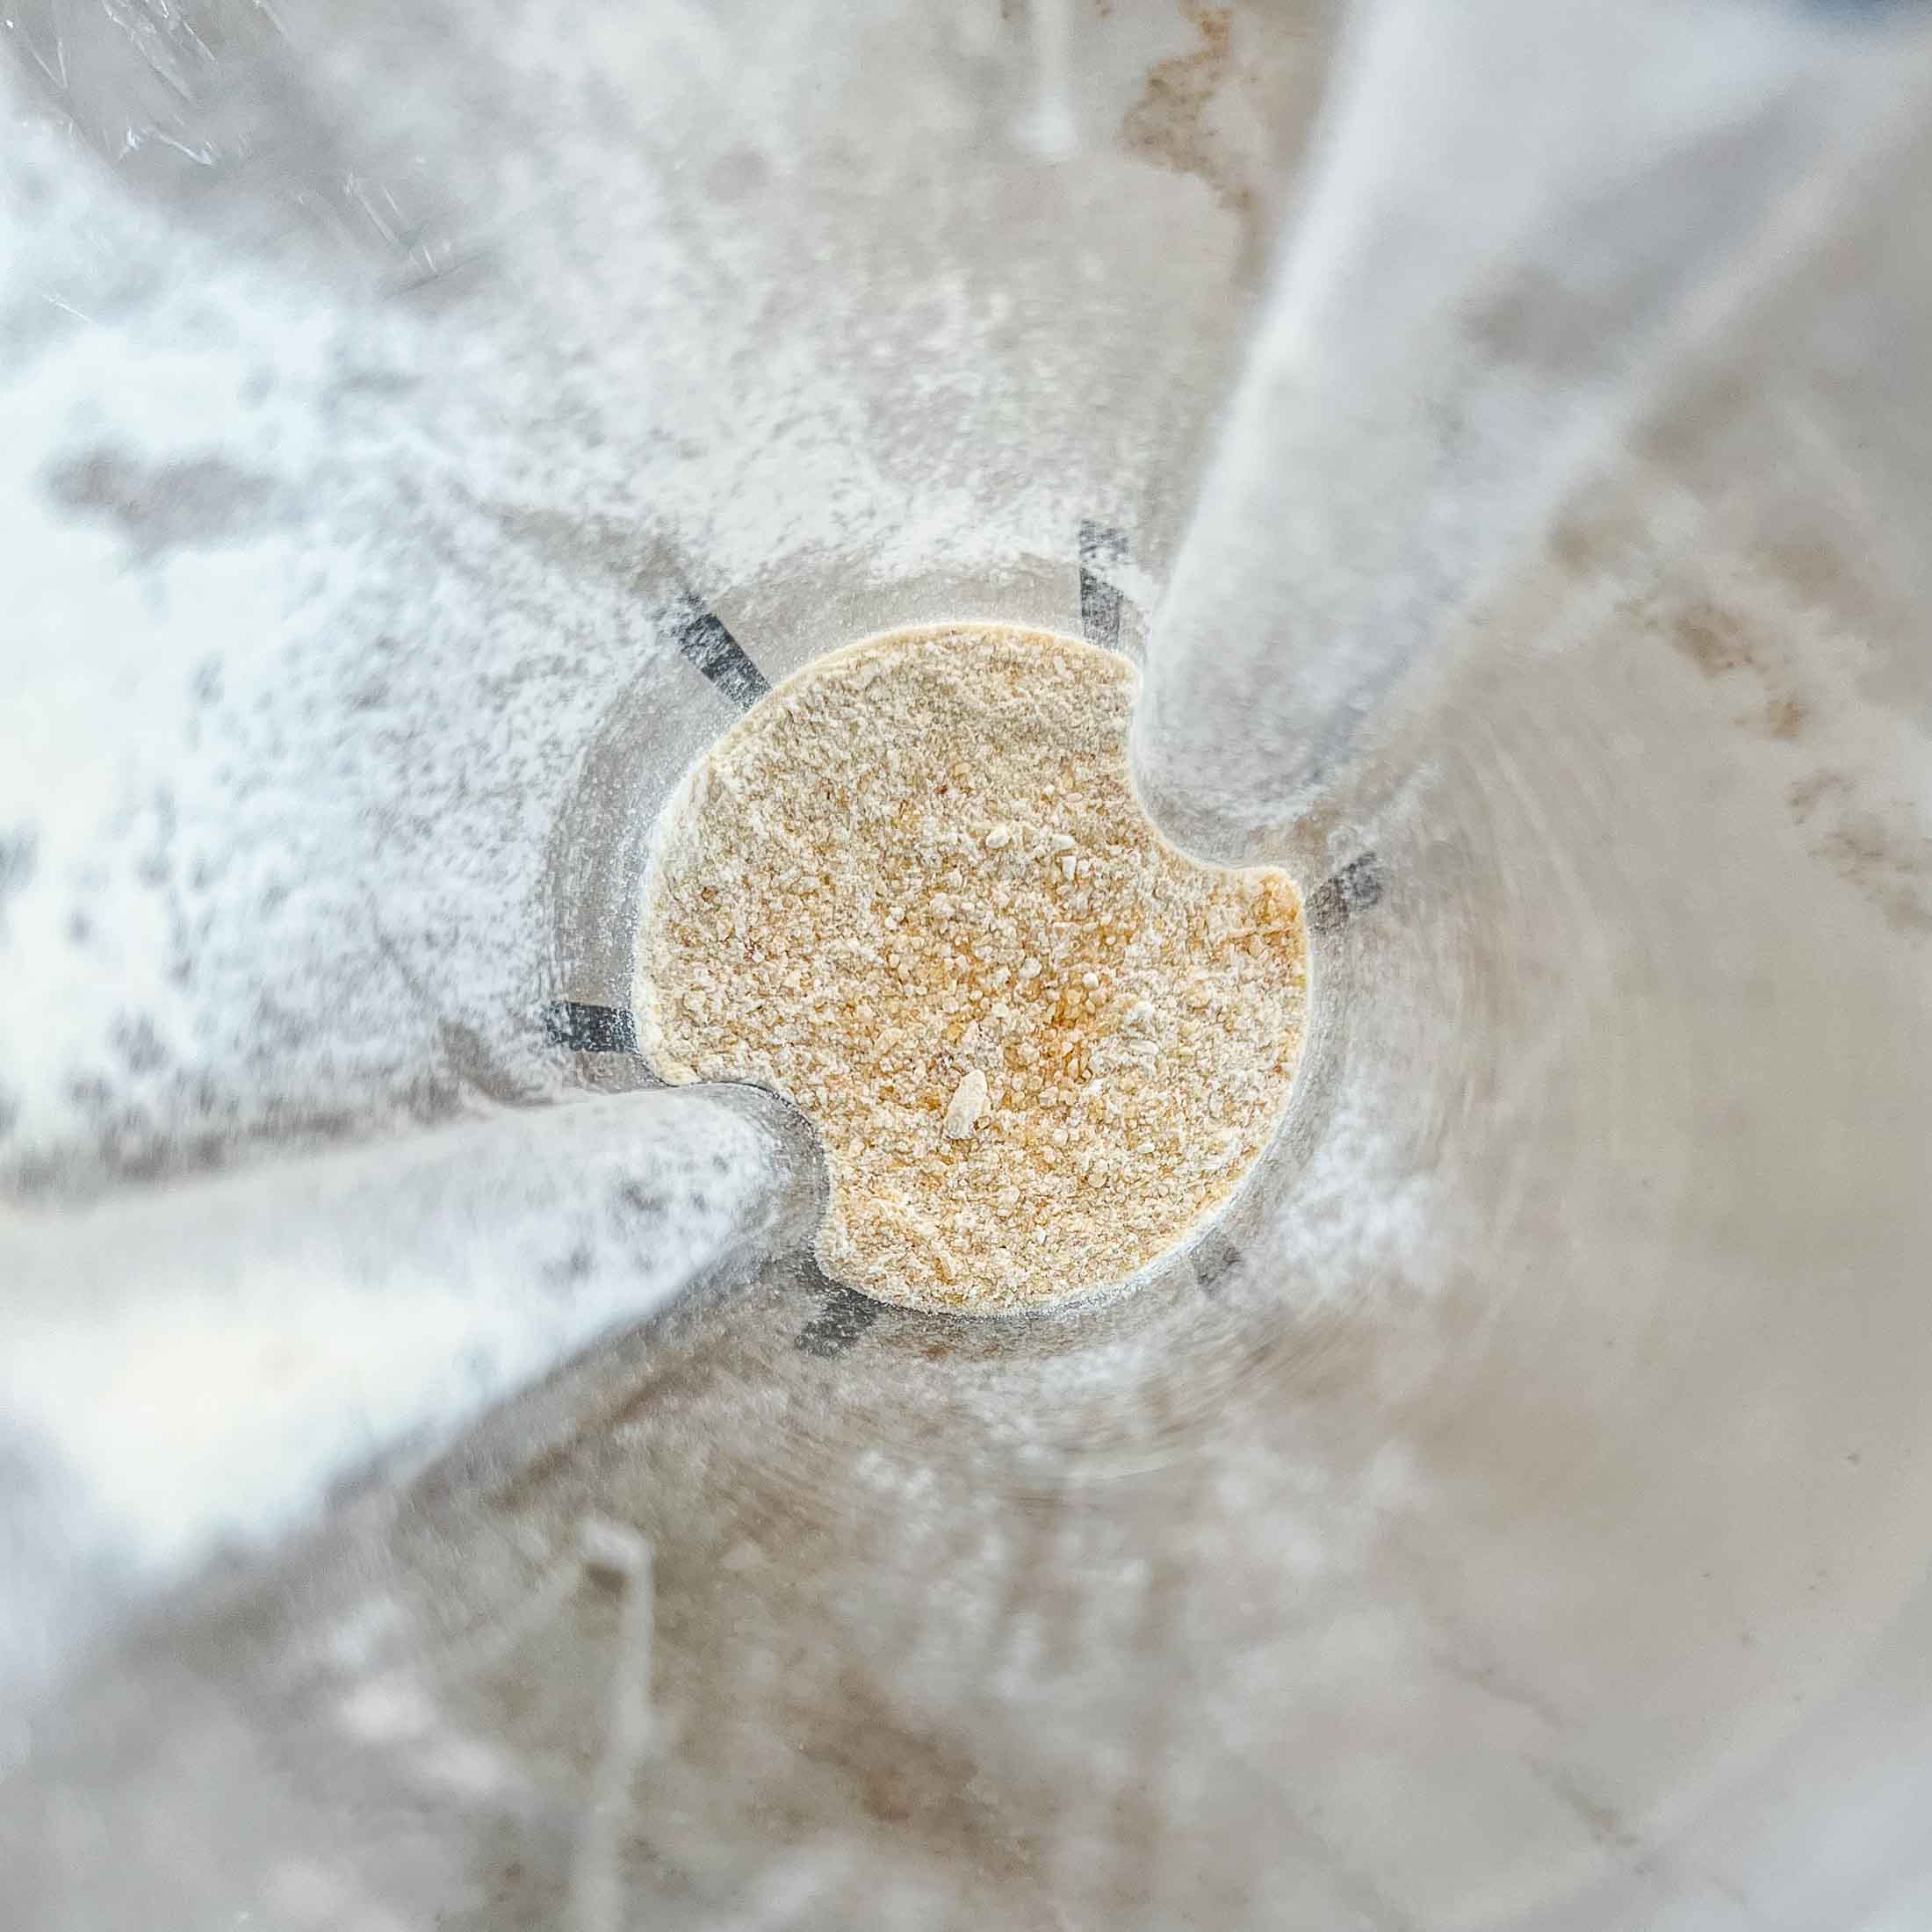
Garlic Powder: Once you have the dried minced garlic, place it into a blender or spice grinder and pulse until it reaches a fine powder consistency. You may need to scrape down the sides of the blender or grinder to ensure even grinding. Once you have the desired texture, transfer the garlic powder to an airtight container for storage.
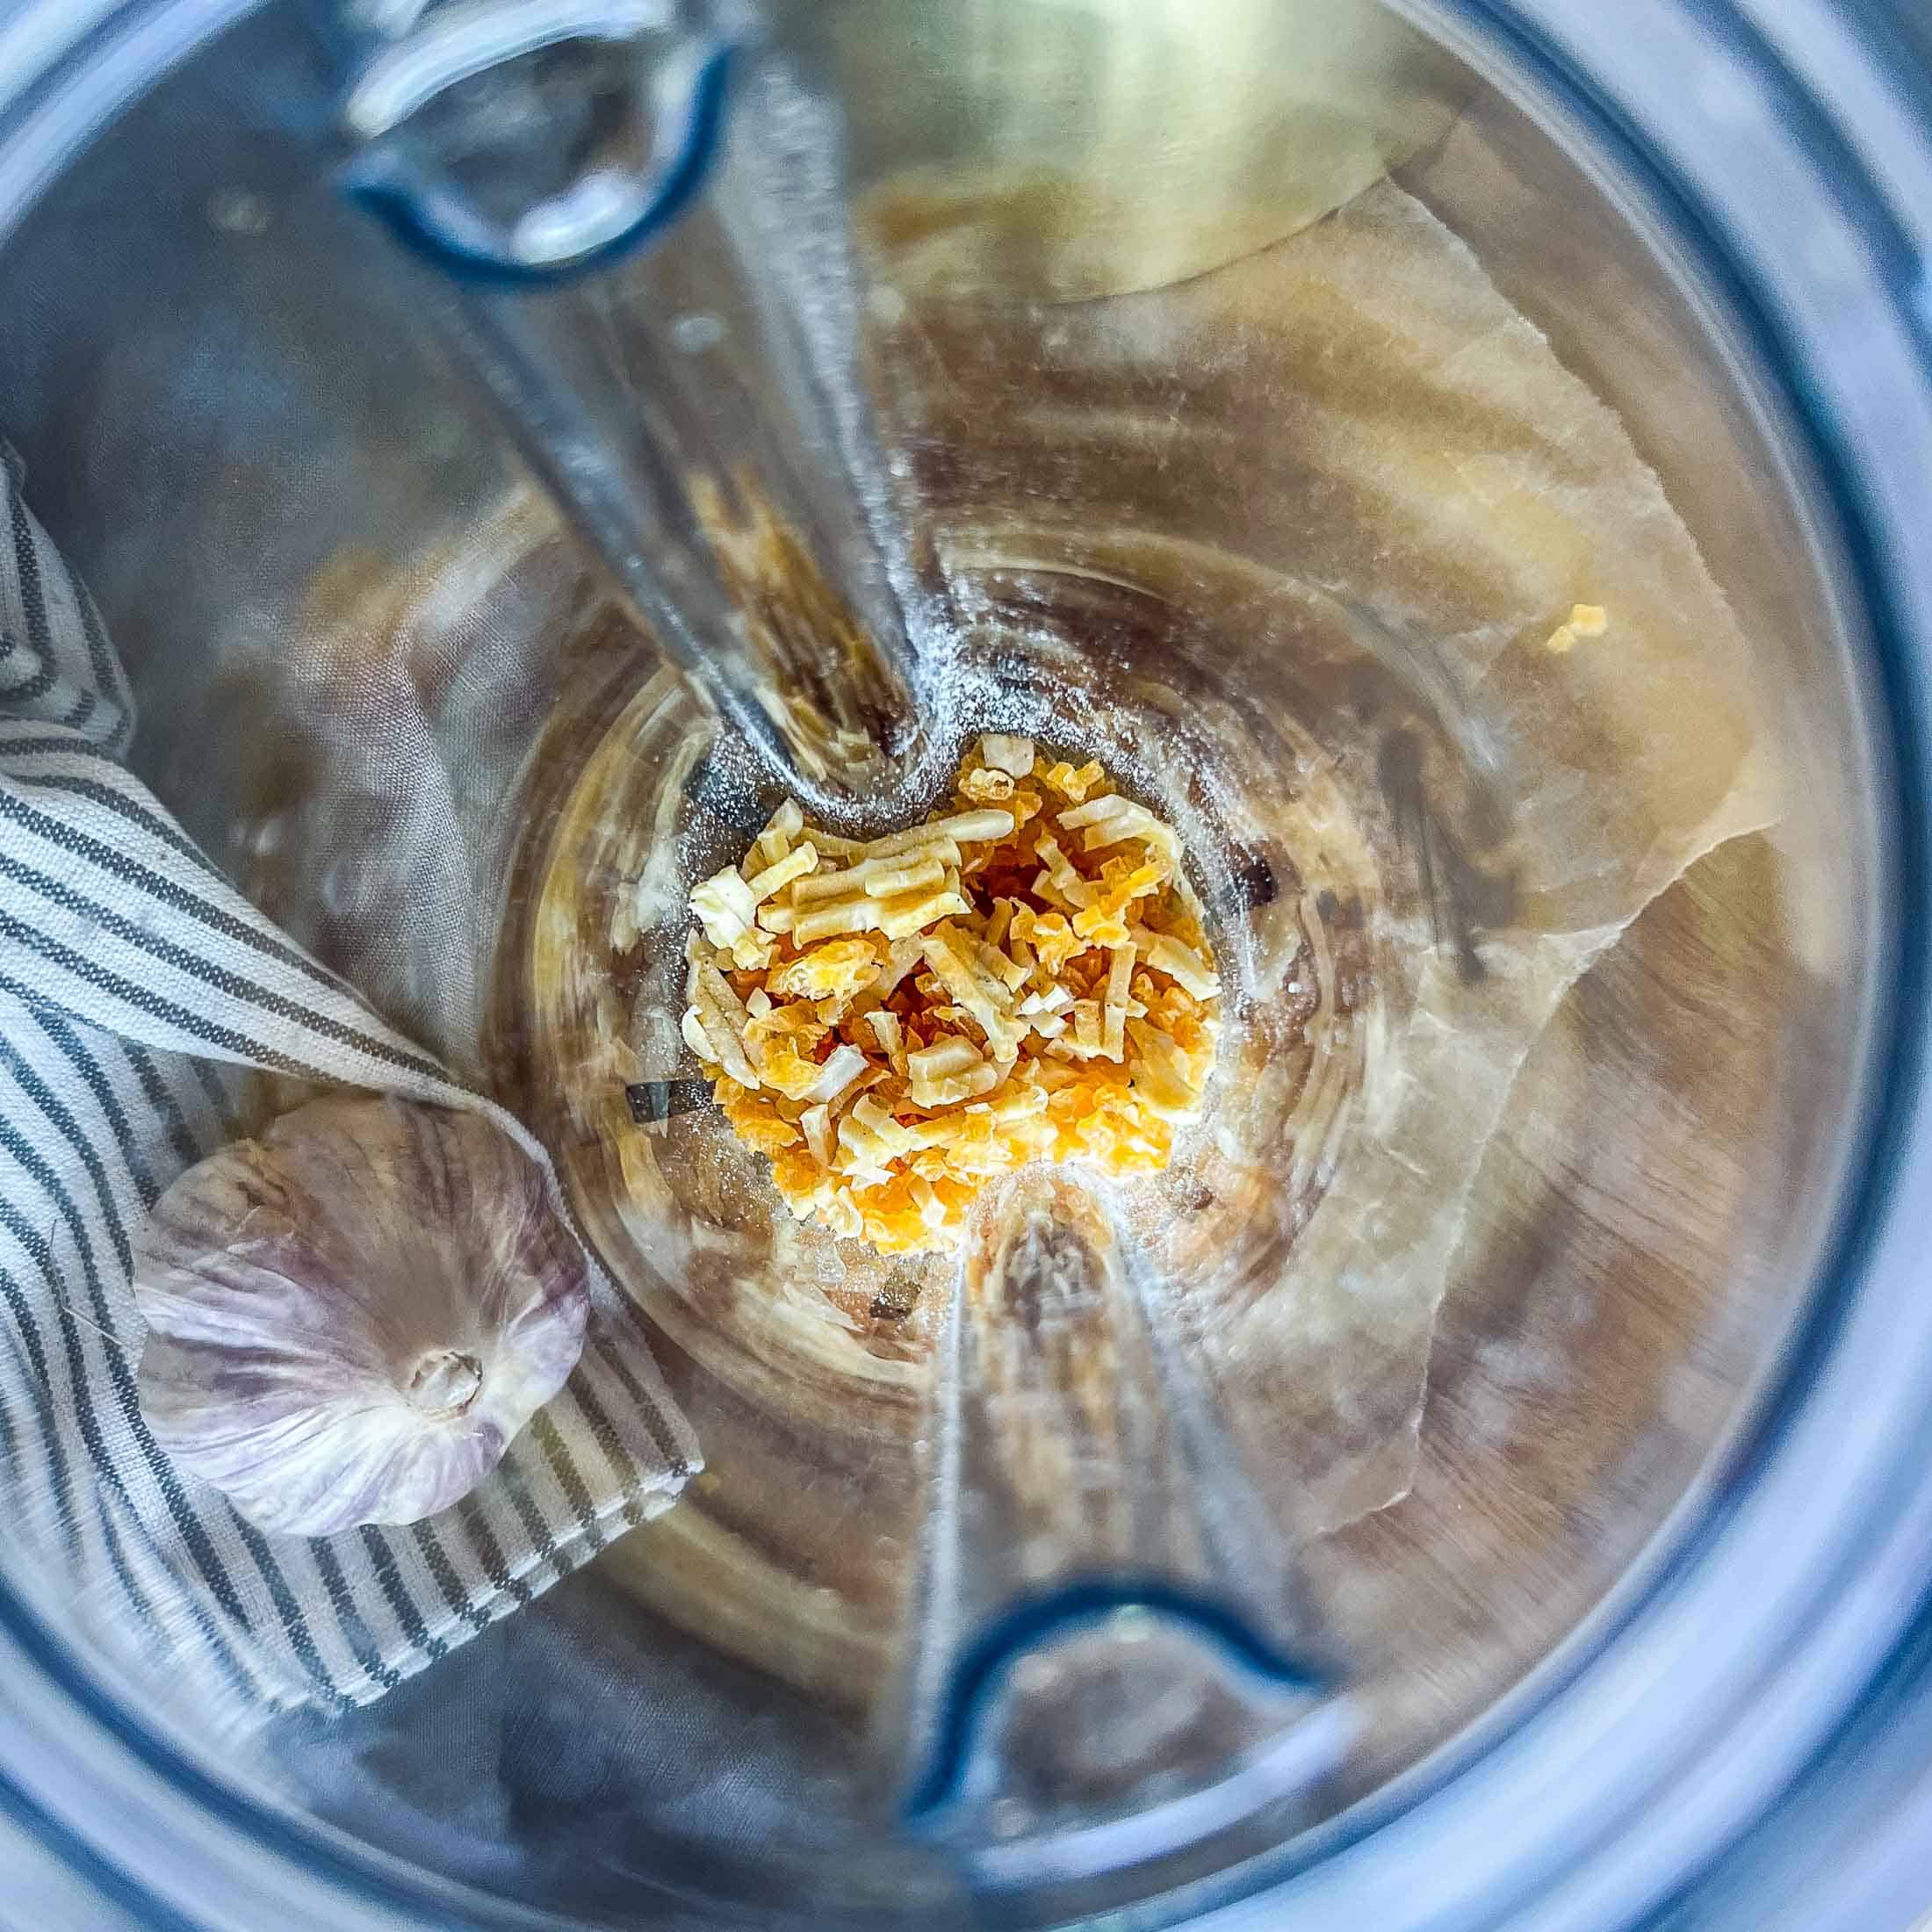
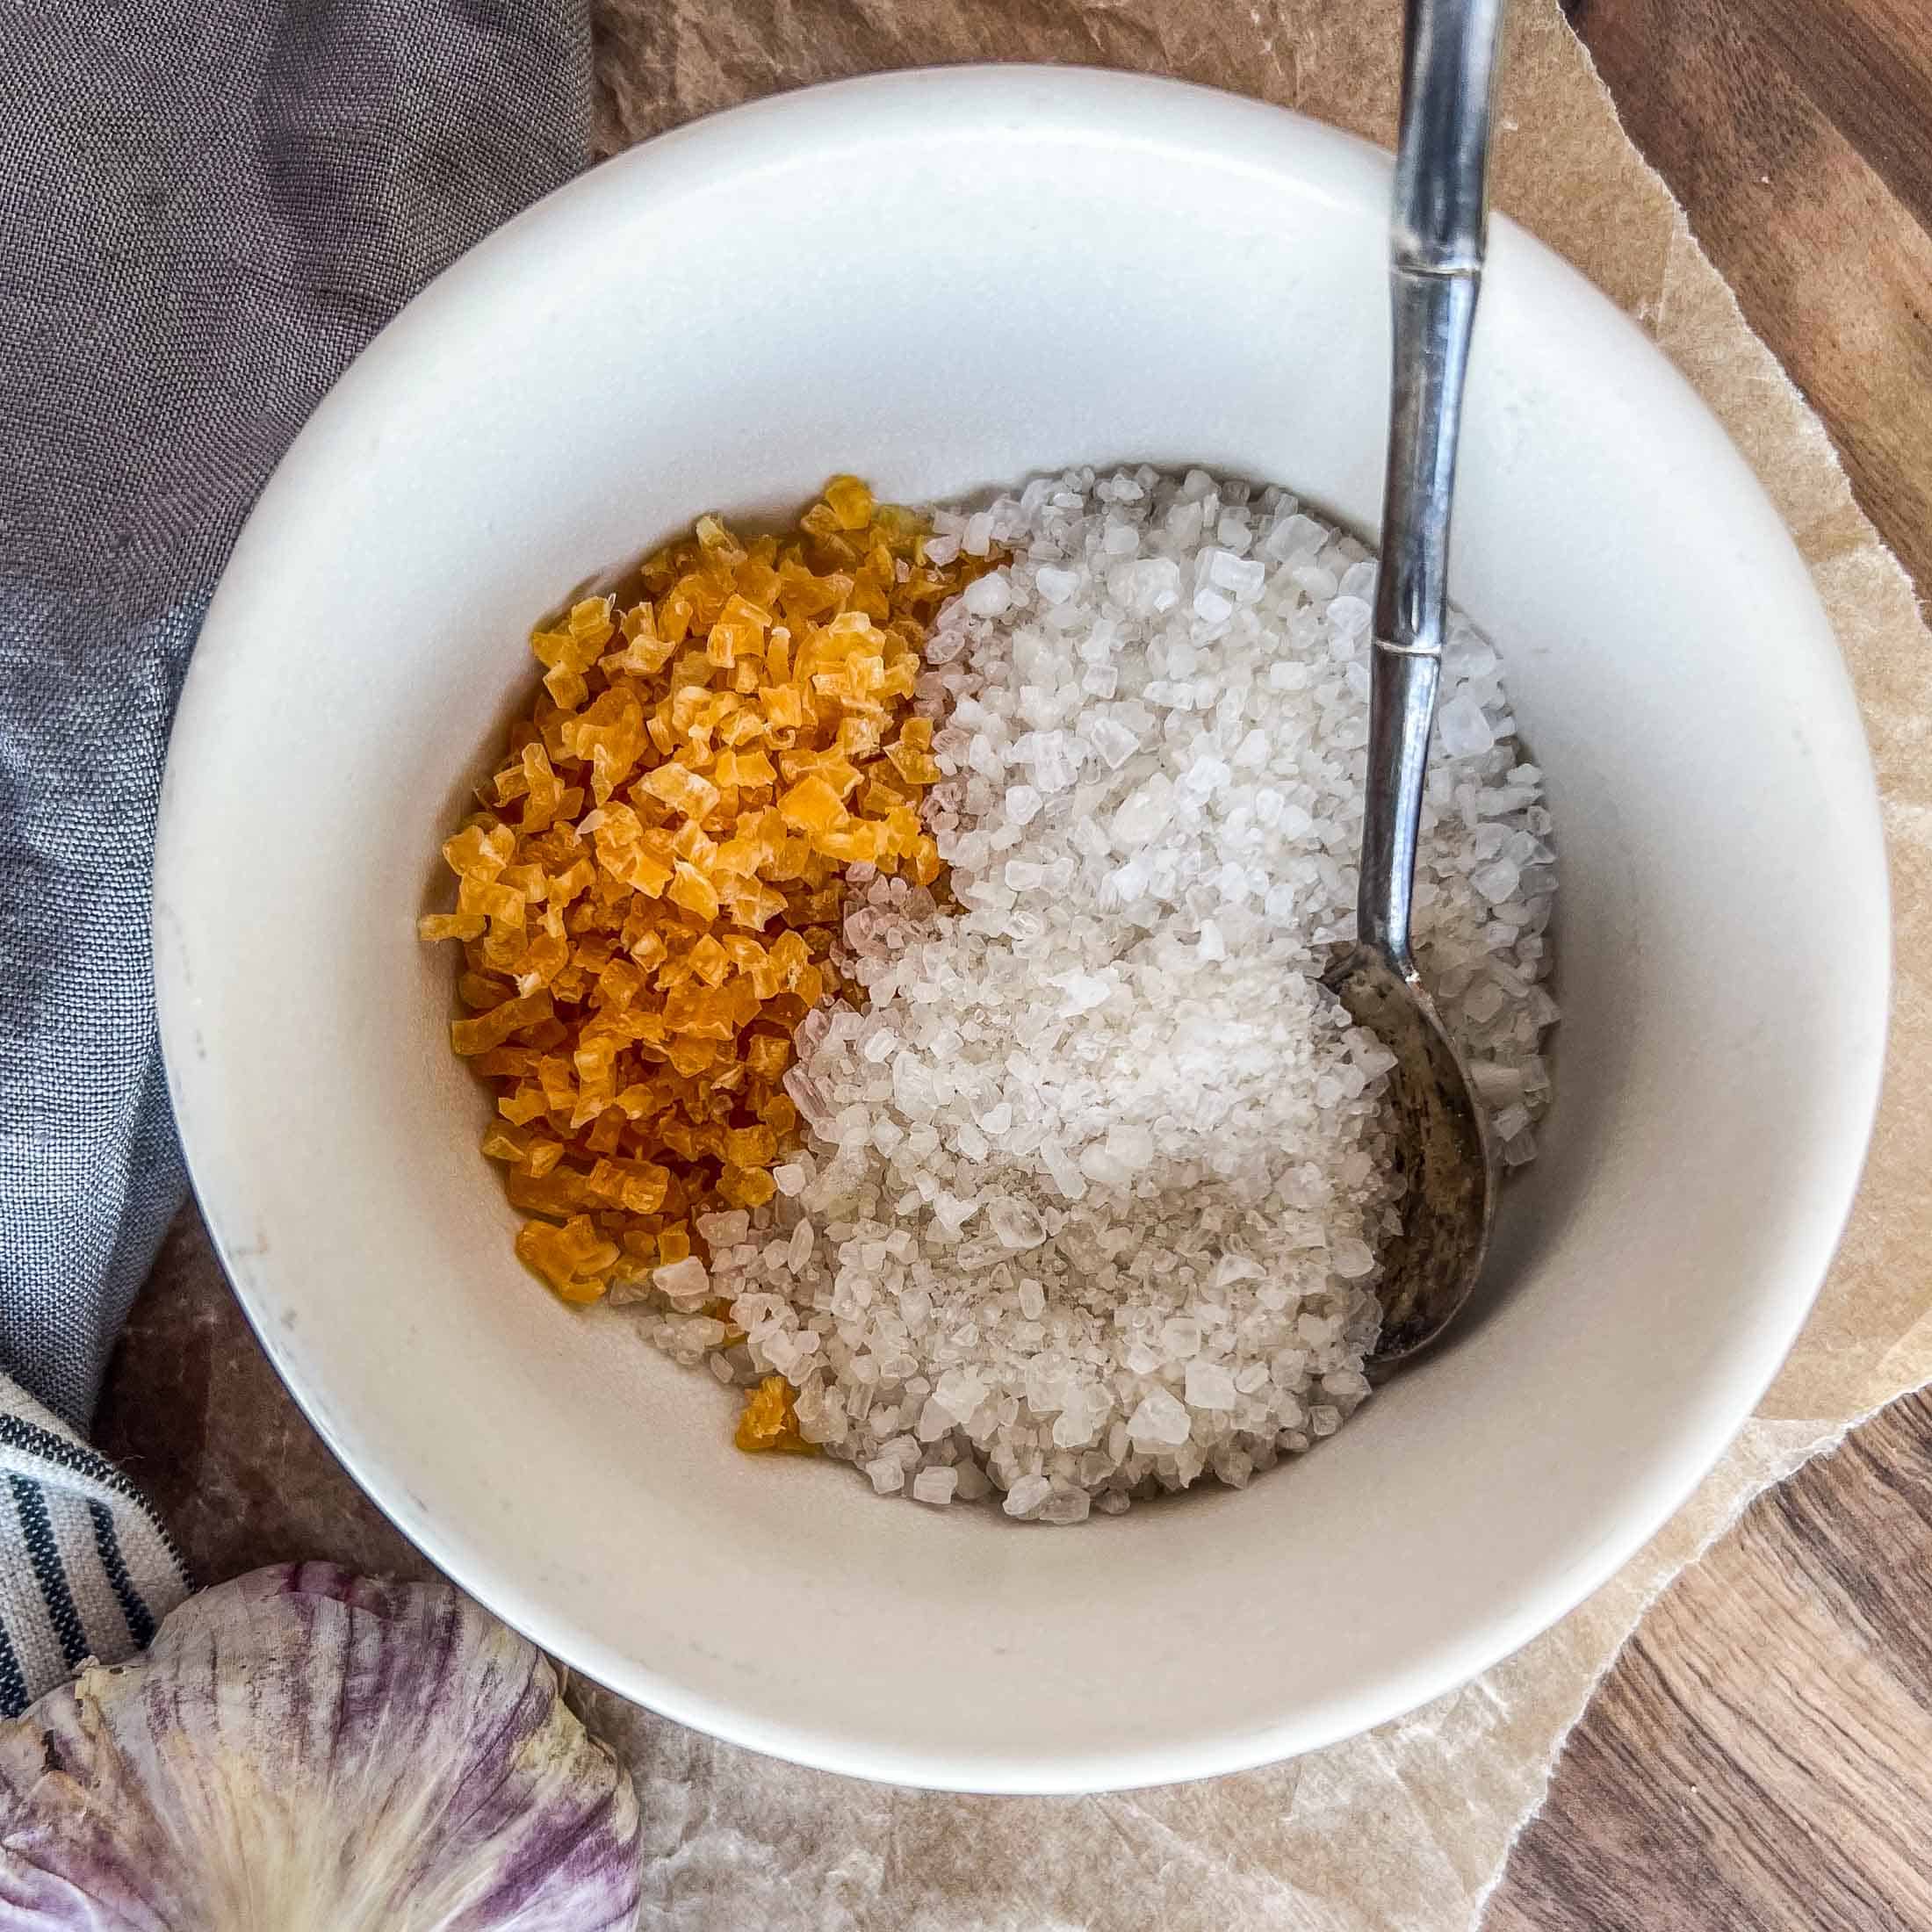
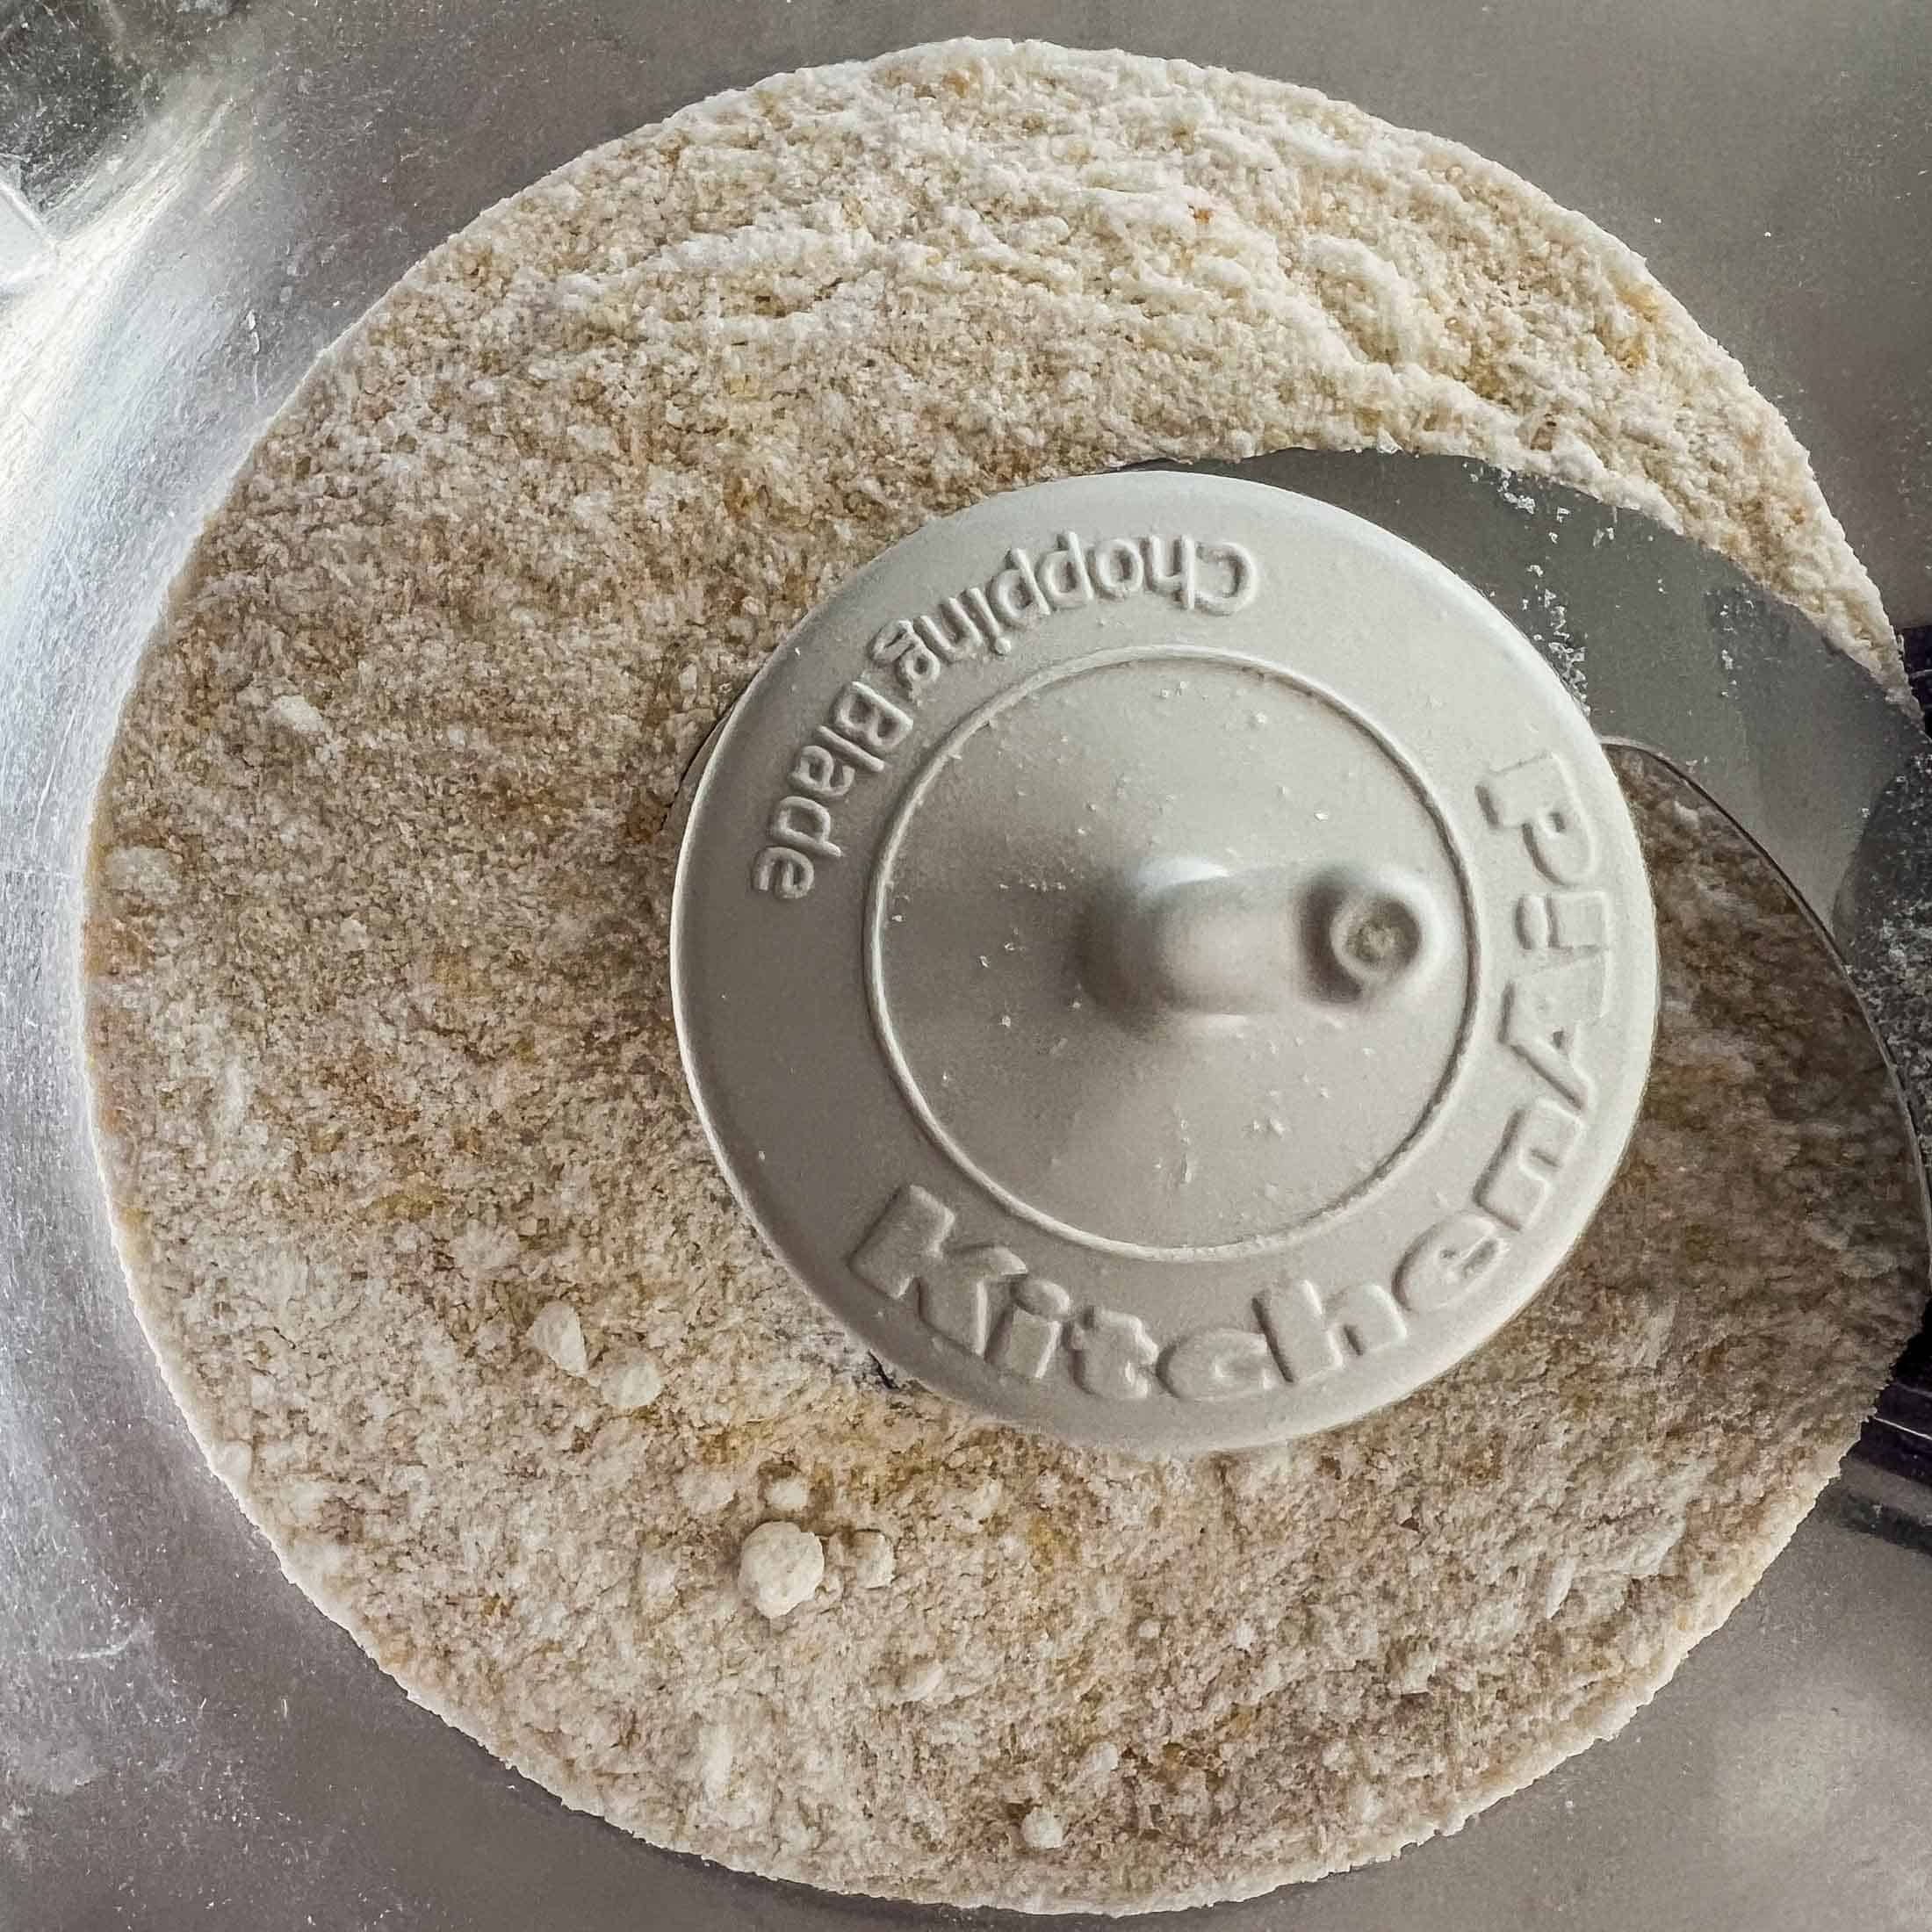
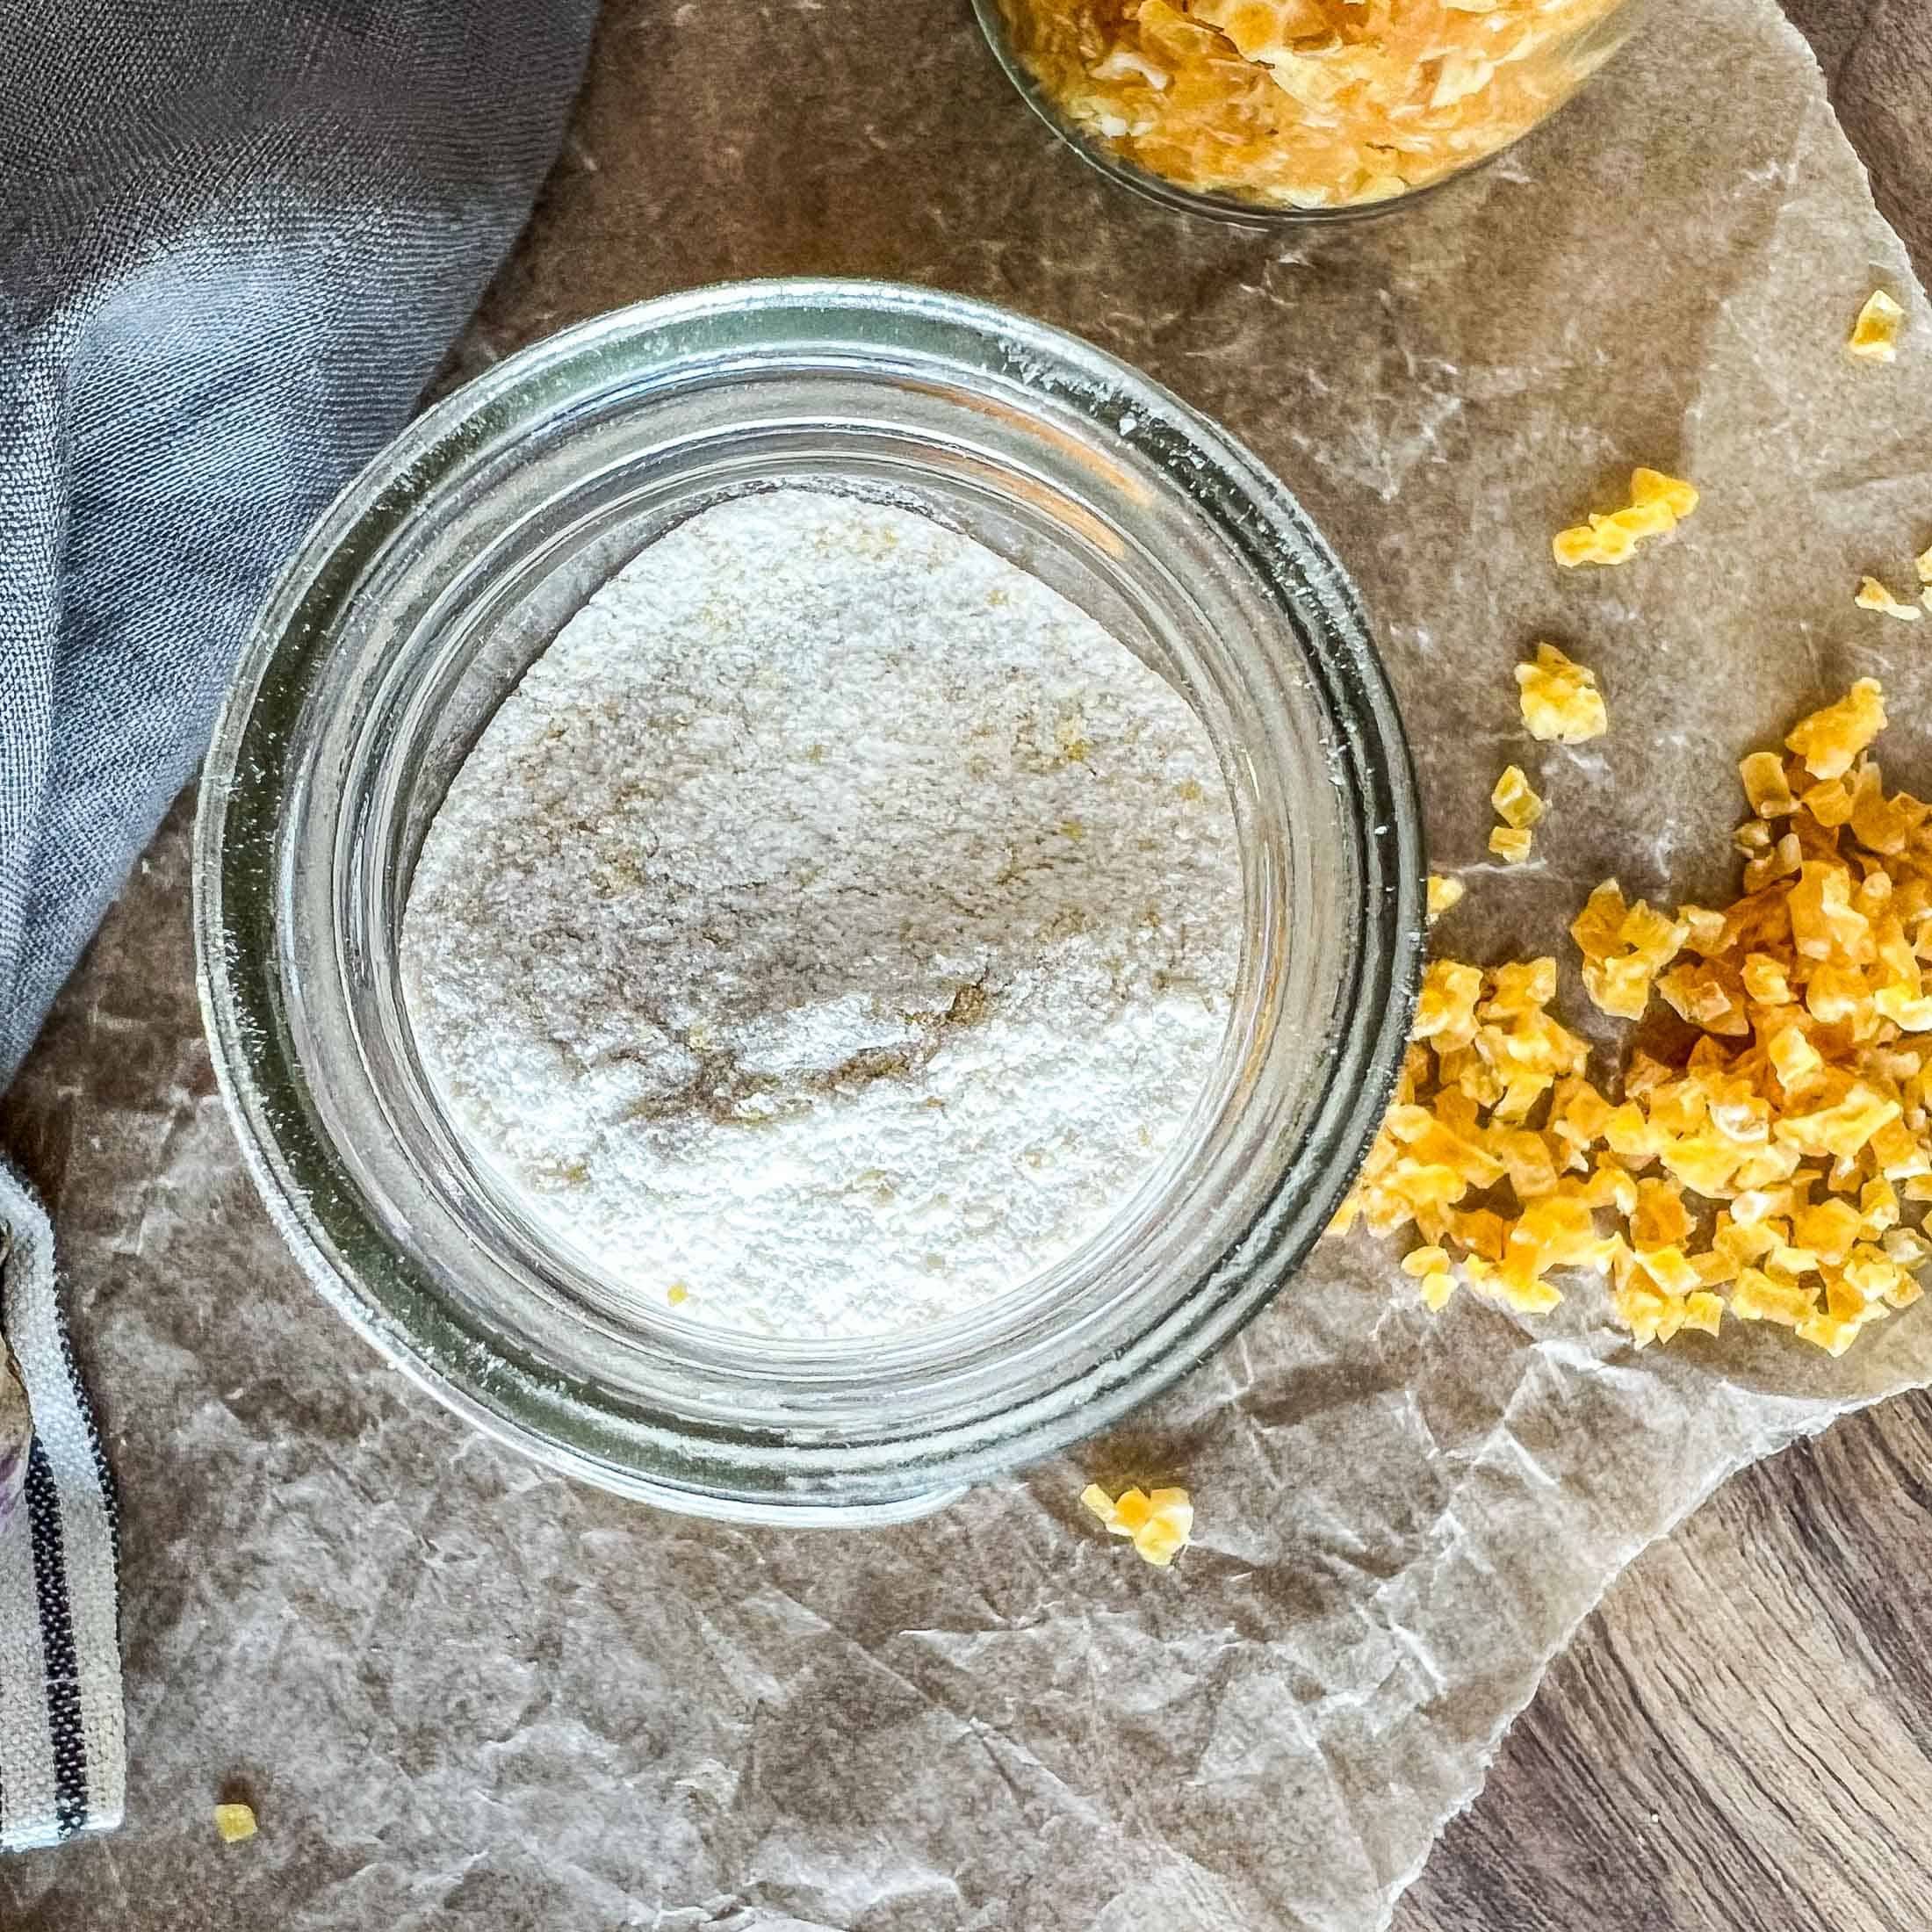
Garlic Salt: Start by gathering dried minced garlic (or dried sliced garlic) and coarse sea salt. Combine the two ingredients in a ratio of 1 part dried minced garlic (or sliced) to 3 parts salt or adjust according to your taste preference. Place the garlic + salt into your food processor, spice grinder, or blender and pulse until it is finely ground. Pulse one or two more times to fully incorporate the two ingredients. Ensure there are no large garlic or salt granules remaining. Transfer the garlic salt to an airtight container for storage.
How to Rehydrate Dried Garlic
To begin, place your desired amount of dried garlic in a small bowl. Next, cover the garlic with warm water and let it soak for about 15-20 minutes. The warm water helps to rehydrate the garlic, making it plump and tender once again. Once the garlic has soaked, drain the water and pat the garlic dry with a paper towel. Now, your rehydrated garlic is ready to be used in your favorite recipes. If you are adding dried garlic to moist dishes, there is no need to rehydrate– it will naturally rehydrate in soups, stews, sauces, etc…

Printable Guide For Dehydrated Garlic
Ultimate Guide to Dehydrated Garlic | Dehydrator, Oven, Air Fryer
Follow this simple guide to learn how to dehydrate garlic (minced or sliced) in a dehydrator, oven, and air fryer. Easily convert your dehydrated garlic into garlic powder or garlic salt by following the instructions below.
Ingredients
- 4 heads garlic (20 cloves)
Instructions
- Break Apart. Start by gently removing any excess papery outsides and debris. Avoid getting the garlic wet at this point. Break apart the head of garlic so that all of the cloves are separate and discard the middle stem.
- Peel. Slice the root end of each clove and peel all of the outer coatings off until you are left with a clean, creamy coloured clove. Remove any blemished/browned bits on the cloves before setting aside. Finely mince your garlic using a sharp kitchen knife or a chopper.
- Arrange. Arrange the garlic in a single layer on your dehydrator sheet.
- Dehydrate. Set the dehydrator to the “vegetable” setting or 130°F and dry for 6-10 hours. Drying time depends on the size of your garlic pieces, uniformity, and general humidity. Check the garlic at the 6 hour mark and add drying time as necessary.
- Check for doneness. For this recipe, garlic should be hard/brittle, slices will break in half and there will be no signs of moisture. Once dried, allow the garlic to cool at room temperature for at least 30 minutes before moving on to conditioning.
- Condition. At this point you should condition the dehydrated garlic (test for dryness) over 5 days. Place a handful of dried garlic in an airtight container. Turn the jar or container once a day for 5 days. After 5 days if you notice moisture, or mold, discard the dried garlic.
- Store dehydrated garlic in an airtight container (I love mason jars for this) in a dry, dark place. Dehydrated garlic will store for up to six months before the flavor and texture starts to degrade. I have dried, minced garlic that is 12+ months old and still delicious!
Notes
2/3 cup minced garlic = roughly 1/2 cup dehydrated minced garlic.
How To Dehydrate Garlic In an Oven
Step 1. Prepare. Prepare garlic as outlined above.
Step 2. Arrange. Arrange the minced/sliced garlic in a single layer on a parchment lined baking sheet or line your cookie sheet with a jerky mat to elevate it and allow for a bit more airflow.
Step 3. Dry. Set your oven to the lowest temperature (closest to 130°F) as possible. Some ovens have dehydrate settings- use that! Dry the garlic for 6-10 hours (adjusting time as needed - garlic thickness, moisture content, oven temperature and humidity levels can change drying time). Be sure to leave your oven door open slightly to allow moisture to escape. I use a linen dish towel to prop my oven open, you can also use a heat-safe utensil.
Step 4. Check for doneness. For this recipe, garlic should be hard/brittle, slices will break in half and there will be no signs of moisture. Fully cool the garlic for 30 minutes at room temperature by removing it from your baking sheet and transferring to a cool plate or counter top. Condition as outlined below.
How To Dehydrate Garlic Using an Air Fryer
Step 1. Prepare. Prepare garlic as outlined above.
Step 2. Arrange. Arrange the garlic in a single layer in your air fryer basket. I use these jerky mats for SO many things in the kitchen including anytime I am dehydrating small pieces of produce in my air fryer. I simply cut one of my mats to fit the bottom of each basket in my Ninja Foodi Air Fryer, allowing me to efficiently arrange produce (garlic, strawberries, peaches, other herbs) without losing them down the grates.
Step 3. Dry. Set your air fryer to the dehydrate setting OR as close to 135°F as possible. Air fry the garlic for 2-4 hours, checking for doneness after 2 hours. Adjust time as needed - garlic thickness, moisture content, higher air fryer temperature and humidity levels can change drying time.
Step 4. Check for Doneness + Condition. Garlic is done in the air fryer when the pieces have a hard, crisp texture after being cooled for 10 minutes. Dry garlic slices will break when folded, and there will be no signs of moisture when twisted or torn.
Recommended Products
As an Amazon Associate and member of other affiliate programs, I earn from qualifying purchases.

Nutrition Information:
Yield: 8 Serving Size: 1 tablespoonAmount Per Serving: Calories: 22Total Fat: 0gSaturated Fat: 0gTrans Fat: 0gUnsaturated Fat: 0gCholesterol: 0mgSodium: 3mgCarbohydrates: 5gFiber: 0gSugar: 0gProtein: 1g
Dehydrated Garlic FAQ
Strawberries along with other fruits should crack and break when fully dehydrated. The dryer the better unless you are making fruit leather or fruit snack-type dishes.
According to NaturalProductsInsider.com, dried garlic can be stored for up to 3 years if stored correctly. Dry, cool, and dark are the key components of a good storage room. I have never had to store my dried garlic for more than a year– it is a staple in my house and gets used up within 12 months.
According to DehydratedVeg.com, dehydrated garlic has a ton of benefits including positive influences on cholesterol and blood pressure. It is also more concentrated in a smaller amount- saving room and giving you a shelf stable product.
3 Recipes Using Dehydrated Garlic
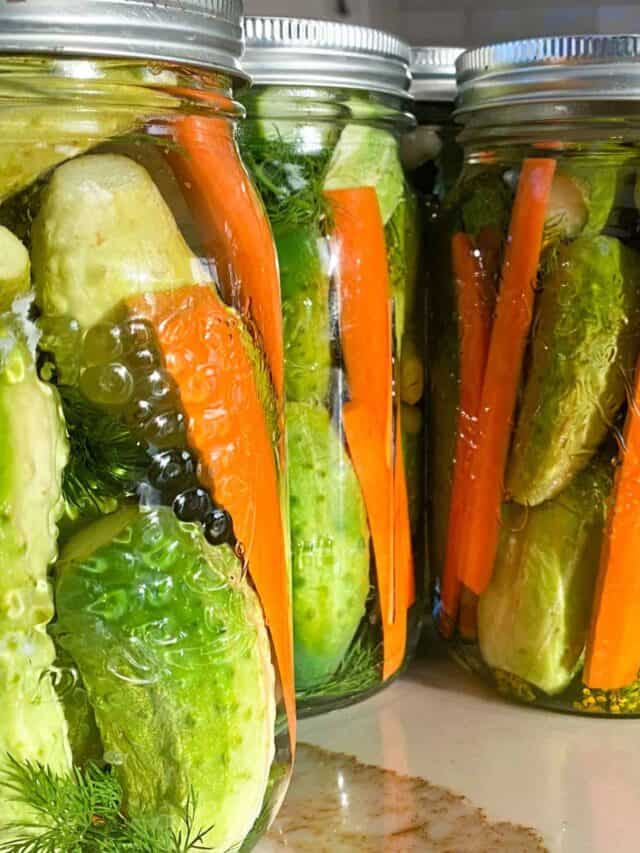
Old Fashioned Fermented Dill Pickles
Swap out fresh garlic for dehydrated garlic in this crunchy no-canning pickle recipe to save on precious prep time.

Roasted Garlic Tomato Soup Recipe With Canning Instructions
There is something magical about this homemade canned tomato soup recipe on a cloudy day. Read on to find out how to enjoy this roasted garlic tomato soup fresh or to easily preserve your harvest using a water bath canner or pressure canner. Skip roasting your garlic and throw it directly into your soup.
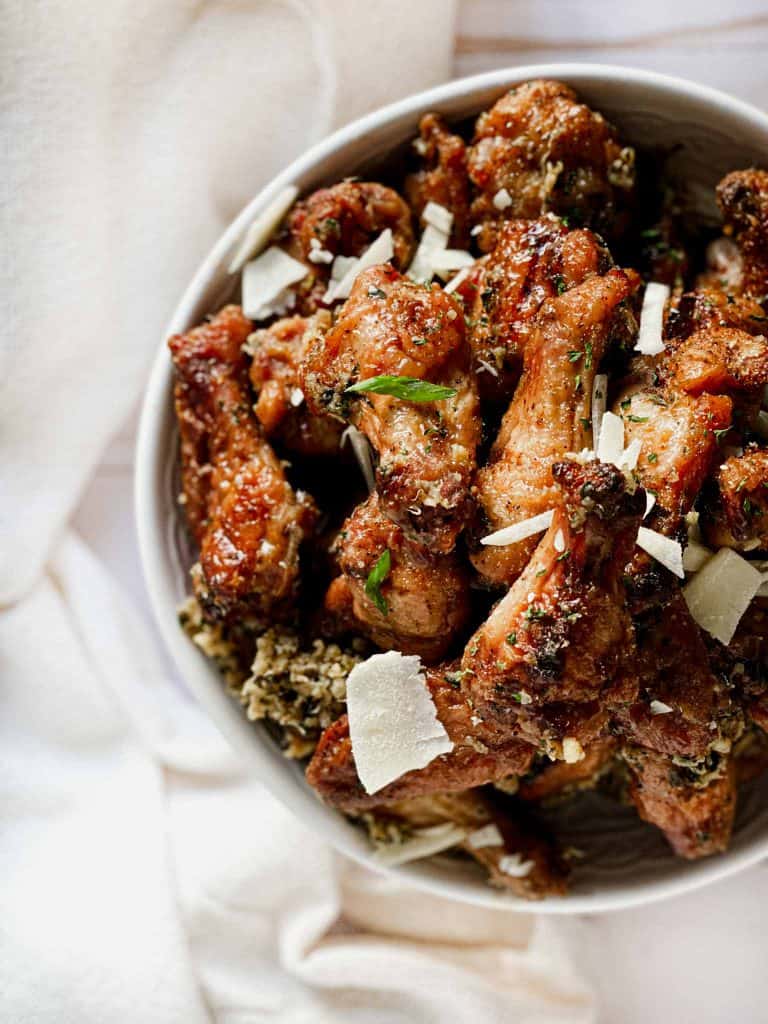
The Best Smoked Garlic and Parmesan Wings – Pellet Grill Recipe
These smoked garlic and parmesan wings are packed with flavour and unbelievably juicy with a crispy exterior. An easy sauce takes these smoked wings from good to great! They be can cooked on any pellet grill, or adapted for the barbecue or oven. Rehydrate your dried garlic and toss it into the garlic parmesan sauce.
Get Creative and Make Smoked Garlic Powder
Easily smoke and dry your garlic using a combination of this recipe and this Simple Smoked Garlic recipe for a mellow, smoky garlic powder or salt that will elevate your dishes.