How To Dry Dill 3 Ways | Dehydrator, Oven, Air Dry
Read on to find out exactly how to dry dill and learn preserve this kitchen staple when your harvest is abundant! Dehydrating dillweed is simple and once dried it can be used as a garnish, in salads, added to fish dishes, soups, or adorning other savory dishes such as perogies with cream and nalesniki. Drying dill helps to save freezer space for a long term storage solution that is simple to grab and use any time of the year. No dehydrator? No problem! Check out the instructions for air drying and using the oven to dry dill.
Related: Old Fashioned Fermented Dill Pickles
All About Dill
Dill is an annual herb that is hardy in USDA growing zones 2-9. It prefers well draining soil that is slightly acidic- making it a great companion for blueberries! Although dill doesn’t require regular fertilizer, it does best when grown in soil that has a good amount of organic matter. Its fine, feathery leaves can be used fresh in cooking or dehydrated (dried) and preserved for later use. Dill has medicinal uses that you can read about here.
Dill weed, Dill seed, Dill- What is the difference?
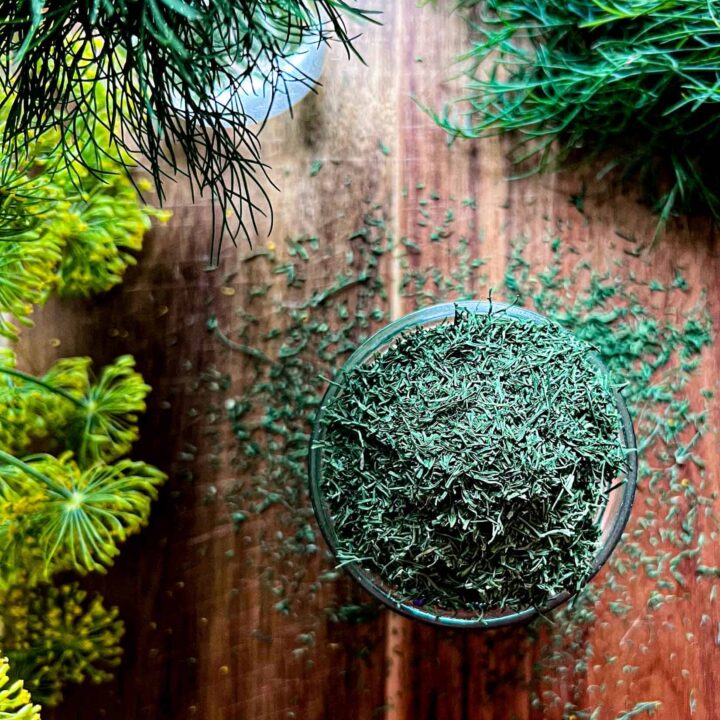
Dill weed refers to the feathery green leaves of the plant, which are soft and delicate, with a flavor that is fresh, sweet, and faintly reminiscent of licorice or anise. Dill weed is commonly used as a garnish, in salads, added to fish dishes, or adorning other savory dishes such as perogies with cream and nalesniki.
Dill seed, on the other hand, comes from the dried fruit of the same plant. It has a stronger flavor than dill weed, with a slightly bitter taste that is similar to caraway or celery seeds. Dill seed is often used as a spice in pickling recipes, bread, and soup, where it can add a punch of flavor and aroma.
The two can sometimes be used interchangeably in recipes, but their flavor profiles are distinct enough that it’s best to use them as directed in a recipe. My recipe for Quick + Crunch Fermented Dill Pickles uses both parts of the plant for a delicious, crunchy pickle that doesn’t require any heat processing.
Why Dried Dill Rocks!
Tips + Tricks
- Use a salad spinner to wash and dry dill quickly.
- Source your dill out from your own garden, a neighbor, or a local farmer’s market for the BEST dry dill flavor.
- Bump up your dill harvest by thinking with Dill Companion Plants in Mind. Dill makes a great companion plant for many vegetables in the garden and can be planted very close to attract pollinators and ward off unwanted pests.
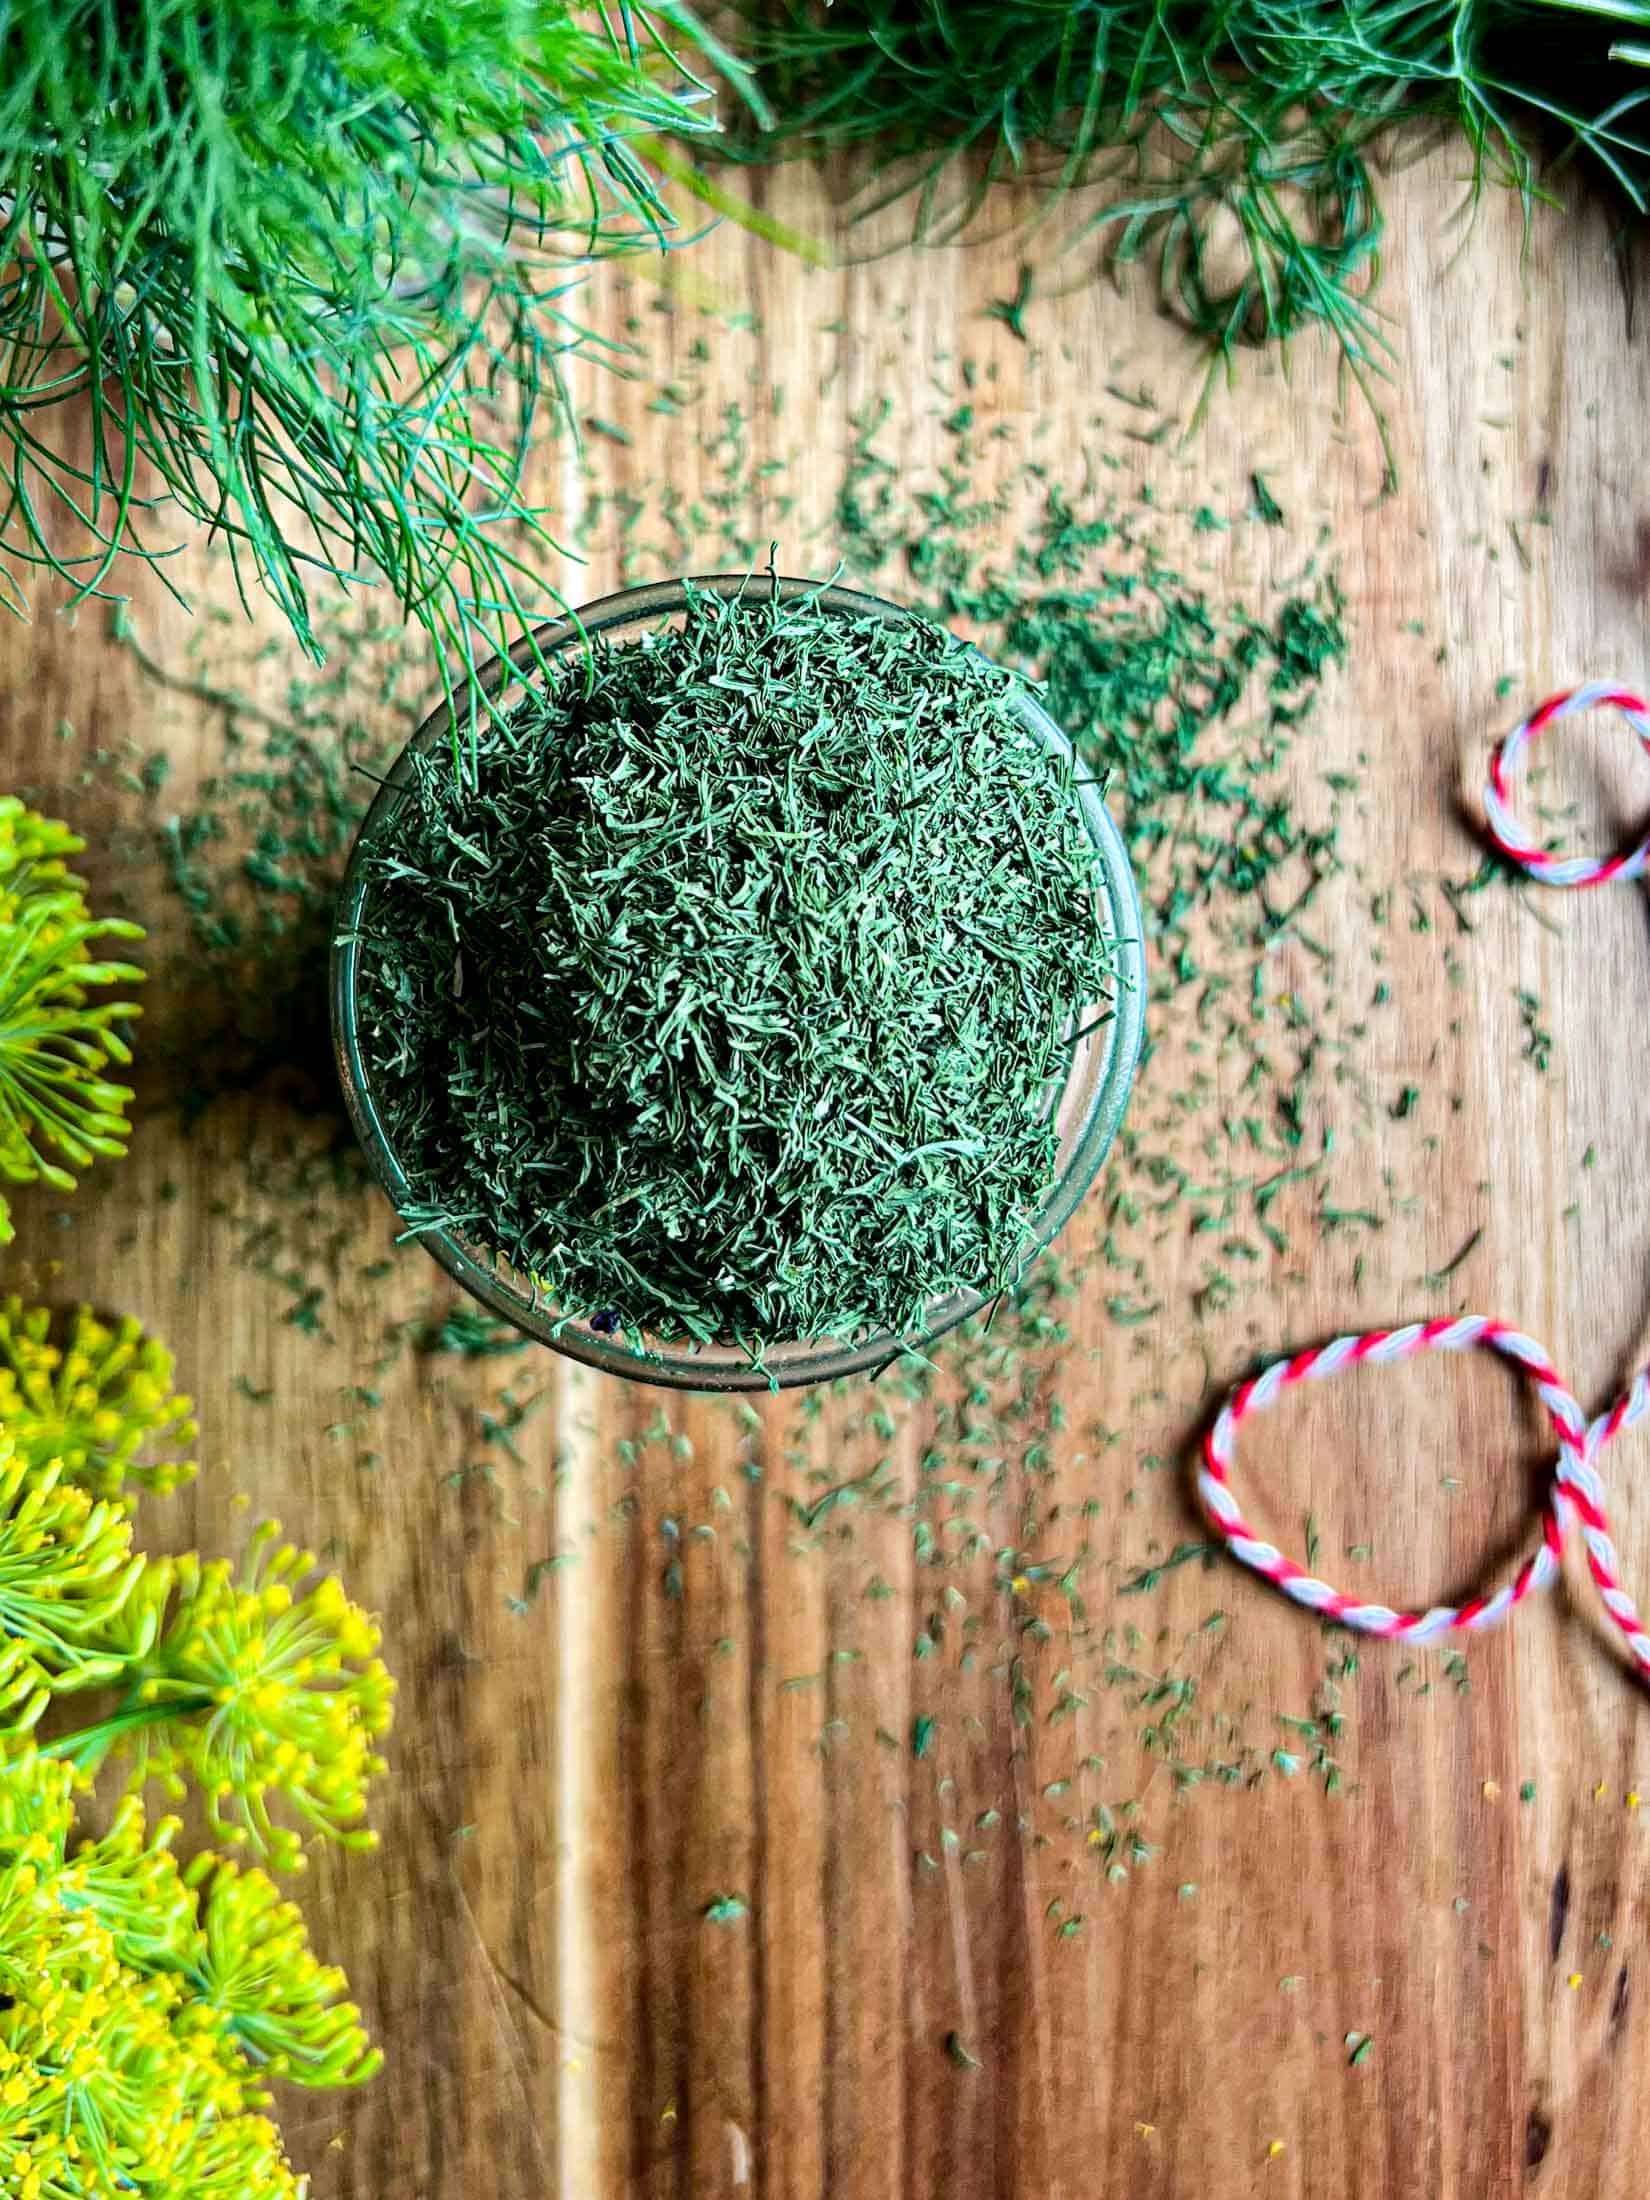
- Dried dillweed makes amazing gifts! Toss it in a mason jar, make a cute tag, and tie with red and white butcher’s string or jute string.
Key Ingredients
Dill: Choose the freshest dill possible! If you have your own dill patch in the garden, consider picking, rinsing, and drying in the same day. Farmer’s markets are also a great source for fresh dill in the summer months. Remove any wilted or yellowed stems or leaves before washing and preparing.

Exactly How To Dry Dill (Air, Dehydrator, Oven)
How To Air Dry Dill
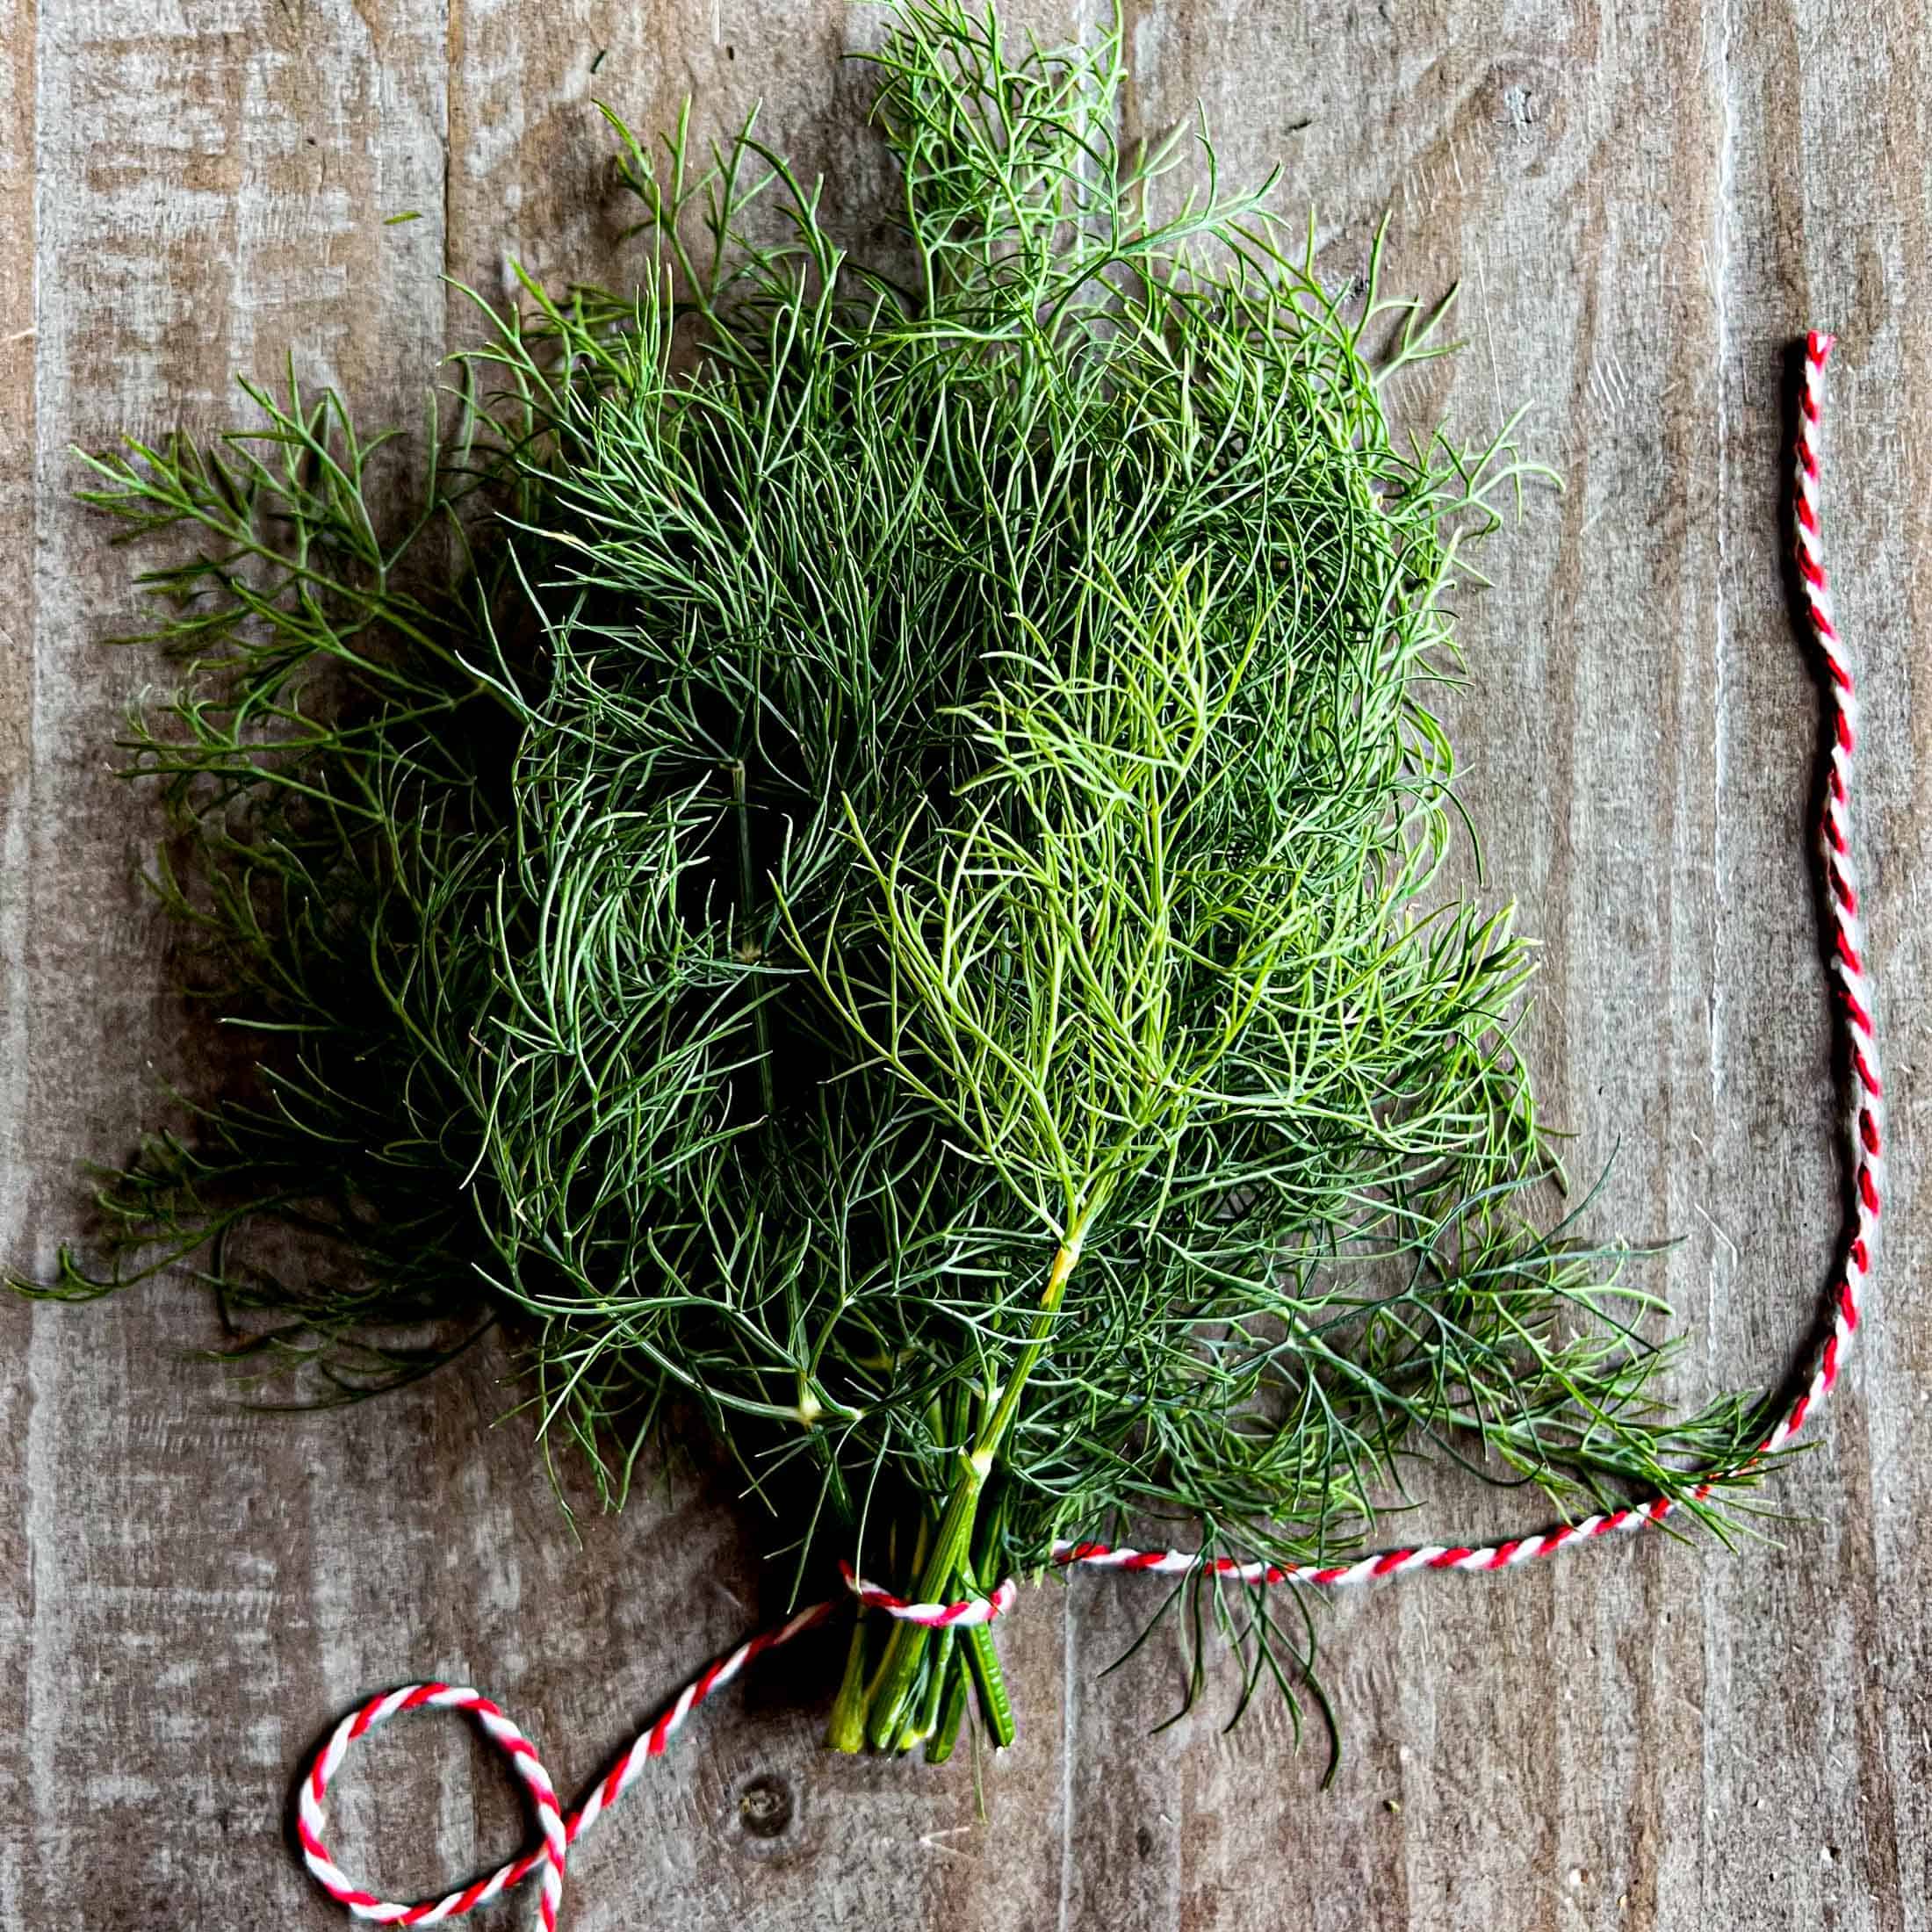
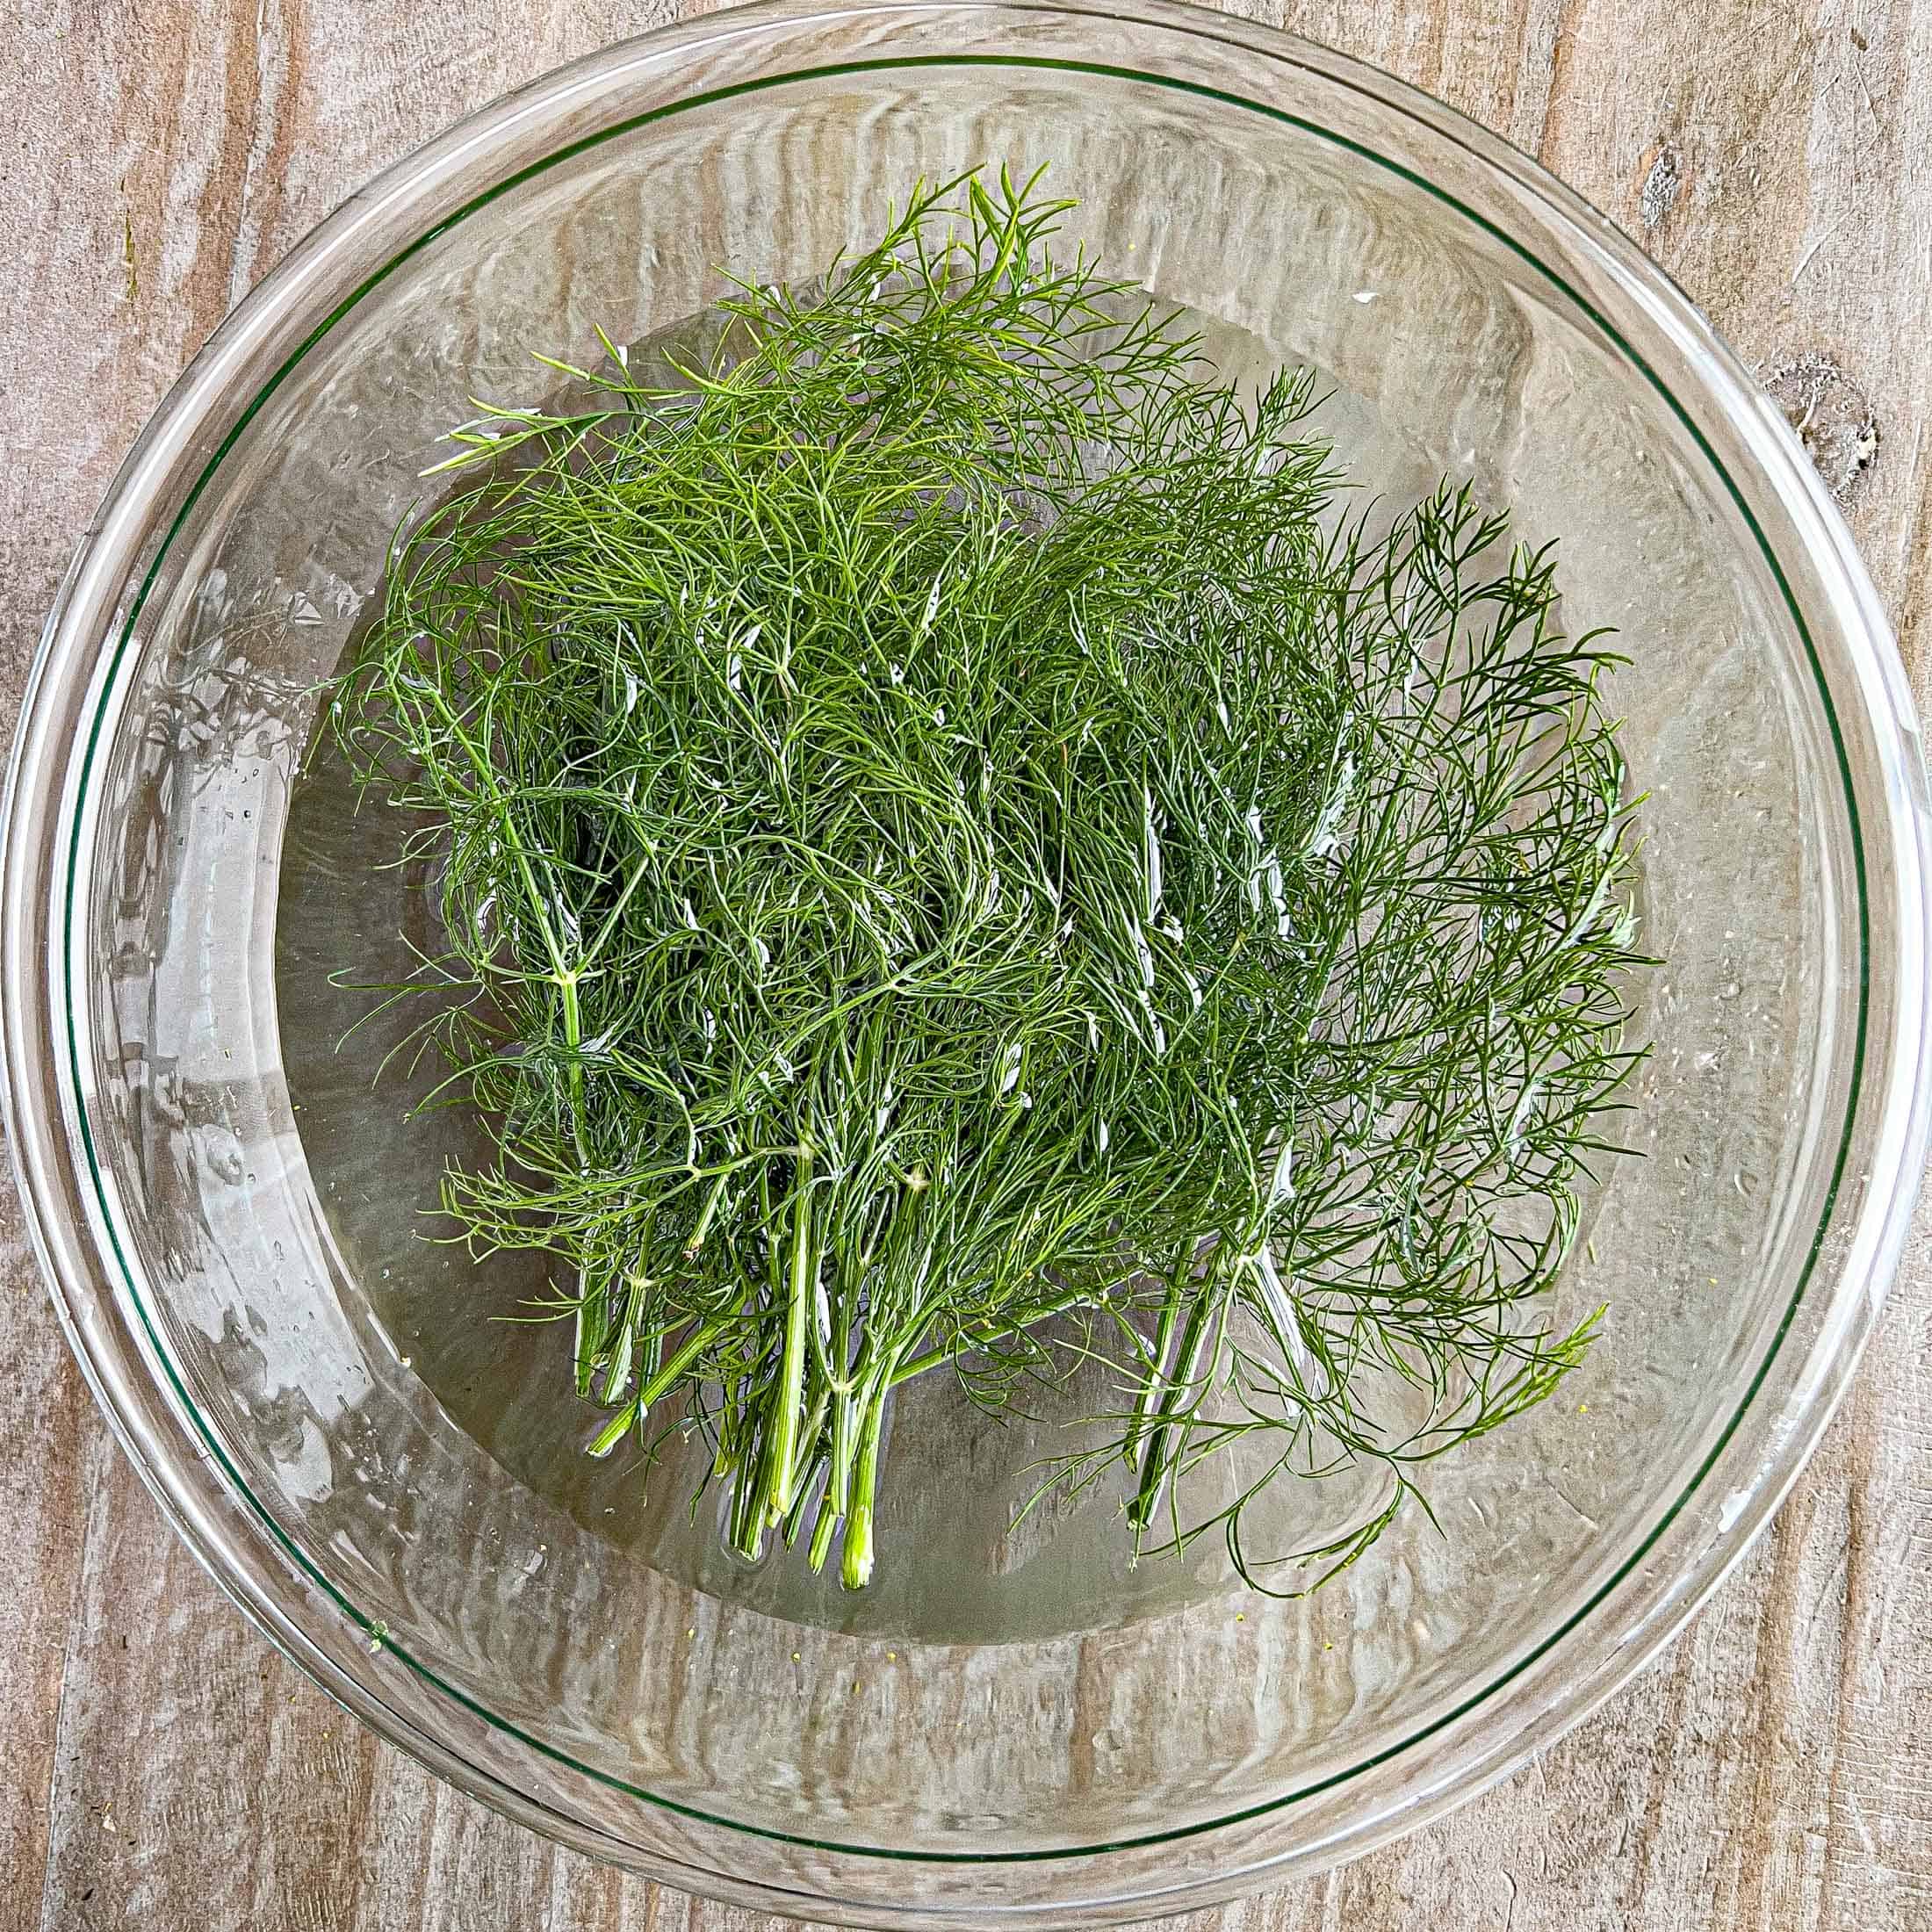
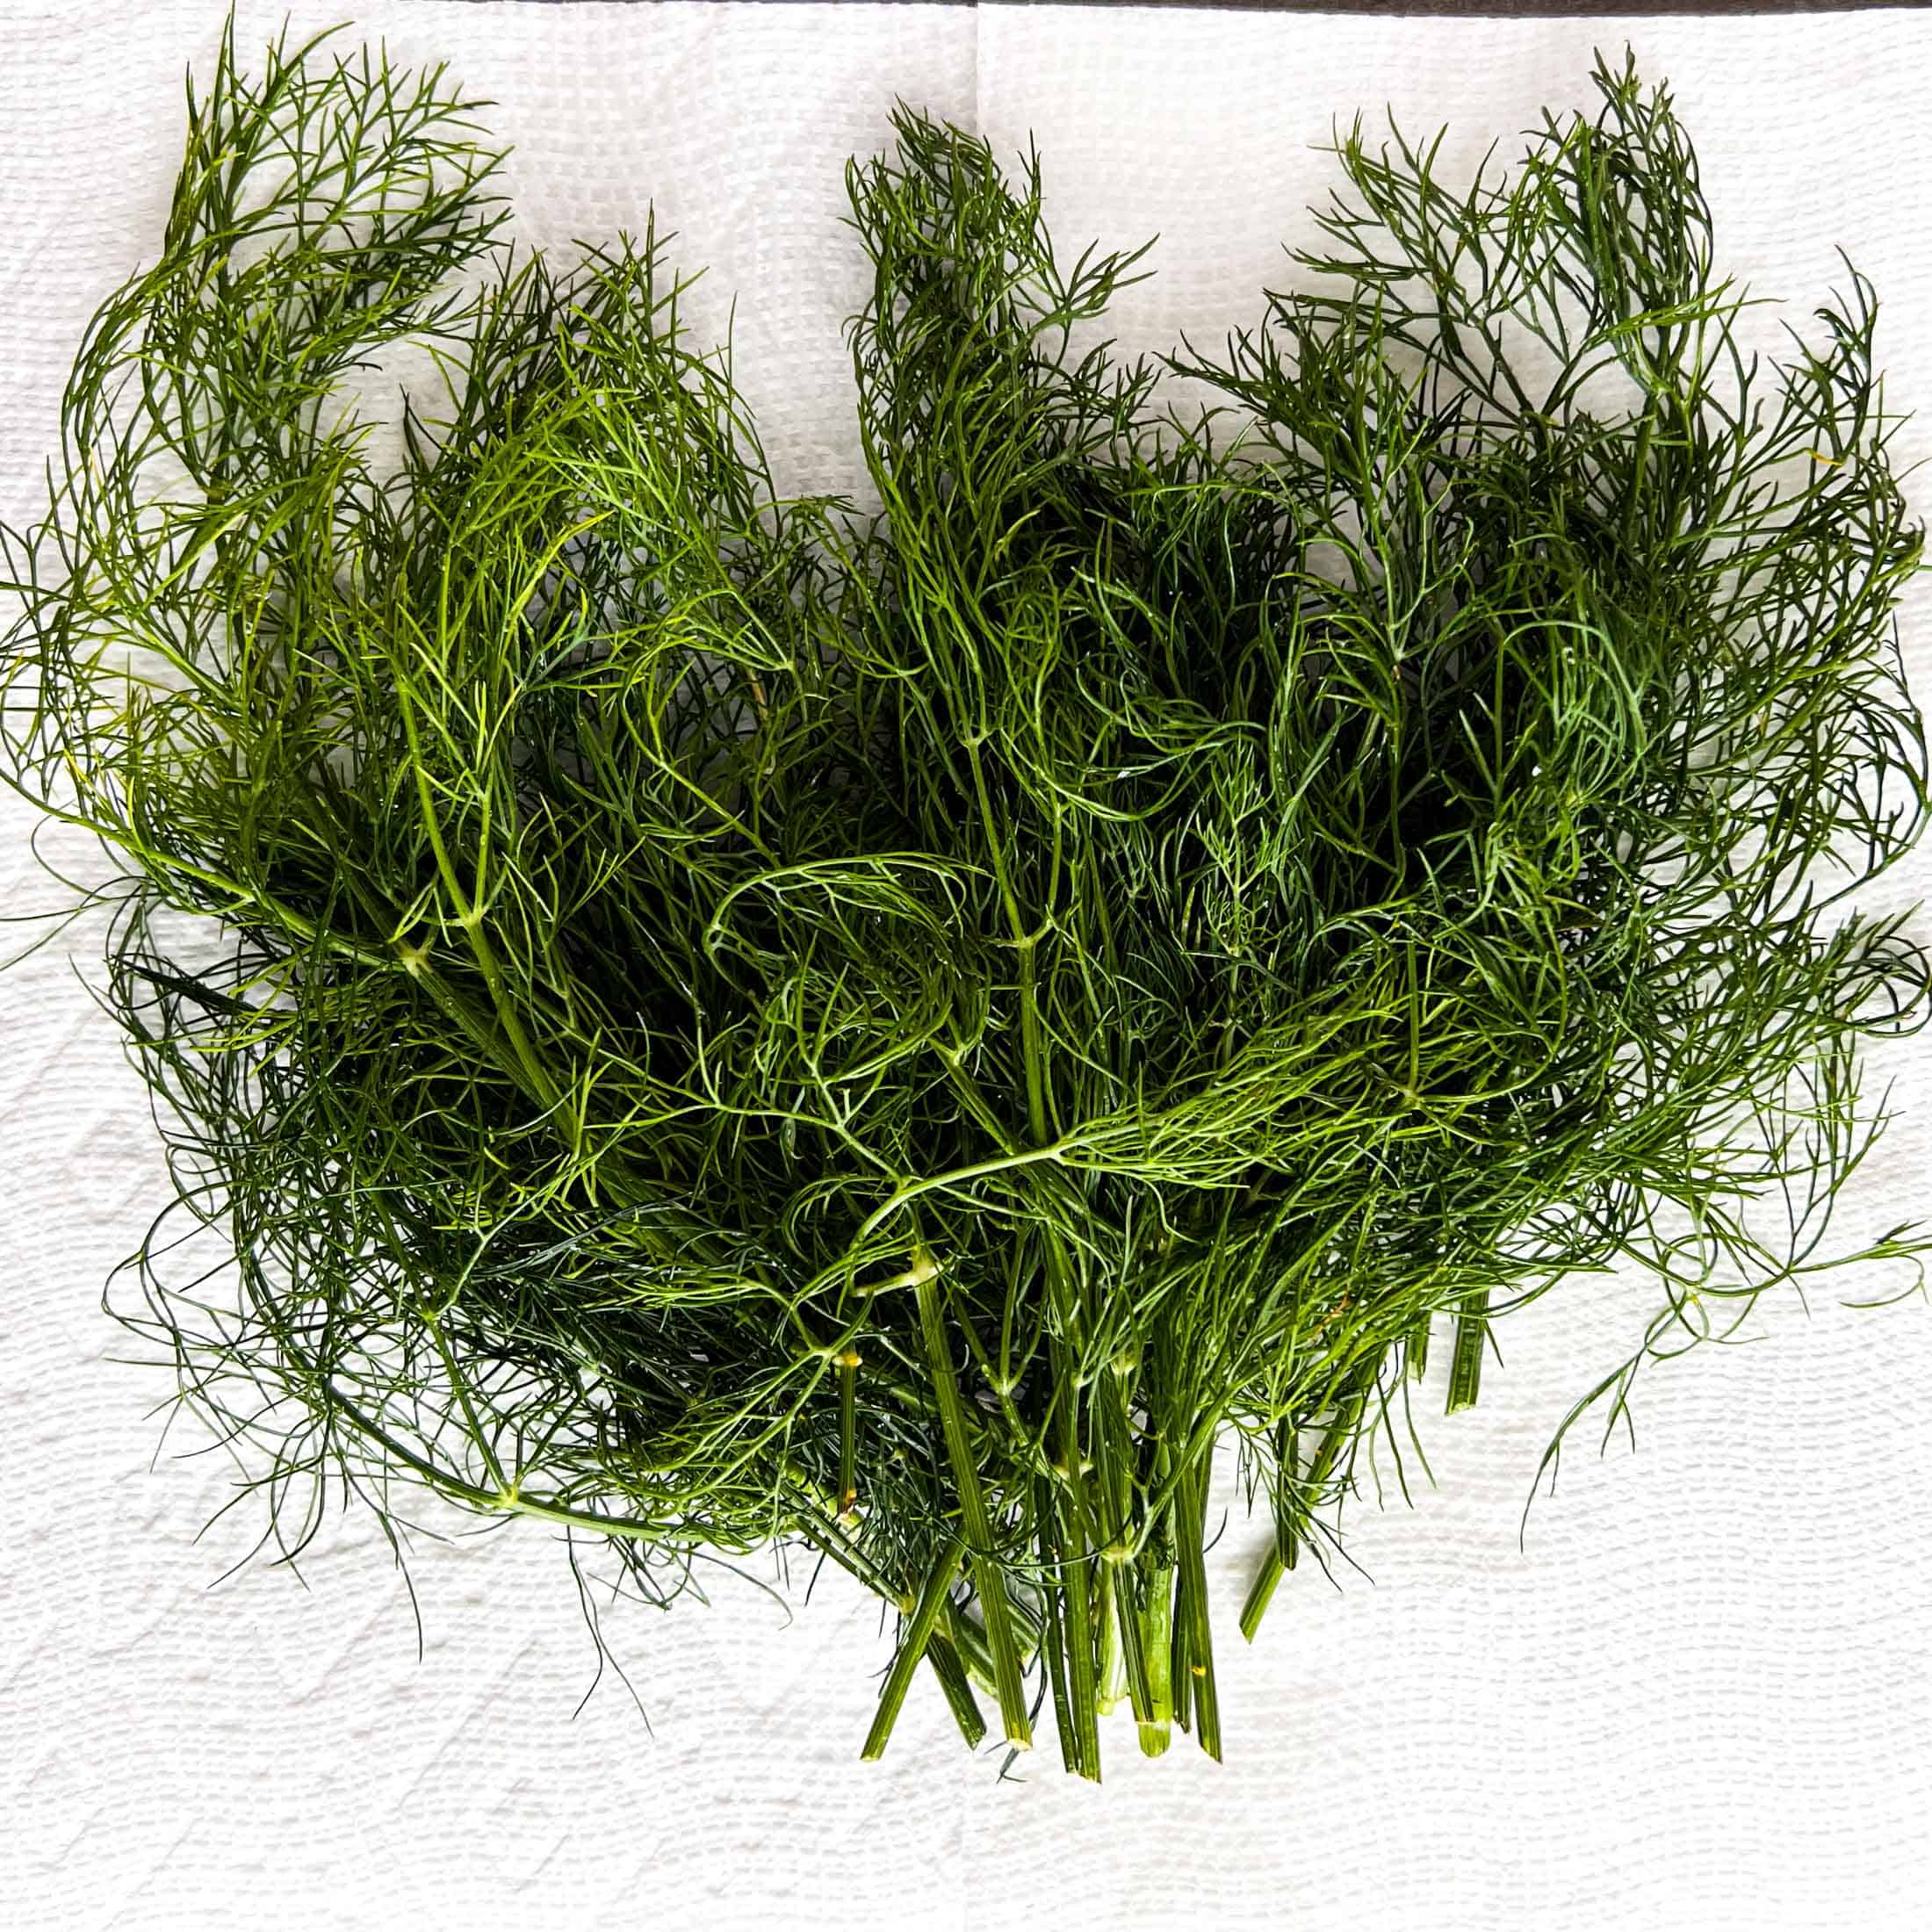
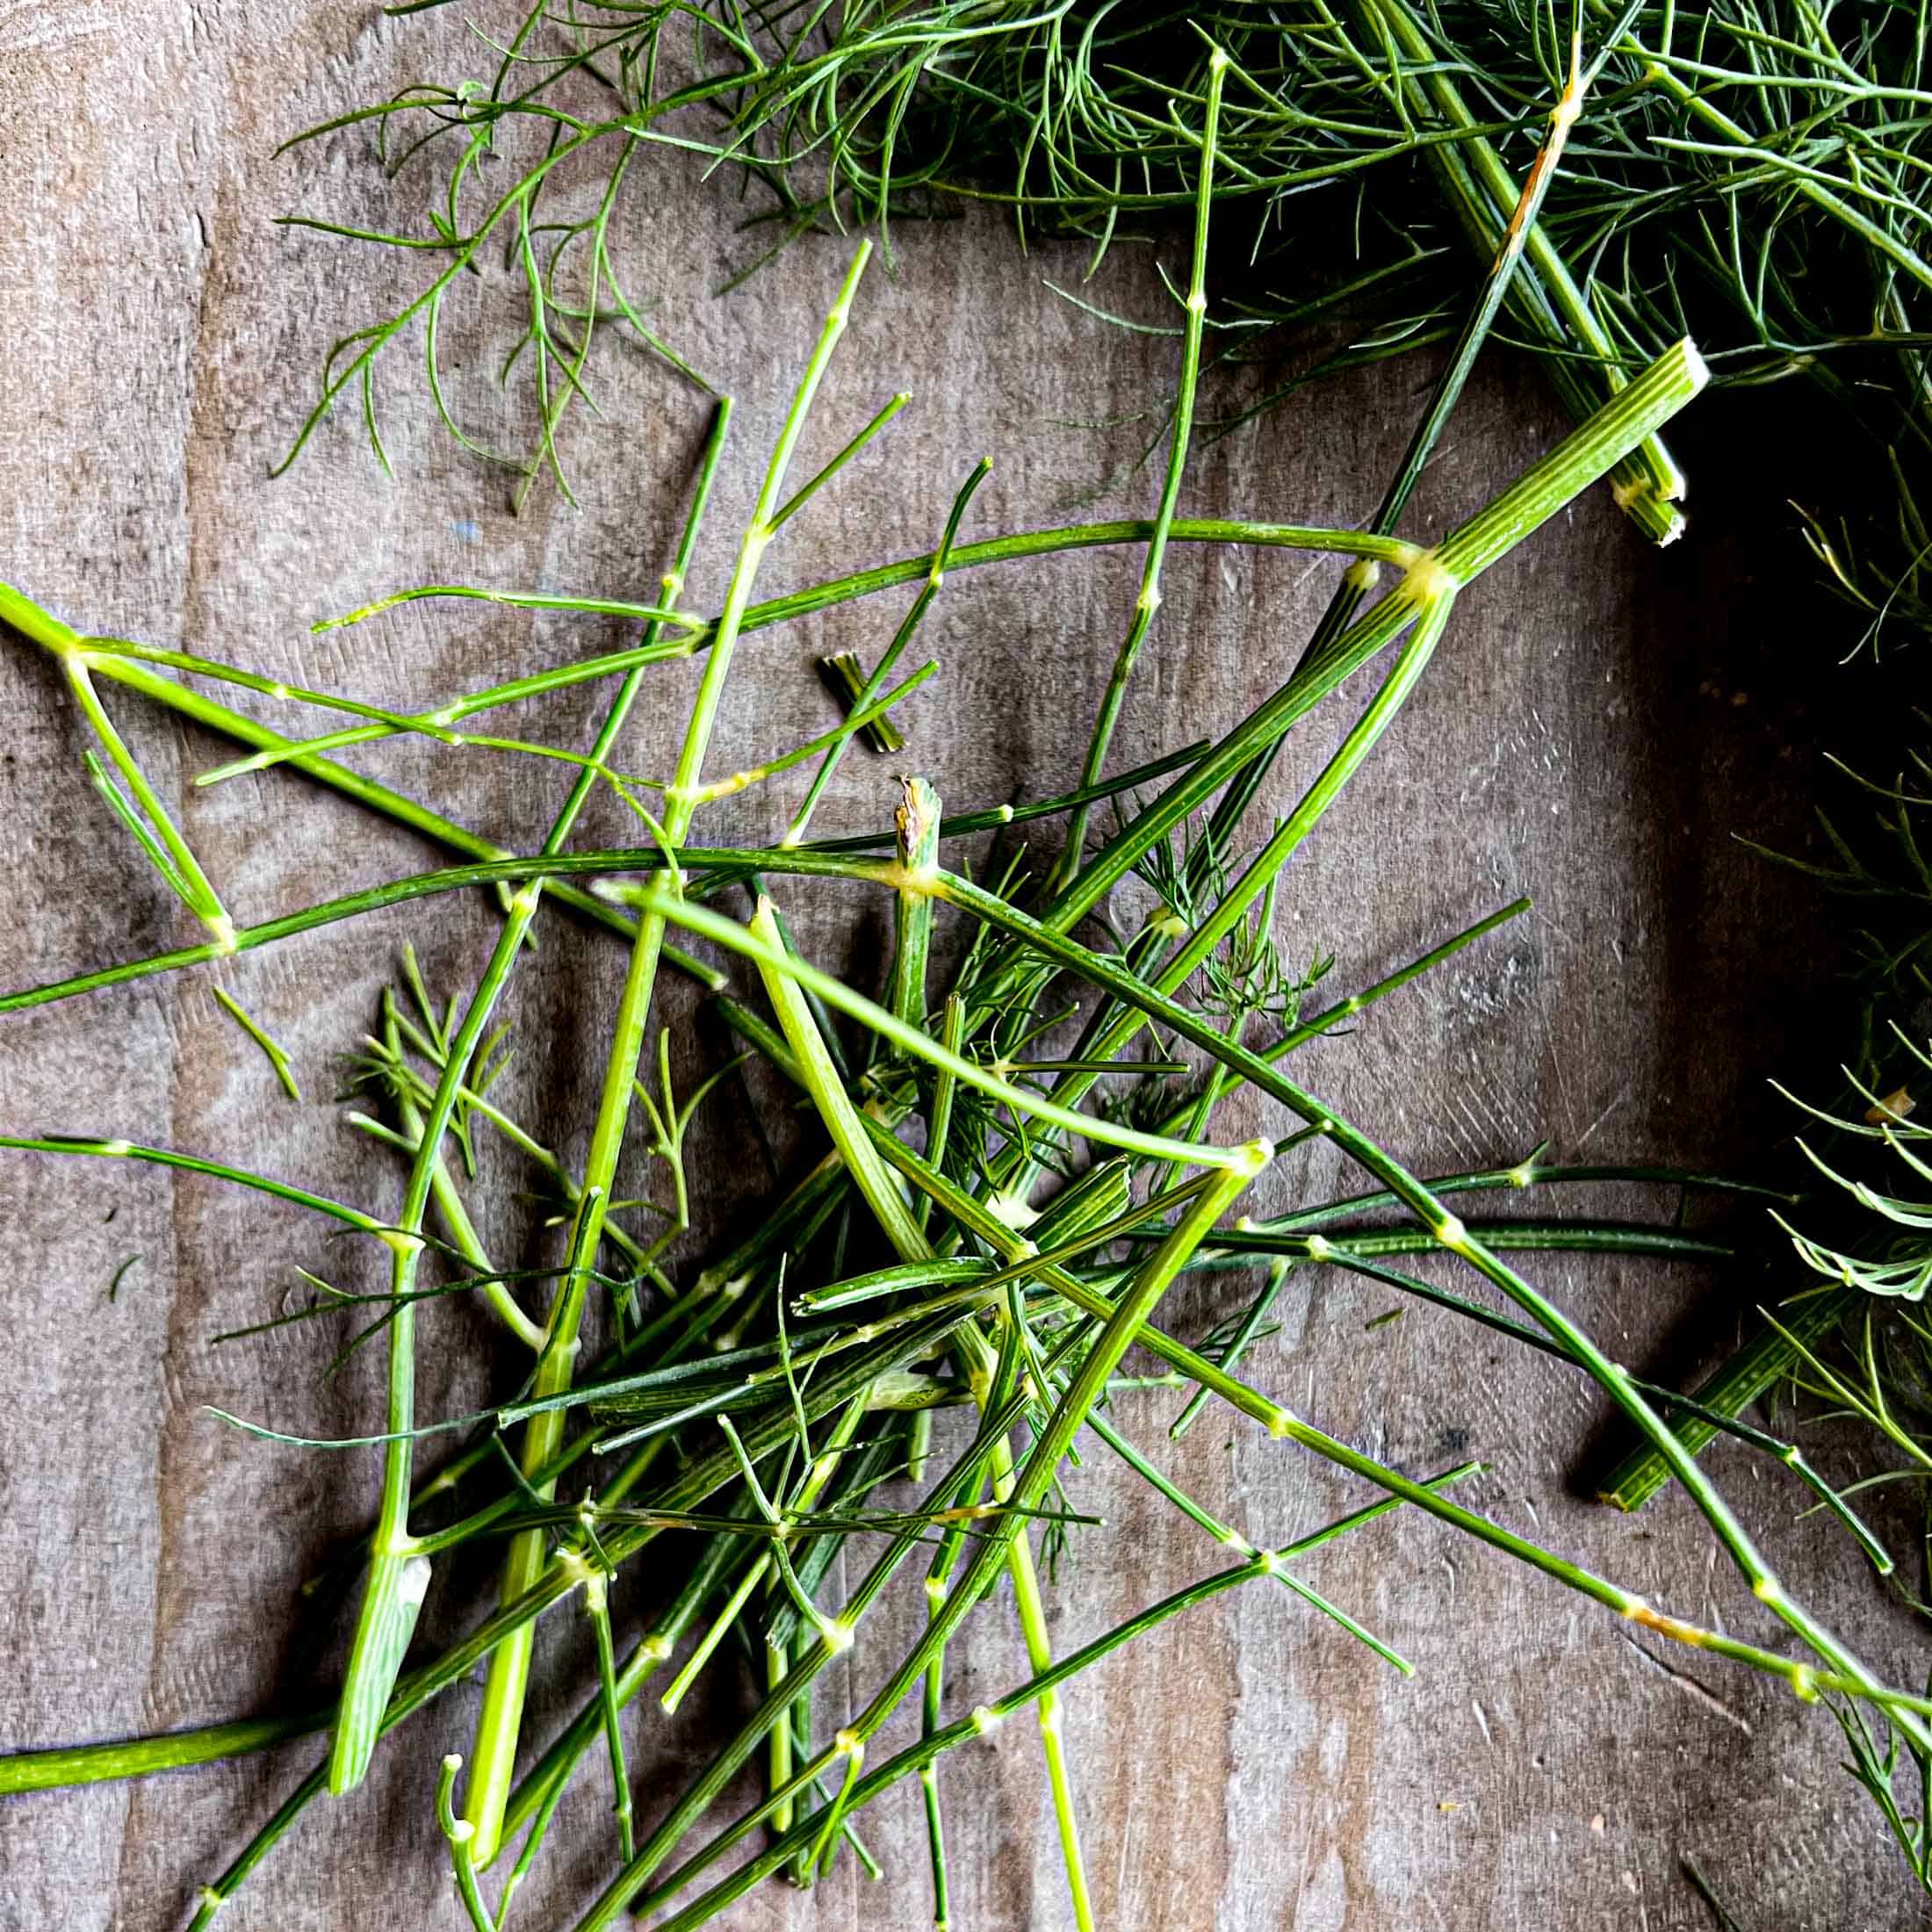
Step 1. Prepare. Remove any withered or yellow dill stems or leaves. Leave two inches of sturdy stem to ensure the dill can be tied easily. Wash in cold water and gently blot dry with a paper towel or use a salad spinner to remove as much moisture as possible. It is important to be gentle when drying dill to make sure that it doesn’t become bruised and start releasing flavor before it is even dried.
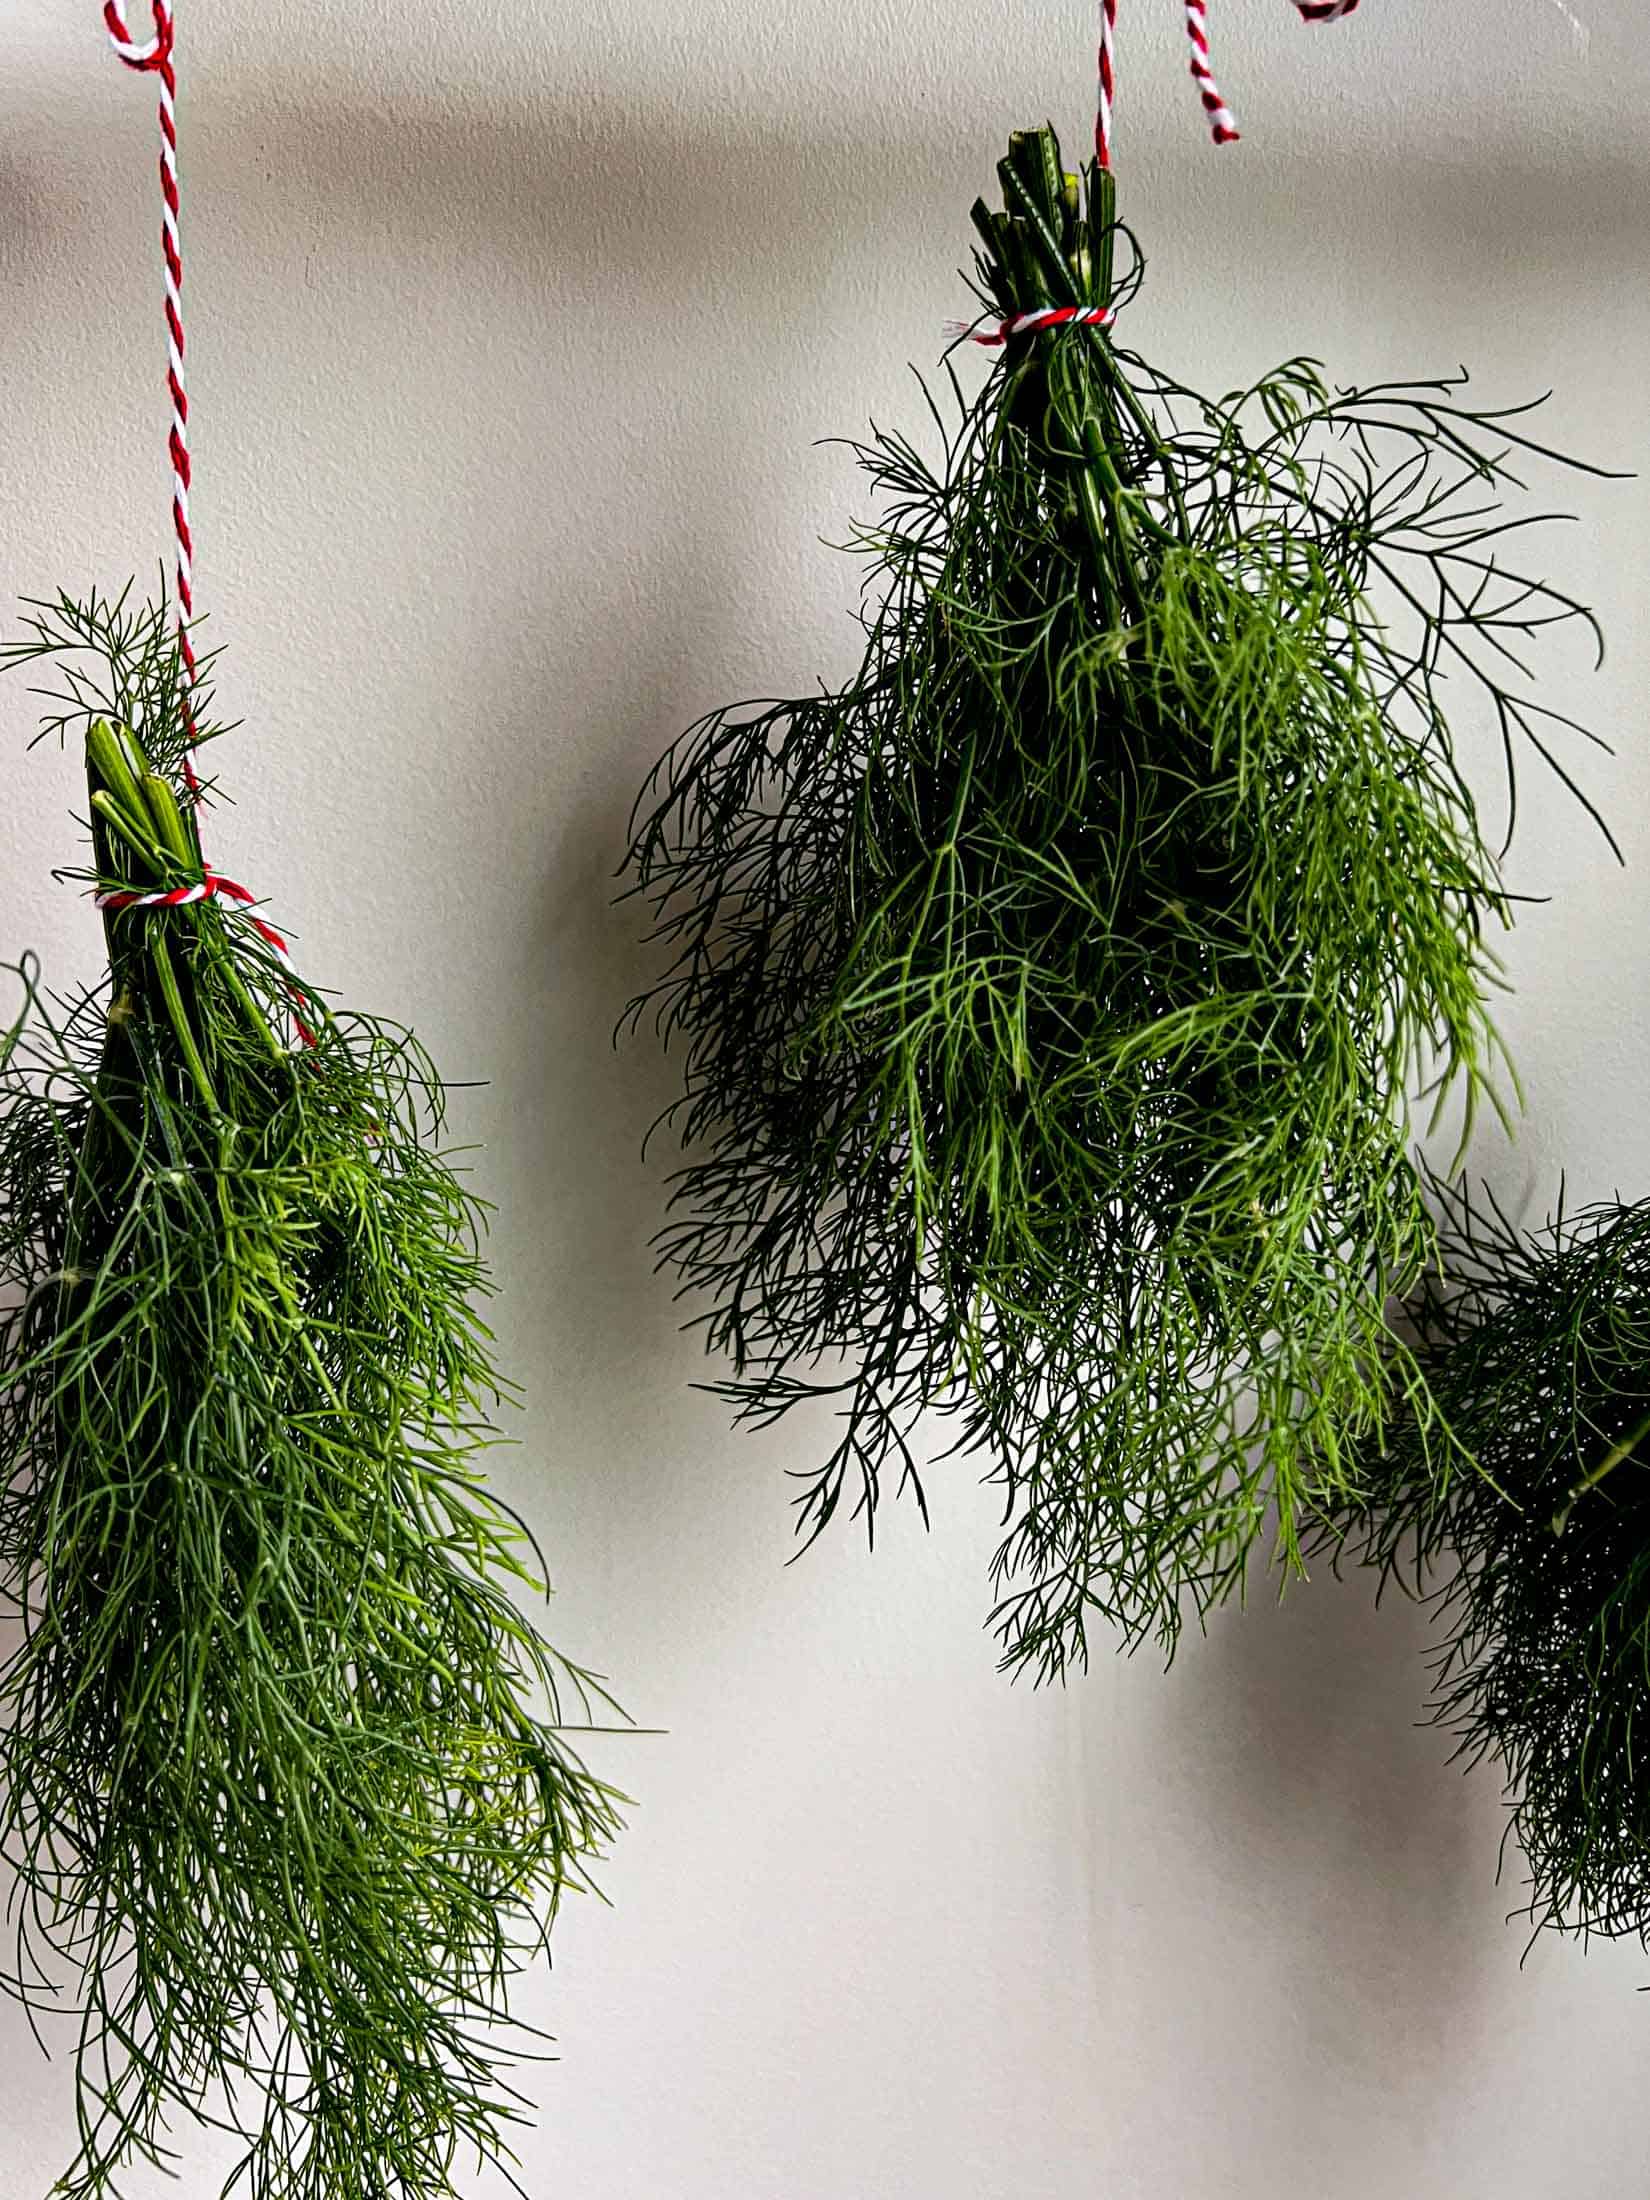
Step 2. Tie + Hang. Gather the dill sections together, bunching the stems and tying them off with your string of choice. I like to use jute string but almost any string will work including dental floss, butcher string, fishing line, etc… Hang dill in a dry place with lots of airflow, out of direct sunlight.
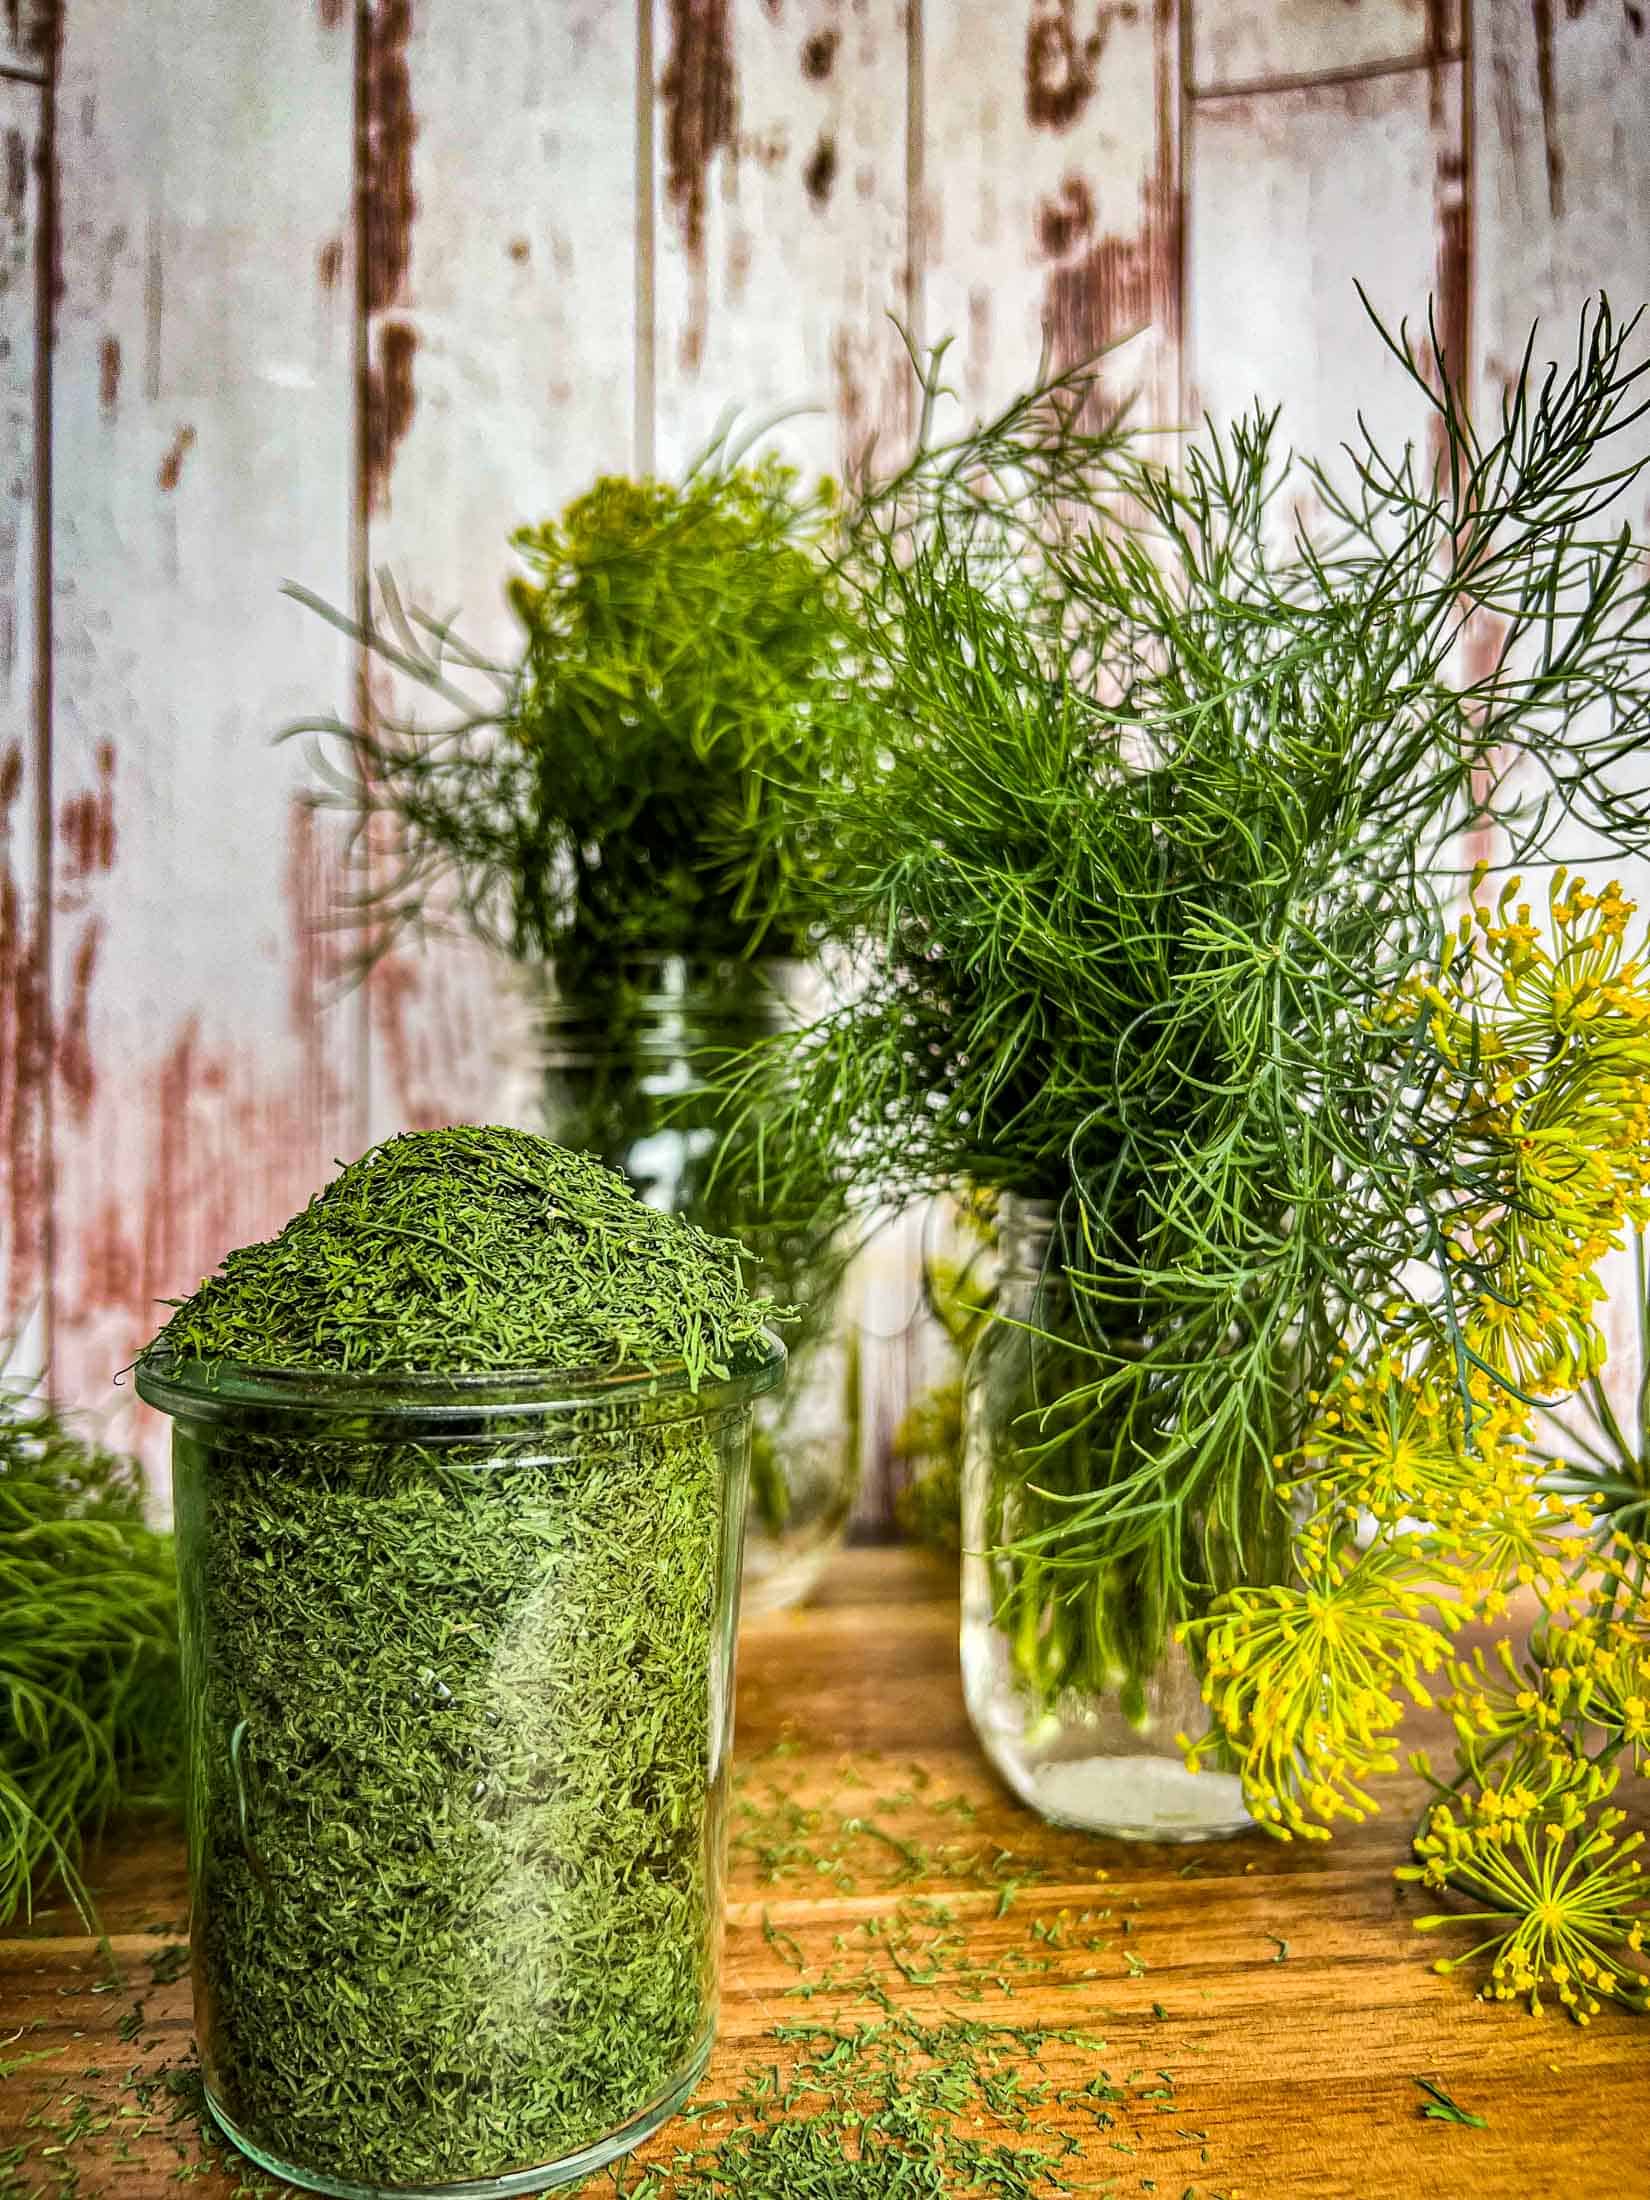
Step 3. Air Dry. Allow the dill to hang for up to two weeks before taking it down. Dill leaves on the outside of the bundle will dry faster than the inside. Once dried, dill leaves should easily pull off of the stem and crumble. If there is any moisture or pliability, they need to be dried for longer.
Step 4. Destem. Untie the dill bundle and hold the bottom of the dill stem overtop of a plate or other container to collect. Pull down on the dried leaves and watch as they crumble off of the stem. Discard the stem.
Step 5. Condition + Store. At this point you should condition the dill (test for dryness) over 5 days. Place a handful of dill flakes in an airtight container. Turn once a day for 5 days. After 5 days if you notice moisture, or mold, discard the dill. Check out this full guide to conditioning dehydrated fruits and vegetables for more information.
Store dill in an airtight container in a dark, dry pantry or cupboard. I love to use leftover spice jars or small mason jars.
How To Dry Drill In A Dehydrator (my favorite method)
Step 1. Prepare. Remove any withered or yellow dill stems or leaves. Leave two inches of sturdy stem to ensure the dill can be tied easily. Wash in cold water and gently blot dry with a paper towel or use a salad spinner to remove as much moisture as possible. It is important to be gentle when drying dill to make sure that it doesn’t become bruised and start releasing flavor before it is even dried.
Step 2. Arrange. Remove as many stems as possible. Arrange in a single layer on your dehydrator trays. If you are watching closely, it is possible to make a thicker layer of dill- it will take longer.


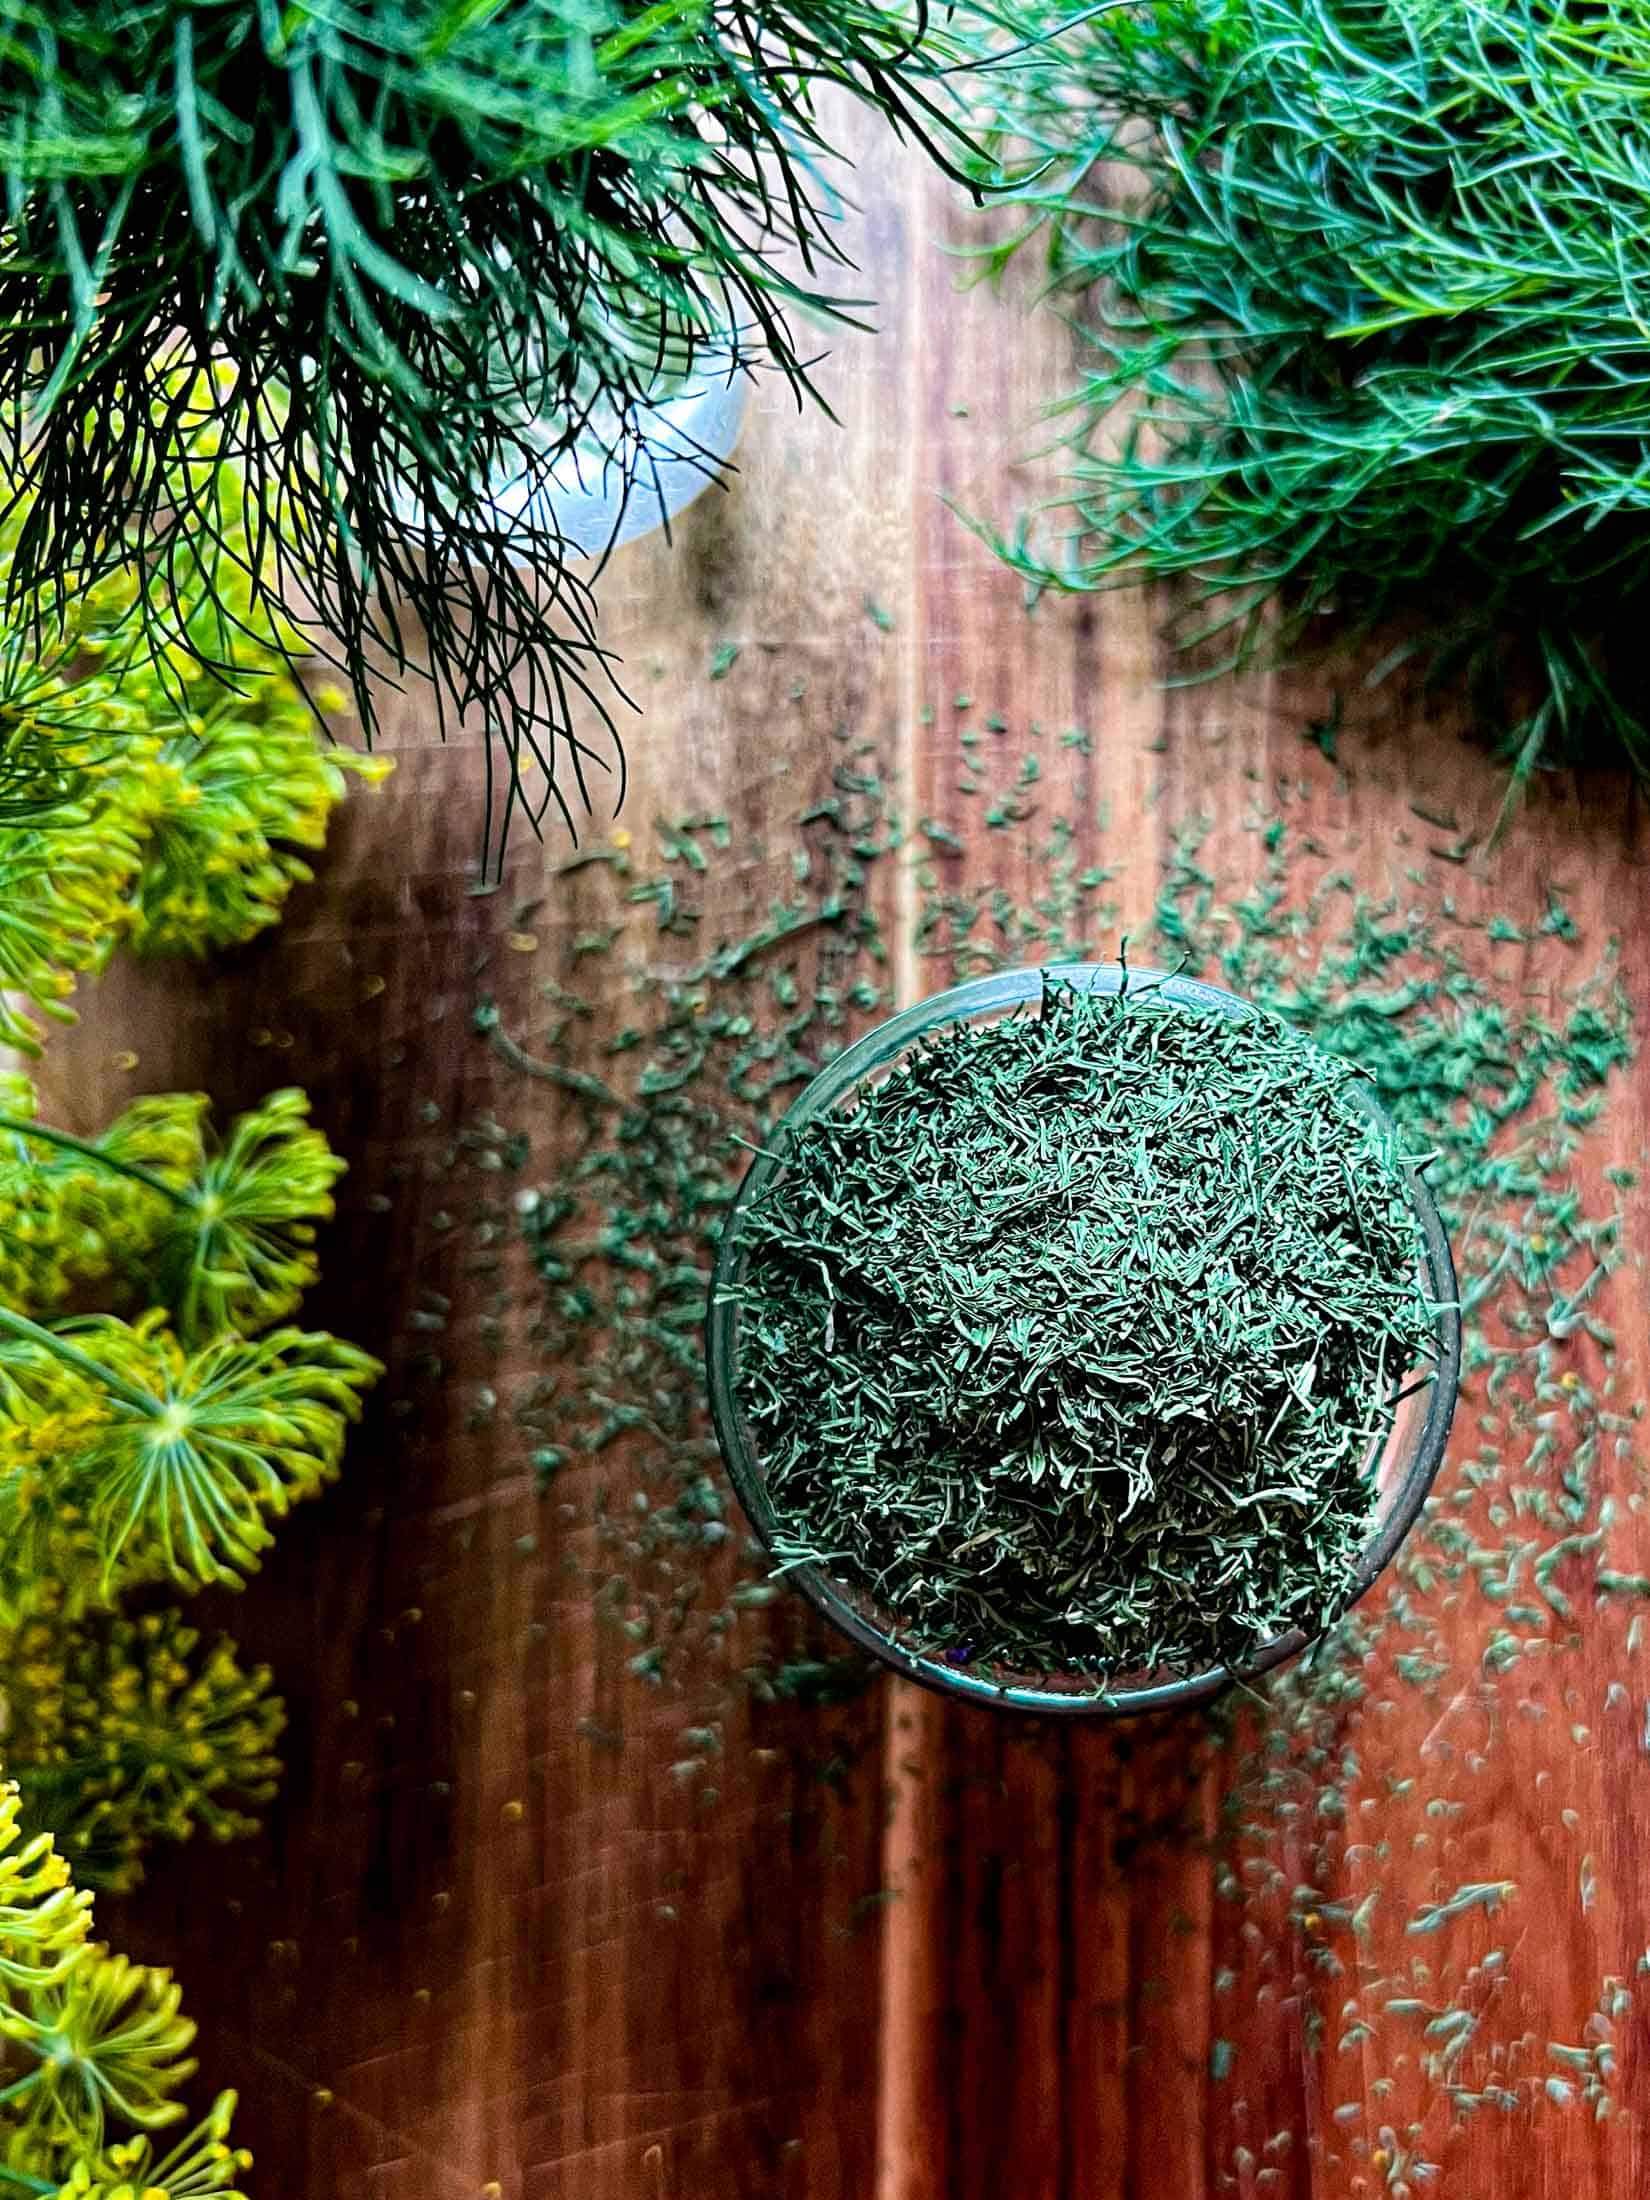
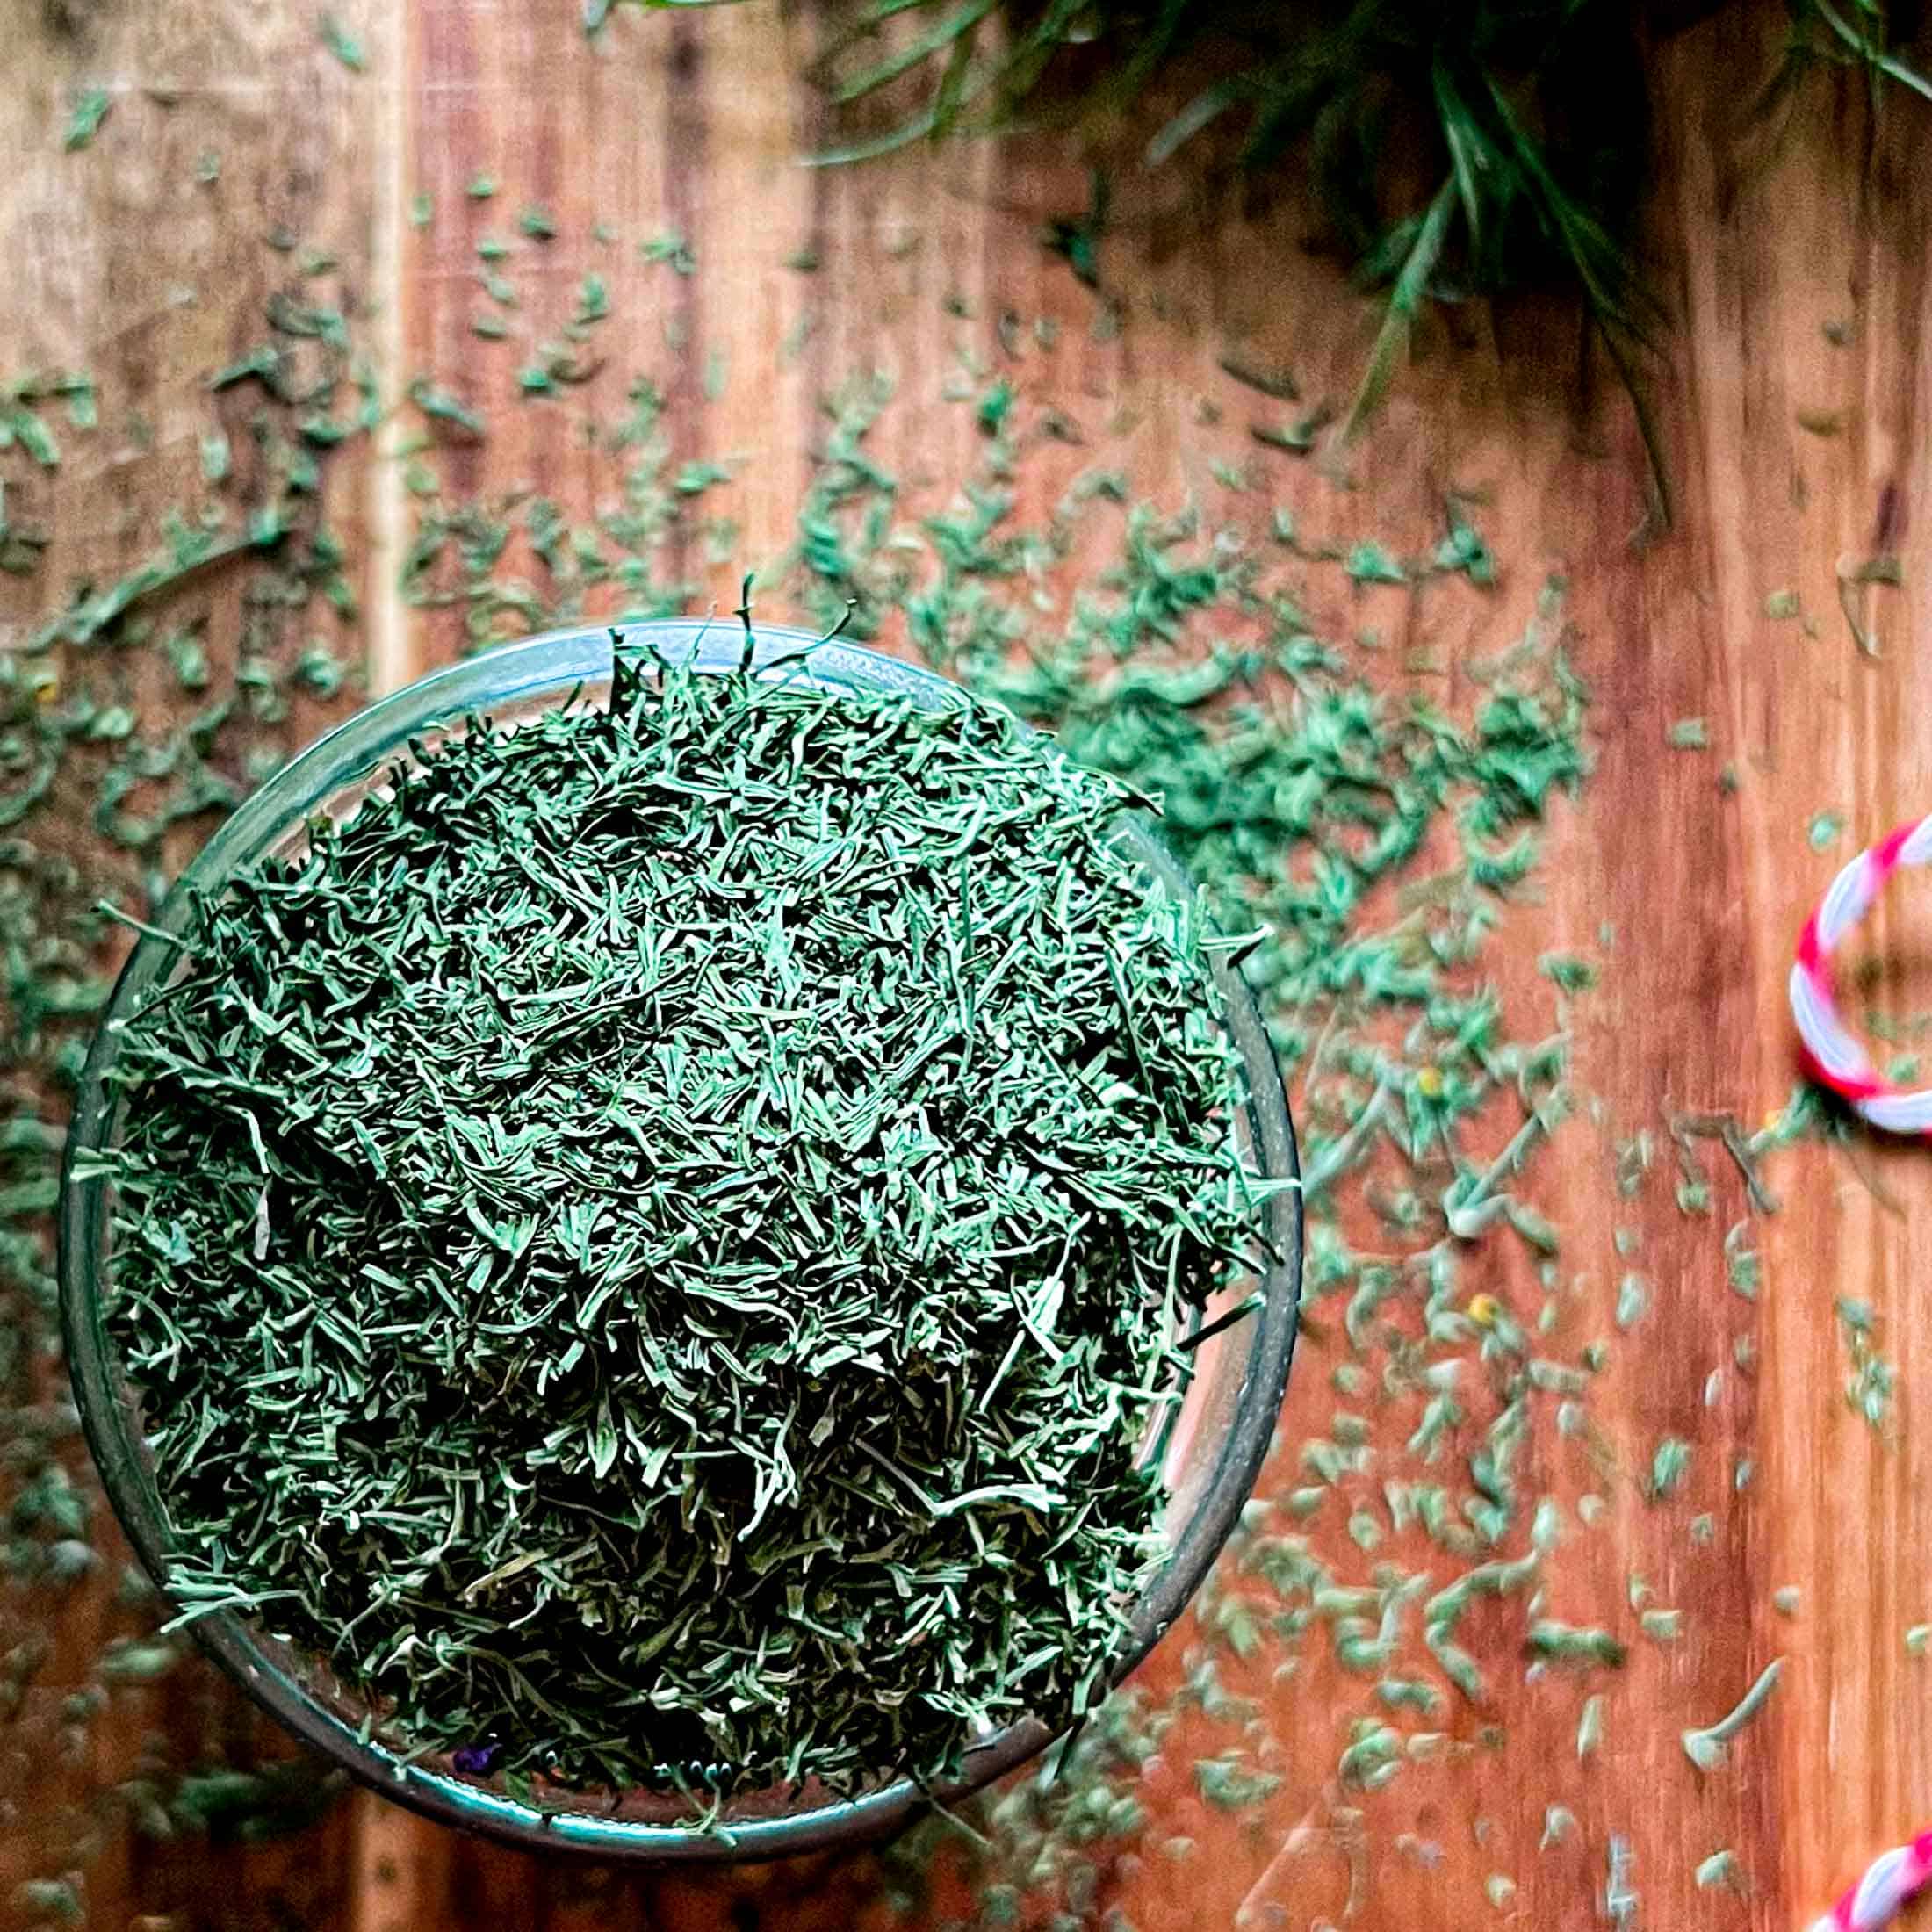
Step 3. Dehydrate. Dehydrate dill on the lowest setting of your dehydrator for ultimate flavor retention. Set the dehydrator to 95-100°F for 4-6 hours. Check for doneness- dry dill will easily crumble and detach from stems. If there is any moisture or flexibility, they need to be dried for longer. Crumble onto a plate or other tray and remove remaining stem pieces.
Step 4. Condition + Store. At this point you should condition the dill (test for dryness) over 5 days. Place a handful of dill flakes in an airtight container. Turn once a day for 5 days. After 5 days if you notice moisture, or mold, discard the dill. Check out this full guide to conditioning dehydrated fruits and vegetables for more information.
Store dill in an airtight container in a dark, dry pantry or cupboard. I love to use leftover spice jars or small mason jars.
How To Dry Dill in The Oven
Step 1. Prepare. Remove any withered or yellow dill stems or leaves. Leave two inches of sturdy stem to ensure the dill can be tied easily. Wash in cold water and gently blot dry with a paper towel or use a salad spinner to remove as much moisture as possible. It is important to be gentle when drying dill to make sure that it doesn’t become bruised and start releasing flavor before it is even dried.
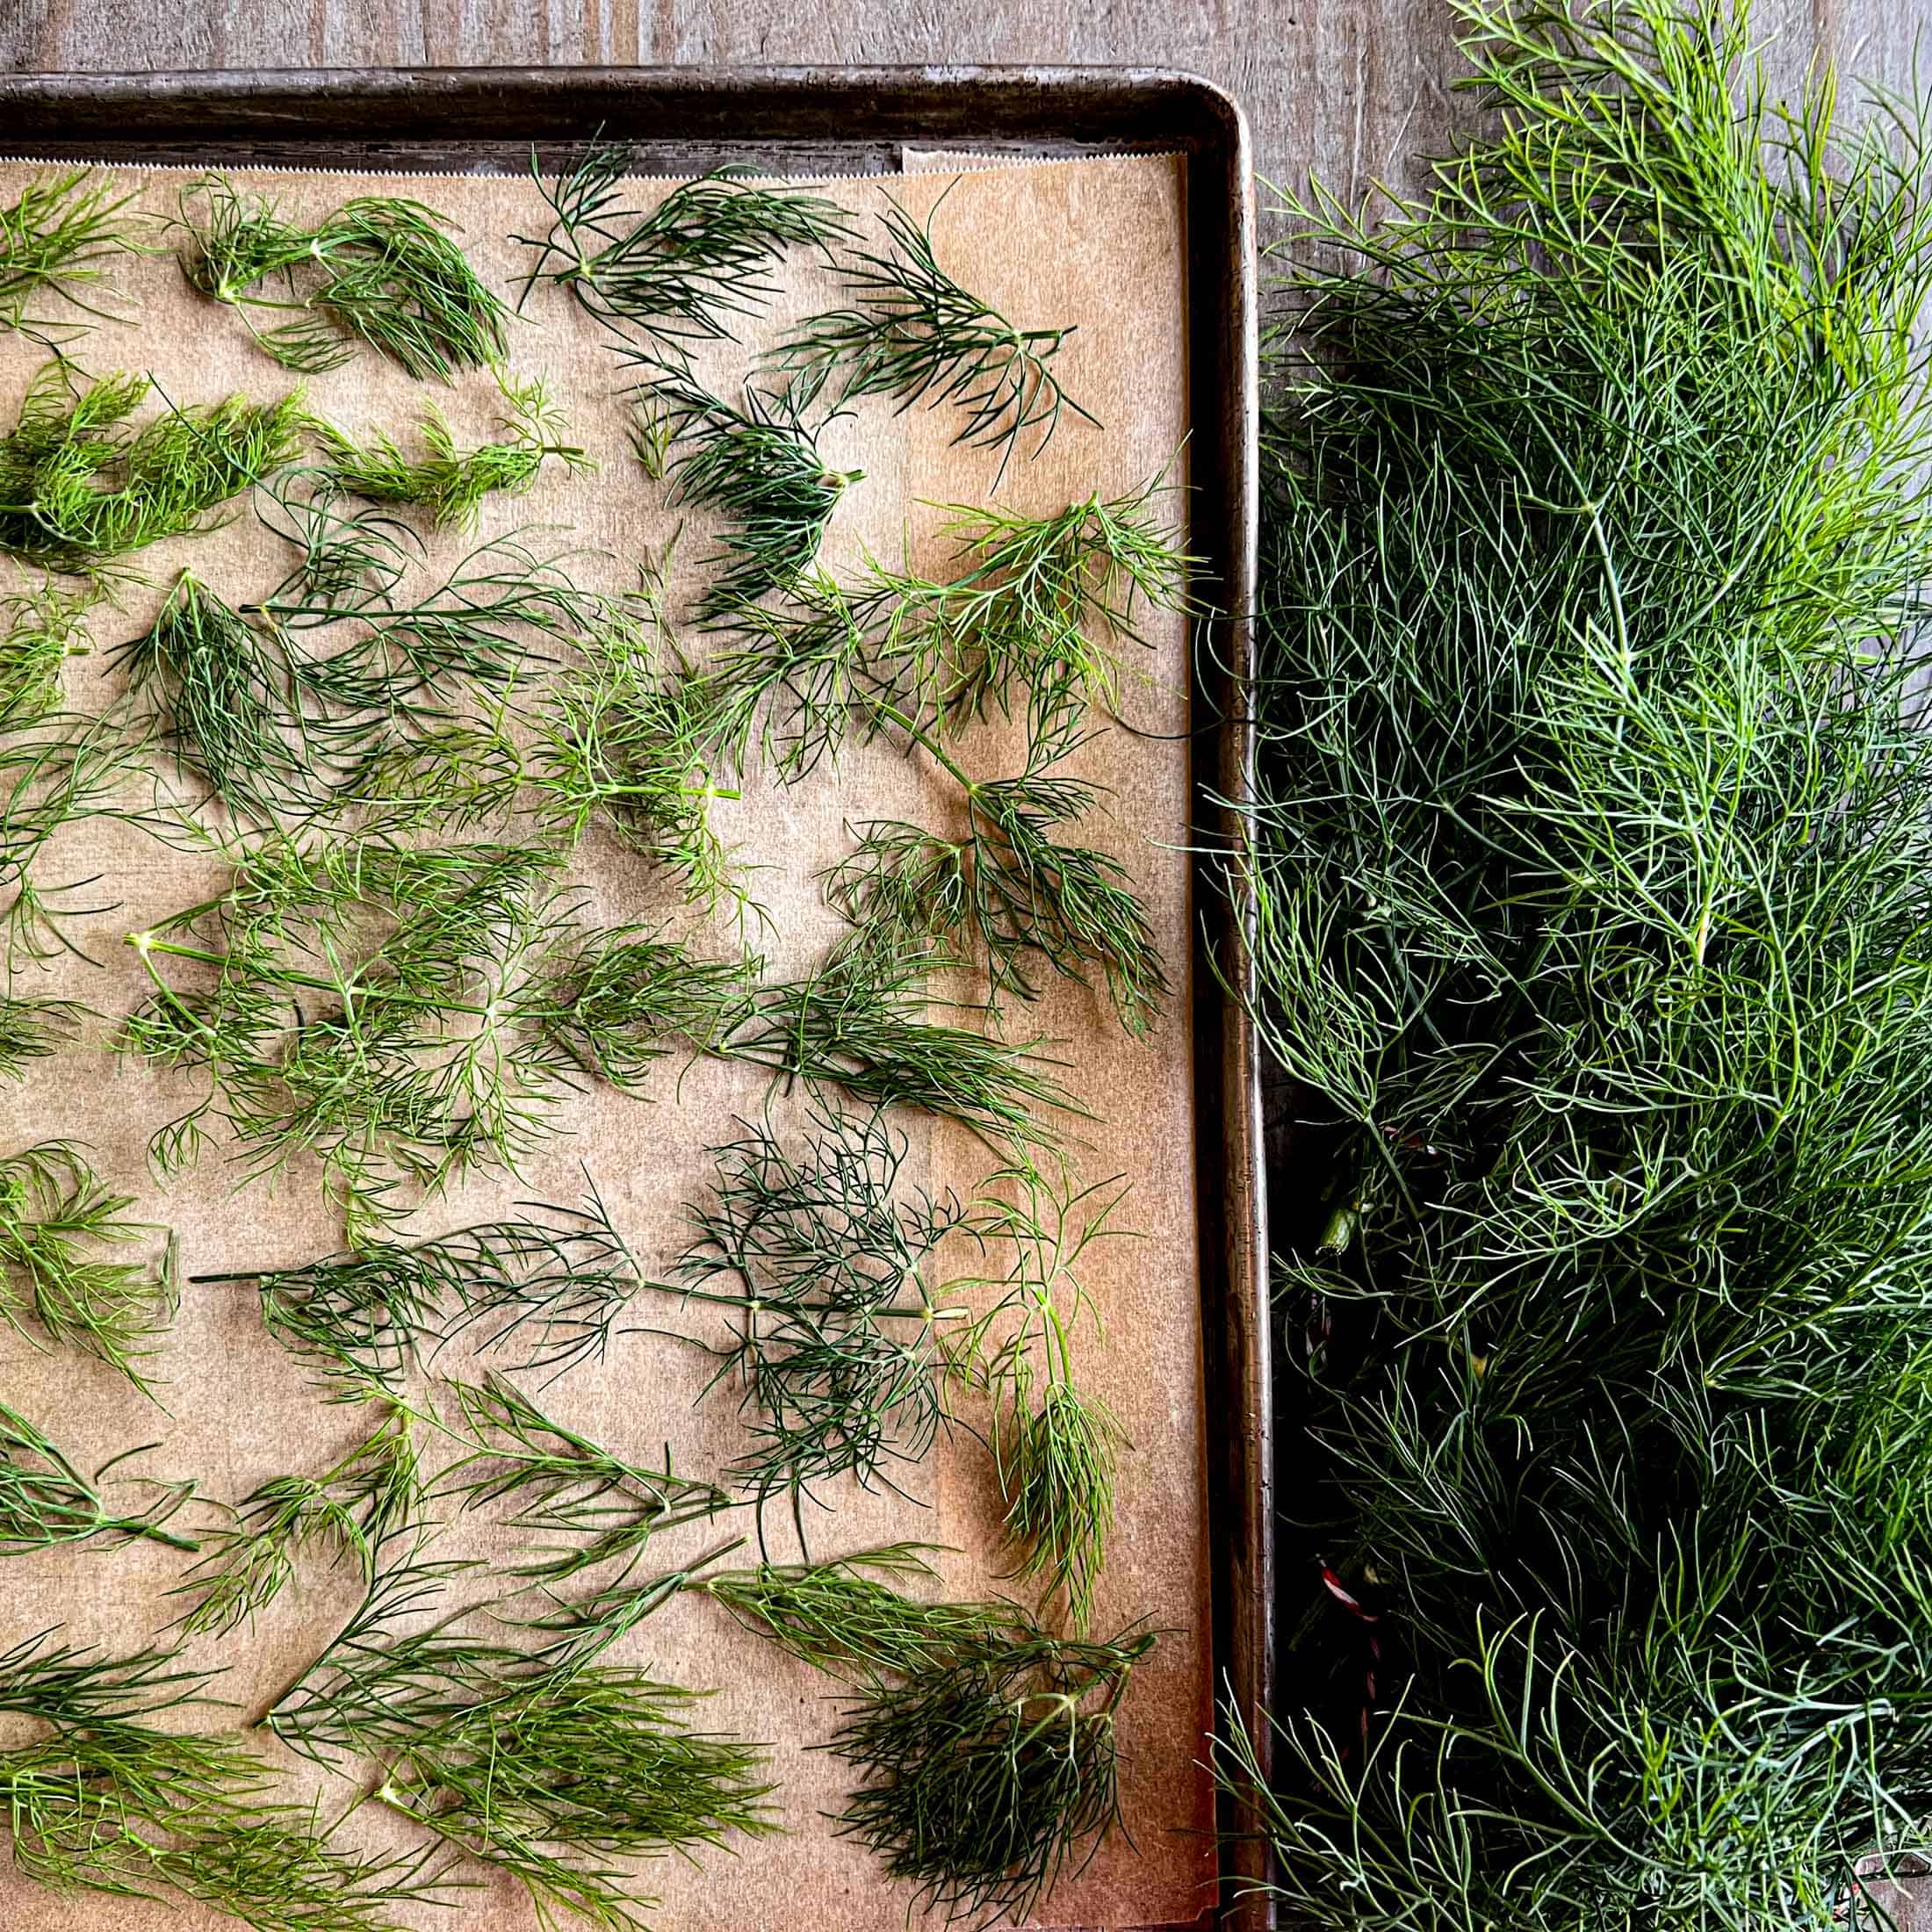
Step 2. Arrange. Remove as many stems as possible. Arrange in a single layer on a parchment lined baking sheet.
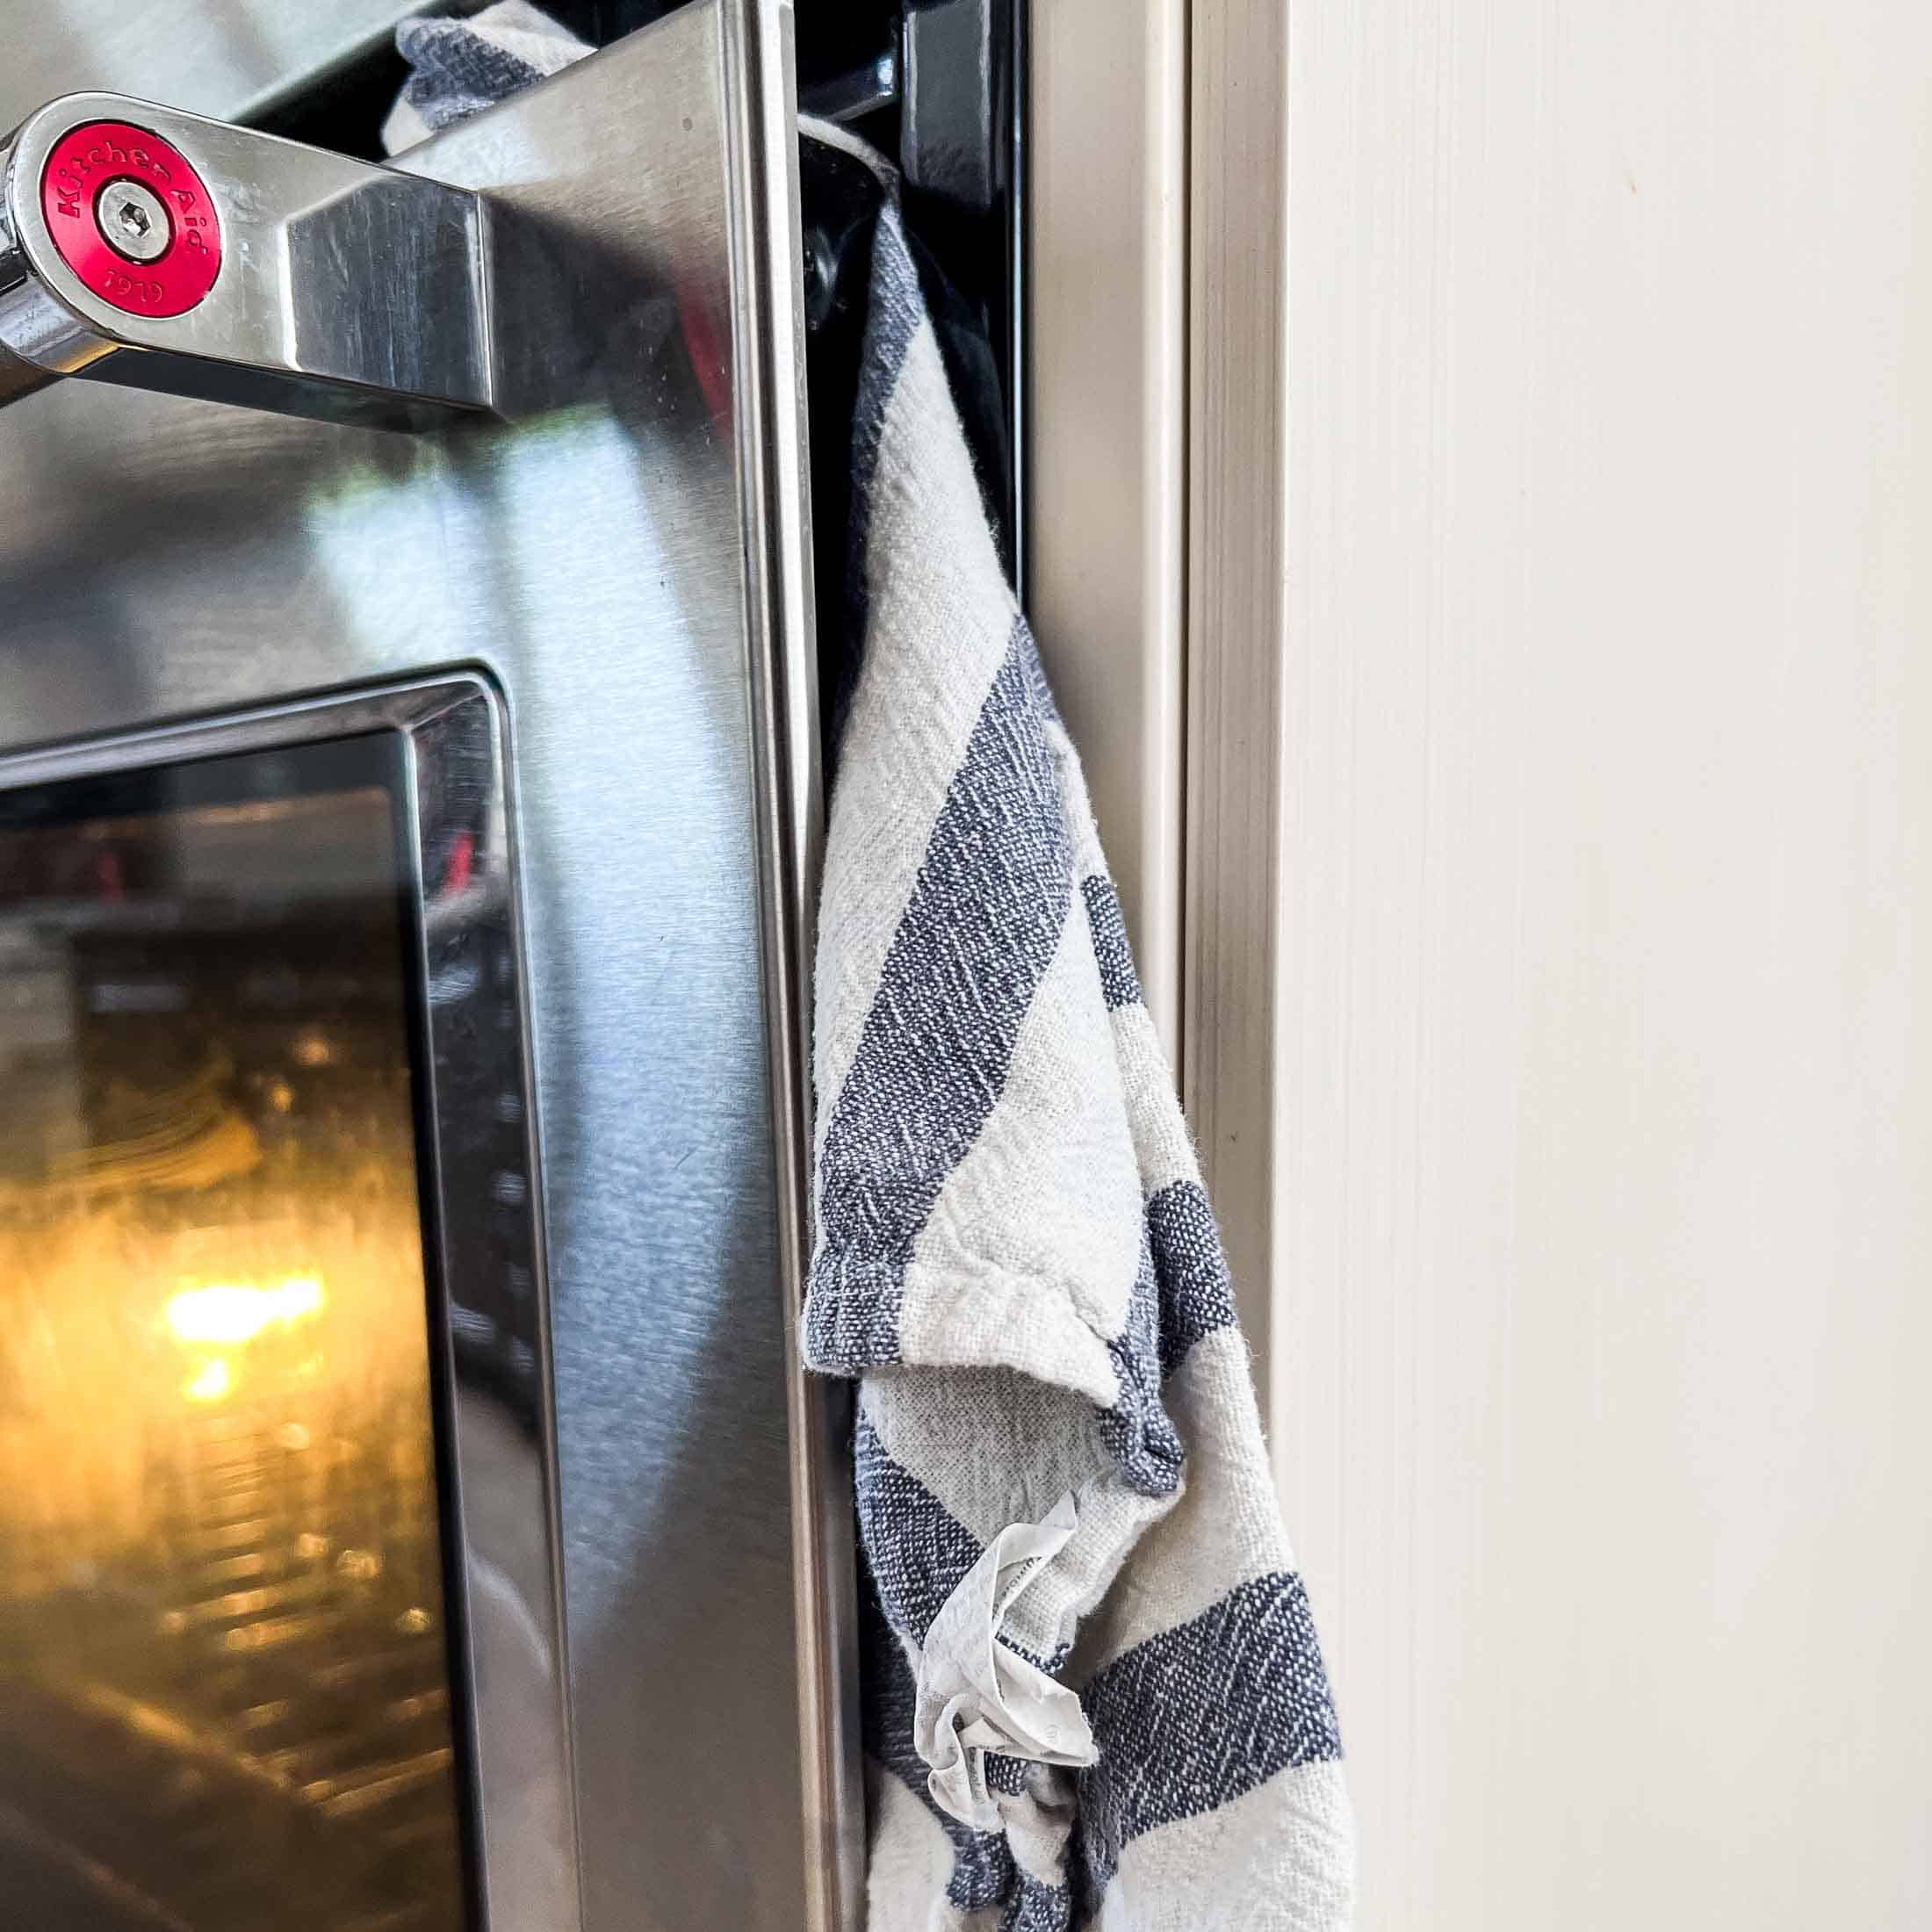
Step 3. Dry. Place in your oven on the lowest setting (usually 100°F-150°F) and dry dill for 1 1/2 to 2 hours. Be sure to leave your oven door open slightly to allow moisture to escape. I use a dish towel to prop it open.
Step 4. Condition + Store. At this point you should condition the dill (test for dryness) over 5 days. Place a handful of dill flakes in an airtight container. Turn once a day for 5 days. After 5 days if you notice moisture, or mold, discard the dill. Check out this full guide to conditioning dehydrated fruits and vegetables for more information.
Store dill in an airtight container in a dark, dry pantry or cupboard. I love to use leftover spice jars or small mason jars.
Batch + Storage
3 packed cups of fresh, stemless dill will dehydrate into roughly 1 cup dried dill. This will fluctuate depending on how small you crush the dried dill and how you measured the fresh dill. Expect 1-2 tablespoons of variance.
Store dehydrated dill in an airtight container (mason or spice jar) or vacuum sealed bag in a cool, dark place. Dried dill can be kept for up to 2-3 years but the flavor and color will start to degrade after 12 months.
Fresh Dill to Dry Dill Conversion
Generally, you can substitute dry dill flakes for fresh dill at a 1:3 ratio. If the recipe calls for 1 tablespoon (15ml) of fresh dill, use 1 teaspoon (5ml).
Printable Recipe For Drying Dill 3 Ways
How To Dry Dill 3 Ways | Dehydrator, Air Drying, Oven
Read on to find out exactly how to dry dill and learn preserve this kitchen staple when your harvest is abundant! Dehydrating dillweed is simple and once dried it can be used as a garnish, in salads, added to fish dishes, or adorning other savory dishes such as perogies with cream and nalesniki. Drying dill helps to save freezer space for a long term storage solution that is simple to grab and use any time of the year. No dehydrator? No problem! Check out the instructions for air drying and using the oven to dry dill.
Ingredients
- 3 cups fresh dill (packed, no stems)
Instructions
How To Dry Drill In A Dehydrator (my favorite method)
- Prepare. Remove any withered or yellow dill stems or leaves. Wash in cold water and gently blot dry with a paper towel or use a salad spinner to remove as much moisture as possible. It is important to be gentle when drying dill to make sure that it doesn't become bruised and start releasing flavor before it is even dried.
- Arrange. Remove as many stems as possible. Arrange in a single layer on your dehydrator trays.
- Dehydrate. Dehydrate dill on the lowest setting of your dehydrator for ultimate flavor retention. Set the dehydrator to 95-100°F for 4-6 hours. Check for doneness- dry dill will easily crumble and detach from stems. If there is any moisture or flexibility, they need to be dried for longer. Crumble onto a plate or other tray and remove remaining stem pieces.
- Condition + Store. At this point you should condition the dill (test for dryness) over 5 days. Place a handful of dill flakes in an airtight container. Turn once a day for 5 days. After 5 days if you notice moisture, or mold, discard the dill.
How To Air Dry Dill
- Prepare. Remove any withered or yellow dill stems or leaves. Leave two inches of sturdy stem to ensure the dill can be tied easily. Wash in cold water and gently blot dry with a paper towel or use a salad spinner to remove as much moisture as possible. It is important to be gentle when drying dill to make sure that it doesn't become bruised and start releasing flavor before it is even dried.
- Tie + Hang. Gather the dill sections together, bunching the stems and tying them off with your string of choice. I like to use jute string but almost any string will work including dental floss, butcher string, fishing line, etc... Hang dill in a dry place with lots of airflow, out of direct sunlight.
- Air Dry. Allow the dill to hang for up to two weeks before taking it down. Dill leaves on the outside of the bundle will dry faster than the inside. Once dried, dill leaves should easily pull off of the stem and crumble. If there is any moisture or pliability, they need to be dried for longer.
- Destem. Untie the dill bundle and hold the bottom of the dill stem overtop of a plate or other container to collect. Pull down on the dried leaves and watch as they crumble off of the stem. Discard the stem.
- Condition + Store. At this point you should condition the dill (test for dryness) over 5 days. Place a handful of dill flakes in an airtight container. Turn once a day for 5 days. After 5 days if you notice moisture, or mold, discard the dill.
How To Dry Dill in The Oven
- Prepare. Remove any withered or yellow dill stems or leaves. Wash in cold water and gently blot dry with a paper towel or use a salad spinner to remove as much moisture as possible. It is important to be gentle when drying dill to make sure that it doesn't become bruised and start releasing flavor before it is even dried.
- Arrange. Remove as many stems as possible. Arrange in a single layer on a parchment lined baking sheet.
- Dry. Place in your oven on the lowest setting (usually 100°F-150°F) and dry dill for 1 1/2 to 2 hours. Be sure to leave your oven door open slightly to allow moisture to escape. I use a dish towel to prop it open.
- Condition + Store. At this point you should condition the dill (test for dryness) over 5 days. Place a handful of dill flakes in an airtight container. Turn once a day for 5 days. After 5 days if you notice moisture, or mold, discard the dill.
Notes
- 3 packed cups of fresh, stemless dill will dehydrate into roughly 1 cup dried dill. This will fluctuate depending on how small you crush the dried dill and how you measured the fresh dill. Expect 1-2 tablespoons of variance.
- Store dehydrated dill in an airtight container (mason or spice jar) or vacuum sealed bag in a cool, dark place. Dried dill can be kept for up to 2-3 years but the flavor and color will start to degrade after 12 months.
Nutrition Information:
Yield: 16 Serving Size: 1Amount Per Serving: Calories: 1Total Fat: 0gSaturated Fat: 0gTrans Fat: 0gUnsaturated Fat: 0gCholesterol: 0mgSodium: 1mgCarbohydrates: 0gFiber: 0gSugar: 0gProtein: 0g
Dill FAQ
All parts of the dill plant are edible and can be dried for later use including stems, leaves, and flowers.
This depends on if you plan on hang drying your dill or drying it in the oven or dehydrator. If you are hang drying dill, be sure to leave enough of a stem that it can be tied up and hung properly. If you are drying dill in the oven or dehydrator, take off as much of the stem as possible.
General recommendations are to consume dehydrated dill within 12 months. If kept in a dark, cool place, dried dill may stay good for 2-3 years!
It takes at least three cups of dill weed (stems removed, packed) to make 1 cup dried dill weed.
Yes! Freezing dill is another great option for preserving dill. Frozen dill tastes *almost* as good as fresh dill, can be substituted at a 1:1 ratio, and maintains its texture. If you have a lot of freezer space, saving dill may be your favorite preservation method.